IKEA Vindriktning Air Quality Sensor

Damn… That was quick… I came across @Hypfer’s Github repo first, just a day after it was published, because Google suggested it on one of the cards in the Chrome Mobile browser when you open a new tab.

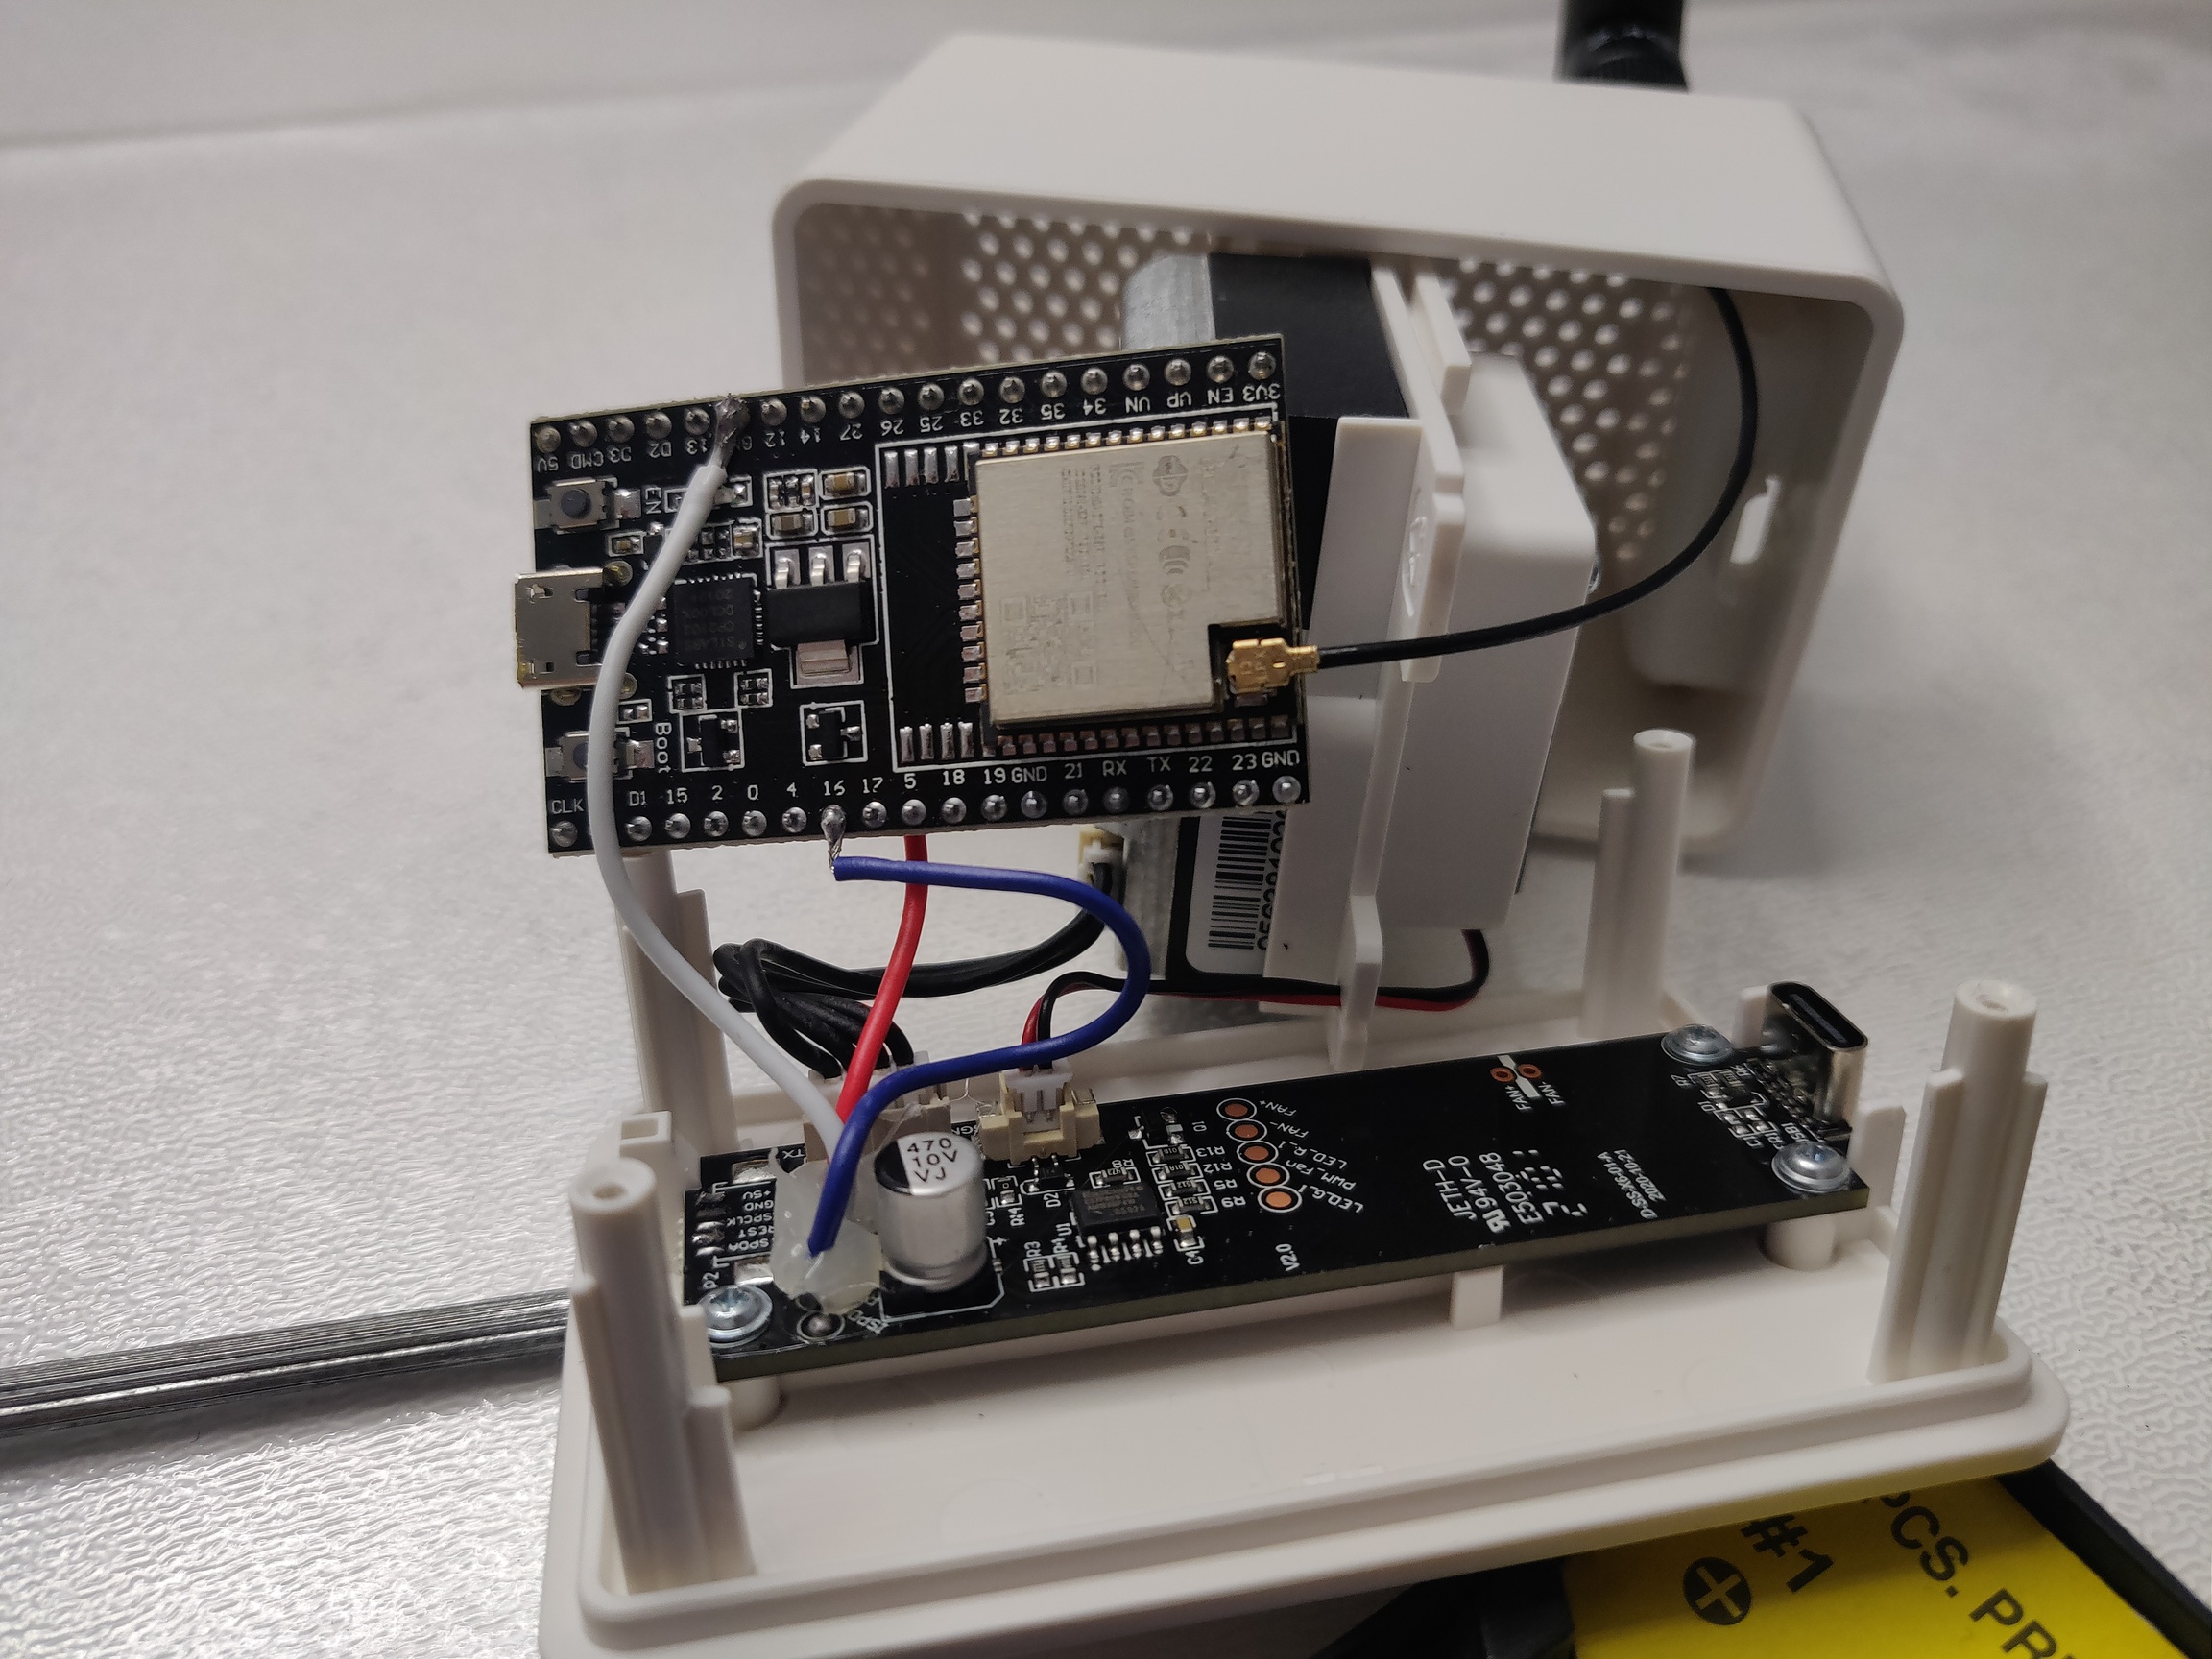
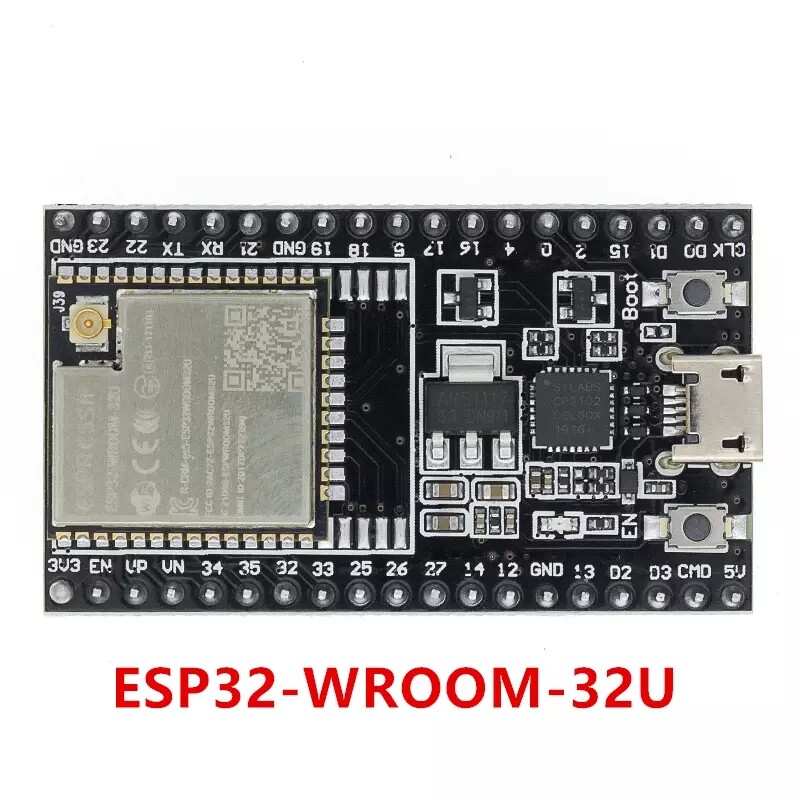
Otherwise it is an easy project. You just really need some dupont cables and an esp8266 or an esp32. (And a good soldering iron.) Smaller is better. Actually the Wemos D1 Mini is a perfect choice by small size. Esp32 has some really tiny boards as well. Like the Atom Lite ESP32 or the Wemos ESP32.

@sermayoral - in the Hackaday article’s comment section @Hypfer was discussing the importance of the fan and fan speed with another user. Have a look on that.

1 Like

Feel free to use mine:

1 Like

I used an old ESP8266 NodeMCU v2 from the drawer and connected it all up as listed below.

IKEA Vindriktning NodeMCU pin Note
PCB +5V pad VIN NodeMCU v2 support 5-10V
PCB GND pad GND
PCB REST pad D2 UART TX from PM1006 sensor
Fan +5V (red wire) 3V3 Fan will run constantly and quietly
Fan GND (black wire) GND

Example YAML (ESPHome >= 2021.8.0 required):

uart:
  rx_pin: D2
  baud_rate: 9600

sensor:
  - platform: pm1006
    pm_2_5:
      name: "IKEA Vindriktning PM2.5 sensor"

A few potato photos taken just before final assembly:

5 Likes

Thanks @GSzabados for creating this thread. Its the proper place to speak about it.

In my case i have used an esp32u to put an external antenna in order to read all the Xiaomi BLE Thermometer of my house.


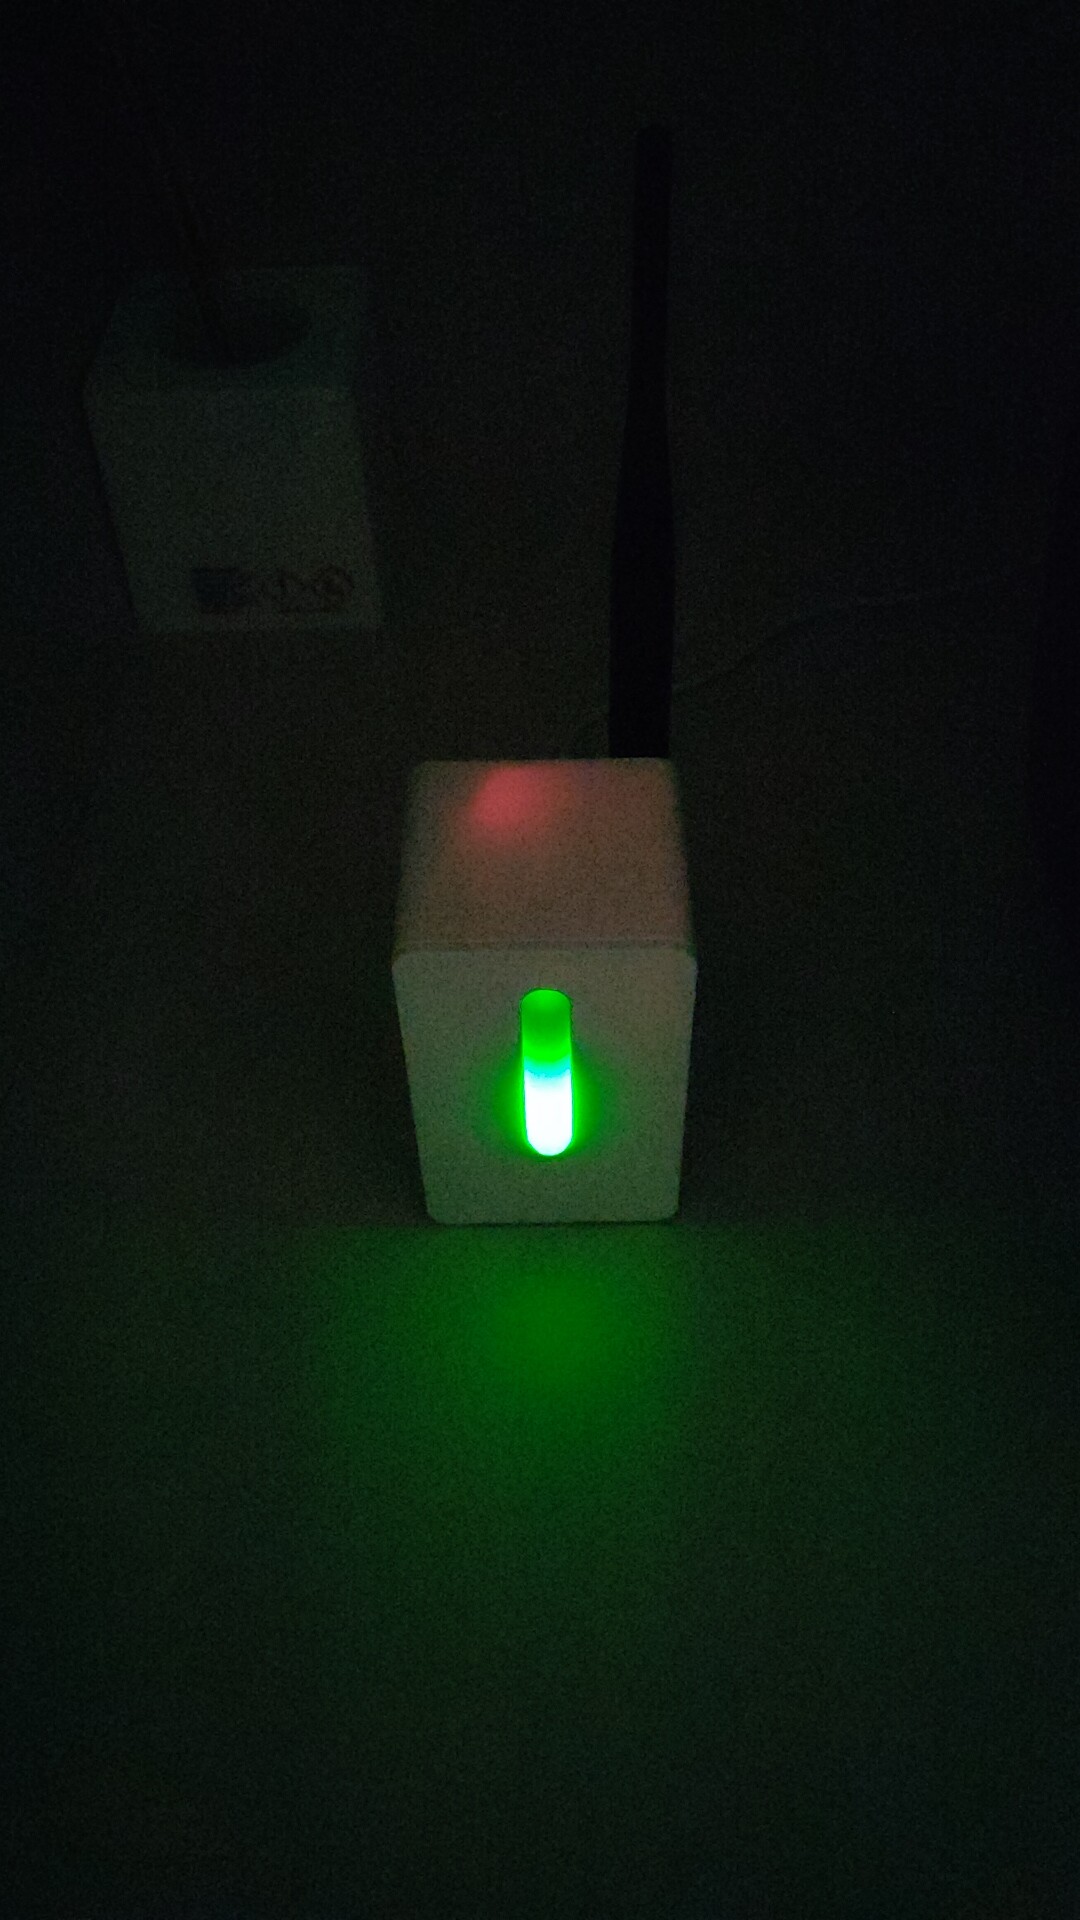
I have to replace the antenna by a white and smaller one, but i only have the black one in my house. The ble coverage is really good. I wanna change the fan voltage as well, so i will post more photos when i open the vindriktning again :blush:

@Habbie you can use any of my photos, of couse :+1:

6 Likes

Sergio, I don’t see an ESP32 on your photos - which board did you use and where did you put it?

I have use an ESP32-U like that

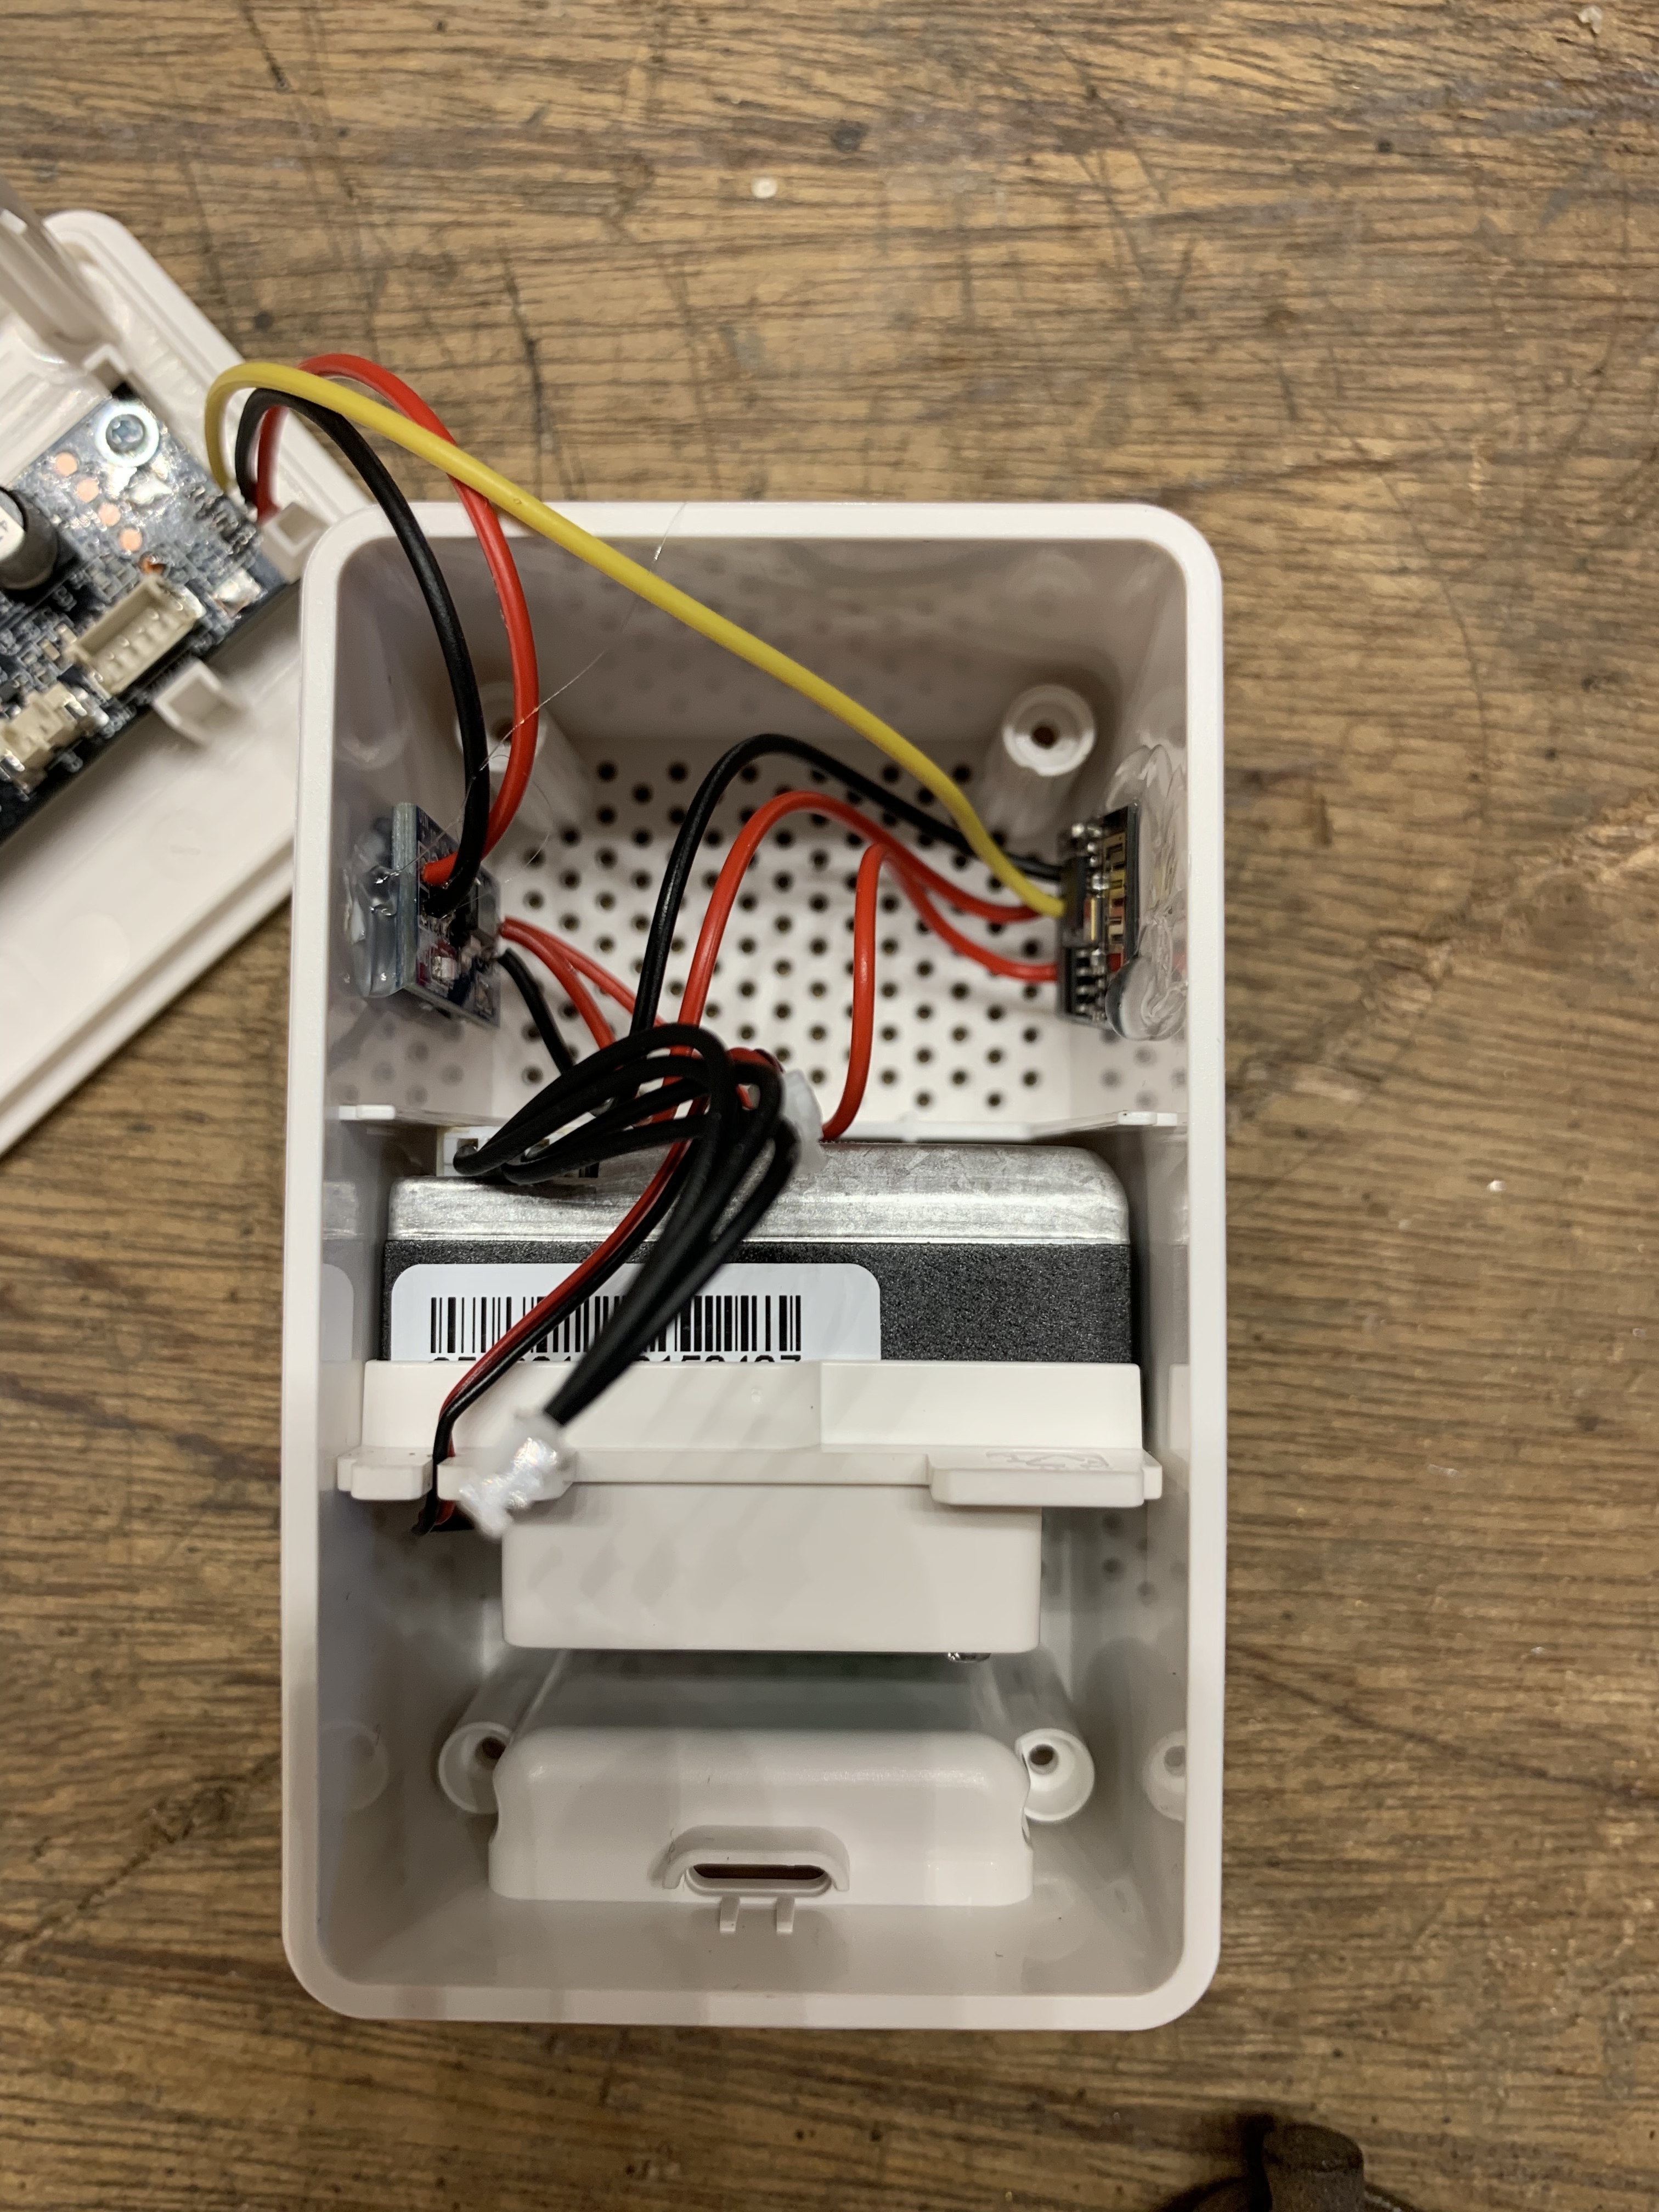
You are right. I only took photos before putting the ESP32 inside. I had to cut the pins to fit in the hole. If you are interested, i can open the vindriktning to take photos. Is not a problem :blush:

I’ve noticed that one of my boards would also fit if I cut the pins :smiley: I’m curious yes, if it’s not too much to ask!

(meanwhile I have orded wemos d1 mini-sized ESP32 boards)

Of course. I will do it

By the way, its very interesting to desolder the ESP red led to avoid this:

1 Like

Both Wemos Mini Esp8266 and Esp32 has only the blue led, but I guess your real choice was for the antenna connector. But I have seen some other projects (Zigbee coordinator) where the built in antenna was cut through and an external connector soldered in place of the cut. Wouldn’t that be easier for you as well?

hah, yes. I have some ESP32 boards (LOLIN32 I think) that support a battery, and they will blink red (or was it blue? if they don’t see a battery. I have since gotten other boards without battery support to fix that, but they don’t fit nicely inside the IKEA unit, so now I’m waiting for the smaller ones.

Any idea how long the sensor lasts for?

Some of the other ones have quite a short life (circa 12months) but you can do life extension tricks…

Anyone seen measurements side by side with a higher quality sensor?

I’ve just set up my pms7003.

I used an ESP8266 ESP01 with a stepdown converter (5v-3,3v). Also I didn’t use the solder pins like everybody else did, i used the solder pins at the end of the board. I think they are pins to accommodate a connector which is not on the board from the factory but they perform the same.

Ikea board 5v and GND → Stepdown
Ikea board REST → GPIO2 on ESP
Stepdown 3,3v → 3V3 and EN on ESP
Stepdown GND → GND on ESP

YAML config:

# Ikea Vindriktning PM2.5 sensor
uart:
rx_pin: GPIO2
baud_rate: 9600

# External component until final merge
external_components:
- source: github://Habbie/esphome@pm1006
components: [ pm1006 ]

sensor:
- platform: pm1006
pm_2_5:
name: Ikea_Vindriktning_PM25

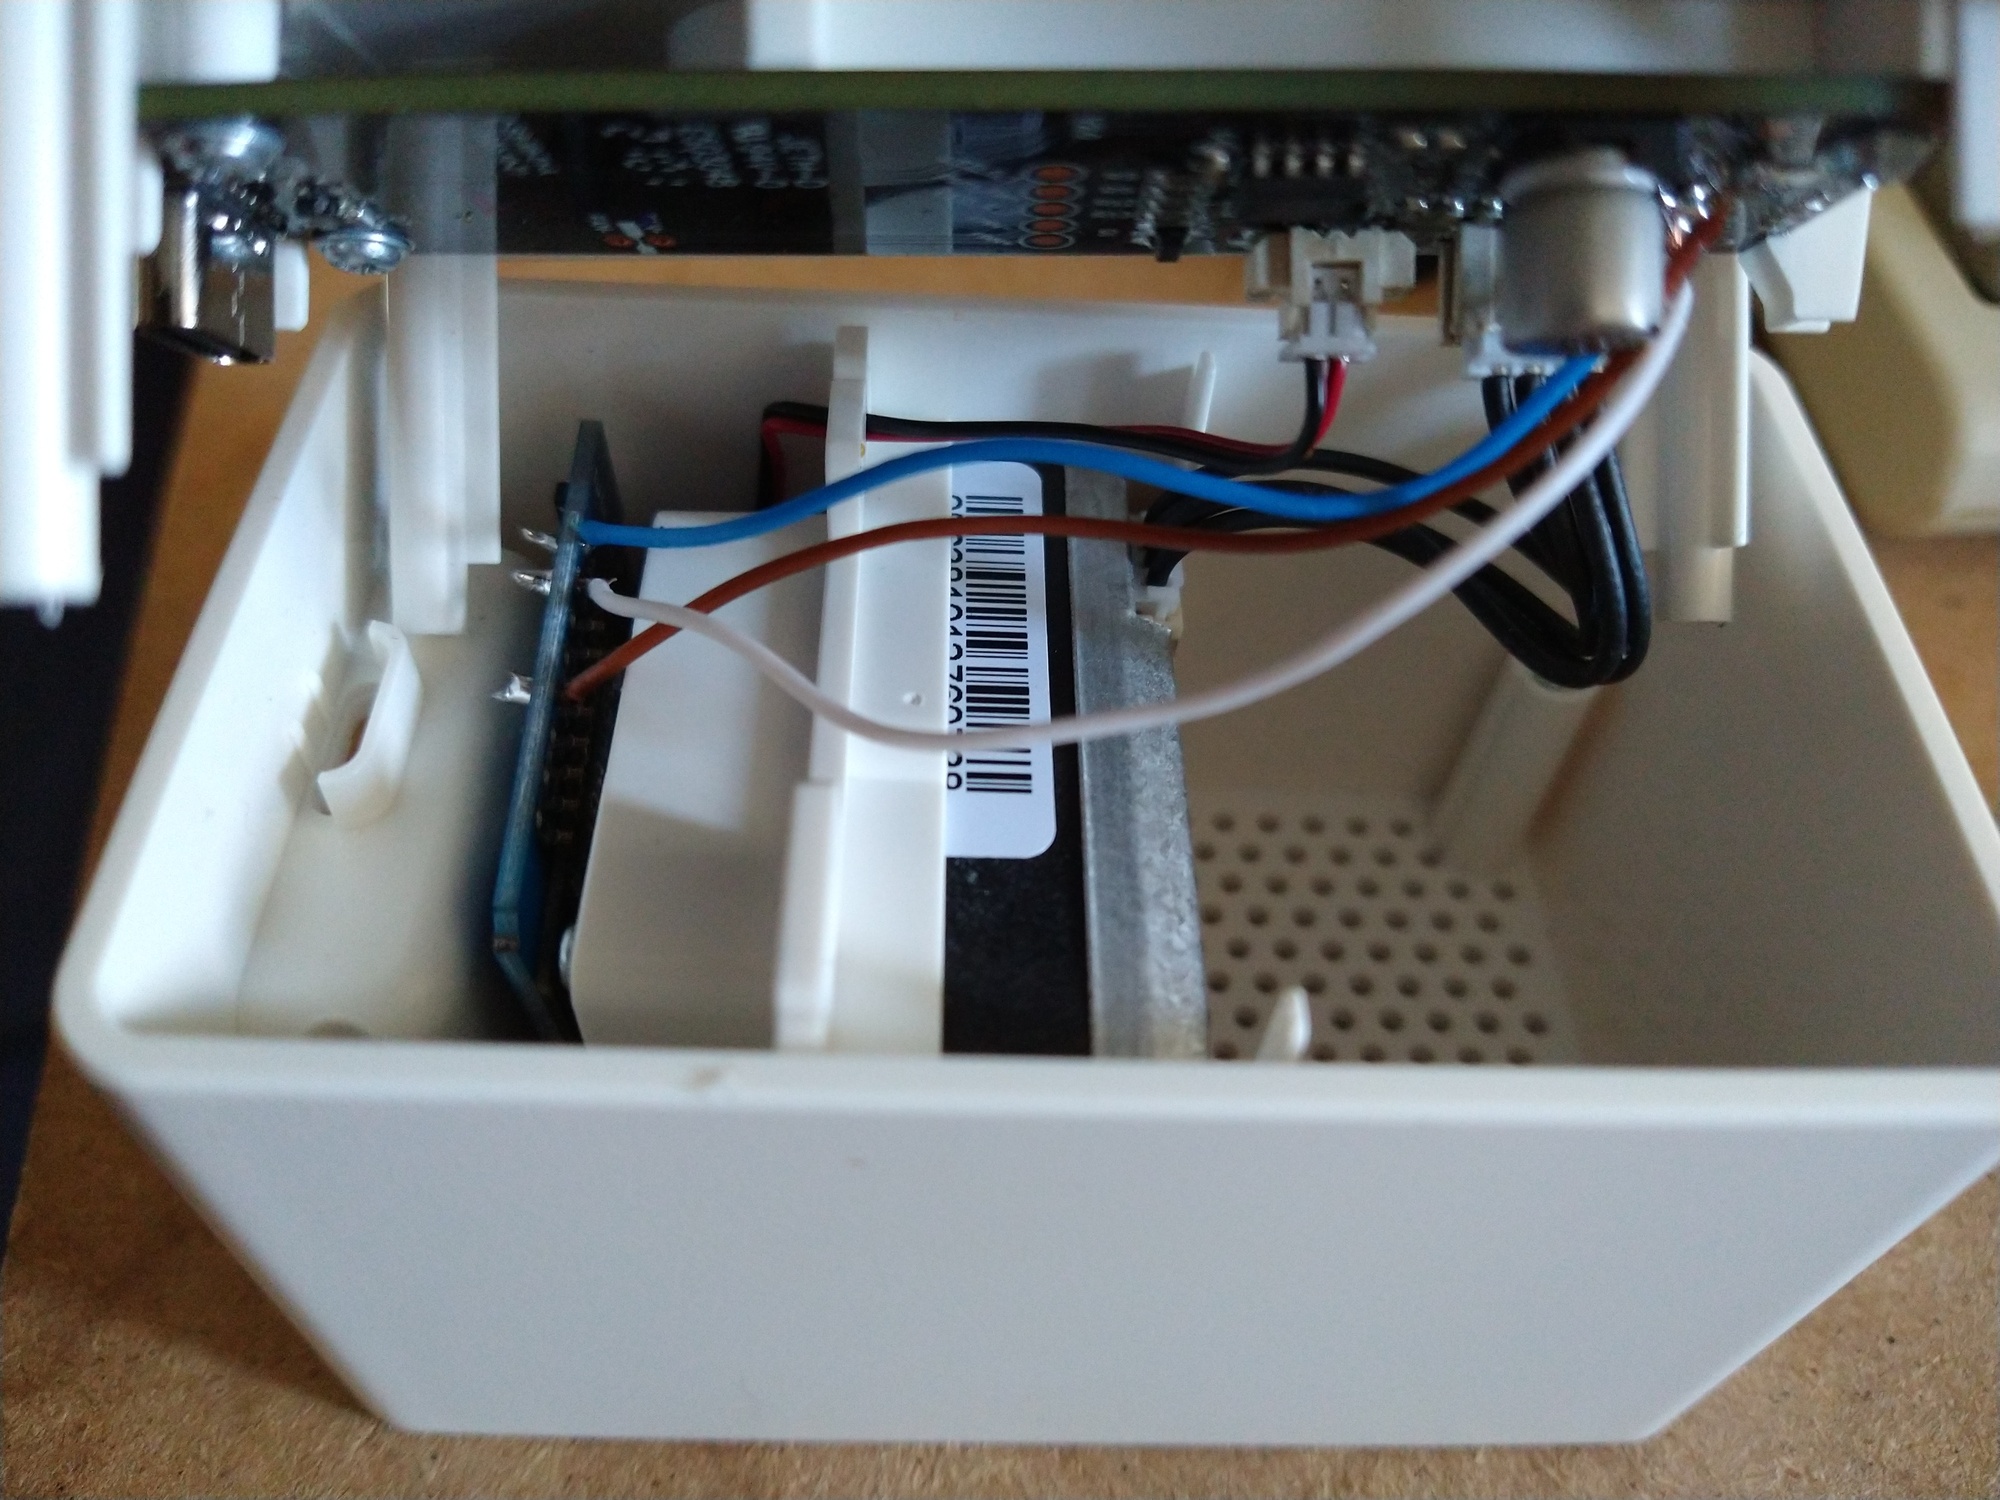
I used a hot glue gun to glue the pcb’s to the casing. These glue guns can be bought at your local hardware store or at your local Action (NL).
The reason why I used two little pcb’s is (1) I had them laying around and (2) they minimally disturb the airflow for the sensor.

To get the air quality data into HomeKit the name of the sensor must contain: ‘pm25’.

Side note: I’m running my first config from before the icon was changed. You should use:
source: github://sermayoral/esphome@pm1006

@Habbie, you may use my pictures for the docs.

7 Likes

@Habbie As I promised, I have updated my post with more specific photos :blush:

2 Likes

ESPHome has merged the component - you can view the docs at PM1006 Particulate Matter Sensor — ESPHome now!

6 Likes

I think this documentation has the answer for your question.

http://www.jdscompany.co.kr/download.asp?gubun=07&filename=PM1006_LED_PARTICLE_SENSOR_MODULE_SPECIFICATIONS.pdf

Ta.

I see “Mean Time To Failure ~ >-5yr” ? That’s pretty good!

I understand the lifetime of the ones that use a laser light are driven by it’s shorter lifetime.

I guess that’s it. I had no clue what MTTF, but happy to see that you knew it.

I guess the fan makes it prolonged as it supposed to clean as well the sensor, as it was discussed in the Hackaday article’s comments section.

1 Like

This was just waiting for someone to connect it with an ESP. Simple and cheap solution!

One thing I struggle with a bit is all these ‘ESP-Hacks’ are just generating a lot of wifi connections, isn’t that a bit overkill for the network?

now my hard part has been finding these in the US it seems like every Ikea in 100 miles of me is out of stock.

1 Like