Esphome ct calmp sct-013-000 and nodemcu

That’s a super neat and clean little board!

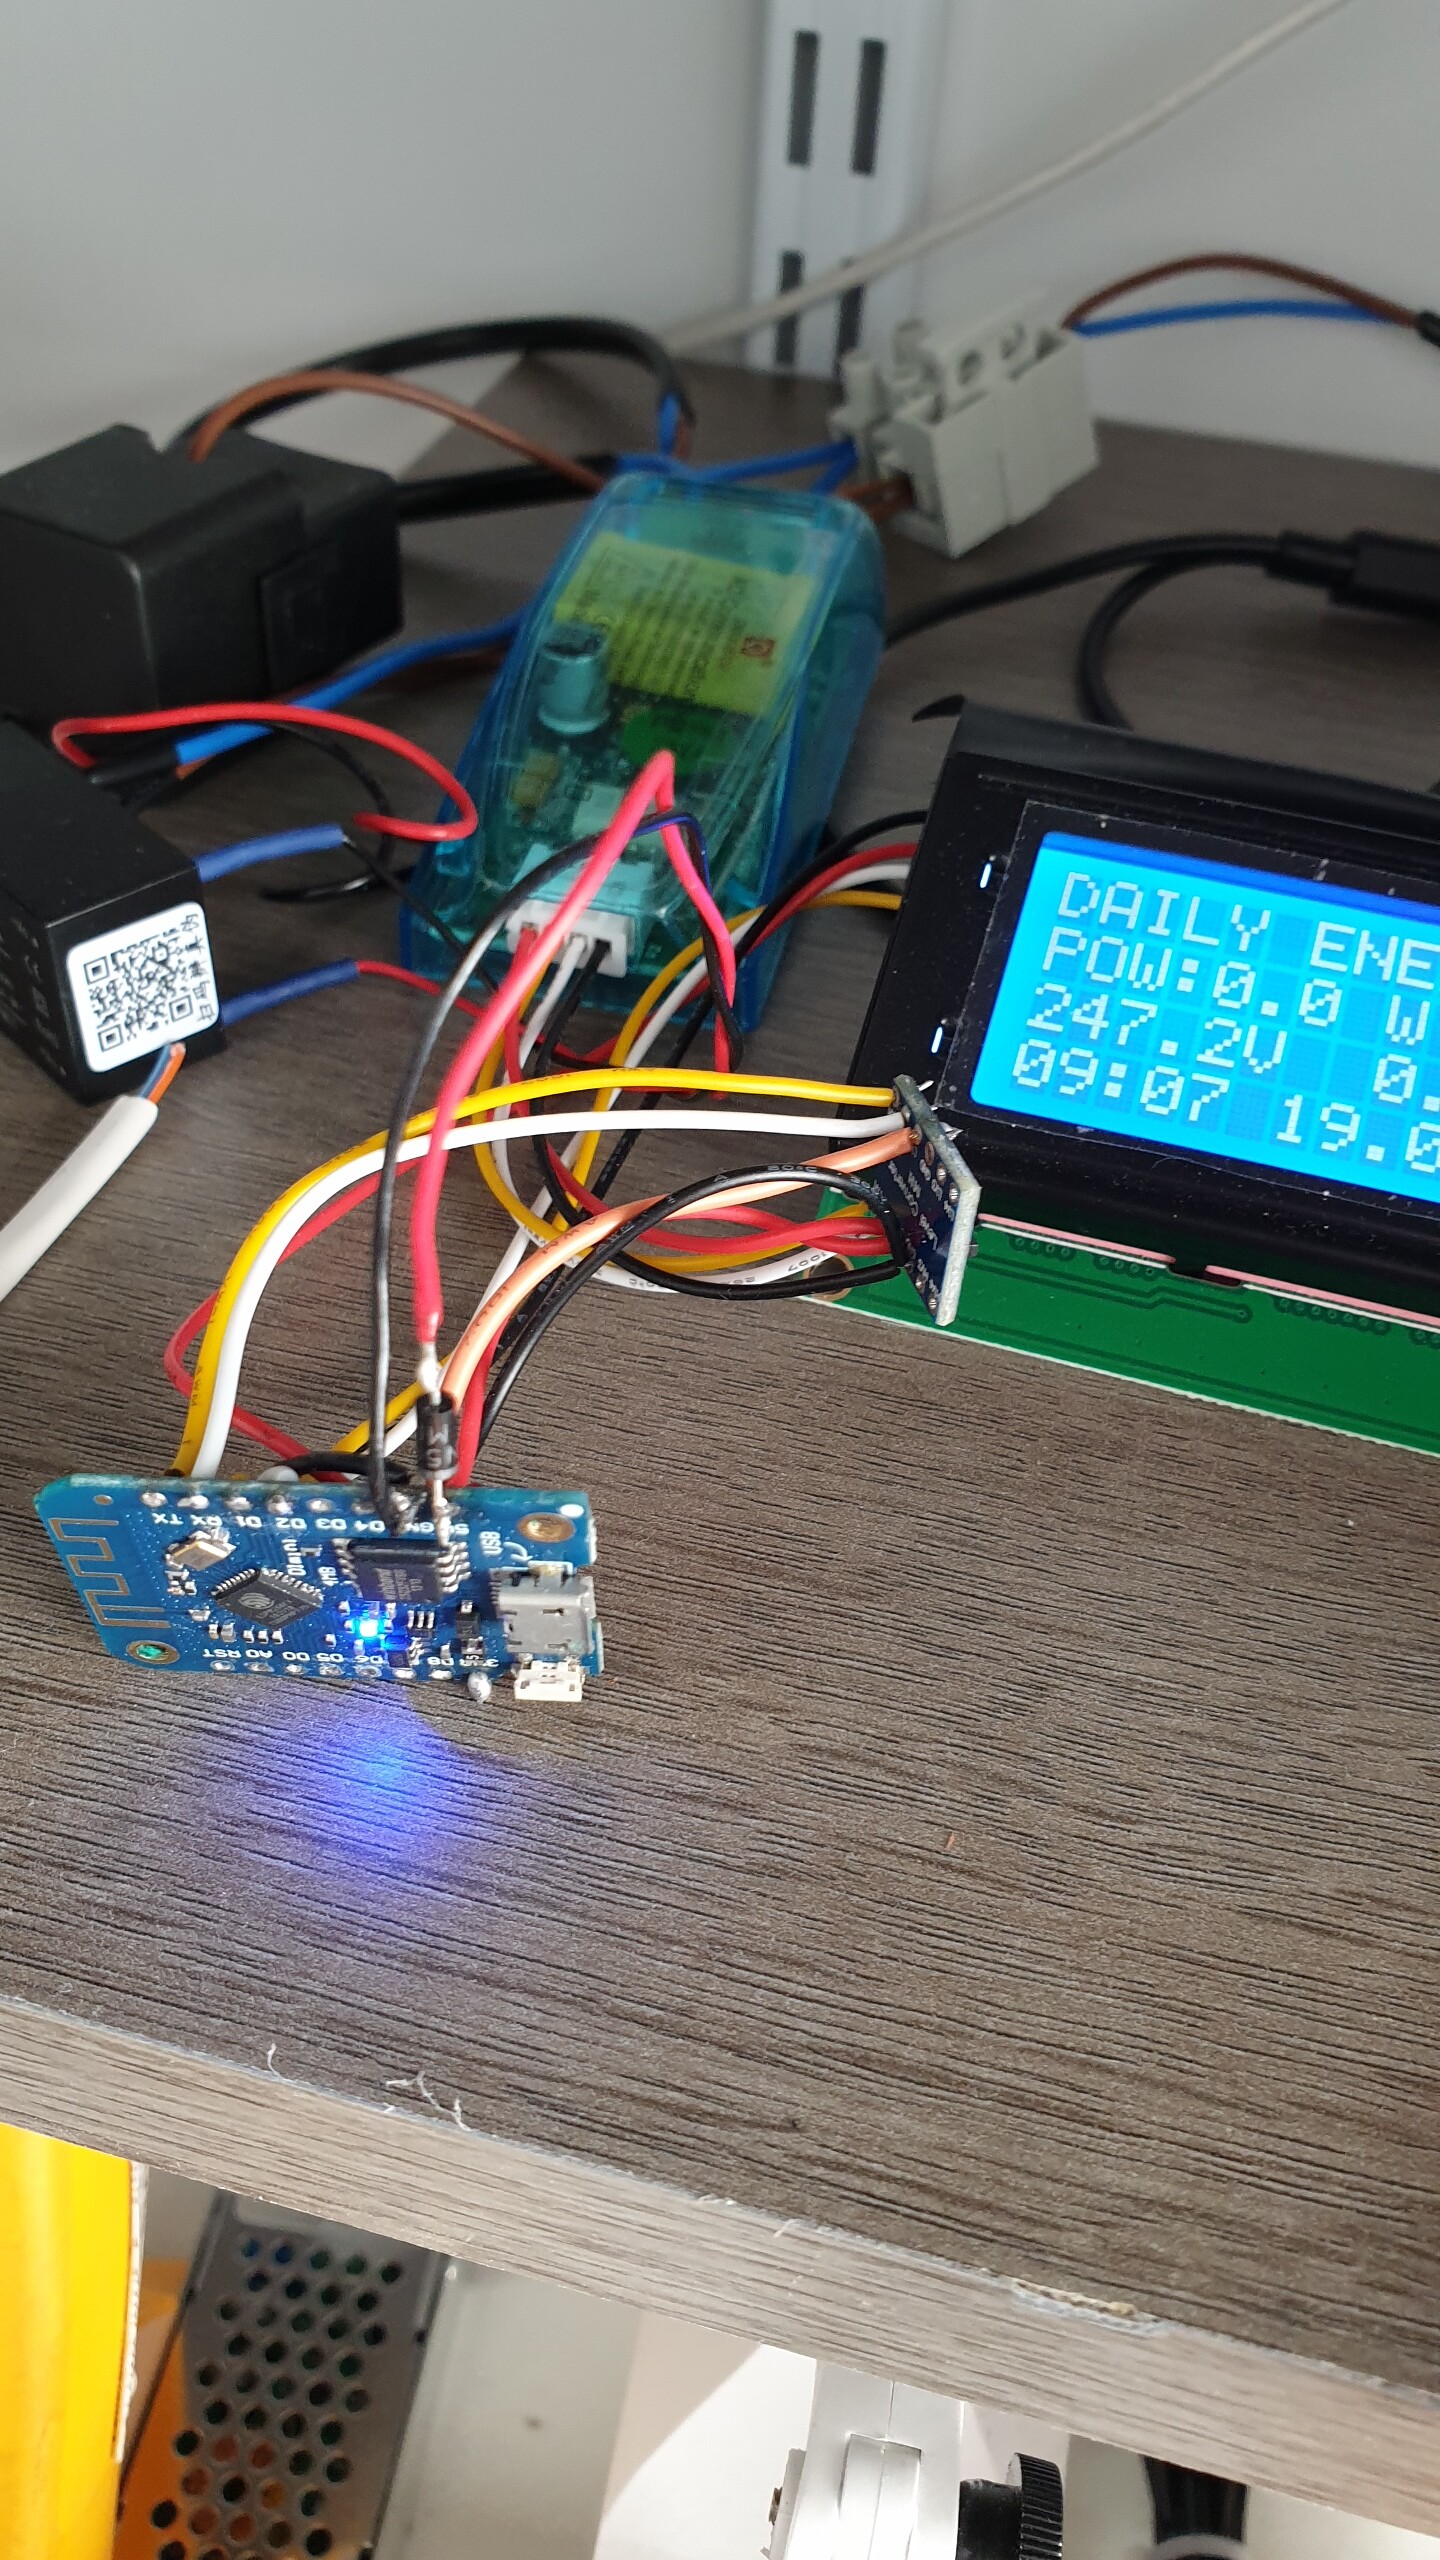
I have a question, how do you get voltage reported to HA?

I can get the Amperage with the ct_clamp platform no problem, but I cannot wrap my head around implementing lamda to do the math and send both amps and voltage to HA.

Instead of relying on the terrible ESP8266 ADC, and you will get a lot more information:

I don’t believe you can get Voltage from the sensor (assuming you are talking about the mains voltage.
If you mean the Voltage reading from the clamp then change the internal: to false as I have done below:

  - platform: ct_clamp
    sensor: adc_sensor
    name: "raw values"
    internal: false
    update_interval: 10s
    unit_of_measurement: mA
    accuracy_decimals: 5

I just thought I’d put my config in here if anyone likes the look of it, it deesn’t report any fluctuations below 0.1A, can be changed.

sensor:
  - platform: ct_clamp
    sensor: adc_sensor
    name: "True Current"                # This first sensor gets the Amps, note that is set to internal only.
    id: the_clamp
    internal: true
    update_interval: 10s
    filters:
      - calibrate_linear:               # Calibrate your own stuff here, mine is only used for the car charger, therefore I'm pulling approx 28A
          - 0.00026 -> 0.0
          - 0.02856 -> 8.37
          - 0.09489 -> 27.9

  - platform: template
    name: "ESP8266 Current"             # This sensor is the one that gets seen by HA, if the reading is below 0.1A then it reports 0, keeps your 0 at 0
    id: templated_sensor
    lambda: |-
      if (id(the_clamp).state > 0.1){
        return (id(the_clamp).state);
      } else {
        return 0.0;
      }
    device_class: current
    update_interval: 10s
    accuracy_decimals: 2
    unit_of_measurement: A

  - platform: template
    name: "ESP8266 Watts"               # This sensor converts the Amps to Watts (this is assuming that your voltage is 230, if not change the 230 accordingly)
    id: esp_watts
    lambda: |-
      return id(templated_sensor).state * 230;
    accuracy_decimals: 2
    update_interval: 10s
    device_class: power
    unit_of_measurement: W
                   
  - platform: total_daily_energy        # This sensor will give you a Daily kW reading
    name: "ESP8266 Daily Energy"
    unit_of_measurement: 'kW'
    power_id: esp_watts
    filters:
      - multiply: 0.001
    device_class: energy

  - platform: adc
    pin: A0
    id: adc_sensor   

  - platform: ct_clamp
    sensor: adc_sensor
    name: "raw values"
    internal: true
    update_interval: 10s
    unit_of_measurement: mA
    accuracy_decimals: 5
4 Likes

Thank you! The template was the part I was missing to get the second value to report to HA!

To be honest I have kind of migrated away from my original scheme and now use the PZEM-004 t
https://www.aliexpress.com/item/4000558302474.html?spm=a2g0o.productlist.0.0.795aea91zbaLDd&algo_pvid=f52d6305-6444-48ca-9848-c744910591af&algo_expid=f52d6305-6444-48ca-9848-c744910591af-3&btsid=0bb0624516214117394447424ef192&ws_ab_test=searchweb0_0,searchweb201602_,searchweb201603_
Far more accurate and very easy to communicate with.

I don’t modify my PZEM like some do, I just use a level shifter.

my code

# WeMos D1 Mini PZEM 004T V3 #

# Substitutions
substitutions:
  # Device Names
  device_name: "pzem_004t_v3_d1_mini"
  friendly_name: "PZEM 004T V3 D1 Mini"
      
esphome:
  name: pzem_d1_mini
  platform: ESP8266
  board: d1_mini

wifi:
  ssid: "XXXX"
  password: "xxxxxx"
  power_save_mode: none

  manual_ip:  
   static_ip: 192.168.0.104
   gateway: 192.168.0.2
   subnet: 255.255.255.0  


  # Enable fallback hotspot (captive portal) in case wifi connection fails
  ap:
    ssid: "PZEM004T V3 D1 Fallback Hotspot"
    password: "A1i5751c9OoJ"

captive_portal:

# Enable logging
logger:
  level: DEBUG
  baud_rate: 0

# Enable Home Assistant API
api:

ota:

# Enable Web server.
web_server:
  port: 80
  
text_sensor:
  - platform: version
    name: "ESPHome Version ${friendly_name}"
    
# Example configuration entry

  - platform: wifi_info
    ip_address:
      name: ESP IP Address ${friendly_name}
    ssid:
      name: ESP Connected ${friendly_name}
    bssid:
      name: ESP Connected ${friendly_name}
      
      
time:
  - platform: homeassistant
    id: homeassistant_time


# LCD Display
i2c:
  sda: D2
  scl: D1
  scan: True
  
display:
  - platform: lcd_pcf8574
    id: mydisplay
    dimensions: 20x4
    address: 0x27
    lambda: |-
      it.printf(0, 0, "DAILY ENERGY:%.1f kWh", id(${device_name}_daily_energy_total).state);
      it.printf(0, 1, "POW:%.1f W", id(${device_name}_power).state);
      it.printf(10, 1, "AMPS:%.1f A", id(${device_name}_current).state);
      it.printf(0, 2, "%.1fV", id(${device_name}_voltage).state);
      it.printf(8, 2, "%.1fPF", id(${device_name}_power_factor).state);
      it.printf(14, 2, "%.1fHz", id(${device_name}_frequency).state);
      it.strftime(0, 3,"%H:%M %d.%m", id(homeassistant_time).now());
      it.printf(12, 3, "%.1f db", id(${device_name}_wifi_signal).state);

uart:
  rx_pin: GPIO3
  tx_pin: GPIO1
  baud_rate: 9600
  stop_bits: 1

sensor:
  - platform: pzemac
    current:
      name: "${friendly_name} V3 Current"
      id: "${device_name}_current"
    voltage:
      name: "${friendly_name} V3 Voltage"
      id: "${device_name}_voltage"
    energy:
      name: "${friendly_name} V3 Energy"
      id: "${device_name}_energy"
    power:
      name: "${friendly_name} V3 Power"
      id: "${device_name}_power"
    frequency:
      name: "${friendly_name} Frequency"
      id: "${device_name}_frequency"
    power_factor:
      name: "${friendly_name} V3 Power Factor"
      id: "${device_name}_power_factor"
      unit_of_measurement: pf
    update_interval: 2s

  - platform: total_daily_energy
    name: "${friendly_name} Total Daily Energy"
    id: ${device_name}_daily_energy_total
    power_id: ${device_name}_power
    filters:
        # Multiplication factor from W to kW is 0.001
        - multiply: 0.001
    unit_of_measurement: kWh
    icon: mdi:counter

  - platform: integration
    name: "${friendly_name} Energy Meter" 
    sensor: ${device_name}_power
    time_unit: h
    filters:
     # Multiplication factor from W to kW is 0.001
      - multiply: 0.001
    unit_of_measurement: kWh
    icon: mdi:counter
    
    
  # Sensors with general information.

  # Uptime sensor.
  - platform: uptime
    name: ${friendly_name} V3 Uptime
    id: "${device_name}_uptime"

  # WiFi Signal sensor.
  - platform: wifi_signal
    name: ${friendly_name} V3 WiFi Signal
    id: "${device_name}_wifi_signal"
    update_interval: 60s

binary_sensor:
  - platform: status
    name: "${friendly_name} V3 Status" 
   

status_led:
  pin:
     number: D4
     inverted: false   

Regards,

Do you wire the board as the schematic on aliexpress shows and put mains power to the board?

Yes mains and the CT to the PZEM.

I also added

to power the LCD and with a diode in series on the 5VCC on the D1 mini.

Interface between the PZEM and D1 with a level shifter.

Works a charm and very accurate.

Gives you
Power (W)
Volts
amps
PF
Frequency
KWh totals

Where can I get one of this to buy in the USA?

Hi, I am trying to do the same as you but I am not sure that I understand how
Is this schematic correct?


Edit
I’ve just read this:

And according to the formula on that site I need a 23.335 Ohm resistor so I am using 2 47Ohm resistors in parallel

The SCT-013-xxx CT Clamp does not need the burden resistor (shown in your diagram as “66”), The CT Clamp has this in it already. Other than that your diagram is correct. But one thing, there is an issue with these cheap clamps. The shielding may be connected to the ring, causing interference. Suggested to cut the plug off and hard wire.

Wonder if anyone can help with calibrating my readings. Using a SCT-013 clamp and this SCT013 board (ESP8266 Mains Current Sensor - Wemos - Current transformer - SCT013 - 100A/50mA | eBay) with a D1 mini board. Using the below values for calibration results in negative values for current and watts. These values at @240v

    filters:
      - calibrate_linear:
          - 0 -> 0
          - 0.01780 -> 4.72  # 1134w microwave (700w)
          - 0.03571 -> 11.26 # 2702w kettle (2520-3000w)

Sorry, I’m new to this and I get this error

1 Like

I believe you are missing a time component.

Either use

time:
  - platform: sntp
    id: my_time

or

time:
  - platform: homeassistant
    id: homeassistant_time
1 Like

It was perfect. I would like to add it in the Energy integration. How would I convert it to kWh? Sorry for the bother

Change "unit_of_measurement: ‘kW’ " for KWh, I don’t know if it’s right, but it appeared to me to integrate it in Energy

I’m not sure what you mean, there is an example of how to change W the kW in the post you referenced, kWh is a measurement of power used over a period of time.

I think in order for this integration to be added to the Energy Dashboard, you have to add it to the Recorder. Again, I’m not sure, but I think I’m right.

I don’t know if I did the right thing when converting from kw to kwh, but I wanted to do it to put it here

Looking at my ESP energy meter, I have the following.

    total:
      name: 'Full House Energy Meter Total'
      id: sensor_total_energy
      unit_of_measurement: 'kWh'
      icon: mdi:circle-slice-3
      state_class: total_increasing
      device_class: energy
      accuracy_decimals: 3
      filters:
        - lambda: return x * (1.0 / 1000);

If this is incorrect, I’m leaving the conversation for now, it’s late and I’m a little drunk :slight_smile:

I have connected a SCT-013-xxx (20A) CT Clamp exactly as described above, but I am not getting any readings via esphome. As soon as the sensor is connected: NaN. Without the sensor, the values fluctuate.
I have already cut off the connector and soldered it, no improvement. The contacts are correct, I have checked them several times. Even with a load of almost 9A: no measurement. I have already replaced the sensor and don’t know what to do. The capacitor points with negative to GND, doesn’t it?
It should not be due to the calibration, I have already tested the most different variants. The same with the ‘internal’ option.
Does anyone have any ideas? 🤷