This add-on runs a python script, which collects the the current status from the Snapmaker 2.0 3D-Printer API and sends it to a Home Assistant webhook.
I refactored and modified the original version of the script from NiteCrwlr
The installation of this add-on is pretty straightforward and not different in comparison to installing any other Home Assistant add-on.
Click the Home Assistant My button below to add the repositor to your Home Assistant instance or add it manual https://github.com/NRE-Com-Net/hassio-addons
Click the “Add” button to add the add-on repository.
Install the add-on “Snapmaker Monitor” from the Add-on Store
Set at least your snapmaker ip in the add-on configuration
Check the logs of the “Snapmaker Monitor” add-on to see if everything went well.
I tried it and it doesn’t seem to work. I get a “Set IP not reachable, retrying in 1 minutes” error. AFAIC the port of the snapmaker is regular port 80 and not 8080 (this is the default in the configuration). If i try to start the addon with this port, I get this error message: Request failed: 404 Client Error: Not found for url: http://PRINTER_IP:80/api/v1/connect"
I think the U1 uses a different API for communication.
I have left Camera and Snapshot URL at default (empty) and yes than it don’t work.
I have installed the paxx12 cfw on the printer and than you can see the available streams here: http://IP/webcam/
Played with all and the motion jpeg causes serious performance issues in the browser when using it.
Also tried to add the various streames to go2rtc or in HA as generic camera. Nothing does work reliable.
What worked is the custom webrtc camera card from HACS with this:
Hi,
found this integration on the web: kbaker827/ha-snapmaker-u1
that version did not allow to enable/disable the light, nor was it possible to trigger camera to update for a bit.
So I forked the code and had AI add the necessary code to do that. It is not perfect (no read-back of light state, so a toggle is needed…) but the camera works.
The updates version can be found here: HMeuleman/ha-snapmaker-u1: Snapmaker U1 Integration for Home Assistant
Use HACS and add the repository, download it, restart home assistant then add integration snapmaker. Fill in the IP address and the name you want to use and it should work.
I’ve chosen to accept the timeout of the camera and have it stop after some time as that is fine for how I want to use it. Of course a simple yaml can be added to retrigger the camera if you want that. Camera is still 1 fps !!
If you want you can add manual camera:
“http://10.0.0.123/server/files/camera/monitor.jpg”
where 10.0.0.123 should be replaced with IP address of 3d printer. Use frame rate of 1. Add it as integration and then display it where you want.
Now I can watch my printer status even when I’m not home!! while printer is configured for LAN mode.
Note: this was tested with FW 1.1.1 on U1, will be updating that tonight, hope it still works.
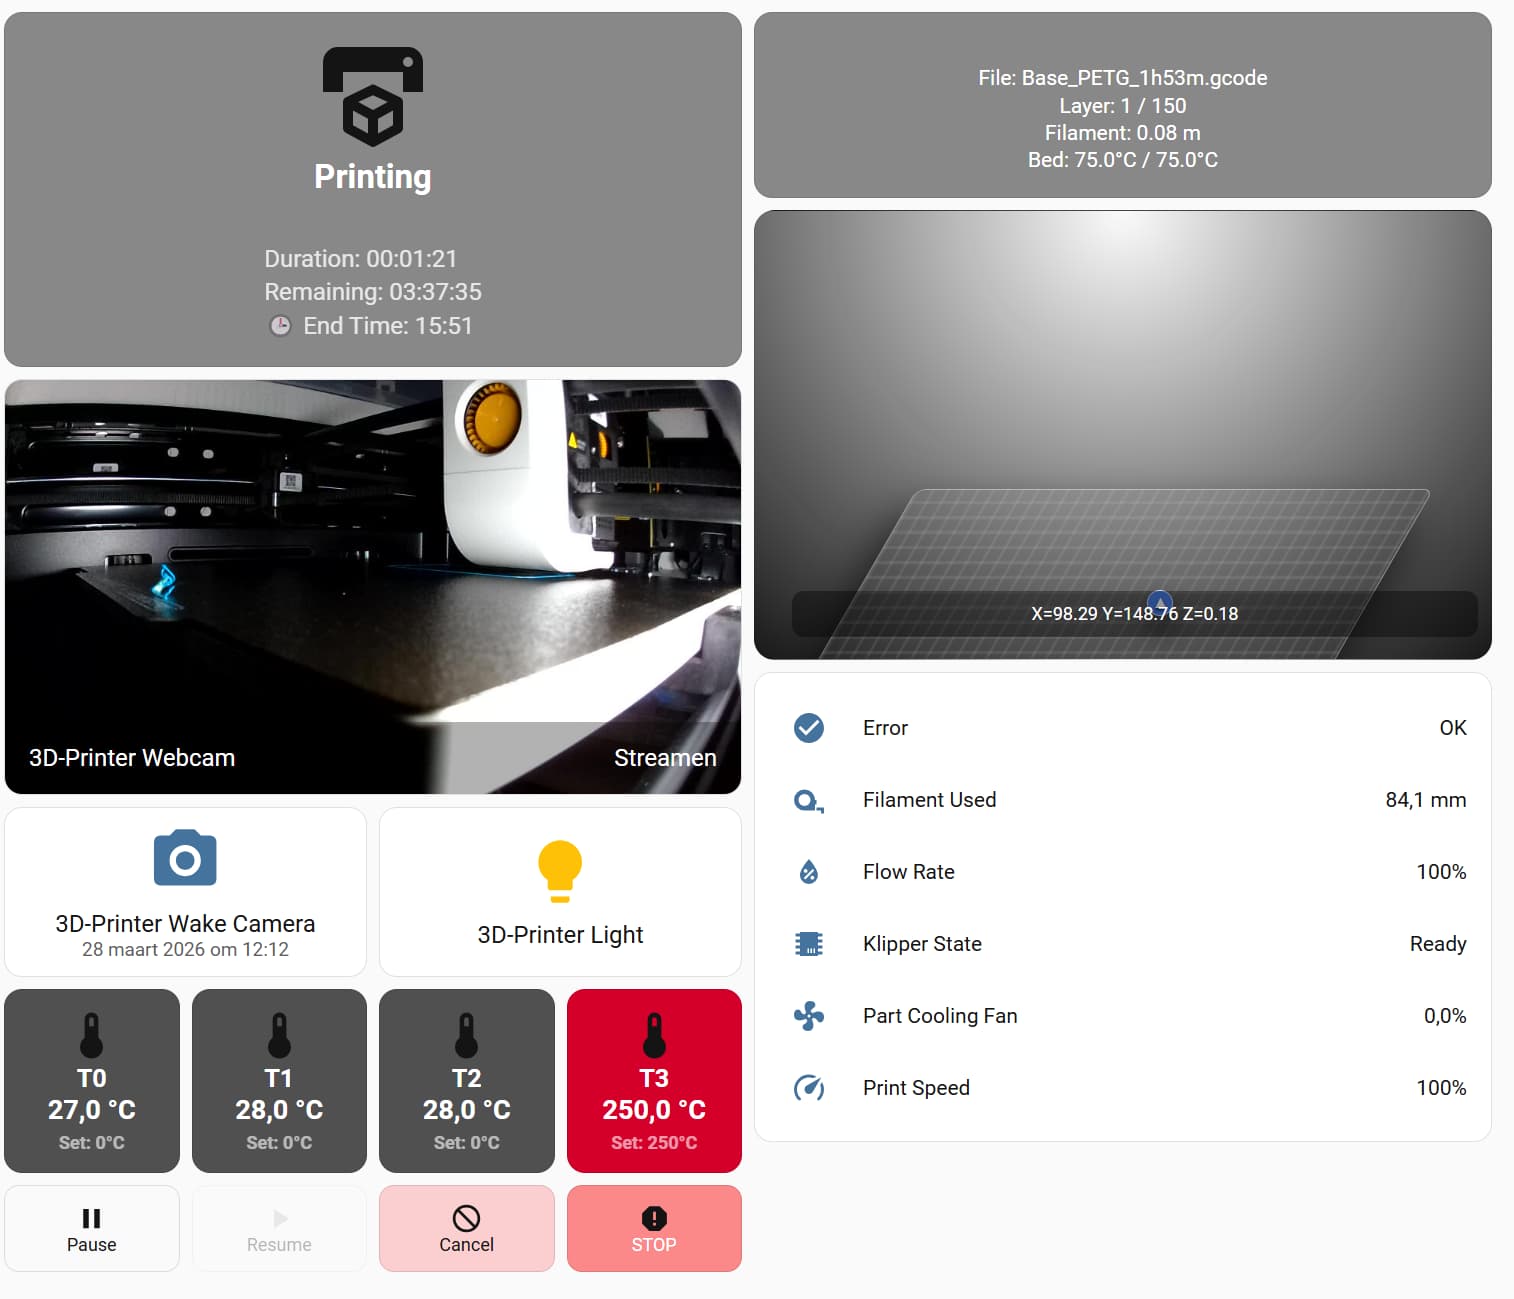
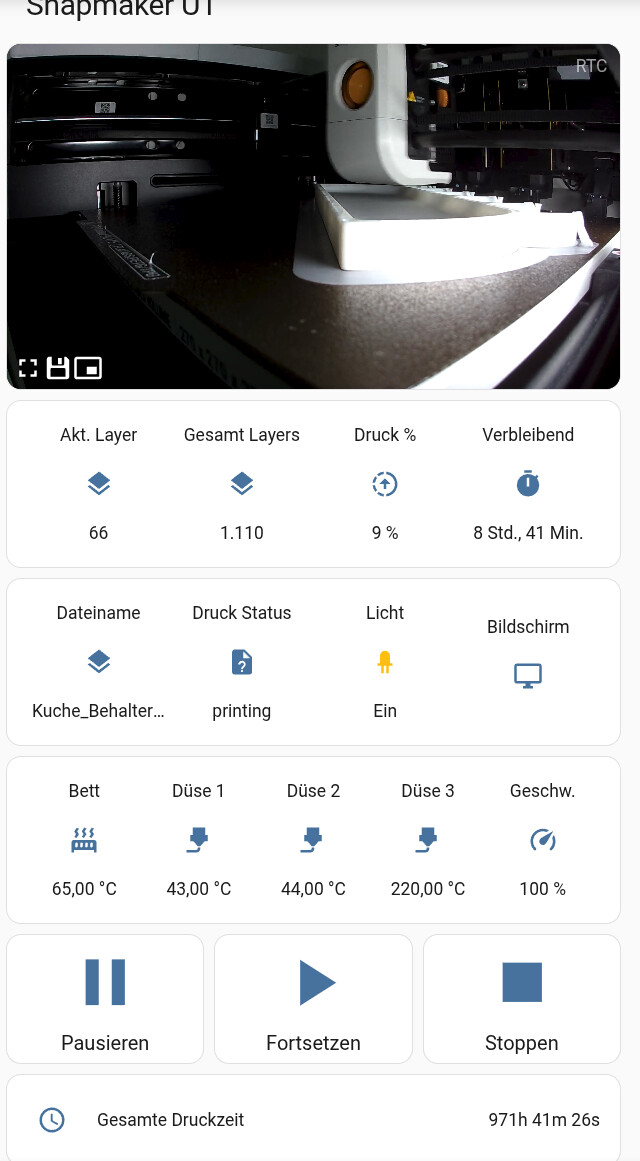
Here is a copy of the dashboard, slightly changed from picture. HA_Dashboard/3D_Printer at main · HMeuleman/HA_Dashboard
The printer I use is called 3d_printer. so all sensors are like (sensor.3d_printer_print_state).
The used cards can be found in hacs.
Thank you very much for your work, the integration is working well. Just one question: With the latest firmware version 1.3.0, I can’t seem to get the webcam stream to work. It says “Streaming,” but I don’t see any image. The webcam works just fine in the Snapmaker app and in Orcaslicer. My Wi-Fi connection to the printer isn’t particularly strong, and I can’t find the webcam in the web interface either, which seems odd to me. Do you have any idea if this is a firmware issue or if it works fine for you?
This looks quite interesting. Can you tell me more about this “camera.lava_gui” entity? And do i need to do some special configuration for browser mod and webrtc-camera?
Sorry, forgot about that. Added a file in the repo called button_card_template_nozzle_temp. The contents can added to the raw yaml in the top and it should work.
