What happens when you hit enter there in GRUB? Nothing?
1 Like
Thanks @carloshurtadom! Don’t worry, your guide was very very very useful for me.
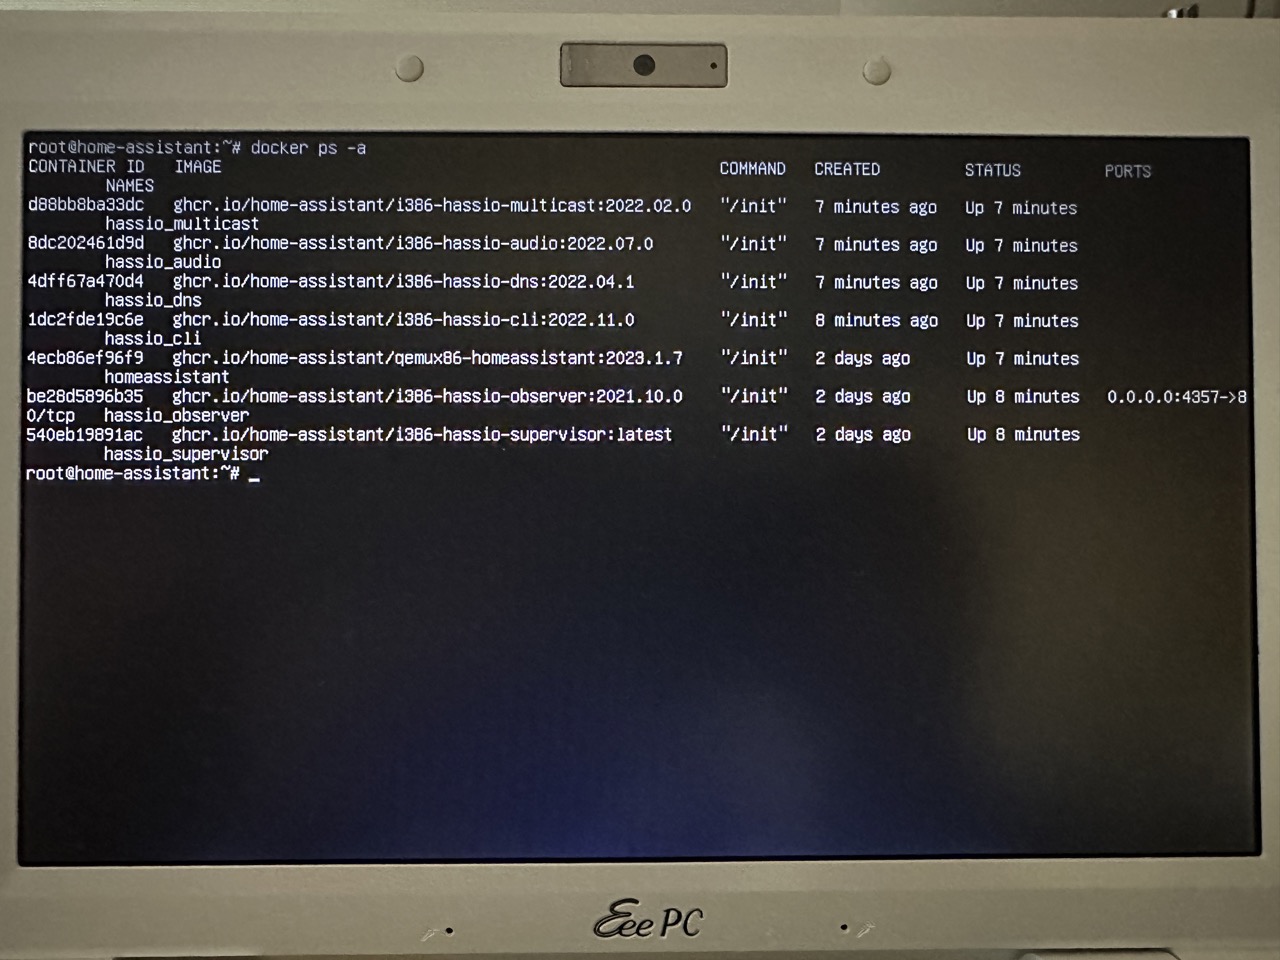
@blind-oracle , nothing happens, the cursor blinks but HA never starts. I have tried installing a Debian and try to running Supervised install with hassinstall installation script and the process stops at “Start and initialize containers” step. I have connected trough SSH to check activity (screenshot attached).

What kind of hardware you’re installing it to?
Well then that’s what I suspected. It’s too old, it doesn’t support 64bit instructions, only 32bit. So Home Assistant OS won’t work there.
1 Like
Hello,
I’m very grateful for finding this thread! I managed to install HAOS and get it booting from BIOS on an old laptop based on the instructions here.
Basically I used @matys.home 's instructions and method. Having very little experience about Linux, this required several attempts before I was successful.
The steps provided by @carloshurtadom is what I tried first but I don’t fully understand how those steps alone can work since installing the HAOS image will wipe the disk clean of everything else if I’m not mistaken? So I just ended up in the situation that when trying to install grub with sudo grub-install --compress=xz --root-directory=/mnt /dev/sda --force then Debian was telling me that there is no BIOS boot partition on the disk which as far as I understand is correct after just having installed the HAOS image. Maybe I’m missing some point to be successful with this method?
But thanks for both anyway since there were useful points in both instructions.
What I did at the end:
- Had an SSD set up as GPT in the laptop
Booted to Debian Live 11 from USB
Installed HAOS image
curl -L https://github.com/home-assistant/operating-system/releases/download/9.4/haos_generic-x86-64-9.4.img.xz |xz -d >/dev/sda
Installed gparted
sudo apt install gparted
Launched gparted from GUI which informed me that the partition table doesn’t include the whole disk and I let gparted fix it. This was crucial step at least for me for next steps because otherwise Debian installation to same disk was not possible as the full unallocated space left on the disk was not usable in the installation before the fix.
Launched Debian installation from the GUI in Debian Live 11.
In the installation process I created the necessary partitions to unallocated space on the disk ( /boot (~ 500MB), bios_grub (~ 8MB) and root (20GB)). This was not very easy even with graphical interface due to never having done this before in Linux. So the /boot is defined as “mounting point” and bios_grub is configured with the flag for the corresponding partition (was also wondering if “boot” flag is required for /boot but seems not needed). For root partition the mounting point had to be “/” and root flag enabled. The installer also automatically set the bios_grub flagged partition as 8MiB. After creating all 3 partitions then it will allow to continue the installation.
Booted to installed Debian and copied the grub.cfg contents from HAOS EFI system partition (so I mounted /dev/sda1 in my case and opened grub.cfg from there) to the grub.cfg in /boot/grub/grub.cfg. This step will also need that you allow read/write access for /boot/grub/grub.cfg
In the above steps when creating the partitions, I also made a mistake which I realized afterwards. So I created the partitions right after the HAOS partitions on the disk which caused the situation that HAOS was not able to utilize the free unallocated space (endless “Preparing Home Installation”). I used gparted in Debian Live USB to move the Debian partitions (all 3 of them) to the end of the disk space afterwards which I guess is risky but worked well in my case. After doing this HAOS was able to use the unallocated space available right after its’ own partitions.
After all of the above, the HAOS was available in the boot menu and can be launched.
I would be grateful for some detailed instuctions on how to set the HAOS as default boot system in Debian side? I was playing around with this but the only way I managed to change the default boot selection is when I added one of the HAOS menu entries as custom menu entry in /etc/grub.d which does not really work without the other content from grub.cfg in HAOS EFI partition.
Long reply but hope this maybe helps some other newbies such as myself 
1 Like
Greetings @sandman-125
Thank you for such a laborious explanation of what you did; I am sure many will benefit from you hard work. If I am understanding you correctly, (and I may have miscommunicated in my install description), but I never intended to install Debian 11 on my old pc (i.e., non UEFI BIOS). I only used Debian live to setup HAOS without installing it as per @dbrand666.
Thanks again,
PS. Sorry I cannot help with your partition question, but I was looking at this video (Install Home Assistant on Debian Linux - YouTube) before my current install.
1 Like
@blind-oracle , I have read that some people have installed it in this model of laptop.
And, during the weekend I was be able to finish the installation with hassinstall people support. It seems that the problem was that I was forcing the installation process for a “generic-x86-64” machine and the docker image downloaded was not the correct. Delegating the machine type selection in the installation script the installation process went well. Then I have this docker processes running:
@carloshurtadom Thanks but I actually figured out both of my questions now. I never intended to install Debian either but that seemed like the only way after lots of attempts.
But now I resolved it how to do it without Debian installation on the disk. Grub installation to the disk was only successful after I created an 8MiB unformatted partition on the disk with gparted and flagged it as bios_grub. Then I could install grub2 and do sudo grub-install without any warnings and disk booted to Grub menu and HAOS could be loaded.
Regarding how to set the default boot selection if you have Debian installed on the same disk. What I did is copied the contents of EFI/boot/grub.cfg to etc/grub.d/40_custom but left out two first lines of grub.cfg contents. Then modified “grub_default=” value in /etc/default/grub to correspond to my boot selection and did sudo update-grub
1 Like
Brilliant solution! Many thanks to all who have contributed to it. I followed the summary provided by carloshurtadom.
So would it also work with an old desktop? I have answered this for myself, sharing it might also help someone else.
I have an old intel G31 bios motherboard running Win10, Ubuntu, used as a fall back system in case main machine down. HA however runs on a RaspPi. Wanted a fall back version of HA on the old G31 machine to provide support when main HA down for some reason, but with minimal overhead and simple to maintain i.e. NOT on Debian. I tried:
- Using this method to create bios-bootable USB connected Hard Drive. It works! But not without flaws. Keeps showing errors for hardware connectivity. Probably more to do with the primitive USB bus on this motherboard.
- Install internally on its own dedicated SSD. Works flawlessly when bios told to boot from that SSD - with one exception found, to date. It seems impossible to update HA operating system from within HA. It proceeds apparently normally, but always reboots showing the original OS version not the update that was applied. Not much of a problem for me since it’s only a fall back machine - can ‘start again’ when HAVE to update the OS, and just apply the full backup from main HA installation to it.
One word of warning too. Some of the commands used, particularly DD and anything that over-writes the boot files, are dangerous on an installed linux system because it’s too easy to blat the wrong drive by mistake. It is safer using a live distro and just one HD or SSD, as described. Any more HDs or SSDs and/or if using installed linux, then you have to be very careful that Linux is writing to the right drive. In my case, NOT /dev/sda, that would obliterate windows and linux partitions on the main drive. In fact, with my configuration, after checking how linux saw it, the HA-intended drive was in fact /dev/sdc, and all command had to be adjusted accordingly.
Thank you @RobAtHome for your contribution - this is definitely a collaboration effort.
If you have time, can you speak a little more to your troubles updating HA; have you tried updating it via a different way? You documenting it here, brought it to my attention, because I am having the same problem but did not give it much thought because I had earlier updated HA via the GUI.
Problem: Installing HAOS 9.5
Thanks
@carloshurtadom @RobAtHome Have you tried selecting slot B in Grub boot menu after running the update?
I ran into this update issue also and tried booting to slot B after wondering why the version is not changing and selecting Slot B then booted to the updated version (HAOS 9.5).
Hopefully this works the other way around also that the next update after 9.5 is applied to slot A but I haven’t had the chance to test that yet.
Thanks again @sandman-125, unfortunately my newbie-ness is showing, could you please break down the process of booting from a different slot?
Thank you
Not had that much time to fiddle thus far, after discovering this thread. All I did re OS update was establish a successful mirror to my main HA installation, then asked it to update the OS via the web interface from another computer, in the normal way. Of course, I also manually intercepted the reboot, in order to choose the HA disk boot option in the bios. Otherwise it would have booted to my current default (Windows). I wonder if changing the default to the HA disk might have some effect - that is something else to try. However, while playing with the various possibilities (“to USB or not to USB”), I did re-flash the disk with the latest generic x86-64 image. Hence it’s all up to date at the moment and I await the next OS upgrade before trying again.
Have also seen the post about choosing slot B etc. Don’t know what the implications of that are or how to try it - my boot only shows the ‘slots’ option on screen for less than a second before starting up, presumably would have to press some keys PDQ to intercept it. I’ll try that as one possible solution at next OS update and will report back here, unless someone else solves it in the meantime!
1 Like
Thanks a lot for this thread.
I do not have any knowledge of linux or HA and with your help i’ve managed to install HA for the first time and its up and running on my old laptop!
The easiest way for me to follow was the description of @carloshurtadom
The only problem i have on this moment is updating to HAOS 9.5
In HA GUI it says to update to 9.5, im clicking on it and it goes updating… then HA (on my old laptop) restarts and is showing OS version: Home Assistant OS 9.4
Thanks @sandman-125, I tried slot B in Grub boot menu after running the update and now HA says OS version 9.5
Anyone knowing why this happens and how to eliminate this?
Thanks in advance.
this is what i’ve found at Reddit (https://www.reddit.com/r/homeassistant/comments/v675kc/make_ha_boot_the_latest_os_by_default/):
“I think it probably means the OP updated from 7.6 to 8.1. The OS is updated via an A/B update mechanism so 1. the new OS can install while the old OS is still running, and 2. the old OS is still there as a backup in case something goes wrong with the new OS. It seems from the OP’s experience that a power cut is treated as “something goes wrong” for this purpose”
But i have not found a solution.
@Richard28 I would assume that it is by design that it runs the updated version to slot B but I’m not sure. I didn’t worry too much about it so I just set it to boot to slot B by default from Grub boot menu. You should be able to do this by editing the file efi/boot/grub.cfg in hassos-boot partition.
By default the first line in that grub.cfg is set default=99
Just edit that to be as below (and save the changes):
set default="1"
Then in the Grub boot menu it will select slot B by default.
2 Likes
Hello,
Thanks for your help. I managed to install Homeassistant on my old computer. But I have a problem. I have no problems with the network cable, but it cannot find my wifi adapter. Can you help with this issue?
(sorry for my bad english i use translation)
I had the same problem, when I upgraded Home Assistant OS from 9.5 to 10, my system stayed on 9.5 until I made change in efi/boot/grub.cfg (set defuaul=99 to set default=1) and now I am on Home Assistant OS 10.
But I have another problem. Before I move to slot B I have this under about:
Home Assistant 2023.4.6
Supervisor 2023.04.0
Operating System 9.5
Frontend 20230411.1 - latest
And all other stuff are working.
only error I had under repair: AppArmor issues - unsuported system
After I moved to slot B In CLI I see that I am on HA OS 10, but under about I have only this:
Home Assistant 2023.4.6
Frontend 20230411.1 - latest
I lose abiliti to shutdown/restart my system, backup doesn’t work, no addons tab,…
error in cli: /dev/sda1 can't open blockdev
Then I try to move back to slot A, but nothing happened in CLI I can see HA OS 9.5.
I lose ability to restart/shutdown, backup, no addons tab, …
Can anyone explain how HA OS upgrade script work?
It is possible to customize it for non-uefi bios machines?
I figuret out how to do this proces manualy.
- I run ha os from
slot a - when ha os is up and runing i ran command:
ha os updatefrom cli - when update complete ha os goes to restart
- when pc starts I first boot to some linux and mount sda1 with command:
mount /dev/sda1 /mnt - then I edit /efi/boot/grub.cfg with command nano /mnt/efi/boot/grub.cfg end I changed
default=99todefault=1to get more time to select slot b - then umount mounted sda1 with command
umount /mnttyperebootto restart pc - on system boot select
slot band wait system to complete
I am now on latest version of ha os with all stuff working.
Home Assistant 2023.4.6
Supervisor 2023.04.0
Operating System 10.0
Frontend 20230411.1 - latest
Error in cli si still presented: /dev/sda1 can’t open blockdev
After that do not try to boot from slot a, if you try that you are back on begining!!!
In future will bi great if someone figure out how to automate this process, so that people with old computers and non-uefi bios update ha os without unnecessary difficulty.
2 Likes
Hi, I just installed the latest version of Home Assistant following your guide and replacing the 9th with the 10th version.
It was excellent and I would like to thank you, and the previous contributors very much
1 Like