SBFspot Bluetooth homeassistant addon

This is a discovery message in JSON pretty format. It is identical to the above messages. Just formatted for easier reading.
it is the -48 postfix

{
  "name": "SMA Energy Lifetime",
  "state_topic": "homeassistant/sbfspot_lausepv/sbfspot_2120123548",
  "value_template": "{{ value_json.ETotal | float(default) }}",
  "unique_id": "2120123548_ETotal",
  "device_class": "energy",
  "state_class": "total_increasing",
  "unit_of_measurement": "kWh",
  "enabled_by_default": "true",
  "icon": "mdi:solar-power-variant",
  "device": { 
      "identifiers": [
            "HAOS-SBFspot-Sensors-48"
      ],
      "name": "HAOS-SBFspot-48",
      "model": "SB 5000TL-20",
      "manufacturer": "SMA",
      "sw_version": "03.10.37.R"
  }
}

Solved! :smiley:

Aim: Integrate three SMA bluetooth inverters into Home Assistant using the HAOS SBFspot add-on.

Assumption: MQTT is installed and working in Home Assistant. The SMA inverters had already been accessed with the SMA software to set install and user passwords and to obtain the serial numbers of the inverters. Most importantly: you should know the corresponding pairs of bluetooth addresses and serial numbers.

Steps:

  1. If you did not do this before: Access the communication module of each inverter and turn the Net ID button to something bigger than 1 (I chose B). Put the inverters back to work.

  2. Install must current HAOS SBFspot add-on, do not start it yet.

  3. Get some Linux device with bluetooth enabled (like a freshly setup Raspberry Pi 3). Use hcitool scan in the terminal to obtain the bluetooth addresses of the inverters.

  4. In Home Assistant (HA) go to Devices - Bluetooth and note down the internal bluetooth address of your HA device.

  5. Install the MQTT Explorer add-on and connect it to your HA MQTT broker.

  6. Now configure the HAOS SPFspot add-on to obtain the sensor configuration messages for one of the inverters. Switch on optional configuration options.

  7. Choose Create mode, type in one of the invertersā€™ bluetooth addresses, the user password of your SMA inverter, internal bluetooth address of HA, plantname pv1234567890 where 1234567890 is the serial number belonging to the inverter you address, set MIS_Enabledto 0, set latitude and longitude of your PV location, choose the correct timezone like Europe/Berlin, SQL-Password "" if you donā€™t use it (like me), fill in the correct MQTT user name and password, modify the MQTT topic to be homeassistant/sbfspot_{plantname}{serial}/sbfspot_, set PV Output SID and PV Output password to "" if you donā€™t use PVOutput (like me), leave all other fields as defaults.

  8. Important in the above step is setting the plantname to your literals followed by the inverterā€™s serial number. This is because the config MQTT topic is not built following the configured MQTT topic, but using the fixed template homeassistant/sensor/sbfspot_{plantname}/sbfspot_.

  9. Start the add-on and let it create one set of sensors. You will delete the HA sensors again, but you need the MQTT config messages. Stop the HAOS SBFspot add-on again.

  10. Under Devices/MQTT you will now find an SBFspot device and sensors. Go to MQTT Explorer and copy topic and JSON for each config message from HAOS SBFspot. Note them down in a text file (use Notepad++ for example). Delete all these retained messages thereafter. Check in Devices/MQTT, if the SBFspot device has gone, delete it otherwise. Disconnect in MQTT Explorer and connect again (the user interface sometimes shows old messages otherwise).

  11. The topics you noted down shall already have the form homeassistant/sensor/sbfspot_pv1234567890/sbfspot_InvSerial/config. Now use the find and replace function of your text editor to modify the MQTT message: Make sure that the serial number (1234567890 in my example) is inside each "state_topic" value like "homeassistant/sbfspot_pv1234567890/sbfspot_". It shall also be contained in the device identifier like ["HAOS-SBFspot1234567890-Sensors"] and the device name like "HAOS-SBFspot2120131006". Also add _1234567890 to the "unique_id" value, so that it reads _1234567890_EToday for example.

  12. Now use MQTT Explorer again to publish retained messages to configure the sensors that contain the serial number. Make sure retain is checked, copy each of the topics from the text file and the corresponding message to MQTT Explorer and click publish.

  13. In the text file replace the serial number with the next one and repeat the last step.

  14. Under Devices/MQTT you will now find several MQTT devices for all your inverters.

  15. Now change the configuration of the HAOS SBFspot add-on. Delete the serial number from the plantname, in my example this leaves pv. Set the creation mode to No and switch MIS_Enabled to 1. Start the add-on.

  16. After a while MQTT Explorer will show additional SBFspot messages and the different Home Assistant sensors will receive their data. Check the SMA Serial No for example.

Glad you sorted it.

You can/should save those discovery messages, so you can resend them if your mqtt broker dies etc.

You can save them as a script so that you can send them automatically as MQTT publish data from a Linux command line.
Which is basically what this file does MQTT variable sensor script except it uses variables. You can put them all in a single file.

/usr/bin/mosquitto_pub -h "$MQTT_Host" -u "$MQTT_User" -P "$MQTT_Pass" -t YOUR/TOPIC/HERE -m YOUR/message/HERE/config -r (retain) -d (debug for verbose message)

Hi @lebeck

I am on my journey to see if I can get SBFSpot on ESP32.
Just like you I am a bit stuck on darrylb and how to go about it.
Could you please share how you went about it to get it working on ESp32?

Thanks.

Hi MnM
sorry I havenā€™t kept lotā€™s of trace as esp32 wasnā€™t managing 2 inverters.

I remember that Iā€™ve tryed several fork.
Most of them were mentionned by HasQT

I think those were the ones :

One of them worked nearly out of the box but canā€™t find which one.
And all the files are nearly the same :cry:

Hi,
Iā€™ve got installed 2 SMA Solar-Inverters in my house, connected via bluetooth. One 2500TL and one 5000TL. The SBFspot add-on is getting data from both inverters, the data are written in the MariaDB. While configuring the energy Dashboard the problems began. I only get the following message a the dashboard doesnā€™t get data.
Could anyone please help me where the problem is? Thanks ;-).

@heli01

A little difficult to tell with the German.
Seems to be entity doesnā€™t exist?

Have you set up the MQTT config requirements to get the sensor from the addon to homeassistant?

@HasQT
Hi, the MQTT entities have been created,


but they are all in status ā€žunknownā€œ.

@heli01

You need to check the mqtt config to ensure the mqtt topic/message match.

It needs to match at what is being sent from the addon and what Homeassistant is expecting in the mqtt integration.

You may have to mess around with the sensor creation to get both inverters sensors created.

Post 322 has a walk through for creating sensors for multiple inverters.

@HasQT
Thank you, Iā€™ve seen the post already. I think Iā€™ll have to build it new from scratch because sometimes I can see the topics, sometimes not. Something seems to be strangeā€¦Now I have to wait till the weather becomes better. The smaller inverter has no integrated powersupply, so I have to wait till the sun is shining to connect to this one again. Now itā€™s raining ā€¦
As you can see the part from sbfspot is working fine from the bigger inverter:

MQTT: Publishing (homeassistant/sbfspot_{plantname}{serial}/sbfspot_) "PrgVersion": "3.9.7","Plantname": "pv2100xxxxxx","Timestamp": "2024-02-03T13:45:04+0100","SunRise": "2024-02-03T08:02:00+0100","SunSet": "2024-02-03T17:14:00+0100","InvSerial": 2100xxxxx,"InvName": "SN: 2100xxxxx","InvTime": "2024-02-03T13:44:50+0100","InvStatus": "Ok","InvSwVer": "03.10.37.R","InvClass": "Solar Inverters","InvType": "SB 5000TL-20","InvTemperature": 47.410,"InvGridRelay": "Closed","EToday": 0.605,"ETotal": 61112.904,"GridFreq": 50.000,"PACTot": 43.000,"PAC1": 43.000,"UAC1": 231.370,"IAC1": 0.189,"OperTm": 53213.543,"FeedTm": 51597.168,"PDCTot": 59.000,"UDC1": 351.830,"UDC2": 206.560,"IDC1": 0.108,"IDC2": 0.111,"PDC1": 37.000,"PDC2": 22.000,"BTSignal": 77.647,"InvWakeupTm": "2024-02-03T08:35:38+0100","InvSleepTm": "2024-02-03T13:44:52+0100"
Client null sending CONNECT
Client null received CONNACK (0)
Client null sending PUBLISH (d0, q0, r0, m1, 'homeassistant/sbfspot_pv2100xxxxxxxxx/sbfspot_', ... (771 bytes))
Client null sending DISCONNECT
********************

type or paste code here

Hello,

first of all, thank you very much for the very successful addon SBFspot.

I have successfully installed it on a Raspberry pi Zero that is close to my inverter and connected to my wifi.

The Raspberry regularly connects to the inverter, which can be recognized by the briefly glowing blue LED.

According to the following excerpt from the LOG file, which I read from the Raspberry via SSH, it connects correctly to the inverter and also reads out all relevant data:

Excerpt from LOG file

C2": 349.480,ā€œIDC1ā€: 0.119,ā€œIDC2ā€: 0.115,ā€œPDC1ā€: 64.000,ā€œPDC2ā€: 39.000


  • ArchiveDayData() *

startTime: 15/03/2024 00:00:00

Reading events: 2024-Mar-01

Fri Mar 15 16:45:05 2024: INFO: Done.

SBFspot V3.9.8

Yet another tool to read power production of SMA solar inverters

(c) 2012-2023, SBF (GitHub - SBFspot/SBFspot: Yet another tool to read power production of SMAĀ® solar/battery inverters)

Compiled for Linux (LE) 32 bit with SQLite support

Commandline Args: -v -ad1 -am0 -ae1 -mqtt -cfg/usr/local/bin/sbfspot.3/SBFspot.cfg

Reading config ā€˜/usr/local/bin/sbfspot.3/SBFspot.cfgā€™

Fri Mar 15 16:50:01 2024: INFO: Startingā€¦

sunrise: 06:20

sunset : 18:09

Connecting to 00:80:25:2B:CC:1E (1/10)

Initialisingā€¦

SUSyID: 125 - SessionID: 961864022

SMA netID=01

Serial Nr: 122C8BEC (304909292)

BT Signal=84.7%

Logon OK

Local Host Time: 15/03/2024 16:50:02

Plant Time : 15/03/2024 16:50:08 (+6 sec)

TZ offset : 3600 sec - DST: Off

Last Time Set : 07/03/2024 06:21:18

SUSyID: 181 - SN: 304909292

Device Name: SN: 304909292

Device Class: Solar Inverters

Device Type: STP 5000TL-20

Software Version: 02.55.03.R

Packet status: 21

SUSyID: 181 - SN: 304909292

Device Status: Ok

SUSyID: 181 - SN: 304909292

Device Temperature: 47.0Ā°C

SUSyID: 181 - SN: 304909292

GridRelay Status: Closed

SUSyID: 181 - SN: 304909292

Energy Production:

EToday: 10.792kWh

ETotal: 56400.381kWh

Operation Time: 43271.35h

Feed-In Time : 42484.24h

SUSyID: 181 - SN: 304909292

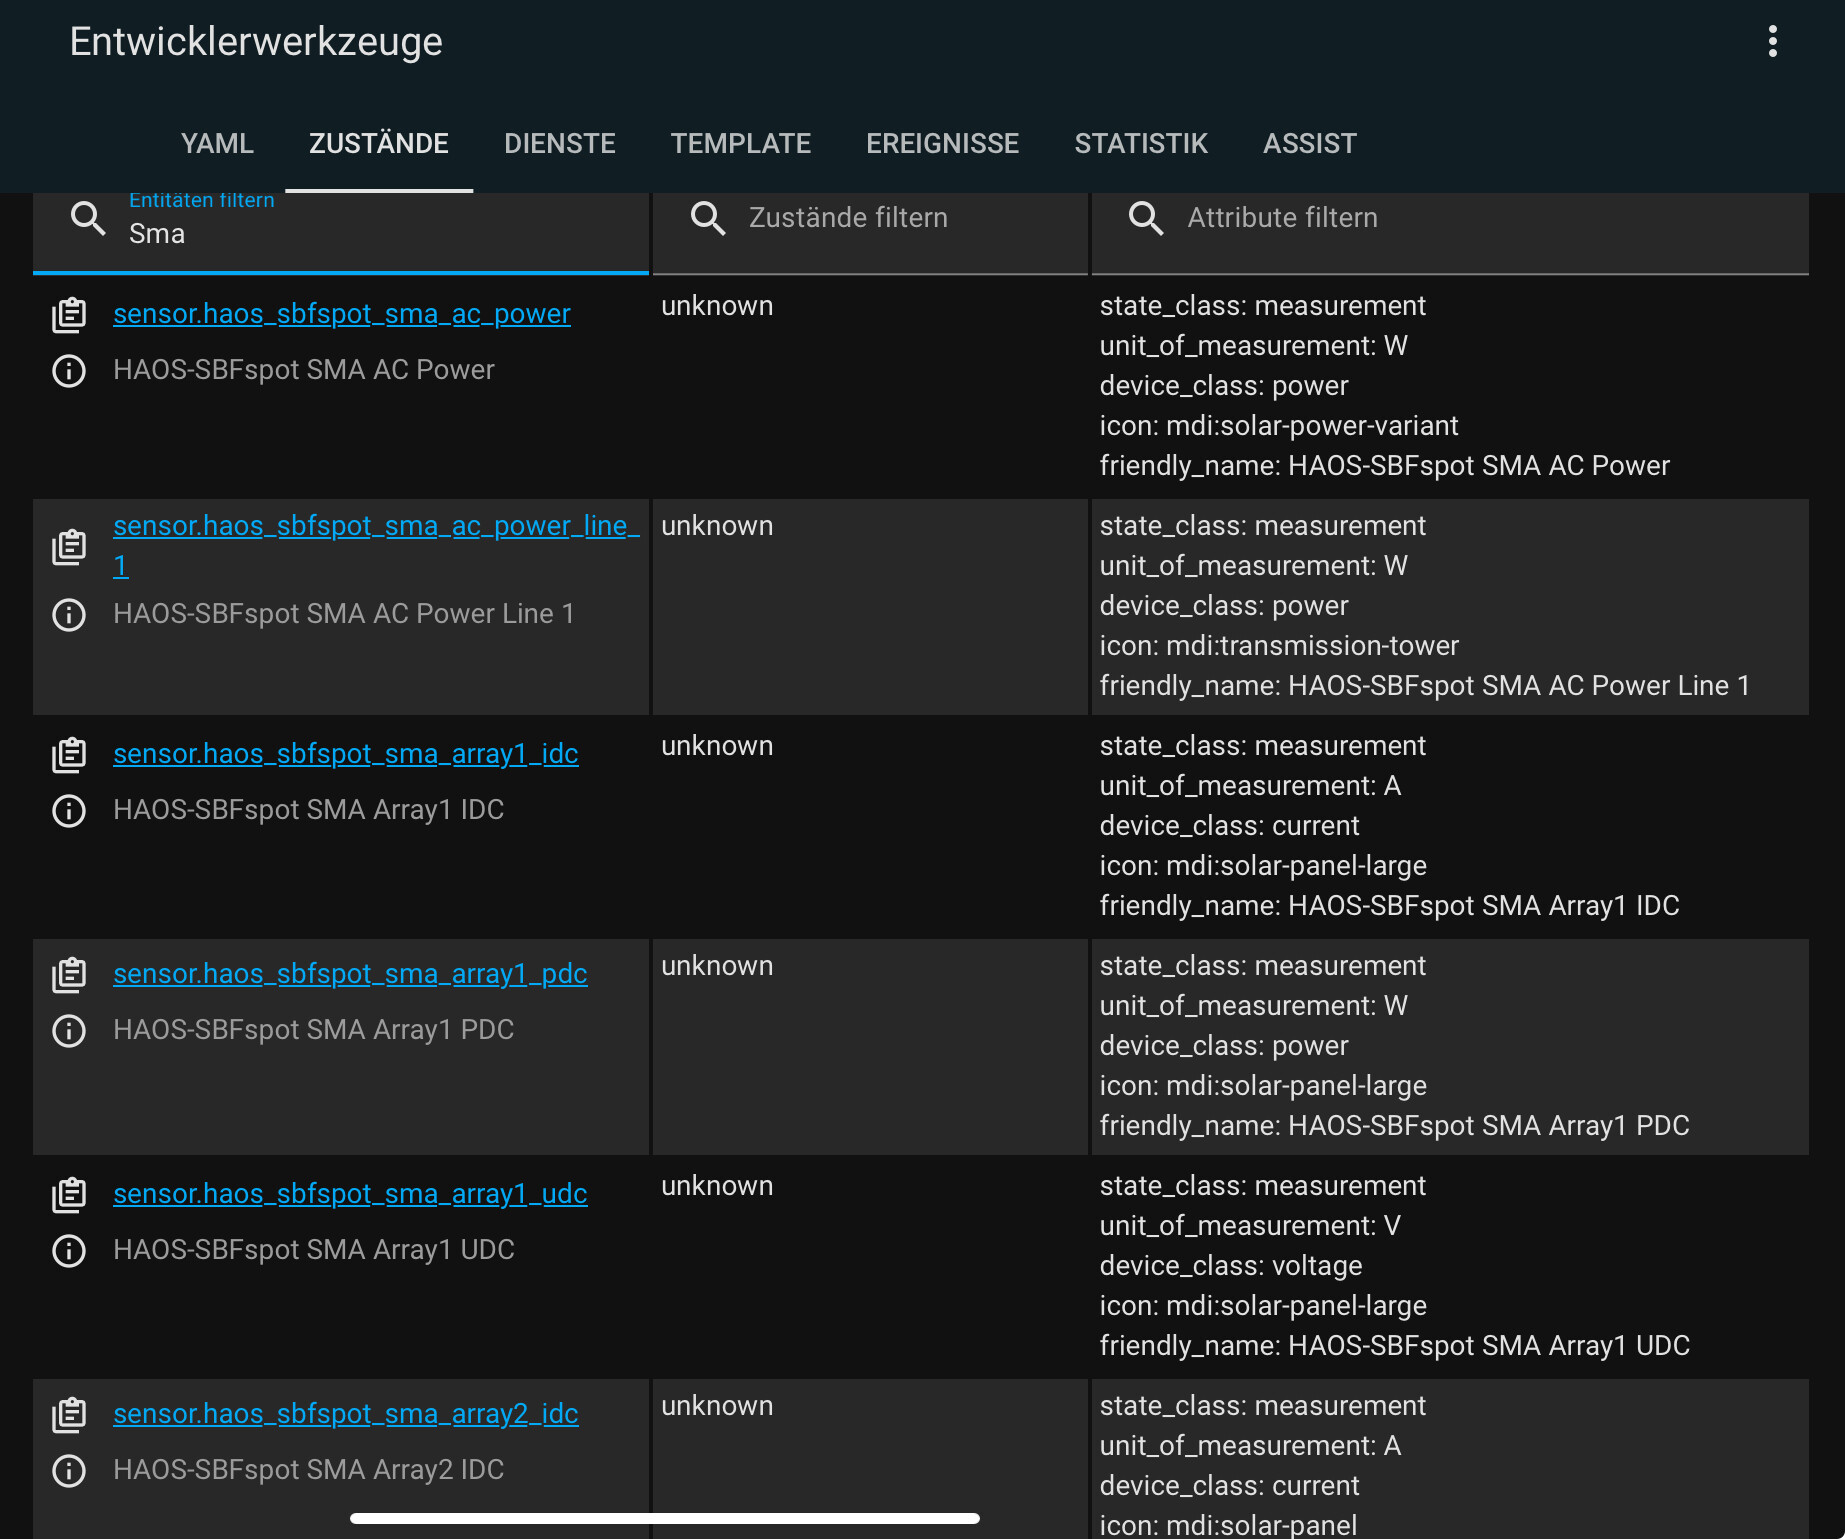
After installing the SBFspot add-on in Home Assistant, HA apparently also finds the Raspberry, but according to the following protocol excerpt, it cannot establish a Bluetooth connection to the inverter:

Excerpt from HA-protocol

homeassistant/sbfspot_{plantname}/sbfspot_{serial}

PrgVersion,Plantname,Timestamp,SunRise,SunSet,InvSerial,InvName,InvTime,InvStatus,InvSwVer,InvClass,InvType,InvTemperature,InvGridRelay,EToday,ETotal,GridFreq,PACTot,PAC1,UAC1,IAC1,OperTm,FeedTm,PDCTot,UDC1,UDC2,IDC1,IDC2,PDC1,PDC2,BTSignal,InvWakeupTm,InvSleepTm

[08:38:07] INFO:

[08:38:07] INFO:

[08:38:07] INFO: || Generating HA Sensors ||

SBFspot V3.9.7

Yet another tool to read power production of SMA solar inverters

(c) 2012-2022, SBF (GitHub - SBFspot/SBFspot: Yet another tool to read power production of SMAĀ® solar/battery inverters)

Compiled for Linux (LE) 64 bit with MySQL support

Commandline Args: -v -finq -mqtt -cfg/usr/bin/sbfspot/SetConfig.cfg

Reading config ā€˜/usr/bin/sbfspot/SetConfig.cfgā€™

Sun Mar 17 08:38:07 2024: INFO: Startingā€¦

sunrise: 06:15

sunset : 18:13

Connecting to 00:80:25:2B:CC:1E (1/10)

Connecting to 00:80:25:2B:CC:1E (2/10)

Connecting to 00:80:25:2B:CC:1E (3/10)

Connecting to 00:80:25:2B:CC:1E (4/10)

Connecting to 00:80:25:2B:CC:1E (5/10)

Connecting to 00:80:25:2B:CC:1E (6/10)

Connecting to 00:80:25:2B:CC:1E (7/10)

Connecting to 00:80:25:2B:CC:1E (8/10)

Connecting to 00:80:25:2B:CC:1E (9/10)

Connecting to 00:80:25:2B:CC:1E (10/10)

Sun Mar 17 08:38:16 2024: CRITICAL: bthConnect() returned -1

Sun Mar 17 08:38:16 2024: INFO: Done.

[07:38:17] WARNING: Halt add-on with exit code 255

s6-rc: info: service legacy-services: stopping

s6-rc: info: service legacy-services successfully stopped

s6-rc: info: service legacy-cont-init: stopping

s6-rc: info: service legacy-cont-init successfully stopped

s6-rc: info: service fix-attrs: stopping

s6-rc: info: service fix-attrs successfully stopped

s6-rc: info: service s6rc-oneshot-runner: stopping

s6-rc: info: service s6rc-oneshot-runner successfully stopped

After 10 unsuccessful connection attempts, the addon is stopped with the error message ā€œHalt add-on with exit code 255ā€.

It would be nice if someone has a tip for me on how to fix it.

Thank you and greetings

Hilmar

@hilmar65

Hi,
Sorry Iā€™m abit confused here, can you explain your setup again.

You have a raspberry zero working with sbfspot installed directly? This is in range of your inverter.

You also have a HA server setup and want to run sbfspot on that to connect to your inverter? At a further distance I presume.

The addon isnā€™t designed to extend the range on a pi Zero. If the piZero is sending out MQTT data, you can receive the MQTT data in your Homeassistant server (without the sbfspot addon) you just need to make mqtt sensors available.

Hello HasQT,

thanks for your answer. Sorry for my description, but I am a beginner in HA.

Perhaps the following topology helps you, to understand my installation.

In the mqtt-explorer in HA I canā€˜t find the SBFspot-topics. When I try to connect HA via the addon SBFspot, I get no connection.

Can you help me and give me any tips.

Thank you for your feedback.

Hilmar

That is clearer, thanks.

Soā€¦

To be clear here.
You canā€™t link the piZero to the pi4 with sbfspotā€¦ Itā€™s not designed like that.

The piZero, pi4, and MQTT-explorer need to be using the same server settings. Assuming you have that sorted and you are able to find the SBFspot MQTT data from the piZero.

Then:

What you want to do is have the pi4(homeassistant) receive the MQTT data from the piZero sbfspot. To do that the pi4(HA) needs to have some MQTT sensors created.

There are multiple ways to create MQTT sensors.

  1. You can write them manually into your config.yaml (there are old examples on the addon github in the images directory). They need to match the MQTT data the piZero is producing.

  2. You can write them for auto discovery by the MQTT integration in homeassistant. This is achievable, but quite the learning curve.

  3. You can use this addon to create the sensors via discovery. This is possible if you can get a connection to the inverter(as in move your pi4 in range of the inverter). You really only need to do it once in your scenario to create the sensors, you could then delete the addon and have the piZero send out the MATCHING MQTT data.

  4. You could also try to fool the addon into believing it has a connection to the inverter by creating a file in the addon with the inverter details. It should then be able to create the sensors as it would with a connection like option 3. If you want to try this method I can write you a detailed method.

For options 3 and 4 the piZero sbfspot needs to send the specific MQTT data that matches the sensor set ups.

Thanks for your answer,

I think, Iā€™ll try it on next weekend.

After this, I will sent the result.

Greets

Hilmar

Hello HasQT,
today I get the PV-yield in HA (see following picture) by using configuration.yaml.

Thanks and greets

Hilmar

1 Like