Step #2 - zwavejs2mqtt docker container
I use the Synology docker UI to configure my containers and start and stop them. I wanted to continue to do that as it’s a good UI and faster than getting into a shell and using docker commands. Turns out getting this setup was super easy, once some of the confusion is removed.
The zwavejs2mqtt documentation ZwaveJS2Mqtt states:
- Do not use /dev/ttyUSBX serial devices, as those mappings can change over time.
- Instead, use the /dev/serial/by-id/X serial device for your Z-Wave stick.
This is likely good advice, but on Synology there is no /dev/serial path, so this advice is not for us. I’ve been using /dev/ttyACM0 with zwave (deprecated) with no issues. You can find your current device in the .storage/core.config_entries file.
Second they talk about passing this device in as part of the docker configuration.
—device=/dev/serial/by-id/insert_stick_reference_here:/dev/zwave
But in Synology the UI does not provide device mapping. I found article that explained how to do it by editing the json config, and then found another article that said as of late 2021 this no longer worked. It did look like folks use docker-compose successfully. But that looked like a learning curve. So I decided to just start the container and see what happens - and sometimes you get lucky!
Step 2.1 - create a folder in Synology for the container. I created a folder under the existing docker folder /docker/zwavejs2mqtt
Step 2.2 - use the docker UI to grab the latest image and select launch.
Give it a name and select the “Execute Container using High Privilege”. Yes, this is a bad security practice, doing this however gives the container access to all the devices. Later on, I’ll find a way to fix. Select the advanced button

Map the folder we created into the container.

I run most images on the host network, I also use the Synology firewall and by default there is no access to ports in this container.

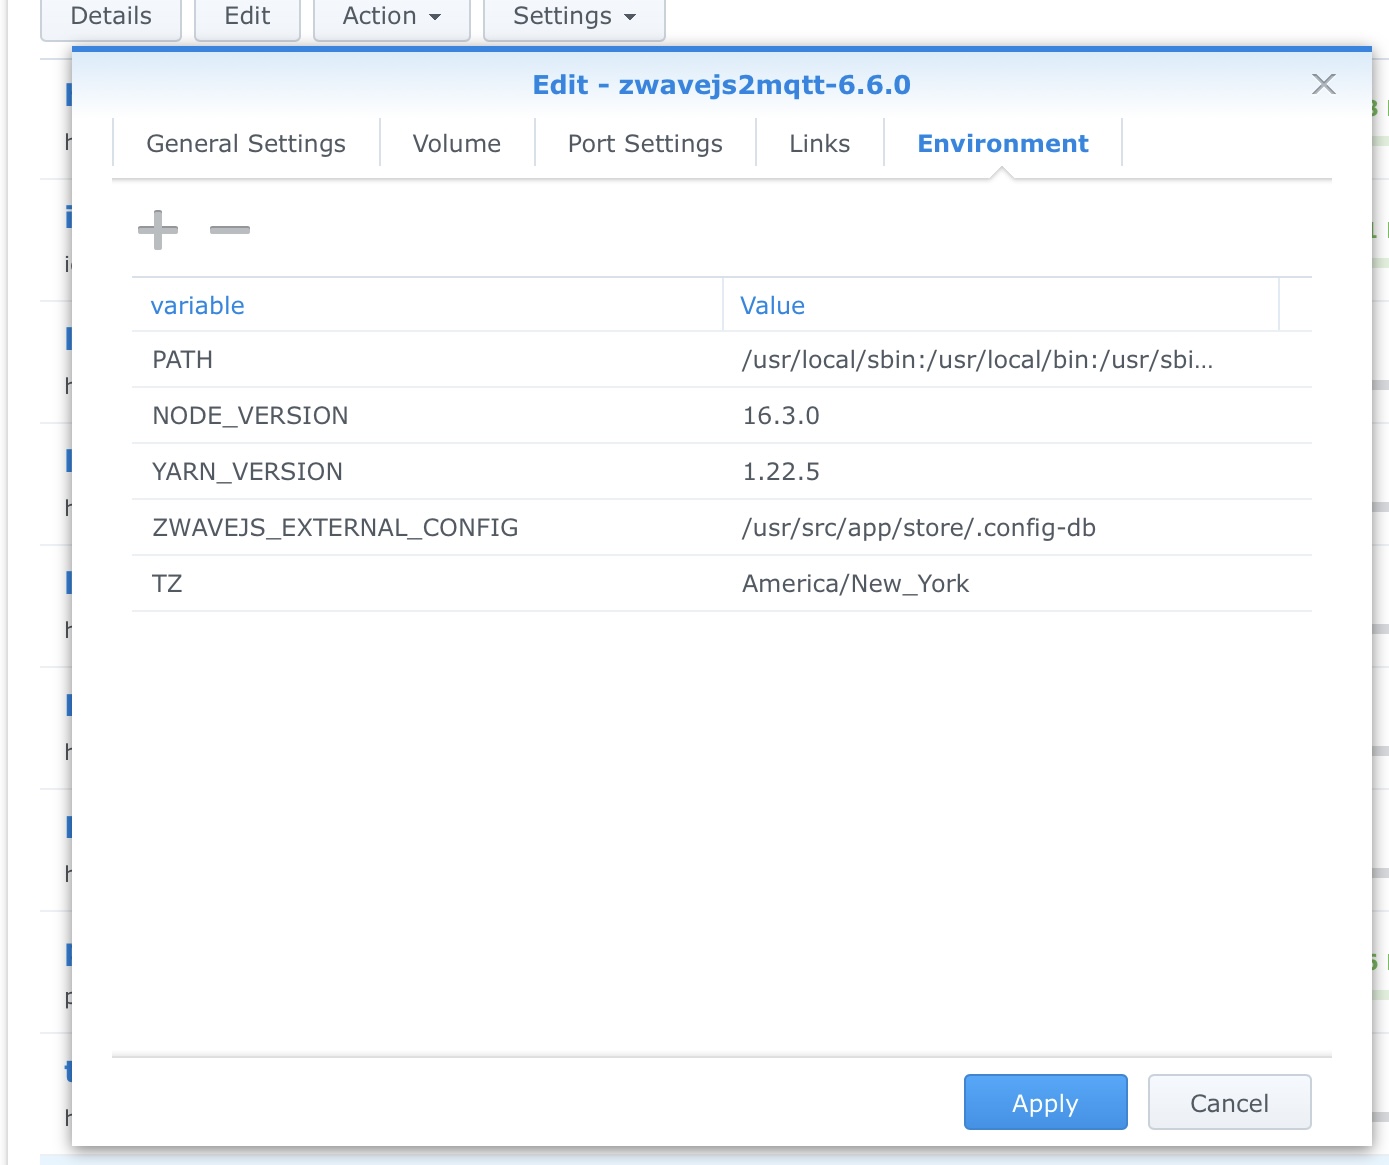
Lastly go into environment and add your TZ if you want the logs in local time.
From there launch the container. Go into the Synology firewall and add port 8091 to allow access from your subnet or ip_address. Go to that URL and the jwavejs control panel should appear. Go around and explore the UI and read the docs. Two things you should check out:
- Enable logging at info or debug level, these files should end up in the Synology folder.
- Under zwave, there is a combo box to select the device, open and you should see /dev/ttyACM0 - Do not select it yet - we will do that later
- Find the home assistant config and make sure the websocket interface is enabled and MQTT is not.
That it, shutdown the container and we’ll wait for Step #1 to complete.