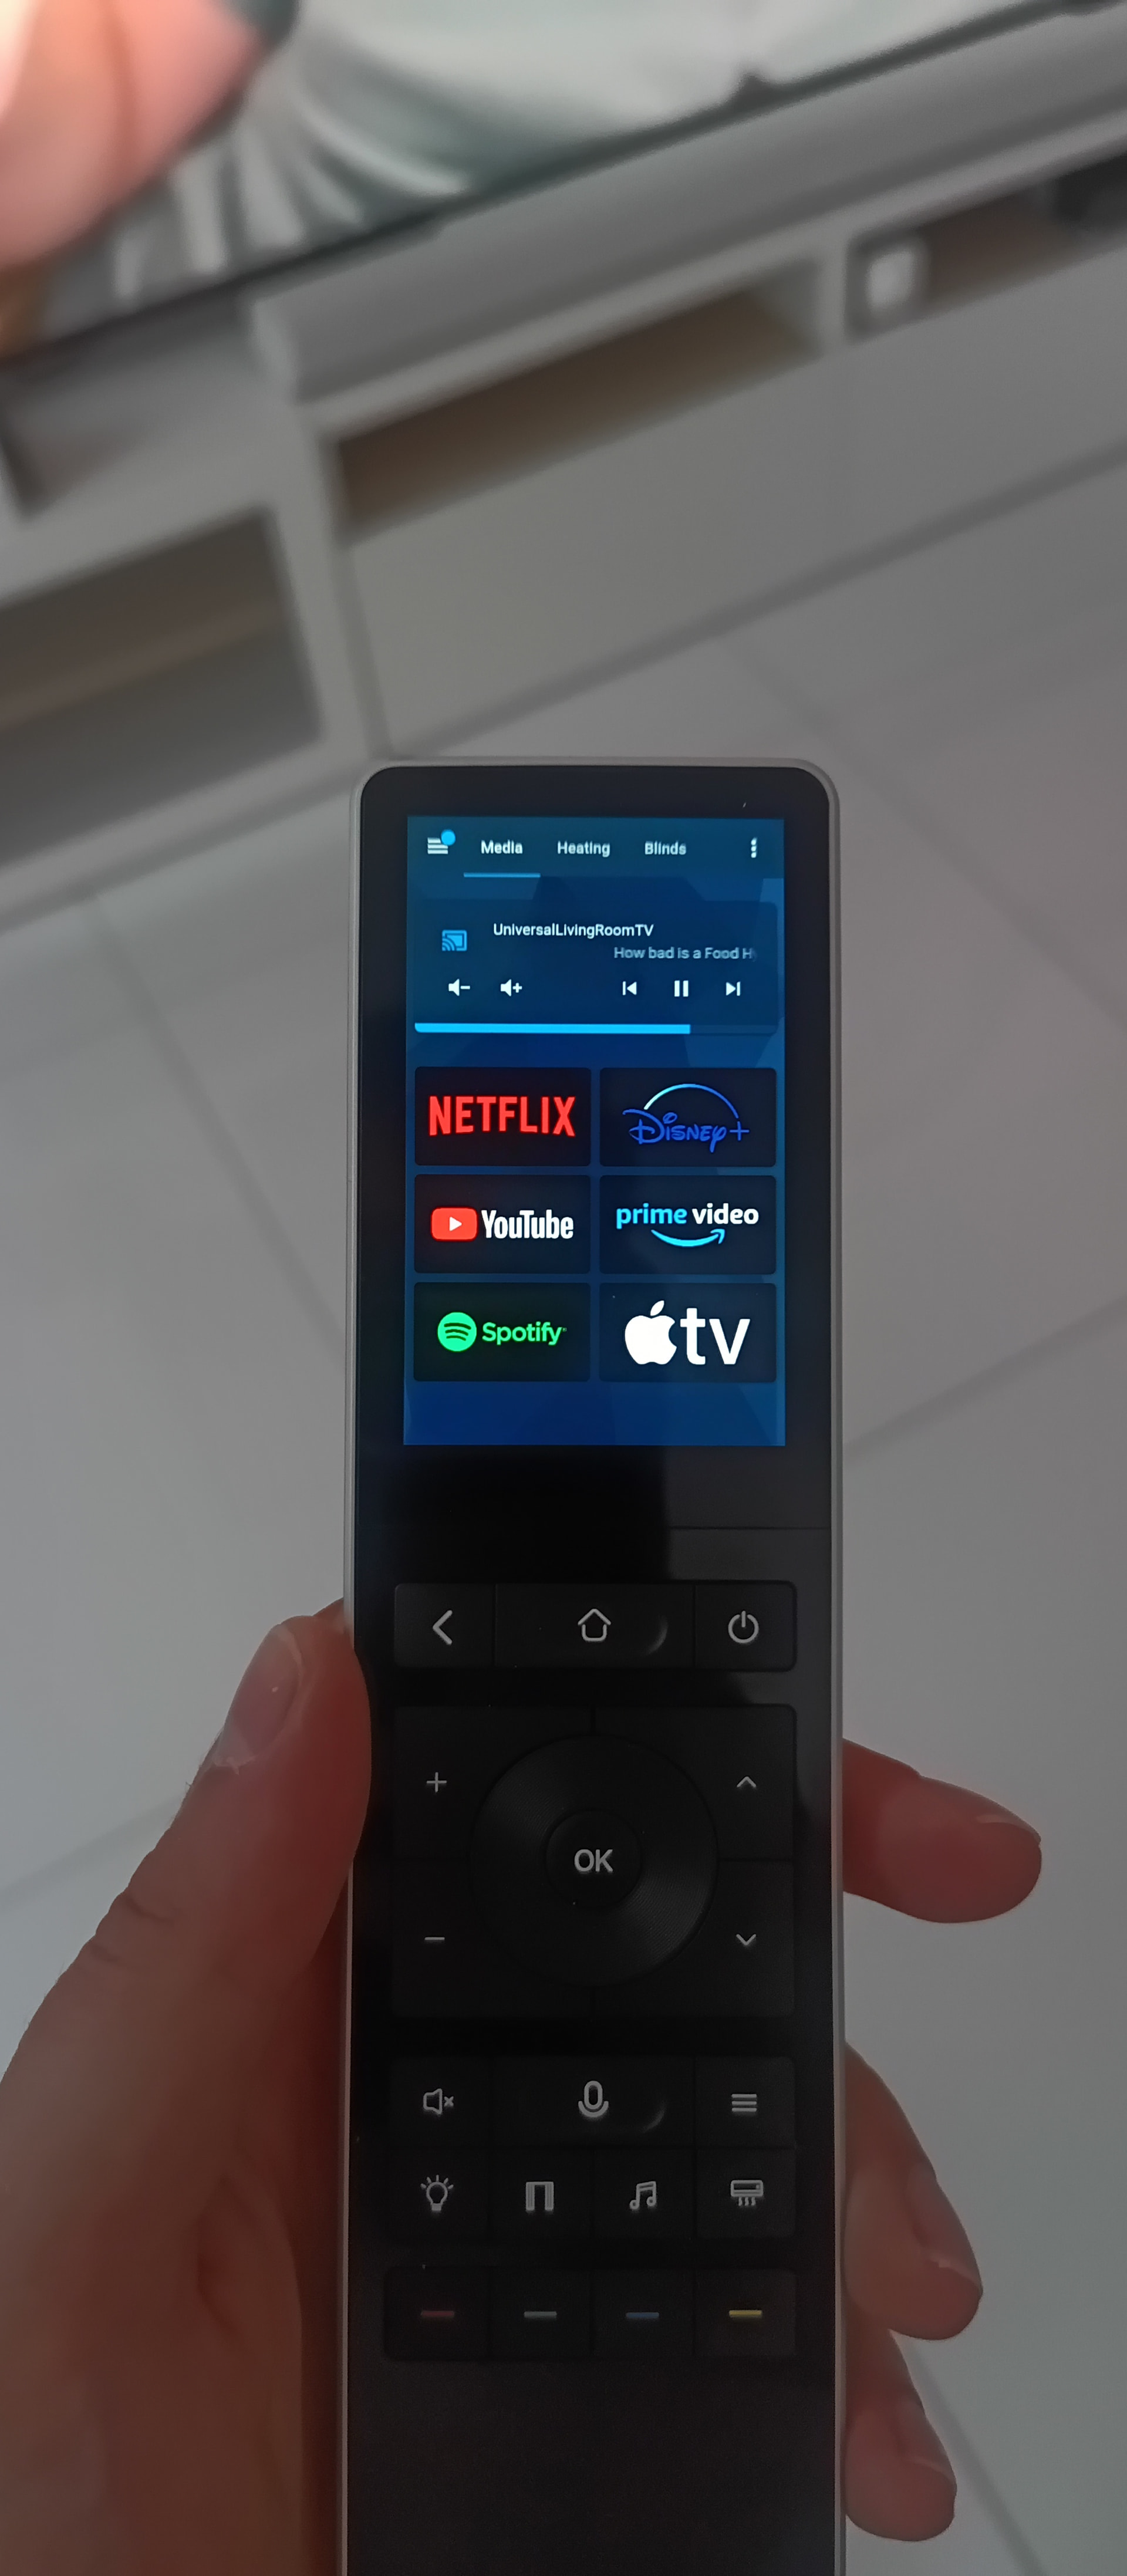
Astrion Remote for Home Assistant – Sideloading, Fully Kiosk & Button Remapping Guide
I’ve been experimenting with the Astrion Remote and wanted to share a full guide for unlocking its potential. Out of the box it’s fairly limited, but with ADB, a couple of APKs, and button remapping, you can turn it into a much more flexible Home Assistant controller.
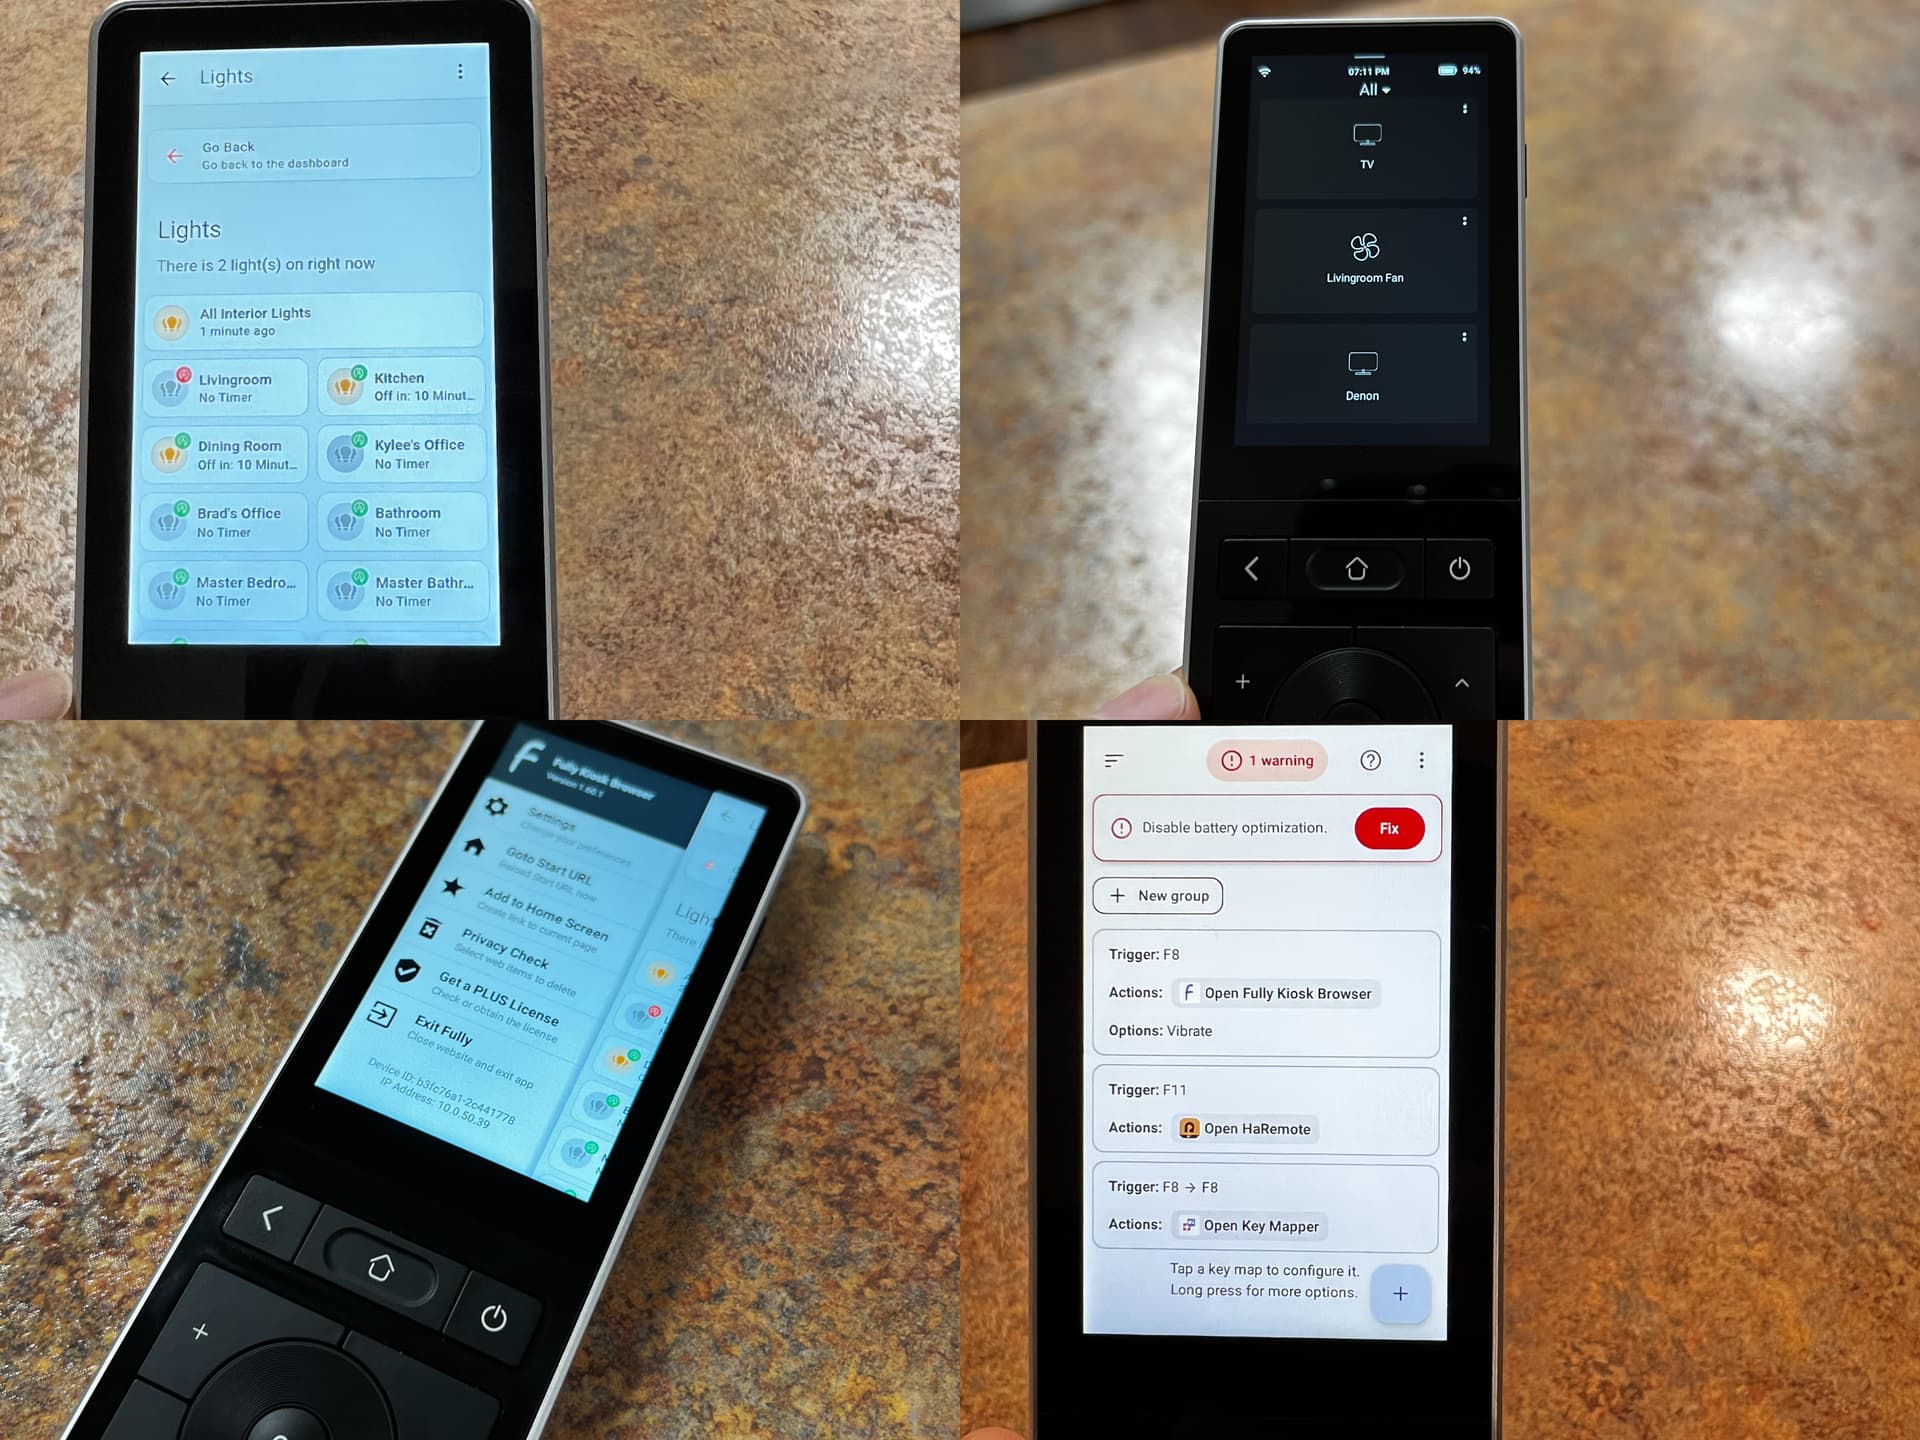
This guide covers:
- Enabling Developer Mode
- Accessing ADB
- Sideloading apps
- Installing Fully Kiosk Browser
- Using KeyMapper to switch between apps with hardware buttons
What You’ll Get
- Fully Kiosk running your Home Assistant dashboard
- Button-based app switching
- Access to the built-in HARemote app
- A “recovery” button to avoid getting locked out
Step 1: Enable Developer Mode
- Swipe down from the top of the screen
- Tap Set
- Go to System Settings
- Scroll to System
- Tap About Phone
- Scroll to Build Number
- Tap it 7 times
You should see a message confirming Developer Mode is enabled.
Step 2: Access the USB-C Port
The USB-C port is internal:
- Remove the two screws on the bottom of the remote
- Carefully open the casing
- Locate the USB-C port
 This may void your warranty—proceed carefully.
Step 3: Install ADB Tools
Download Android platform tools:
Extract them and open a terminal in that folder.
Step 4: Connect to the Device
- Plug the remote into your computer
- Run:
adb devices
- Accept the USB debugging prompt on the device
You should see the device listed.
Step 5: Install Fully Kiosk Browser (First)
Download Fully Kiosk Browser (v1.60.1 or your preferred version):
Then install:
adb install Fully-Kiosk-Browser-v1.60.1.apk
(Optional launch)
adb shell am start -n de.ozerov.fully/.MainActivity
Step 6: Install KeyMapper (Second)
Download KeyMapper (v4.0.5 FOSS):
Then install:
adb install keymapper-4.0.5-foss.apk
Step 7: Launch KeyMapper
adb shell monkey -p io.github.sds100.keymapper -c android.intent.category.LAUNCHER 1
Step 8: Configure KeyMapper (Critical Step)
1. Grant Permissions
- Enable Accessibility Service
- Allow any additional permissions requested
2. Create a “Recovery” Button
Map one physical button to:
→ Launch KeyMapper
This ensures you can always get back into settings if something breaks.
3. Map App Switching Buttons
Assign other buttons to:
- Fully Kiosk Browser (your dashboard)
- HARemote (stock app)
You can now switch between apps instantly using hardware buttons.
Why This Setup Works
Doing things in this order prevents you from getting stuck in a single app (especially Fully Kiosk). KeyMapper acts as your control layer, giving you reliable navigation no matter what’s running.
Tips / Gotchas
- Disable battery optimization for KeyMapper
- Some buttons may need testing to detect properly
- Use long-press + short-press for more actions
- Test each mapping before moving on
- Disable: ‘Keep screen on’ on fully Kiosk
End Result
You now have:
- A dedicated button for KeyMapper (failsafe)
- A button for Fully Kiosk (Home Assistant UI)
- A button for HARemote (default experience)
This turns the Astrion Remote into a multi-app, highly customizable Home Assistant controller.
Future Ideas
- Multiple dashboards via different buttons
- Tasker integration for advanced automation
- Context-aware button mapping
If anyone else is working with this remote or finds improvements, I’d love to hear what you’ve done.