Introduction: Most budget RGB LED lights have terrible factory calibration. Actually they have none. Dim white might be red and higher brightness shoots the colour temperature to the moon! In my case the RGB mode on the light was almost unusable! While Home Assistant allows basic color picking, it doesn’t account for the non-linear behavior of LEDs. This solution uses a 1D LUT (for gray scale/near black) and a 3D Matrix (for primary color correction) to bring professional-grade color management to my “smart” RGB-light.
The idea was to introduce virtual light entity that would control the real light with calibration in between.
- Hardware: A colorimeter (e.g., i1Display Pro, SpyderX) and the light you wish to calibrate.
- Software: HCFR Calibration (Free, Windows).
- Home Assistant Components:
- HACS: To install the virtual light.
- Virtual Light Entity: Install this via HACS (GitHub). Add the virtual light as in the guide. Name it “virtual_calibrated_light”
- Python Script Integration: Add
python_script:to yourconfiguration.yamland restart.
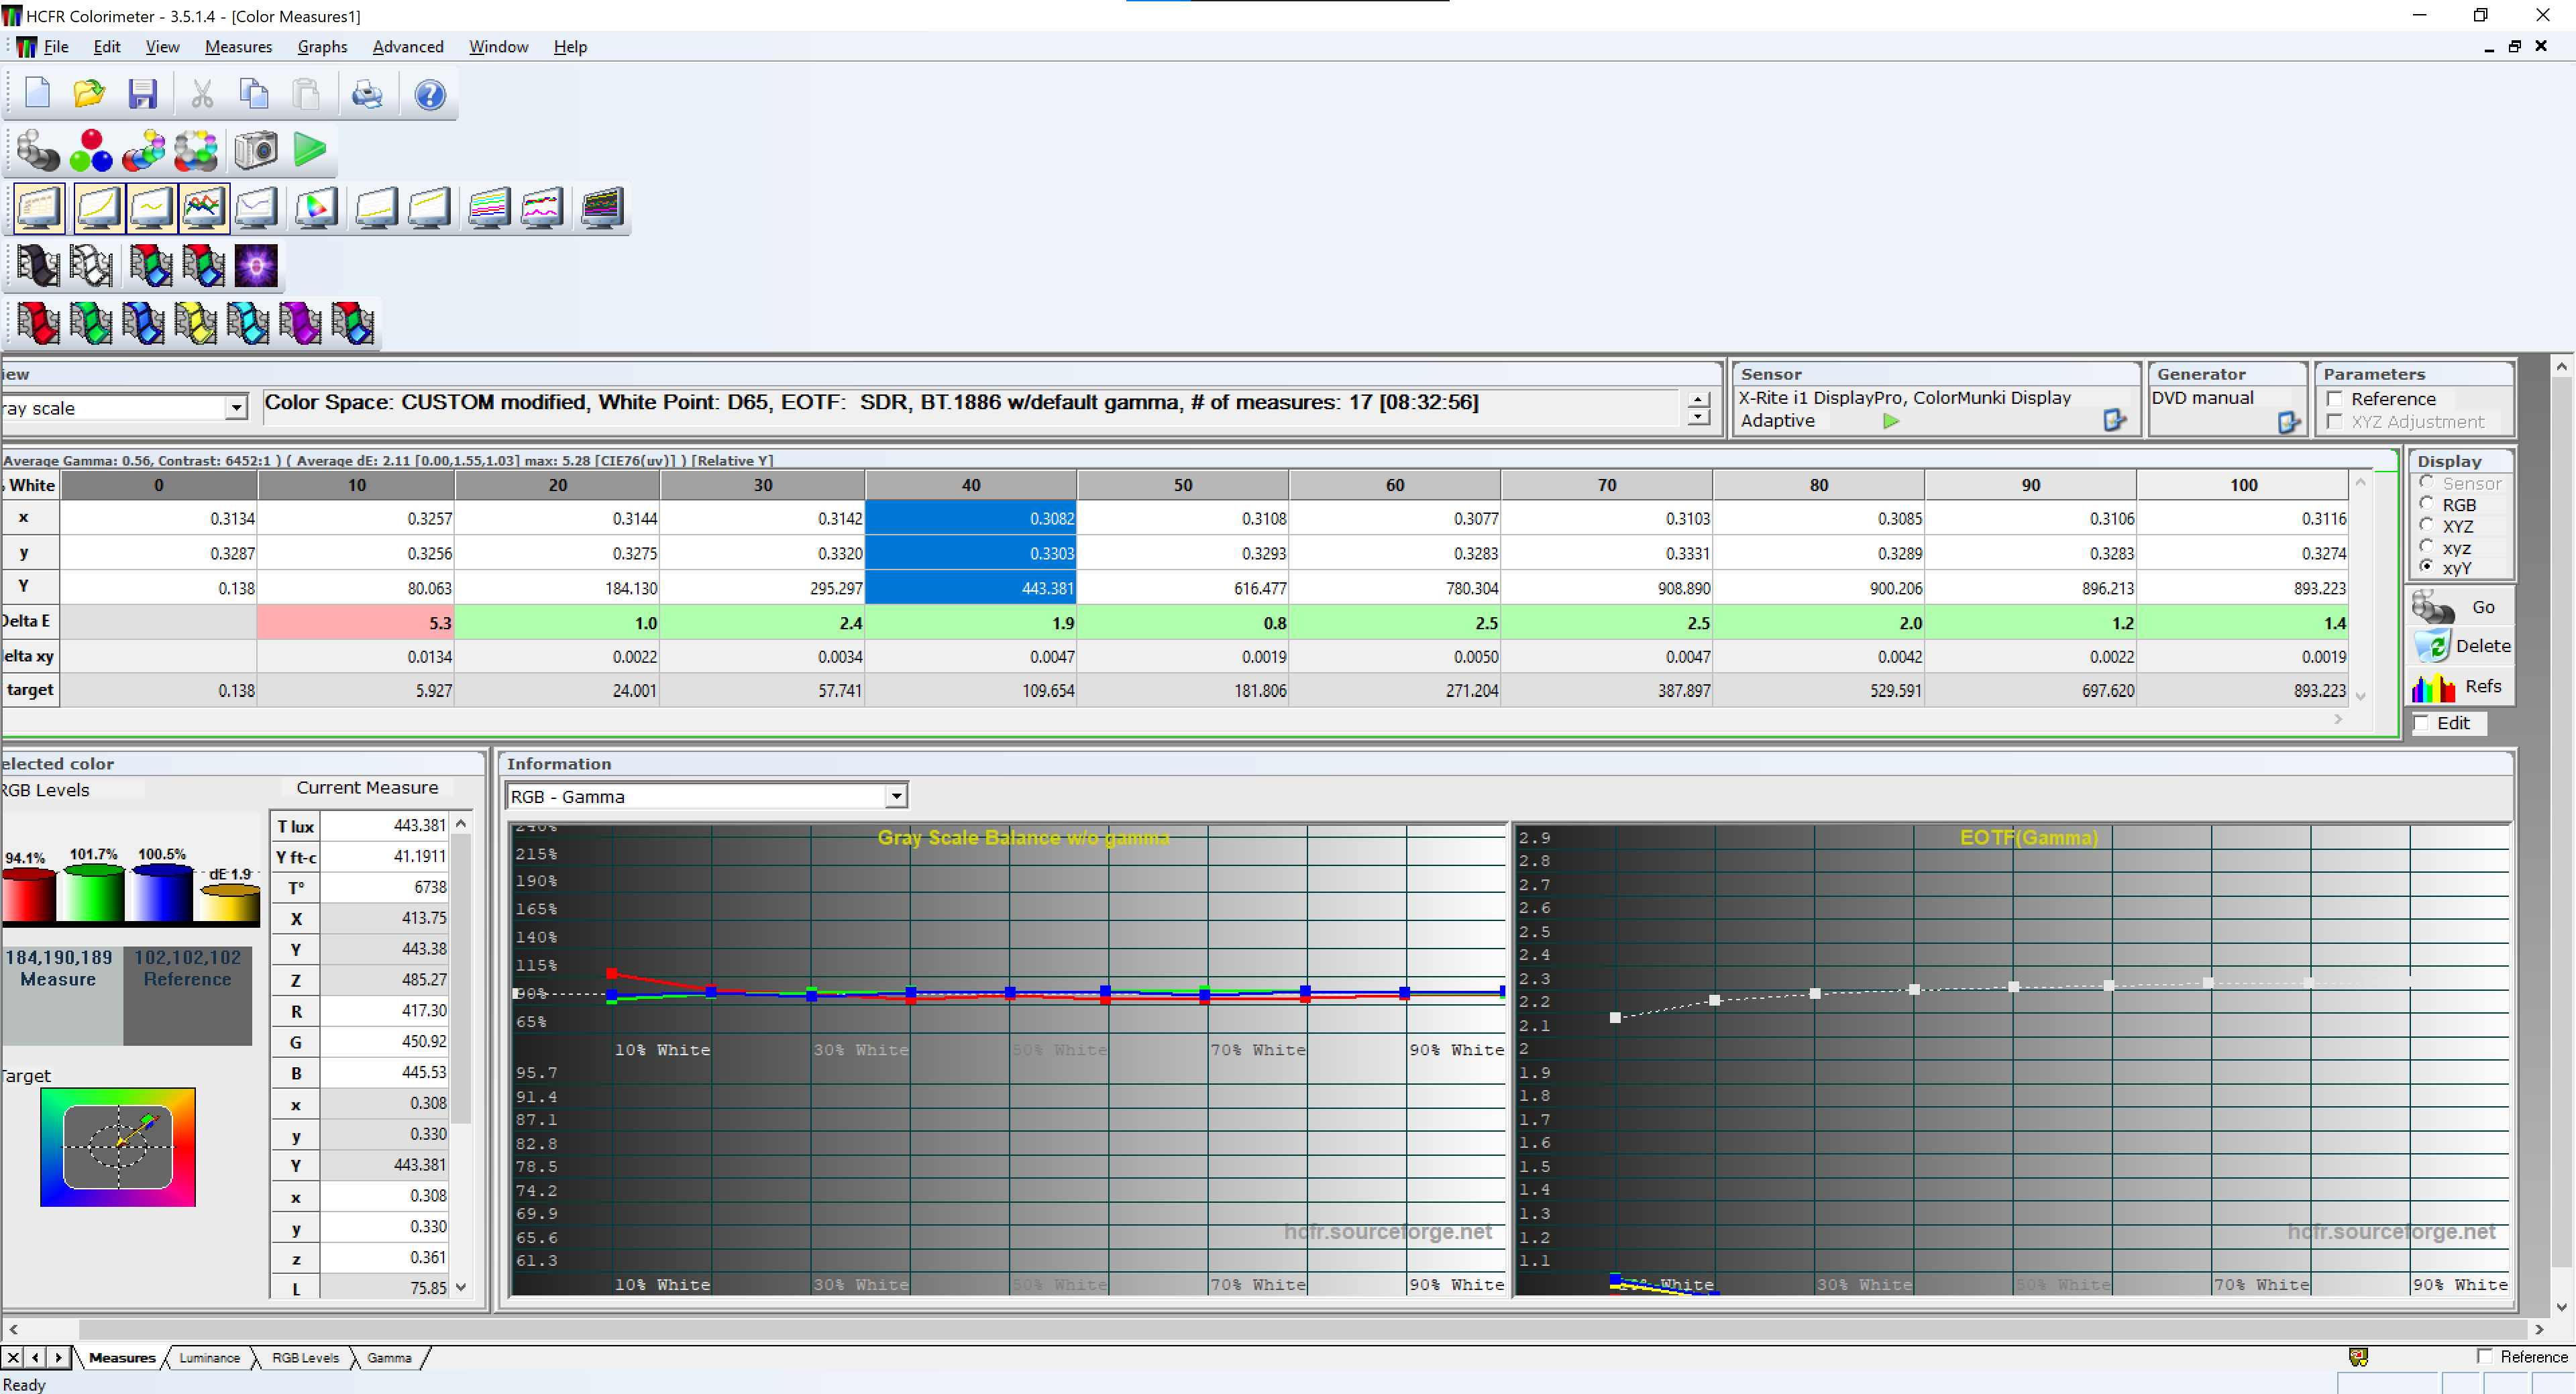
Using colorimeter and HCFR I took:
- Greyscale measurements in 10 points (10% increment)
- Primary/Secondary colours (RGBCMY) 25,50,75,100% saturations.
- Near Black measurements for white (1-4% brightness)
The easiest way to force the light into specific colour was using → Settings → developer tools → actions and command the light from there!
service: light.turn_on
target:
 entity_id: light.ThisLightNeedsCalibration
data:
 rgb_color: [255, 255, 255]
 brightness_pct: 10
 #(increase the brightness as HCFR requests and repeat)
When taking measurements for saturations I used 100% brightness and this table:
|**Colour**|100% Saturation|75% Sat| 50% Saturation | 25% Saturation|
|**Red**|`[255, 0, 0]`|`[255, 64, 64]`|`[255, 127, 127]`|`[255, 191, 191]`|
|**Green**|`[0, 255, 0]`|`[64, 255, 64]`|`[127, 255, 127]`|`[191, 255, 191]`|
|**Blue**|`[0, 0, 255]`|`[64, 64, 255]`|`[127, 127, 255]`|`[191, 191, 255]`|
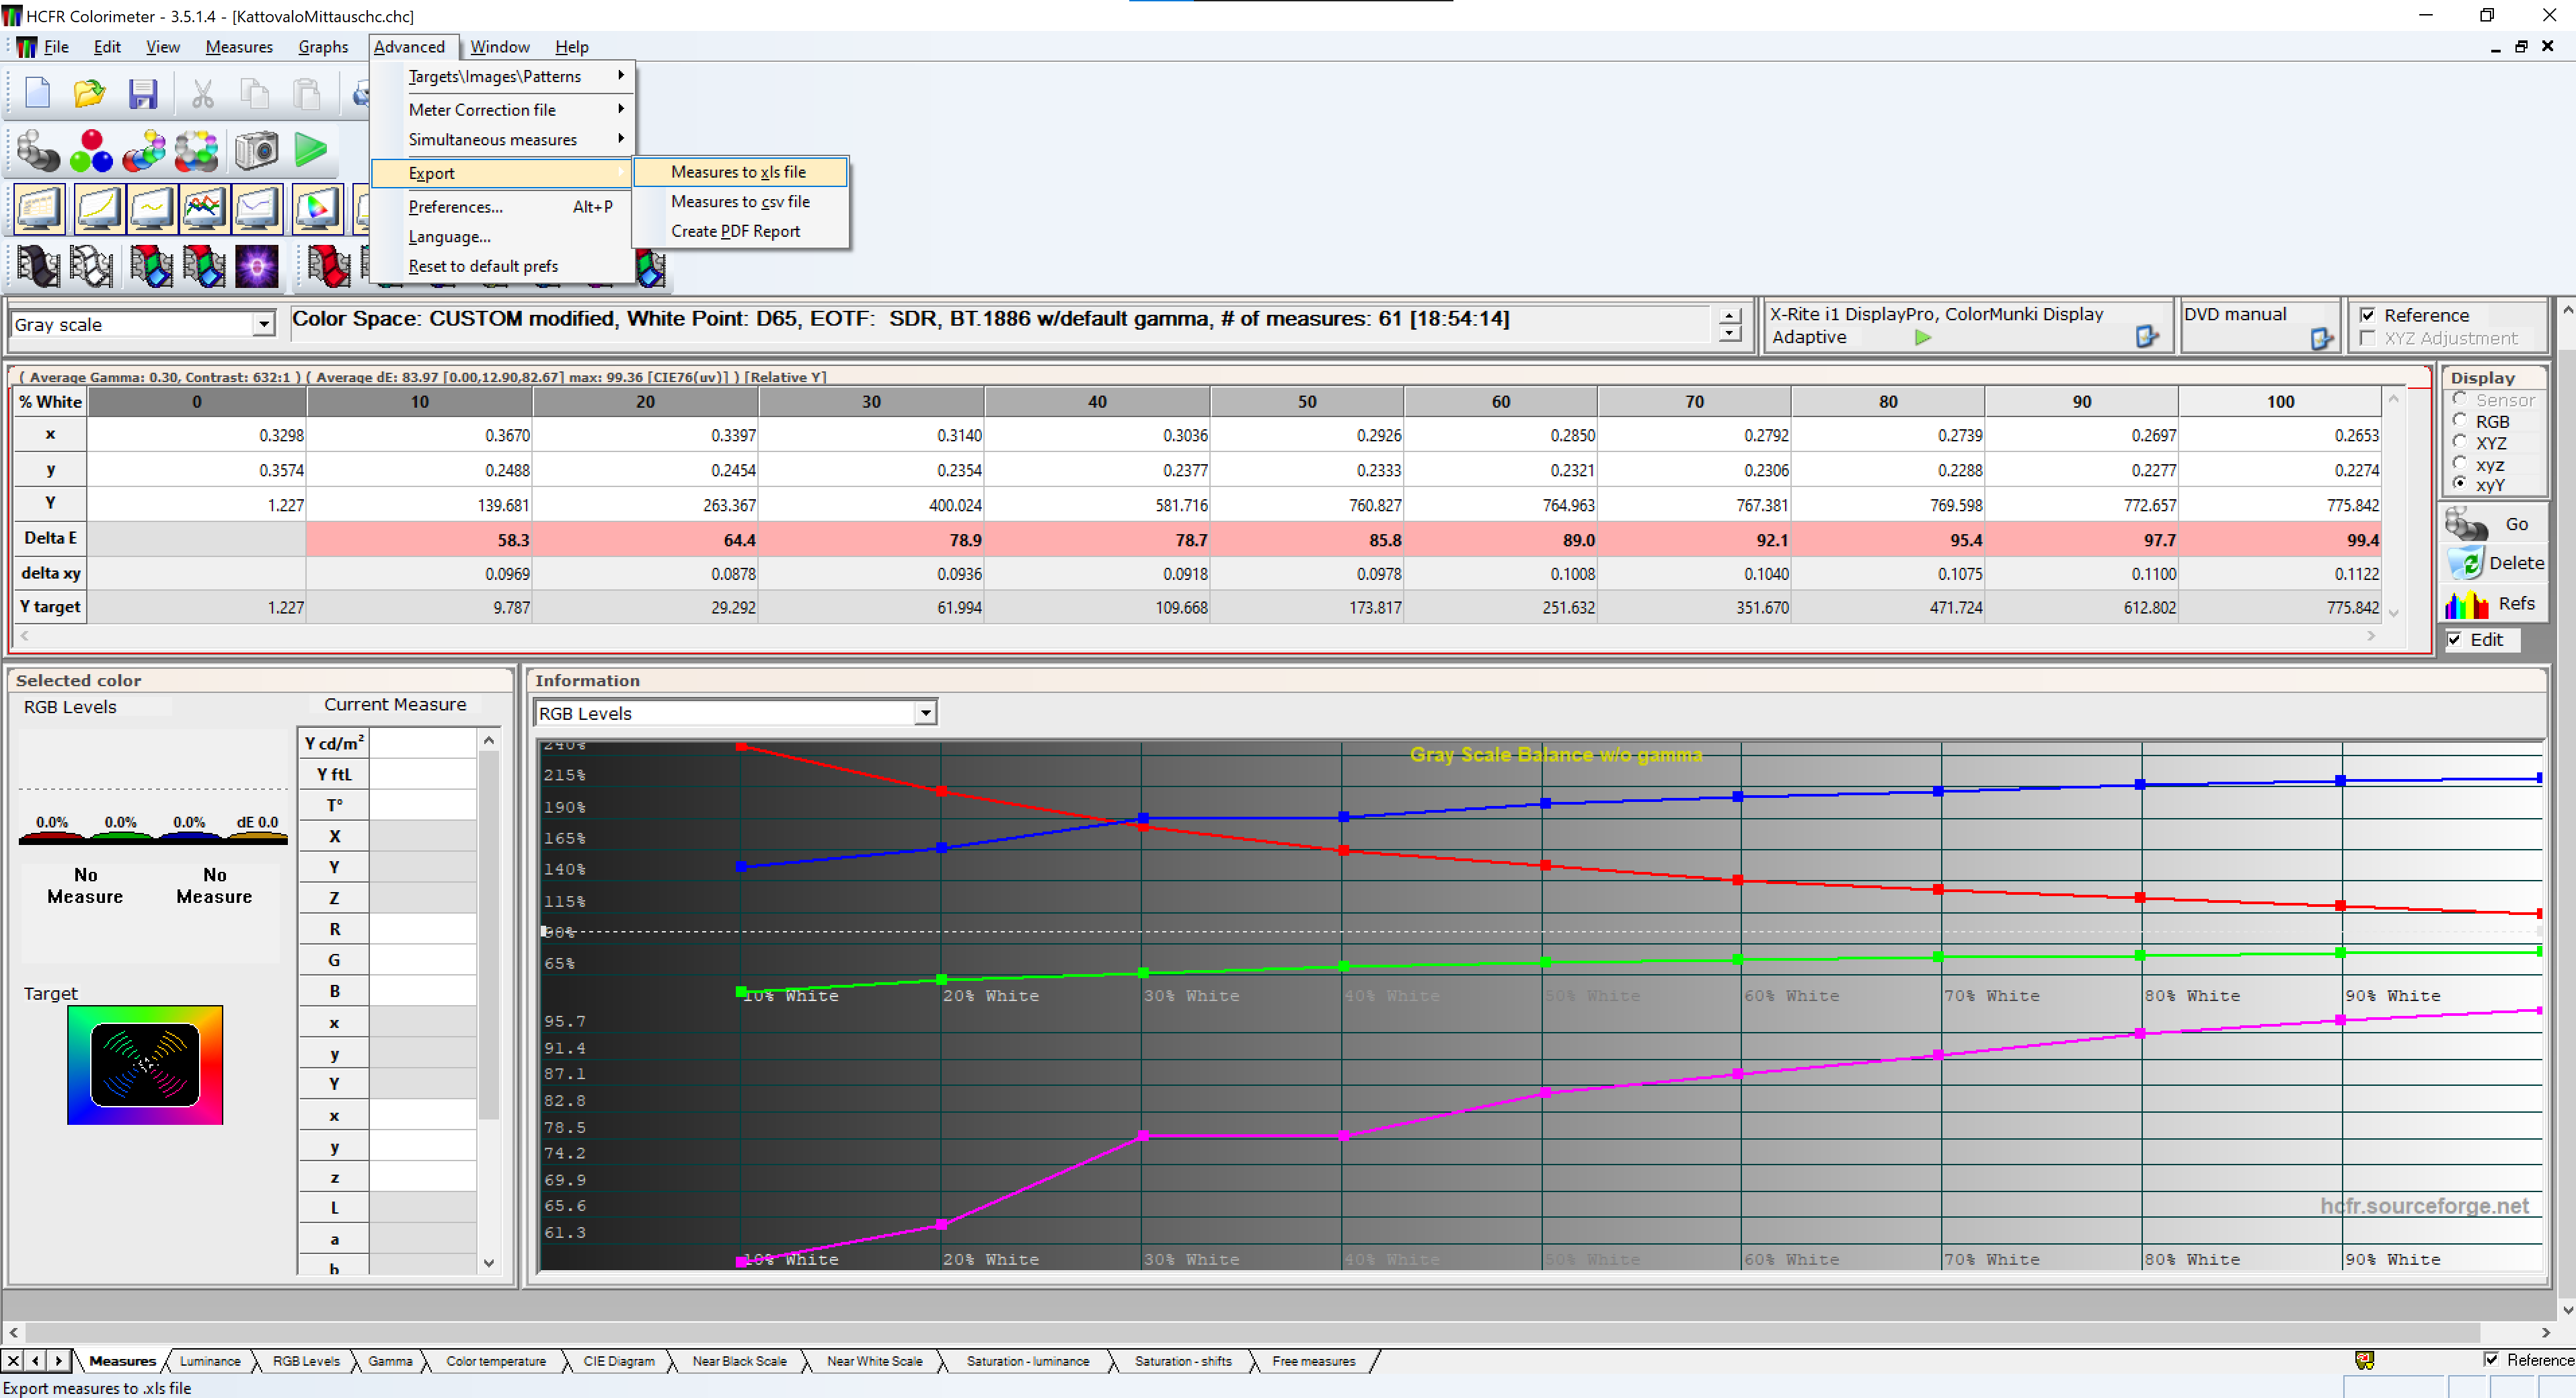
Export the measurements to excel.
For Saturations I had to manually copy/paste the values from HCFR because the export function is limited and only exports Greyscale or Primary values. No saturations or other measurements.
Fortunately you can just drag your mouse over the table and Ctrl-C - Ctrl-V them to excel!
When the data from the light was in the excel I asked AI to generate me the calibration from that data!
This is what it came up with.
- Add this to home_assistant/python_scripts/calibrate_light.py
"""
Home Assistant Python Script: Advanced RGB Light Calibration
Author: Juza89
Description: Applies 1D LUT (gamma/white balance) and 3D Matrix correction
based on HCFR measurements.
"""

# 1. INPUT DATA
# These are passed from the automation trigger
entity_id = data.get("entity_id")
rgb_in = data.get("rgb_color", [255, 255, 255])
brightness = data.get("brightness", 255)

# 2. CALIBRATION DATA (Replace with your own HCFR results)
# Brightness percentage points (X-axis of your LUT)
pts = [0, 5, 10, 20, 30, 40, 50, 60, 70, 80, 90, 100]

# 1D LUT: RGB correction factors for each point in 'pts'
# Derived from your Gray Scale and Near Black measurements
r_lut = [0.0, 0.45, 0.58, 0.65, 0.72, 0.78, 0.82, 0.85, 0.88, 0.92, 0.96, 1.0]
g_lut = [0.0, 0.80, 0.95, 1.00, 1.00, 1.00, 1.00, 1.00, 1.00, 1.00, 1.00, 1.00]
b_lut = [0.0, 0.22, 0.30, 0.38, 0.45, 0.50, 0.54, 0.58, 0.62, 0.65, 0.68, 0.70]

# COLOR MATRIX: Cleans up crosstalk between LED channels
# Calculated from Primary (R,G,B) and Secondary (C,M,Y) measurements
matrix_r = {"r": 1.15, "g": -0.12, "b": -0.03}
matrix_g = {"r": -0.05, "g": 1.25, "b": -0.20}
matrix_b = {"r": -0.02, "g": -0.08, "b": 1.10}

# Perceived contrast adjustment
gamma_value = 2.1

# 3. CALCULATIONS

def interpolate(val_pct, lut):
    """Calculates a smooth transition between two measurement points."""
    for i in range(len(pts) - 1):
        if pts[i] <= val_pct <= pts[i+1]:
            return lut[i] + (val_pct - pts[i]) * (lut[i+1] - lut[i]) / (pts[i+1] - pts[i])
    return lut[-1]

def clamp(v):
    """Keeps RGB values within the valid 0-255 range."""
    return max(0, min(255, int(v)))

# Get current scaling from LUT
target_pct = (brightness / 255) * 100
r_scale = interpolate(target_pct, r_lut)
g_scale = interpolate(target_pct, g_lut)
b_scale = interpolate(target_pct, b_lut)

r_raw, g_raw, b_raw = rgb_in[0], rgb_in[1], rgb_in[2]

# Apply 3D Matrix transformation to clean primary colors
r_mat = (r_raw * matrix_r["r"]) + (g_raw * matrix_r["g"]) + (b_raw * matrix_r["b"])
g_mat = (r_raw * matrix_g["r"]) + (g_raw * matrix_g["g"]) + (b_raw * matrix_g["b"])
b_mat = (r_raw * matrix_b["r"]) + (g_raw * matrix_b["g"]) + (b_raw * matrix_b["b"])

# Apply Gamma and Scale
r_final = ((max(0, r_mat) / 255) ** gamma_value) * 255 * r_scale
g_final = ((max(0, g_mat) / 255) ** gamma_value) * 255 * g_scale
b_final = ((max(0, b_mat) / 255) ** gamma_value) * 255 * b_scale

# White Point Bypass: Maintain neutral white when R=G=B=255
if r_raw == 255 and g_raw == 255 and b_raw == 255:
    r_out, g_out, b_out = 255 * r_scale, 255 * g_scale, 255 * b_scale
else:
    r_out, g_out, b_out = r_final, g_final, b_final

# 4. CALL PHYSICAL SERVICE
service_data = {
    "entity_id": entity_id,
    "rgb_color": [clamp(r_out), clamp(g_out), clamp(b_out)],
    "brightness": brightness
}
hass.services.call("light", "turn_on", service_data)
After the python script is added we need to add the automation that calls this script!
Settings → Automations → Create new automation → edit in yaml.
alias: Virtual → Real (Python Calibrated)
description: ""
triggers:
  - entity_id: light.virtual_calibrated_light
    trigger: state
actions:
  - choose:
      - conditions:
          - condition: state
            entity_id: light.virtual_calibrated_light
            state: "off"
        sequence:
          - action: light.turn_off
            target:
              entity_id: light.ThisLightNeedsCalibration
      - conditions: []
        sequence:
          - action: python_script.calibrate_light
            data:
              entity_id: light.ThisLightNeedsCalibration
              rgb_color: >-
                {{ trigger.to_state.attributes.rgb_color |
                default([255,255,255]) }}
              brightness: "{{ trigger.to_state.attributes.brightness | default(255) }}"
Even without access to colorimeter anyone could take this code and adjust those factors manually to have some calibration to these cheap rgb lights or strips! I’m posting this because I could not find this sort of advanced calibration solution anywhere and hope this could help someone!