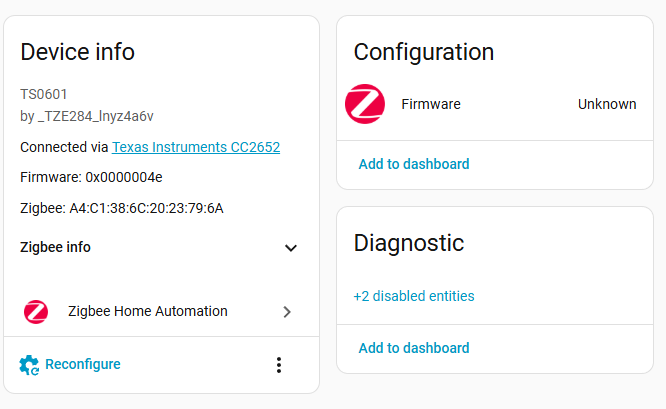
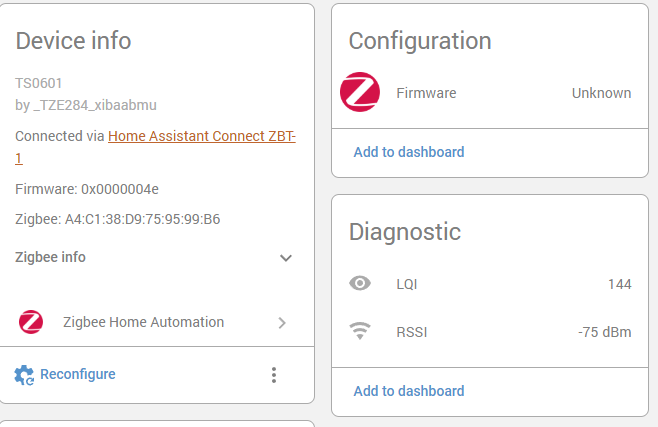
After the Zigbee device _TZE204_wwaeqnrfTS0601 is connected to HA, it does not support four-way independent control by default. It is necessary to customize ZHAQuirk to achieve independent access to each switch.
Enable ZHA (ZigbeeHomeAutomation) integration in HomeAssistant and confirm that the device has joined HA through the Zigbee gateway.
–Install necessary add-ons
Install the necessary add-ons Advanced SSH & Web Terminal and File editor in the add-on store. Open the add-on store and search for Advanced SSH & Web Terminal and File editor.
After installing Advanced SSH & Web Terminal, turn off the protection mode and set the ssh password in the configuration. After configuration, click Start
The preparation of Advanced SSH & Web Terminal is now complete.
5. Install File editor, then click Display in the sidebar, and then click Start.
—Install configuration file
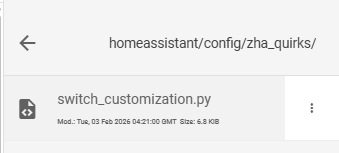
Open the File editor, create a new folder named: zha_quirks, and then upload the provided “switch_customization.py” file to the zha_quirks directory. After uploading, add a new configuration in the “configuration.yaml” file
zha:
enable_quirks: true
custom_quirks_path: /config/zha_quirks
After configuration, restart homeassistant to load Quirk
After completing file placement and path configuration, restart HomeAssistant, re-add the device or restart the added device
ZHA will recognize it as 4 independent light entities, such as:
But the modified name of each switch cannot be synchronized to the device.
–Install custom components to synchronize entity names to devices
Install the “zha_namehook” custom component
8.1 Open the “custom_components” folder through the File editor and upload the provided ‘zha_namehook’ file.
8.2 Configure configuration.yaml and add a new line “zha_namehook:” to the file. The purpose of configuring this line is to set
up the automatic start of the name modification monitoring plug-in
8.3 After restarting homeassistant, new components appear in the integration
Modify the zha source code to allow the sending of string type data. To modify the zha source code, you need to enter docker and must use the previously installed Advanced SSH & Web Terminal.
-Open Advanced SSH & Web Terminal and execute ‘docker exec -it homeassistant bash’
-Enter ‘cd /usr/local/lib/python3.13/site-packages/zhaquirks/tuya/mcu’
-Enter ls to display the current files, and you will see a file named init.py
After the modification is completed, restart HA
Modify the switch name
-Enter HA entity settings and name the 4 light entities separately, such as:
ight.tze204_wwaeqnrf_ts0601_deng_guang ->living room lamps
light.tze204_wwaeqnrf_ts0601_deng_guang_2 ->room
light.tze204_wwaeqnrf_ts0601_deng_guang_3 ->smart
light.tze204_wwaeqnrf_ts0601_deng_guang_4 ->zemismart
-hanamehook component will automatically detect name changes and send them to the hardware device via DP
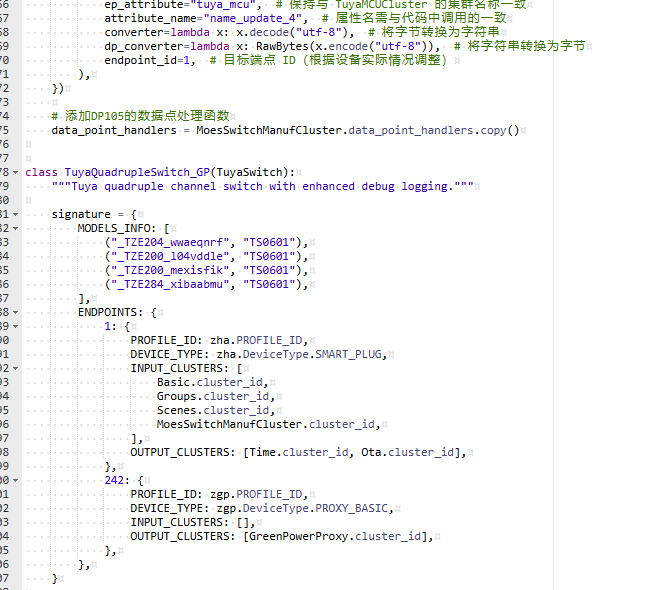
You can directly modify the quirk if only the _TZE284_xibaabmu model ID differs, but note that minor underlying protocol variations may cause the modified quirk to fail even with the ID updated.
(“_TZE204_wwaeqnrf”, “TS0601”),
(“_TZE200_l04vddle”, “TS0601”),
(“_TZE200_mexisfik”, “TS0601”),
(“_TZE284_xibaabmu”, “TS0601”),
Here are a few configurations for your reference.
Thanks for your question!
Yes, the ZMS-208 is essentially the same switch hardware-wise, so the configuration should work. However, to ensure full compatibility, could you please provide us with the specific TZE model ID of your ZMS-208 device?
I have the same device and i am having the same issue… TZE Model ID is as you mentioned earlier (“_TZE284_xibaabmu”, “TS0601”), I tried adding this to the file but I am not getting the switches to show up. Please see screenshots.
I have the device Zemismart Zigbee 4 gangs model "_TZE28C1000000_y4jqpry8" can it work with this? Do you have something else?
And also, is there a way to change the color/backlight from the HA?
We’re already following up with you through our support channel(aliespress), and the case has been passed to our technical team for further investigation.
The HA/Z2M ecosystem can require device-specific handling in some cases, so we’ll spend some time checking compatibility and possible implementation options.
Thanks for your patience — we’ll share updates once we have progress.
Hi - I've just received a _TZE28C1000000_xibaabmu 4 gang switch from Zemismart online, but cannot get the namehook via ZHA to work correctly - I've been through the full process, and I believe that the issue might be the Quirk. Can you confirm if the ZMS-206 quirk in this link is correct?
@cossiecostin Did it work with the file Zemismart sent you? I ask because I run my entire network on ZHA and wouldn't want to migrate to Zigbee2MQTT just to get this device working.
And I understand that the most important feature of this device is the names; if that doesn't work, the switch becomes useless. I don't know how complex it is to have a version that is 100% compatible with ZHA.