Red1
November 8, 2021, 8:39pm
1
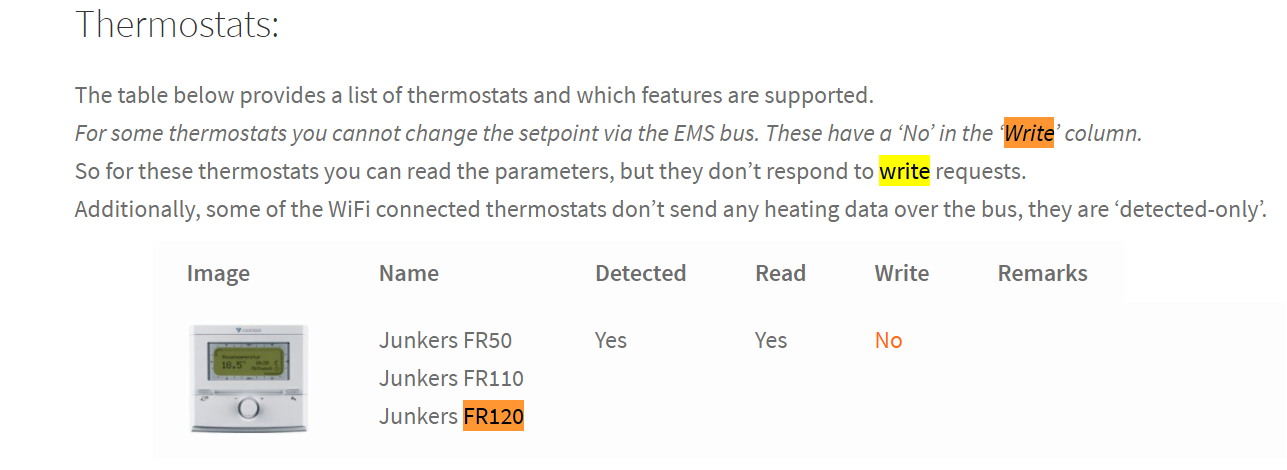
Situation : I am living in a flat (not my own) where a gas heater is given and cannot be changed. Gas heater is a JUNKERS (Bosch Group) ZWN 16-6 KE23 and the temperature control is a JUNKERS FR120 .
Problem : Currently, I have to control the temperature for each room manually in two steps: (1) Turning up the thermostat in the room and (2) activating the central heating on the FR120. That’s laborious!
Goal: I would like to control each room automatically using Home Assistant at the best.
For the control of each single room I could easily install smart thermostats and connect them with Home Assistant. But how to control the central heating (currently controlled by JUNKERS FR120)?
According to my research, the gas heater has only a 1-2-4 analog interface. Therefore I cannot easily install smart solutions I guess, since they require a data bus. Am i right? I thought about a solution using ESP32 microcontroller. But I am also not the electronics expert.
Does anyone have experience how to solve this?
Cheers, red
4 Likes
Red1
November 8, 2021, 9:24pm
3
@VDRainer thanks for the quick hint!
If I understand correctly, I cannot send any commands to the FR120 so that the heating gets on or off, right?
On this page I also found an information for my boiler/heater (JUNKERS (Bosch Group) ZWN 16-6 KE23 ), which seems to be one of the “non-compatible boilers”, right?
The simplest solution would be that I can switch the boiler on/off using Home Assistant. But not sure how to realize this. I am happy about any answers.
Cheers, red
1 Like
vajdum
October 3, 2022, 9:27am
4
They dont use the modulation and switch the heater on/off with a shelly PM in the 24V control circuit.
1 Like
pelim
December 5, 2022, 8:32pm
5
found this sophisticated solution
2 Likes
Red1
December 6, 2022, 5:33pm
6
Oooooooh, this looks like a super nice solution!
@pelim : Have you just found this solution or have you even tried it in Home Assistant?
Otherwise it’s still too faaaaar away for me, since there are two big challenges for me
I’m not very experienced with electronics or making such boards.
The software in this github repository is designed for blynk. But I would love to find a solution for Esphome & Home Assistant.
1 Like
jwm
January 18, 2023, 11:42pm
7
Thx for the link. I actually got the pcbs from pcbway and built the project today.reichelt.de
3 Likes
Hi jwm ,
I’m interested by your esphome script to control the smarTtherm board from HA. Could you please share it with me
1 Like
jwm
January 22, 2023, 9:16pm
9
Hi,
yes sure. I’m still tuning it a bit but here is the current version.
Yaml:
ESPHome
substitutions:
  unit_name: "smarttherm"

wifi:
  ssid: !secret wifi_ssid
  password: !secret wifi_password
  fast_connect: true
  reboot_timeout: 0s

  ap:
    ssid: ${unit_name} Fallback Hotspot
    password: !secret fallback_password

captive_portal:

ota:
  password: !secret ota_password

api:
  password: !secret api_password

web_server:
  auth:
    username: !secret web_server_username
    password: !secret web_server_password

esphome:
  name: ${unit_name}
  platform: ESP8266
  board: d1_mini
  esp8266_restore_from_flash: True # for slider position and switch state
  on_boot:
    priority: -100 # after everything is initialized
    then:
      - script.execute: update_pwm_level

logger:
  level: INFO

output:
  - platform: esp8266_pwm
    pin: D8 # octocopler drive
    frequency: 1000 Hz # default
    id: pwm_output

switch:
  - platform: gpio
    pin: D4
    id: onboard_led
    inverted: True
    internal: True

  - platform: template
    name: ${unit_name}_heating
    id: heating
    entity_category: config
    restore_state: True
    optimistic: True
    turn_on_action:
      - switch.turn_on: onboard_led
      - script.execute: set_pwm_level_from_slider
    turn_off_action:
      - switch.turn_off: onboard_led
      - script.execute: set_pwm_low_level

script:
  - id: set_pwm_level_from_slider
    then:
      - lambda: |-
          id(pwm_output).set_level(id(pwm_output_level).state);

  - id: set_pwm_low_level
    then:
      - lambda: |-
          id(pwm_output).set_level(0.07);// ~5v off

  - id: update_pwm_level
    then:
      - lambda: |-
          if (id(heating).state) {
            id(set_pwm_level_from_slider).execute();
          } else {
            id(set_pwm_low_level).execute();
          }

number:
  # power slider in percent for home assistant
  - platform: template
    name: ${unit_name}_power_level
    id: power_level
    restore_value: True
    step: 1
    min_value: 1
    max_value: 100
    unit_of_measurement: "%"
    mode: slider
    optimistic: True
    entity_category: config
    on_value:
      then:
      - sensor.template.publish:
          id: pwm_output_level
          state: !lambda "return x;"

sensor:
  # map percent slider value to float level of pwm output
  - platform: template
    id: pwm_output_level
    internal: True
    lambda: |-
      return id(power_level).state;
    filters:
      - calibrate_linear:
        - 1 -> 0.25 # ~8v min
        - 100.0 -> 0.62 # ~15v max
    on_value:
      then:
      - logger.log:
          level: INFO
          format: "pwm ouput level: %.2f"
          args: ['x']
      - script.execute: update_pwm_level

## optional:

  - platform: adc # ranges from 0v to 1v
    pin: A0
    name: ${unit_name}_ldr
    unit_of_measurement: "mV"
    filters:
      - multiply: 1000

  - platform: dht # for DS18B20 see https://esphome.io/components/sensor/dallas.html
    pin: D3
    model: DHT22_TYPE2
    humidity:
      name: ${unit_name}_humidity
    temperature:
      name: ${unit_name}_temperature
      on_value_range: # backup control
      - below: 17.0
        then:
          - logger.log:
              level: WARN
              format: "turn on heating, current temperature: %.2f"
              args: ['x']
          - switch.turn_on: heating
      - above: 22.0
        then:
          - logger.log:
              level: WARN
              format: "turn off heating, current temperature: %.2f"
              args: ['x']
          - switch.turn_off: heating

binary_sensor:
  - platform: gpio
    pin:
      number: D1 # octocopler output of 24v line
      inverted: True
      mode:
        input: True
        pullup: True
    name: ${unit_name}_active
    id: power_active
    filters: # debounce
      - delayed_on: 5s
      - delayed_off: 5s
Home Assistant
climate:
  - platform: generic_thermostat
    unique_id: junkers_therme
    name: junkers_therme
    heater: switch.smarttherm_heating
    target_temp: 20
    max_temp: 22
    min_temp: 17
    target_sensor: sensor.inside_temperature
    precision: 0.5
    min_cycle_duration:
      seconds: 30
    comfort_temp: 20.5
    sleep_temp: 19.5
    away_temp: 19

input_boolean:
  sleeping_time:

automation:
  - alias: sync_smarttherm_state_with_climate
    trigger:
      - platform: state
        entity_id: switch.smarttherm_heating
        from: "unavailable"
        to:
          - "on"
          - "off"
    action:
      entity_id: switch.smarttherm_heating
      service: >-
        {% if is_state_attr('climate.junkers_therme', 'hvac_action', 'heat') %}
          switch.turn_on
        {% else %}
          switch.turn_off
        {% endif %}

  - alias: set_smarttherm_power_level
    trigger:
      - platform: state
        entity_id: climate.junkers_therme
        attribute: current_temperature
        not_to: "unavailable"
      - platform: state
        entity_id: climate.junkers_therme
        attribute: temperature
        not_to: "unavailable"
    condition: >-
      {{ states('number.smarttherm_power_level') | is_number }}
    action:
      service: number.set_value
      target:
        entity_id: number.smarttherm_power_level
      data:
        value: >-
          {% set target_temp = state_attr('climate.junkers_therme','temperature') | float(-1) %}
          {% set current_temp = state_attr('climate.junkers_therme','current_temperature') | float(-1) %}
          {% if ((target_temp > 0) and (current_temp > 0)) and (target_temp > current_temp) %}
            {% set val = (target_temp - current_temp)**3 %}
            {{ (100 if val > 100 else val) | round(0, "ceil") }}
          {% else %}
            1
          {% endif %}
Previews:
ESPHome Webfrontend
Home Assitant Device
2 Likes
mtaberna
January 25, 2023, 9:16am
10
I am also looking for a solution that keeps modulation. @jwm I would be very interested in your work, how can I learn more?
1 Like
I would also love to have a solution which integrates the modulation
@jwm Do you still have some boards left over? I am interested.
jwm
January 27, 2023, 8:33pm
12
I don’t have any boards left, but you can order the PCBs yourself with the gerber-files. I will update the github repo soon with all the informations and send here an update.
4 Likes
would love to have them, thank you!
irootsk
January 28, 2023, 10:24pm
14
Hello jwm.
Looking forward for your github repo
Thanks
jwm
January 28, 2023, 10:27pm
15
1 Like
I just launched this solution with my Junkers Eurostar. Everything started up perfectly, including the thermostat in the HA. Thank you very much!
3 Likes
irootsk
February 7, 2023, 7:03pm
18
Are you using it without display ?
1 Like
vajdum
February 11, 2023, 1:02pm
19
On connecting the PCB to the 1-2-4 interface please pay attention - J1 1234 does not correspond to Junkers 1-2-4!
J1-1 = GND = Junkers 4
I use without screen - only HA sensor and thermostat integration but I have a screen type recomendation from the author: Nextion NX4832T035.
1 Like