Original post: https://smarthomepursuits.com/how-to-create-a-birthday-reminder-lovelace-card/

In this guide, I’m going to show you how to create a “Birthday Reminder” card in Home Assistant in 2021. If you’re anything like me, remembering birthdays is something I’m not very good at it (other than wife and kids).
Getting alerts the day of a birthday is great, but it’s not great when you have to scramble last minute to find a gift. While there are a lot of ways to be reminded in advance, since we are in Home Assistant all the time anyway, I thought I would come up with a way to display birthdays directly in Lovelace. That way, anytime we open Home Assistant we have a subtle reminder.
To do this, we are making use of the Google Calendar Home Assistant integration and installing the Atomic Calendar Revive frontend integration.
Let’s get started!
Step 1: Setup up the Google Calendar Integration
If you don’t already have Google Calendar working with your Home Assistant, you can reference my step by step guide here.
Step 2: Create a new calendar
Go to https://calendar.google.com. For this, I am creating a brand new calendar specifically just for birthdays (rather than just adding birthdays to my existing calendar). Even though my Google Calendar integration already showed a “birthday” calendar, I couldn’t add events to it from calendar.google.com, so I just created a new one. The end goal is to just put all birthdays into calendar.
Why?
This will allow me to filter just that 1 calendar into the Lovelace card we’ll be creating later on, rather than displaying other calendar events within the card.
Under Other Calendars on the left, click the + button and Create new calendar. Name it “Birthdays”.
Once the calendar is added, create a few test birthdays. When adding new events, make sure to add the birthdays to the “Birthdays” calendar and not your default Google one.

Step 3: Reboot Home Assistant
Next, reboot Home Assistant. After reboot, open File Editor > google_calendars.yaml.
You may have two birthday entries here, but make sure to choose the one that doesn’t have addressbook#contacts in the cal_id field. Once you find it, be sure to add a max_results: 10 entry to the card, as Google Calendars only tracks the next 5 events by default. You can of course change this to as many birthdays as you’d like.

Step 4: Install Atomic Calendar Revive frontend integration
So, why aren’t we using the built-in Home Assistant calendar? You certainly can, but my biggest grip with using the builtin one is that you can’t specify how many days in advance to view calendar events. The default is only 7 days. You can show the month calendar view, but without clicking the day you don’t know what the event is. And even if you change to the List view, you can only view events after 7 days in the future or by clicking the arrows to the right (image shown in the default calendar).

So, we are installing Atomic Calendar Revive to give us the customization we need.
If using HACS, switch to the frontend tab and search for Atomic Calendar Revive. This version is a forked version of the original and is actively updated, so we’re going to use this instead of the standard Atomic Calendar. You can also click the link above to install manually if you don’t have HACS installed.
Make sure to refresh the frontend after installing.

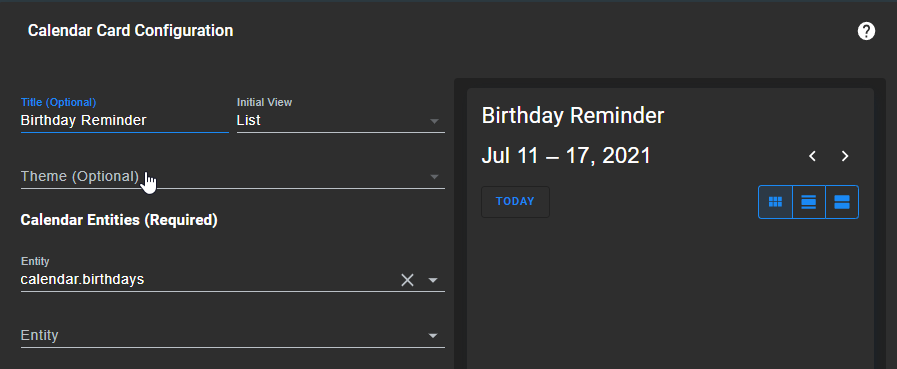
Step 5: Create Lovelace Card
The next step is easy; just create a new card by searching for “Atomic Calendar Revive.” There are quite a few options to play around with depending on your needs, but if you want yours to look just like mine, you can add a “Manual” card instead and just paste my yaml below.
Note: You will have to click the Show Code Editor button in order to add yourcalendar.birthdaysentity.
To do that, add this in the code editor:
entities:
  - entity: calendar.birthdays
To find your calendar entity name, go to Configuration > Entities and search for calendar.

name: Birthday Reminders
type: custom:atomic-calendar-revive
entities:
  - entity: calendar.birthdays
firstDayOfWeek: 1
maxDaysToShow: 60
showDate: true
showMonth: true
showWeekDay: false
showCurrentEventLine: false
showProgressBar: true
showDescription: true
showFullDayProgress: true
showNoEventsForToday: true
showEventIcon: true
Wrapping Up
That’s really all there is to it! The next step is to simply add everyone’s birthday to your Google calendar “Birthdays” so they show up in Home Assistant. Once the card is created and saved, you can edit it again to view all the available options from the visual editor.
If you liked this Home Assistant Birthday reminder card, then you should also check out my Upcoming Sports Card guide, where you can subscribe to all of your favorite sports teams via Google Calendar, and then display the scores and next game time right from Lovelace, like this:
