I want from the stock driver description in Hubitat’s docs (and the virtual fan driver), which has speeds of off, low, medium-low, medium, medium-high, and high, which I mapped to 0, 20, 40, 60, 80, and 100.
If you can post the capabilities of your device, I can try to deal with it more accurately.
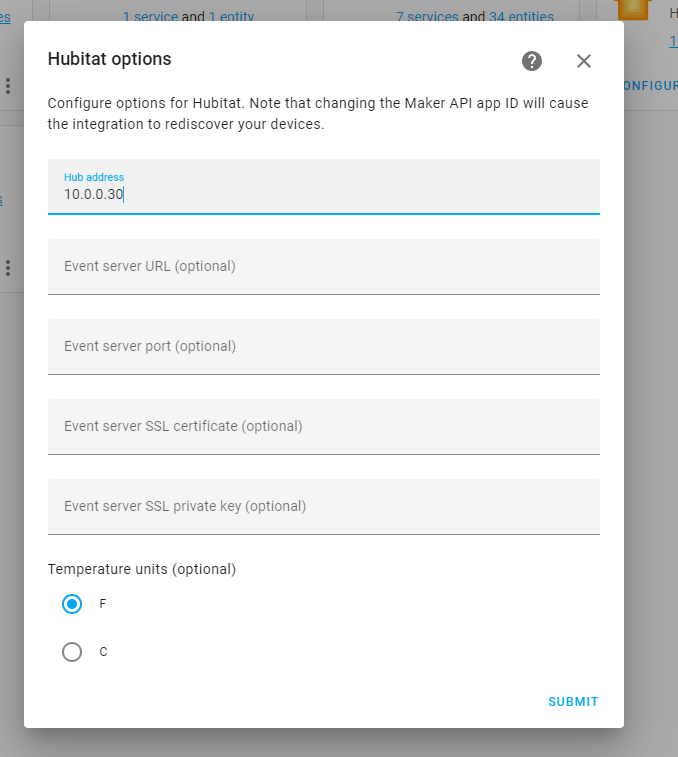
EDIT2: I figured it out. I had given HomeAssistant a static DHCP mapping but I had not yet rebooted the VM for it to get its new lease, I suppose Hubitat was trying to talk to it via its new IP or DNS name. Rebooted the VM, then just ran through the config again on HA, and bingo it works great
Hi ,
tried and start reading this topic thread but finally noticed it is 1104 massages LOL .
Is there instruction on how to integrate HE into Home Assistant ?
In the beginning of this topic it mention that there is an MQTT integration coming so and here it uses Maker API .
So which way is the best to use.
FYI, new to home assistant just install
There is a link to a README file in the first post that has all the instructions.
The MQTT based integration is a different thing than this integration. My recollection is that the MQTT one runs on the Hubitat itself. There’s information on that one available at:
Well, from looking at the MQTT solution’s GitHub page, it has not been updated for years. Perhaps it has not needed any updates…but probably most folks have moved over to @jason0x43’s integration instead? Just a guess based on the lack of both GitHub and Hubitat forum activity.
@jason0x43’s Hubitat Integration has been working well for me, and he is still actively supporting it.
I’ve got a Sengled Element Color Plus bulb properly connected to Hubitat. For some reason this one bulb is only showing Home Assistant the ability to turn it on and off and adjust the brightness. It is not showing HA that it has any color options. There are other bulbs in my Hubitat that DO show HA color options, so I know it is supposed to work. Any ideas what I might do to make this work? I’m slowly moving everything over to Home Assistant. I’m not particularly impressed with the Zigbee integration, so I’m using this component to use my Hubitat hubs as a Zigbee hub. With the exception of this bulb, it’s working great! Thanks for your help!
EDIT - It appears that my question may be actually a different one. After even more digging, I discovered that I CAN adjust this light’s color from Home Assistant, but ONLY by clicking on the device itself and going in to the settings. Can I create and entity that will allow me to make these adjustments from an automation? Of course, now maybe the question no longer belongs here?
Hmmm…I’m not quite sure what you mean here. Your light should have a device in HA with an associated entity. You may or may not have an entity card for the light on your dashboard; it depends on how HA is setup (if HA is controlling your dashboard or it’s being manually configured). If there is an entity card for the light, it should be behaving like the entity cards for other lights coming from Hubitat. Tapping it should open the controls for the light. But…occasionally a light from Hubitat won’t actually look like a light, so the integration may be doing something weird.
I’m don’t quite understand what are you talking about here. Do you have an working example configuration.yaml I can take a look at to get HSM working in HA?
HSM already works, in the sense that there’s a sensor for the HSM state and a service to update the state. You could create a dashboard panel that displays the hub’s HSM status, and that has buttons to call the hubitat.set_hsm service for each of the HSM states you want to be able to use.
To create an alarm control panel entity for the HSM state, you could add an alarm_control_panel template to your configuration.yaml, similar to the example in the documentation:
Refresh template entities from the Developer Tools → YAML panel, or restart HA. Then add an alarm control panel entity to the dashboard for the entity created above.
I’ve opened an issue for automatically creating an alarm_control_panel when HSM is enabled.
I just created my keypad using this as well, however I changed the disarm command to disarm instead of disarmAll as I didn’t want it to disarm my custom (temperature) alerts. I also had to change the arm_night command to armNight instead of armHome to get it to arm night.
Can some one help me? I did some thing stupid when i was messing with my Maker API in HE. I changed my Access token, so now my Hubitat integration is no longer working. For the life of me, i can not seem to figure out where i should update this in HA?
I looked through the documentation, and it appears the only time you can add the Access Token is during the initial setup of the integration. That might mean you would have to uninstall the integration and then start from scratch. I’m not sure what that would mean for all your entities/devices and any automations that use them, so I’m hoping someone can confirm or refute my read of things before you go to the drastic step of uninstalling the entire integration.
You are correct – there isn’t a currently a way to change the access token. The access token (a part of it, at least) is the primary identifier for an instance of the integration, and the unique IDs for all devices and entities created for a hub are based on the access token.
Ok, thanks. I deleted the Integration and then reinstalled it. It did carry over my devices but i had to figure out which was which, and then rename them back to their original names. I had to redo all of the automations/scenes that they were part of.