Is this a bug or a feature? Did you confirm that the factory reset platform isn’t espressif chip exclusive? ![]()
I did, but I’m missing any connection to the yaml part you posted ![]()
Is this a bug or a feature? Did you confirm that the factory reset platform isn’t espressif chip exclusive? ![]()
I did, but I’m missing any connection to the yaml part you posted ![]()
I love the OpenBeken firwarea as it work out of the box with Homeassistant.
So here’s a question that maybe someone can answer.
Can I flash OpenBeken over Tasmota?
I have two devices for which I could not find any profile in cloudcutter, but Tasmota had it supported via tuya-convert.
Now it’s running Tasmota nicely, but the MQTT does not really work for HA and I don’t like the idea to run another integration in HA when OpenBeken does it so nicely.
How can I get OpenBeken flashed over Tasmota?
No, espressif chip is not supported by openbeken
Try switching to esphome
is not a yaml but log on press button for reset…
Ok, I will accept that the 3 lines of log happened when you pressed the reset button. Presumably you already looked up the details in the error message.
And yes, those 3 lines from the configuration yaml appear not to have done what you had intended … but that is the most anyone can say from looking at only 3 lines.
I don’t know of anyone here who can read your mind or the rest of your configuration, to even start to work out what else might be happening.
What about the rest of the configuration ? Does the device in the yaml match the device you are using ? Does the device even support factory_reset ? It is like me expecting that you tell me “why my car won’t work”, by providing only that it is blue, and that it doesn’t move.
Telling us what device you are using, and providing the full configuration yaml file would be a great start ![]()
Thanks for all your help - this was rarely one of these types of adventures that actually worked.
I initially had issues - it seems, at least on my DETA switches, bridging CEN to GND shorts the 3v3 supply out. If powering via USB SERIAL adapter, it would also cause that to reset. Basically causing BK Writer to lose the COM port.
What I did was pull the trusty bench supply out to power the board. I bridged the GNDs together between the programmer, the board and the bench supply. I’ve found this is necessary for flashing, I’ve cooked an expensive car ECU when this GND connection came apart so its pretty damn important to ensure a consistent ground reference between the programmer and the BK chip.
I connected the VCC input from the BK chip directly to the bench supply.
Now when I hit the CEN to GND, yes it does short the board out, but its enough to reset it without taking the USB->Serial board down with it. I noticed it was pulling 4 amps with CEN shorted to GND, before I turned down the current limit on the supply. I wonder if DETA permanently connected CEN to 5V to try and stifle the DIY community from programming the boards?
Anyway, all good. Thanks again!
After couple of tries I successfully flashed smart switch. Initially I had trouble using the flasher referenced by the OP (could not unprotect the flash), but found another tool, very easy to use (windows and linux) for BK7231T and N chips:
I’ve got quite a few of the Deta GridConnect Light Switches that I’ve flashed ESPHome onto as well as some of the power points - but I’ve just bought 1 of the Touchless Handwave Switch 6931HA DETA Grid Connect Smart Touchless Handwave Switch | Deta Electrical I’ve added it to the Tuya app and see it is running firmware 1.0.4, which most of my light switches were. So I have no doubt that I’ll be able to flash it fine, but how does 1 then go and find what pins are being used for the LEDs, the Relay and the touchless handwave sensor (unsure what that is actually called)? Yes I’ve checked the ESP Home Devices page Standard: AU | devices.esphome.io but not found it there.
I bought a Feit smart downlight that has a chip labeled “CBU” in it. I tried connecting RX1, TX1, 3V3, and GND to a USB-Serial adapter, but I was unable to flash OpenBK on it. Does anyone know if this chip is supported or what I need to do to get it to flash?
Start flashing using ltchiptool then connect cen pin to gnd briefly. You might have do to this repeatedly until it’s working
Hi. I tried flashing ESPhome FW to CB3S module with libretiny, but it fails with error “flash protected”. Any help would be appretiated.
Detailed info here:
Can you try flash it with openbeken using BK7231GUIFlashTool
I ddid not figured out, how to flash ESPhome FW using the OpenBEKEN. I copied the FW image (all variants) into the “firmwares” folder, but the tool just does not accept them as compatible for the BK7231N chip.
Btw the posts also state, that that there is on AP after flashing the Matter devices with OpenBeken FW.
So it looks like you can’t get openbk to boot yet on these bk7231m with matter.
https://www.elektroda.com/rtvforum/viewtopic.php?p=21115403#21115403
I just tried flashing it, and it’s not working as well. I’ve swapped cb3s with esp chip for now
I just installed esphome on a couple of tuya devices with CB3S, worked straight away ![]()
bk72xx:
  board: generic-bk7231n-qfn32-tuya
Not for this cb3s/cbu with bk7231m(not n, m for matter i guess) it doesn’t boot up with openbeken or libretiny
Matter devices should be avoided (like zigbee, zwave, etc.) if you want to have full control and ownership. You don’t have the right to repair and other things you are used to have when using wifi devices that are supporting (and allowing) to install your own firmware like esphome. ![]()
If I remember right the matter specs force the lock down of the modules ![]()
In case anyone else is following this thread…
Just installed OpenBK on an ANTSG HUBIR01HA Series 2
For the record: board is labeled TYSW_012_ZK_MAIN_V1.1
and uses a CB3S wifi board
To upload it (Icouldnt find my Jaycar FIDI board) I used an arduino MEGA2530 I had laying around, and simply connected the Reset Pin to GND (to lock it from responding). then I connected the TX(0) and RX(0) to a header I soldered directly to the HUBIR012A’s “input output” pads.
Boot with IO0 pulled to ground, and everything esle connected, then simply loaded the OPENBK and set to BK7231N (if you get an error on your first “backup”… this is why)…
Once backed up… installed and BINGO!
Worked!
Hope this helps someone else.
Mike - Melbourne.
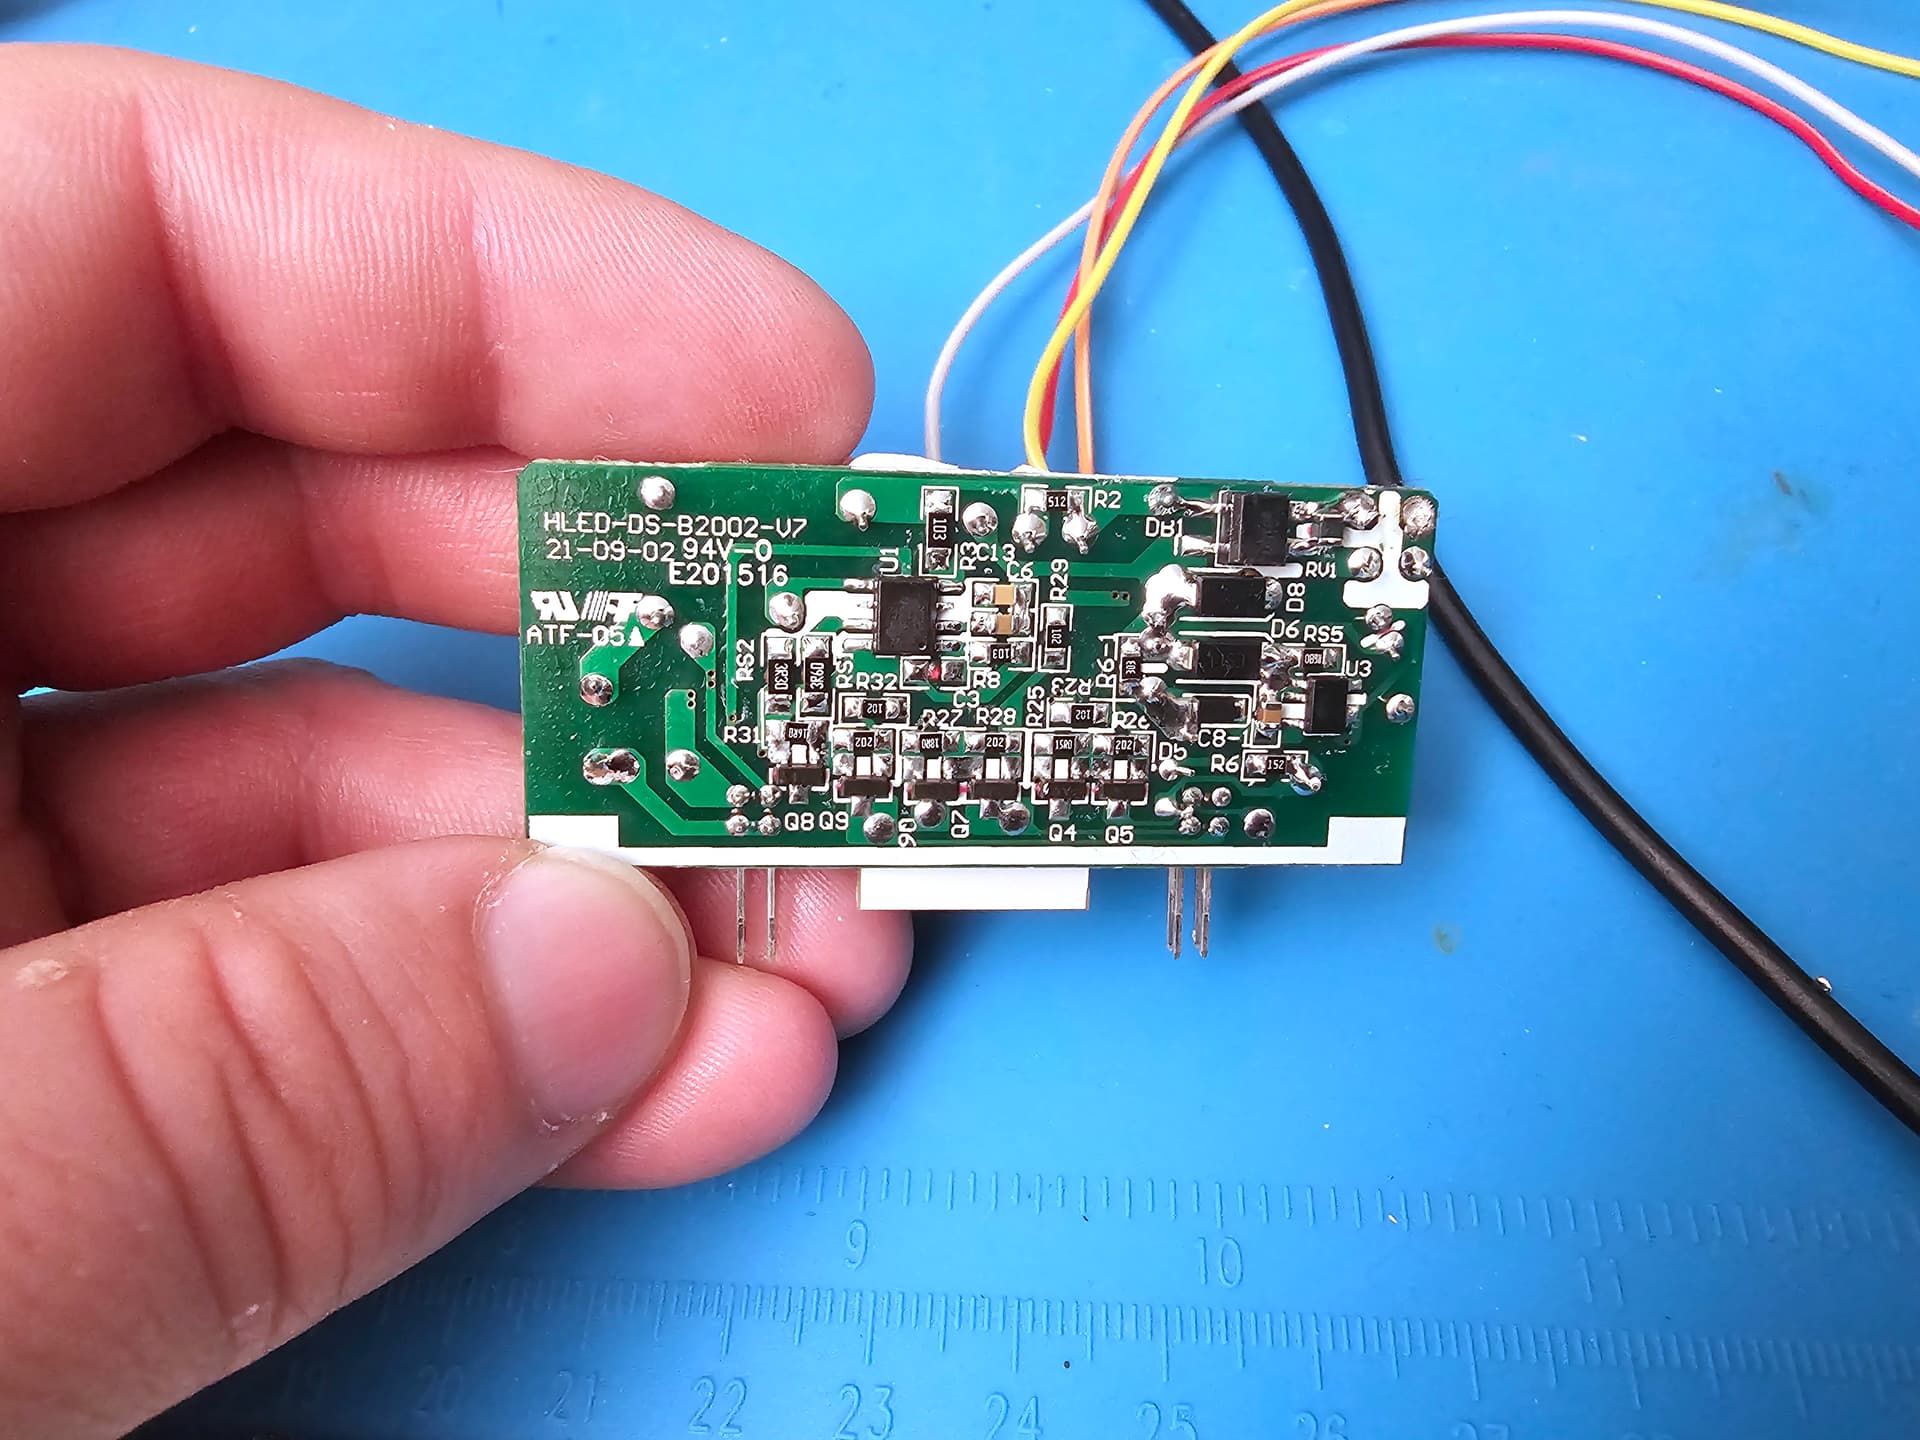
DETA 6910HA Single button dimmer switch
This is flashable OTA by cloudCutter
Select firmware 1.1.9 bk7231s_common_iot_config_ty
When finished you will have 4 datapoints
1 = Switch
2 = Dimmer 0-1000
3 = Min Dimmer 0 - 1000 (so when pressing this is the lowest the dimmer will go to)
6 = Countdown timer in seconds to turn off the light ie 600 = 10Min
Yaml:
substitutions:
  name: deta-dimmer-1
  friendly_name: "Deta Dimmer "

esphome:
  name: ${name}
  friendly_name: ${friendly_name}

bk72xx:
  board: wb3s


captive_portal:

uart:
  rx_pin: P10
  tx_pin: P11
  baud_rate: 9600

time:
  - platform: homeassistant
    id: homeassistant_time

sensor:
  - platform: uptime
    name: ${name} Uptime

  - platform: wifi_signal
    name: ${name} Wifi Signal
    update_interval: 60s

# Register the Tuya MCU connection
tuya:

light:
  - platform: "tuya"
    name: "light"
    # dimmers current value
    dimmer_datapoint: 2
    # dimmer on/off
    switch_datapoint: 1
    #Min that light will dim to
    min_value_datapoint: 6
    min_value: 0
    max_value: 1000