Device Floorplan — A visual floorplan editor and live dashboard card, without YAML [Public Beta]

Hi everyone :waving_hand:

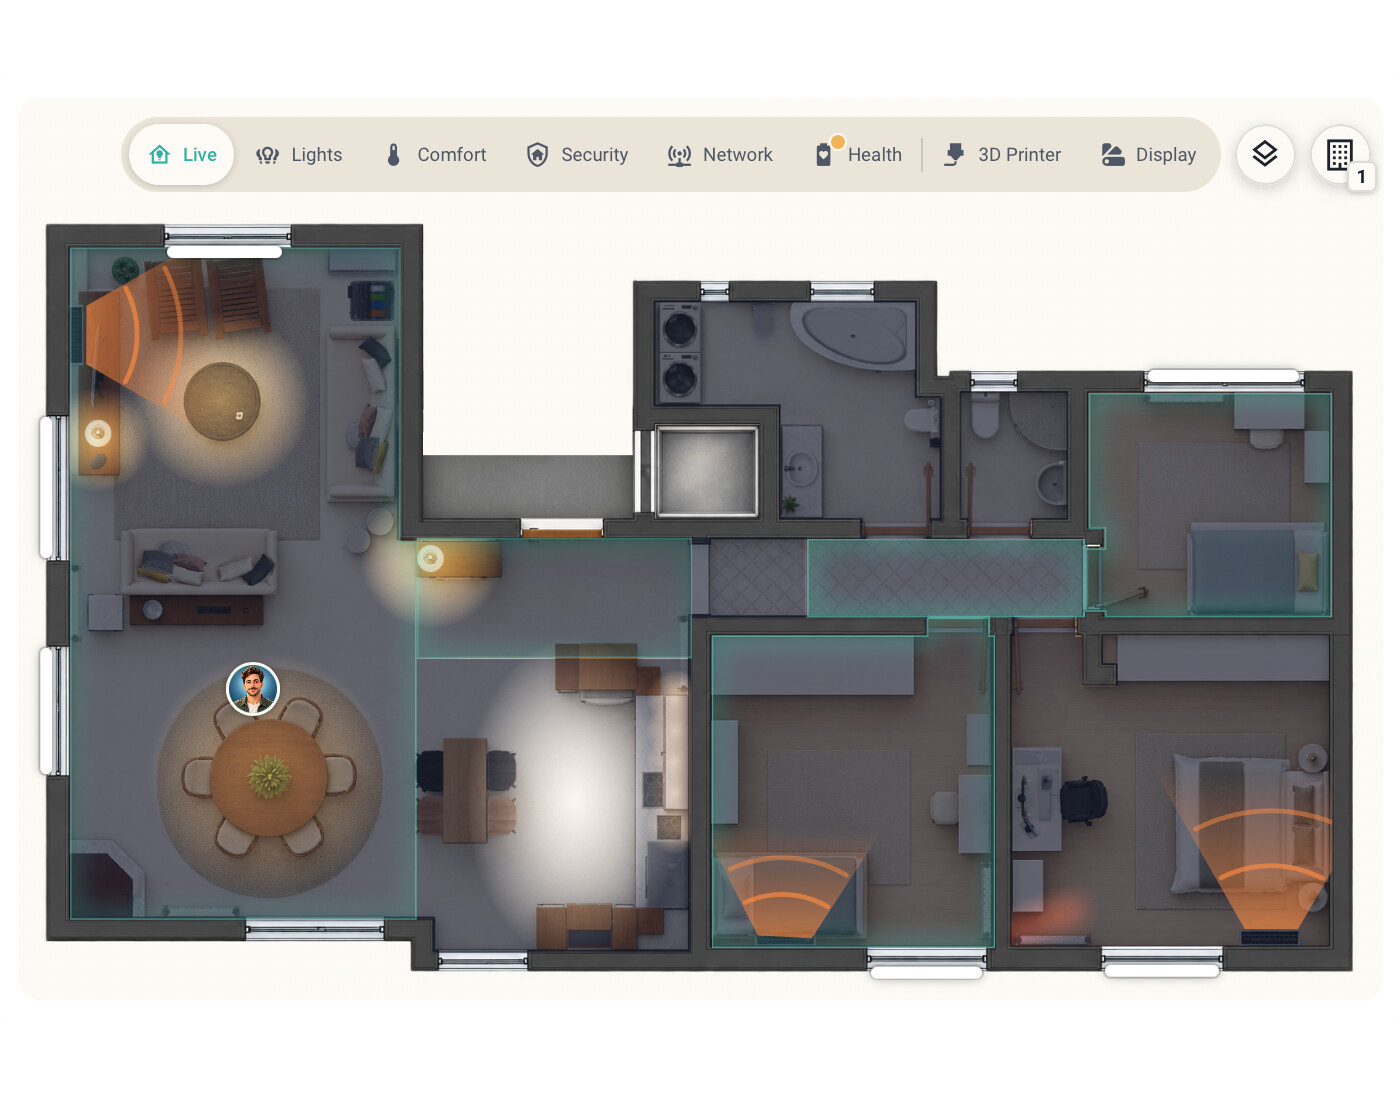
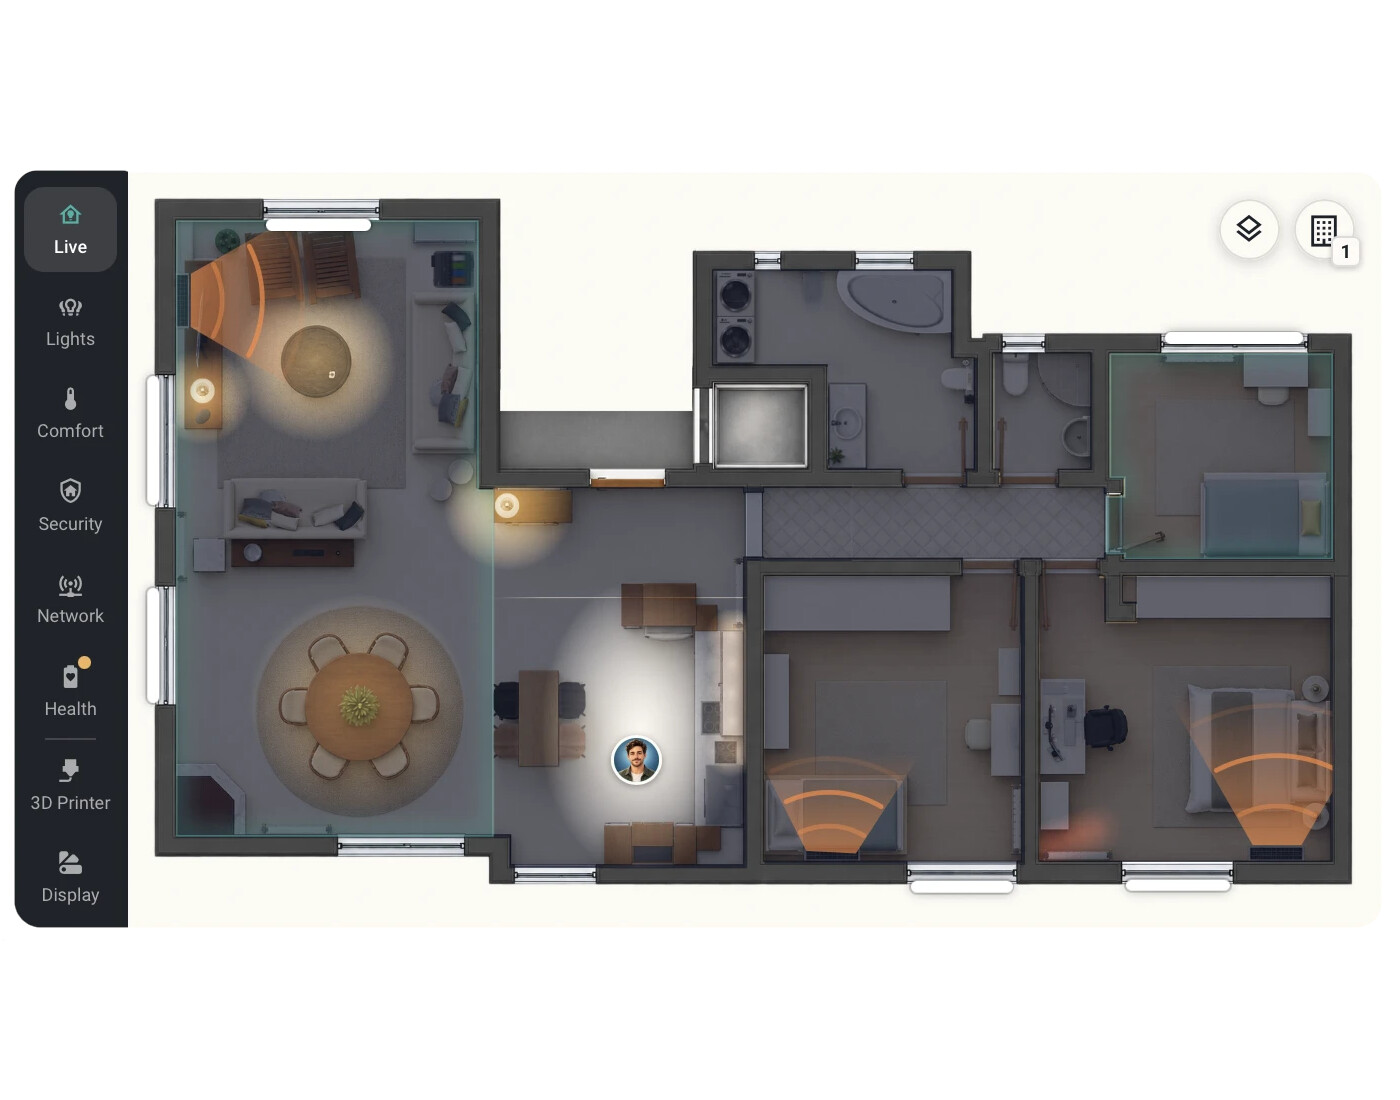
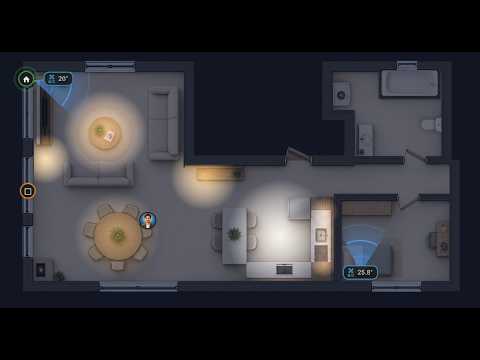
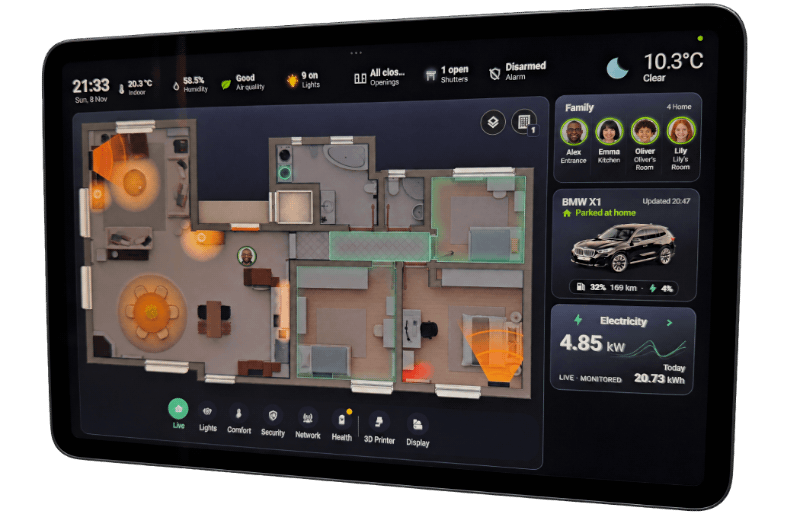
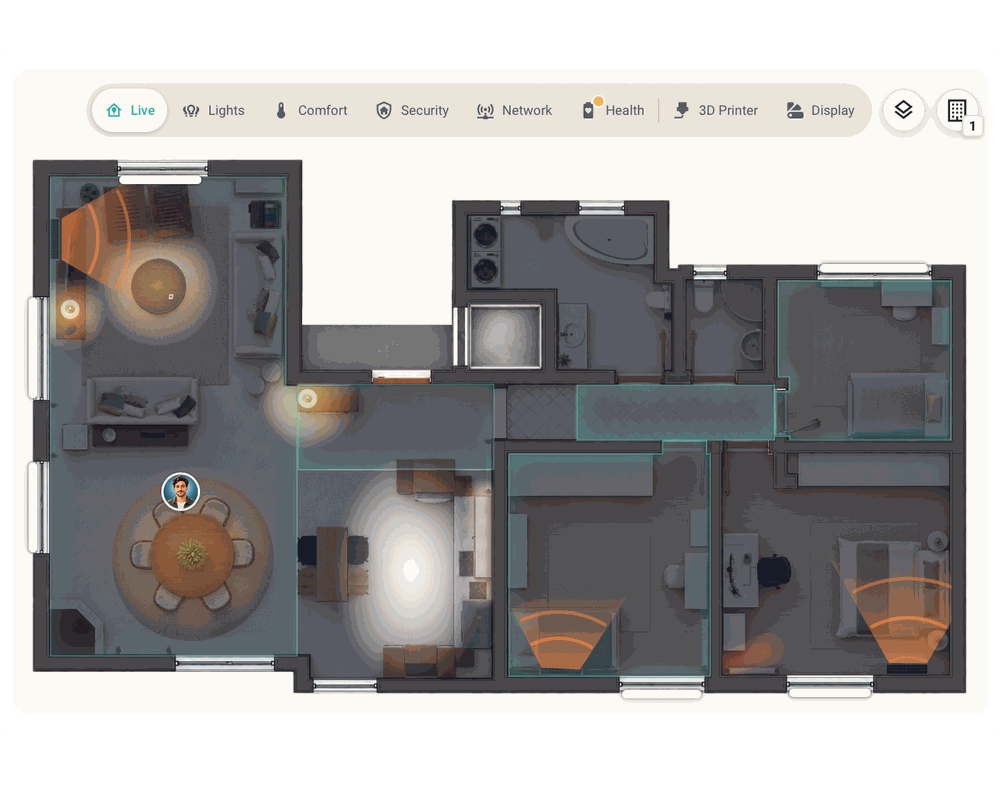
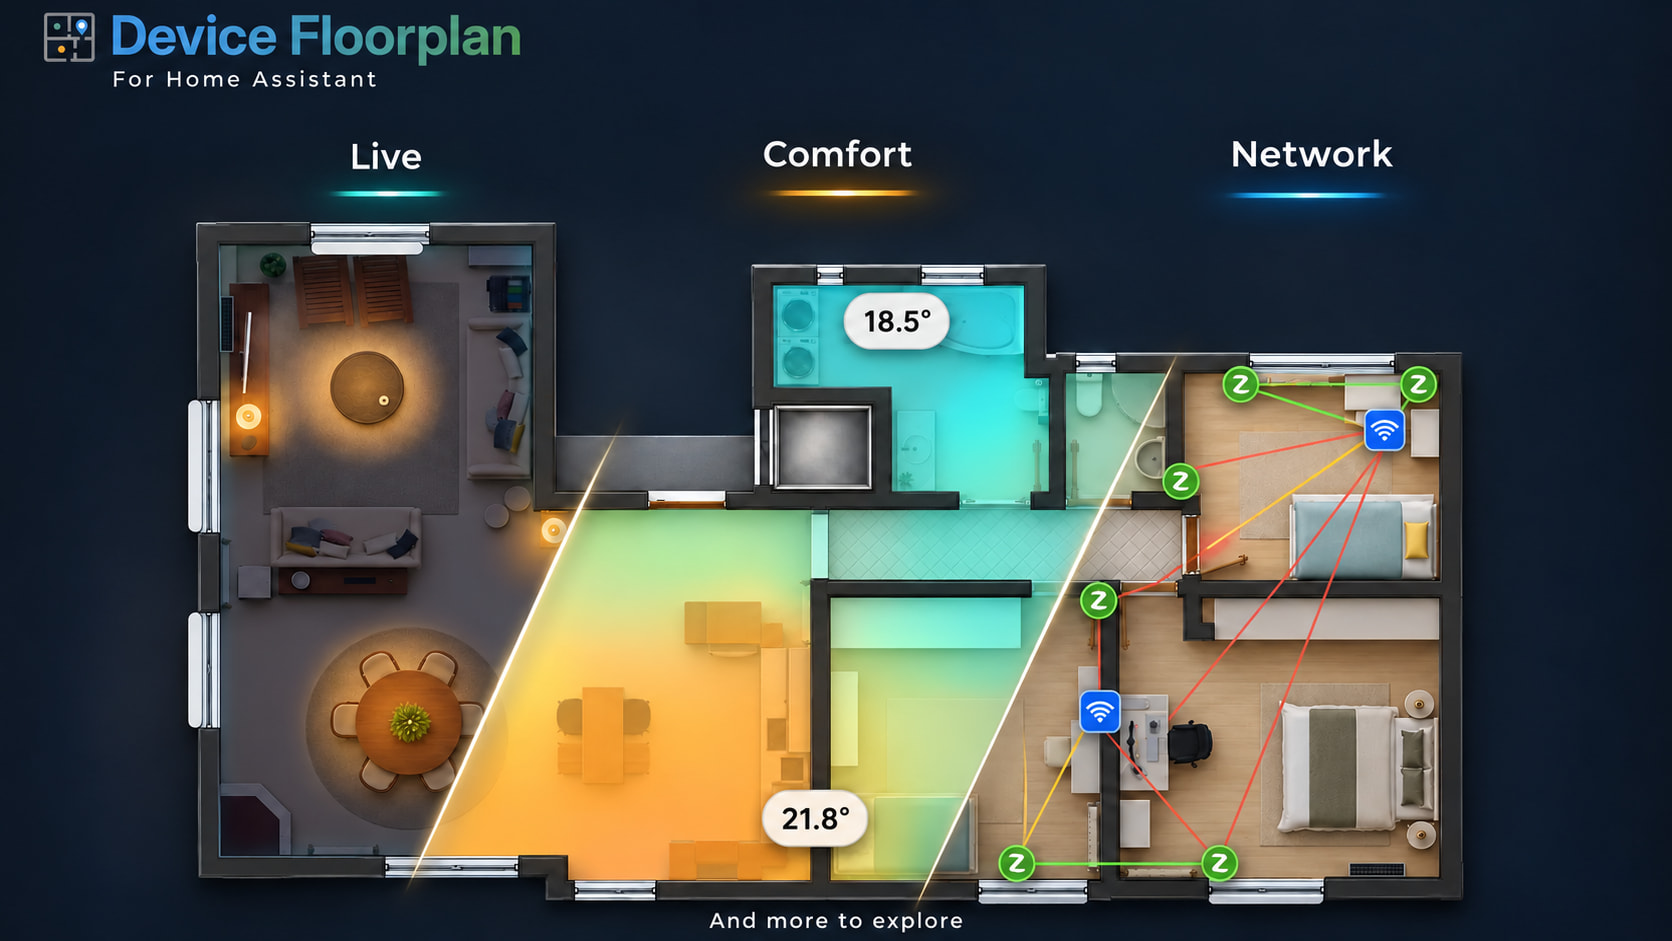
I’d like to share Device Floorplan, a custom integration I’ve been building for my own home. It puts your Home Assistant devices on your own floorplan and lets you control and see your home alive: lights glowing in their real colour and staying inside their room, the AC blowing, the TV glowing, the washer telling you it’s done, people in their rooms, the Zigbee mesh drawn over your walls. All with clicks, no YAML.
Install

Open your Home Assistant instance and open this repository in the Marketplace.

or Settings → Marketplace → add https://github.com/JohnKotrolos/ha-device-floorplan → install → restart. (Before 2026.11: HACS → ⋮ → Custom repositories → the same link, type Integration.)

:video_game: Live demo (try it in your browser, with a guided Editor tour): Device Floorplan · Interactive demo
:book: Guide: Device Floorplan
:package: GitHub: GitHub - JohnKotrolos/ha-device-floorplan: Place your Home Assistant devices on your own floorplan, with an interactive dashboard card and live overlays. Currently in beta. · GitHub

:movie_camera: A short video walkthrough (recorded with an earlier version): https://youtu.be/dS8werqYjQ4

For new HA users

Set up your floorplan and place your lights, temperature sensors and door/window sensors with drag & drop (or let Auto-place do most of it), in minutes, with no YAML at all. One click on I’m ready → Add to dashboard gives you a Floorplan dashboard to run your home: turn on the living room lights, check the temperature, see what’s happening right now.

When you’re ready, the guide shows the next steps, for example telling the Editor that your kitchen light is a spot, a bulb or an LED strip and how far it shines. Turn it on and the kitchen lights up on the plan in the bulb’s real colour, or in a colour you choose for plain lamps.

For advanced HA users

Build a floorplan worthy of your wall tablet:

  • Draw your room shapes for realistic lighting, daylight and AC air flow; Glue Rooms makes neighbouring rooms meet on one line, so light flows through open doorways and stops at walls.
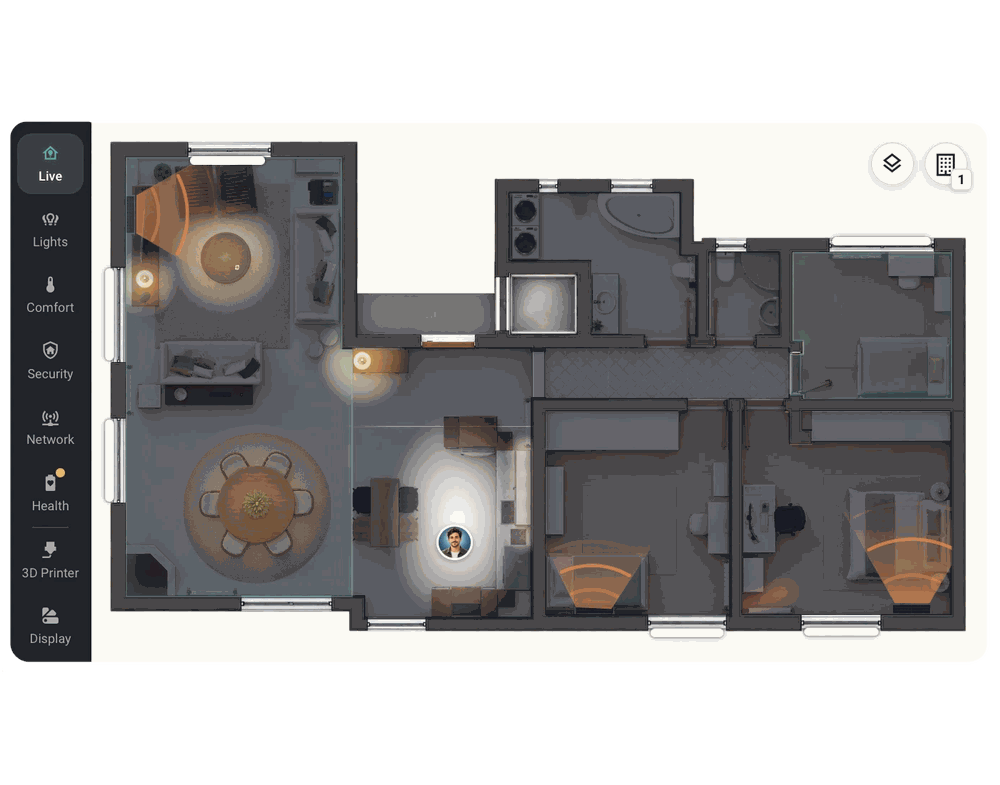
  • Make the Overlay Bar the menu of your wall panel: below or above the plan, or as a full-height Side Rail. Add shortcuts to your other dashboard pages, a popup on this browser only (browser_mod) or any action, and a status on each button (my 3D printer turns green while it prints).
  • Multi-floor homes: put all your floors in one card and switch between them; they share one frame, so nothing jumps.
  • Bond devices that work as one: the Wi-Fi spots in your living room ceiling become a single light (ZHA groups become bonds by themselves).
  • Split a device across the places it really is: the Zigbee relay behind your wall switch sits on the wall, the kitchen light it switches sits over the kitchen. Tap the light on the plan and it turns on.
  • Draw your door, window and shutter sensors as bars where they really are: Live shows what’s open, and an electric shutter fills in as it closes.
  • Open the network map and see every Zigbee device in its real location, with its links and link quality, plus Wi-Fi and LAN devices from your router.

Customisation

  • Your own overlays: create overlays with the kinds of devices you want, and choose which overlays show on your dashboard.
  • Tap and hold, your way: a short tap switches lights, switches and fans, opens cover and AC controls, or shows a reading’s last 24 hours; a long press (or right-click) always opens the device’s details. Change what a tap does per kind of device, per device, or even per overlay. Overlay buttons can do something else on hold too.
  • Your own icons: pick any icon for a device, for one overlay only, or for each extra reading line under a marker. Any icon from Home Assistant’s picker, and custom icon packs you’ve installed work too.
  • Already have a nice dashboard? Add the floorplan as a card, hide its Overlay Bar, and switch overlays with your own buttons, custom cards or the Floorplan chip card.
  • Floorplan values in your own menu: show things like 5 of 7 lights on or the home temperature in your existing top bar, straight from the floorplan’s bonds and phantoms.
  • Nothing is created or changed in Home Assistant: no helpers, groups or template sensors.

Quick start

  1. Settings → Marketplace → add https://github.com/JohnKotrolos/ha-device-floorplan → install → restart. (Before 2026.11: HACS → Custom repositories, type Integration.)
  2. Add the integration Device Floorplan and open Floorplan Editor in the sidebar.
  3. Create a plan and add its picture (a file, config/www, or a sample plan).
  4. Measure (optional), Mark rooms (drag your areas, draw their shapes, Glue Rooms), Place devices (Auto-place, then drag).
  5. I’m ready → Add to dashboard, then pick overlays, the Overlay Bar or Side Rail, shortcuts and floors in the card editor.

No floorplan yet? Turn your sketch into a floorplan in 10 minutes.

Good to know

  • The interactive Zigbee map needs ZHA; Wi-Fi and LAN come from your router (FRITZ!Box and others).
  • Room shapes are optional, but without one the light isn’t stopped by walls.
  • Made for PC (Editor) and tablets / wall panels (card); phones work too.
  • People need a room sensor per person (Bermuda, ESPresense, a template…).

It runs every day in my home with ~90 devices. Questions, ideas, bug reports and screenshots of your setups are very welcome, here or as GitHub issues. Thanks for trying it! :slightly_smiling_face:

1 Like

:clapper_board: Video walkthrough + 0.7.3 is out

A short tour of Device Floorplan, from an empty plan to the live dashboard card:

It covers the three steps in the Floorplan Editor (measure, mark rooms with optional room shapes, place devices with Auto-place), light shapes and colours, door/window bars, AC air flow, and then the card: settings, people, night and day, and the Zigbee map. Chapters are in the video description, so you can jump to the part you care about.

New in 0.7.3

  • Room pulse: motion in a room with a shape shows as a soft, breathing outline of the whole room; presence stays steady and fades out after. Open-plan neighbours stay clear.
  • Move whole shapes and bars: press and hold inside a room shape or the middle of a bar and drag it.
  • Shutter + window contact as one bar: driven by the shutter, and it pulses orange-red if the shutter says closed but the window is open.
  • Wi-Fi / LAN map: with router device tracking on (FRITZ!Box and other routers that report the access point), Network draws each device’s link to its router or repeater: solid for cable, dotted for Wi-Fi, one colour per access point, with a count per access point in the legend.
  • Cleaner Network layers: only the options that apply to the connections you show.
  • Hide the “N new · Place them” button from the card editor.
  • Marker labels near the plan’s edges no longer get cut off.

Update through HACS, restart Home Assistant and refresh your browser.

Thanks to everyone who has installed it and sent feedback so far. Keep it coming, here or as GitHub issues. I’d especially like to hear which routers work with the new Wi-Fi map. :raising_hands:

:video_game: Live demo: Device Floorplan · Interactive demo + v0.8.1 is out

A Live Demo, so you can play around and test the integration without the need to install it in your HA, is now available.

New in 0.8.1

  • Card editor improved to better support multiple floor plans: Per floor section, framed with the floor tabs: the floor’s Markers and Rooms on this floor (custom names, hidden Rooms). Then Card settings (the whole house, all floors): overlays, Rooms look, People, Day & night, Look and tap. Edit markers opens on the floor you picked.
  • Network across floors: a device whose router, coordinator, access point or hub is on another floor shows that device faded at its spot, with a normal line; hover it for its name and floor.
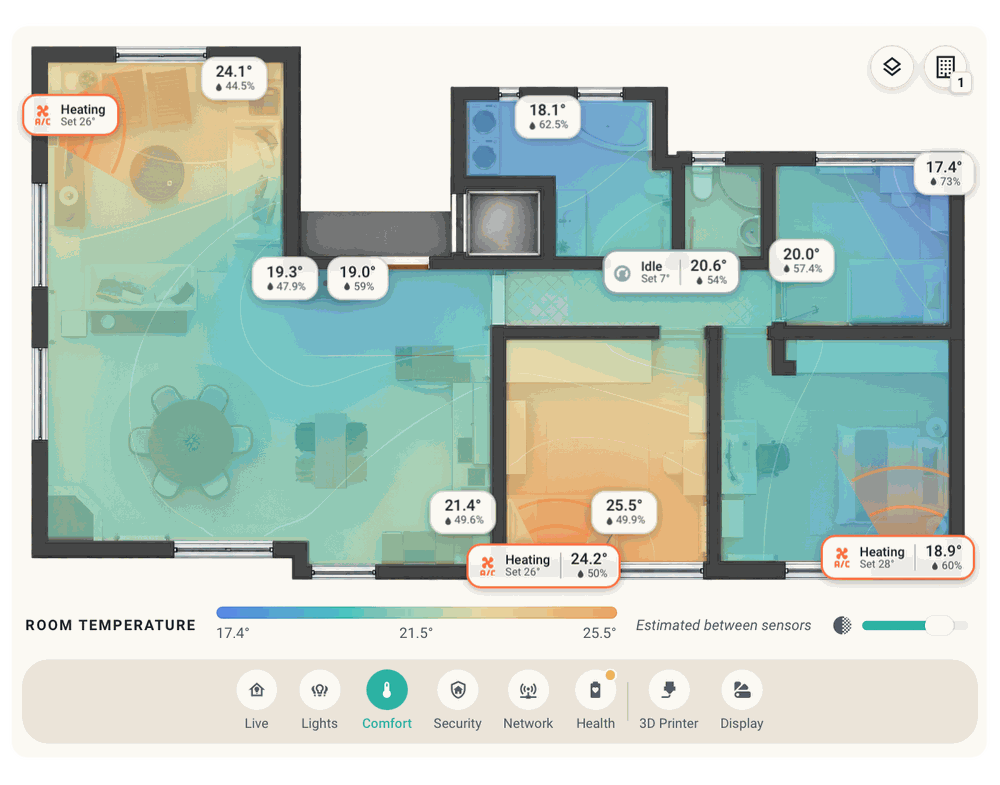
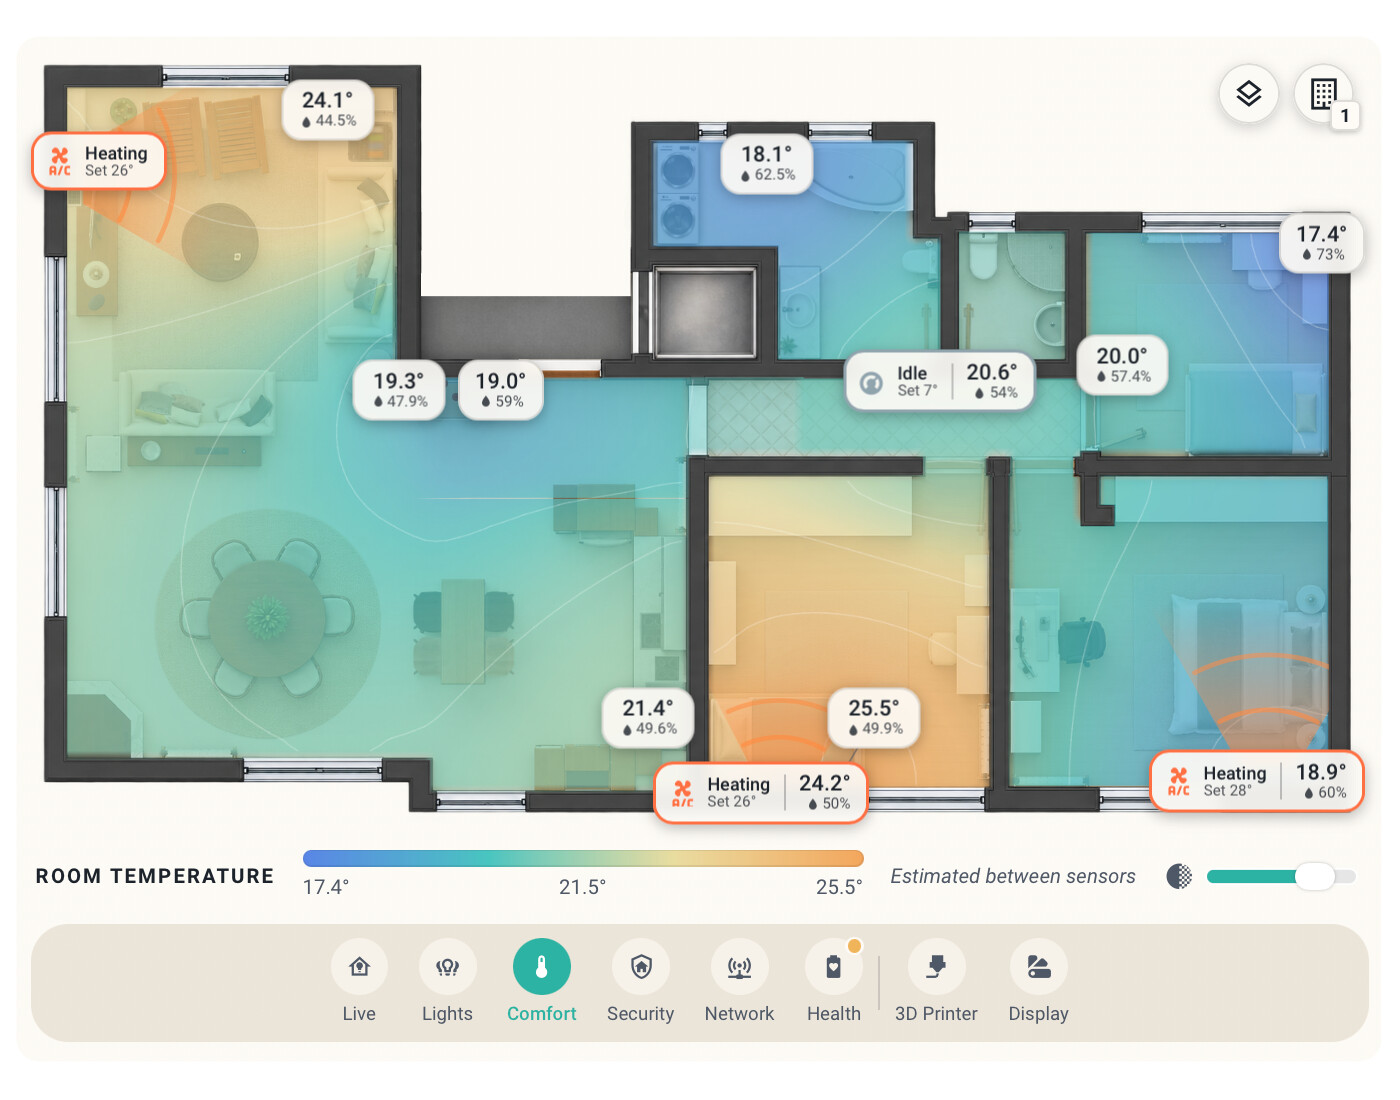
  • Comfort heatmap: rooms are open to each other where their shapes touch or overlap (also a thin overlap), and a room without a thermometer (a hallway) gets a gradient from the rooms it opens into, also step by step, slightly faded as an estimate.
  • TV & Appliances Glow: Turn on your smart TV and watch it glowing in the Live floorplan. Additional shapes to use in the Floorplan Editor for your dishwasher, dryer or 3d Printer.
  • Home Assistant 2026.11:
    • Child devices (one outlet of a power strip, one channel of a switch) are part of their parent’s marker; give a child a Room of its own in Home Assistant and it becomes its own marker (you can still choose per device).
    • Main entity of the device: the entity you mark as the device’s main entity in Home Assistant leads its marker automatically.
    • Green Power battery-free Zigbee switches show as their own role in Network, without lines.
    • Names: friendly names are on their way out; the card and the Editor now take names from one place that falls back to device + entity name.

Install from the Marketplace (it replaced HACS): guide and README updated.

:tada: 0.9.1: made for wall panels

Hi everyone :waving_hand:

A big thank you to everyone who tried Device Floorplan. Over the last few days I focused on the Floorplan card: Device Floorplan 0.9.1 is out, and this one is mostly about wall panels and dashboards.

What’s new

  • Overlay Bar: put it next to the plan (above, below, left, right) or use the new Side Rail, a strip over the full height of the card, like the menu of a wall panel. Pill, tile or circle buttons, and a Contrast look that follows light and dark mode.
  • Shortcuts in the same bar: open a dashboard page, a popup on this browser only (browser_mod), run any action or reload the page. Overlay buttons can do something else on hold. On my wall panel the bar is now the menu for the whole dashboard.
  • A status on each button: a dot, a count, a short value, or an icon colour by state. My 3D printer turns green while it prints and red when something goes wrong.
  • The plan fits the card: top-aligned, never stretched, also inside stacks.
  • One frame for the whole house: floors line up and switching between them doesn’t jump; Align places a floor over the one below.
  • Editor: Glue Rooms makes neighbouring rooms meet on one line, you can drag a whole wall of a room shape, snap to wall, and a tidier layout.
  • ZHA groups become bonds, and child devices are understood (HA 2026.11).

Install or update from Settings → Marketplace.
:clipboard: Changelog · :video_game: Live demo (now with a Glue Rooms step in the Editor tour) · :book: Guide

As always, I’d love to hear how it works in your home: questions, ideas, bugs and especially screenshots of your setups, here or as GitHub issues. :slightly_smiling_face: