I hope this instruction on how you can flash the Sonoff MiniR2 with with firmware 3.6.0(without the jumper) using a ESPHome .bin created from the ESPHome integration and Sonoffs DIY tool.
WARNING i don’t know if its possible to reverse the part where you unlock OTA in step 7.
All credit goes to Chad on YouTube How to flash Tasmota on a Sonoff MINIR2 with firmware 3.6.0. There is no jumper on this version - YouTube and this is mostly a write up of that video.
- Setup a 2.4GHz WiFi access point with;
SSID: sonoffDiy
Security Mode: WPA-Personal
Wireless password: 20170618sn
-
Connect the Sonoff Mini R2 to power, wait for it to flash the blue LED in pulses of three, hold the button the Sonoff for approximately 5 seconds and it should start to single flash fast. After a short time it should come up as an “ITEAD-something” access point in your available networks
-
Connect to the ITEAD-access point using
Wireless password: 12345678
You should now have been given an IP-address of 10.10.7.2 by the ITEAD-access point
- Open a web browser and enter the ITEAD-access points IP-address as url
10.10.7.1
You should now be presented with an overly zoomed in web page like this

- Click on “WIFI SETTING”
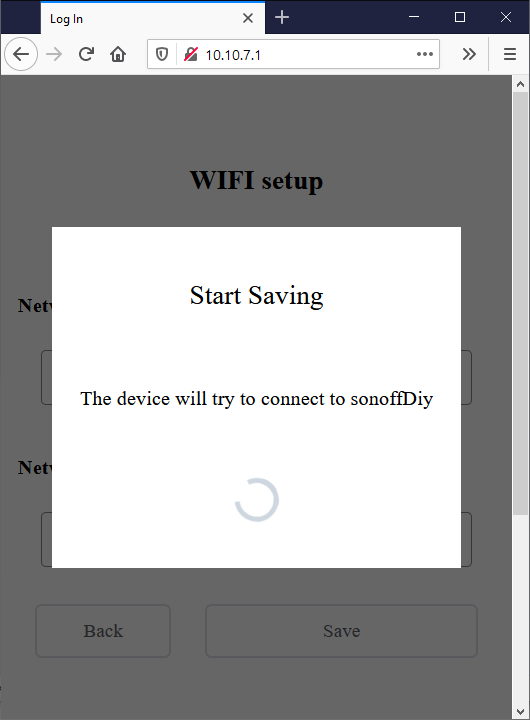
You should now be presented with

- Enter the following and then click “Save”
Network name(SSID): sonoffDiy
Network password: 20170618sn
The Sonoff should now connect to the SSID you set up at step one.
If you need to, look up the IP-address the Sonoff got by for example checking your routers DHCP leases, i had my DHCP pool for this network set so i got 192.168.1.20x.You need to replace this with your Sonoffs IP-address. In my case i was doing ten of these i had to delete/clear the DHCP lease for each Sonoff as i progressed i cant tell why but if i didn’t i had to start over from step two(2) after i cleared the lease.
- Here i used the RESTer plugin for Chrome (RESTer - Chrome Web Store). And added the following as shown in the screenshots.
Choose Method “POST”
Enter URL: http://192.168.1.204:8081/zeroconf/info
Click “BODY”
Enter: {“data”: {}}
Click “SEND”
It should return some information like in the screenshot

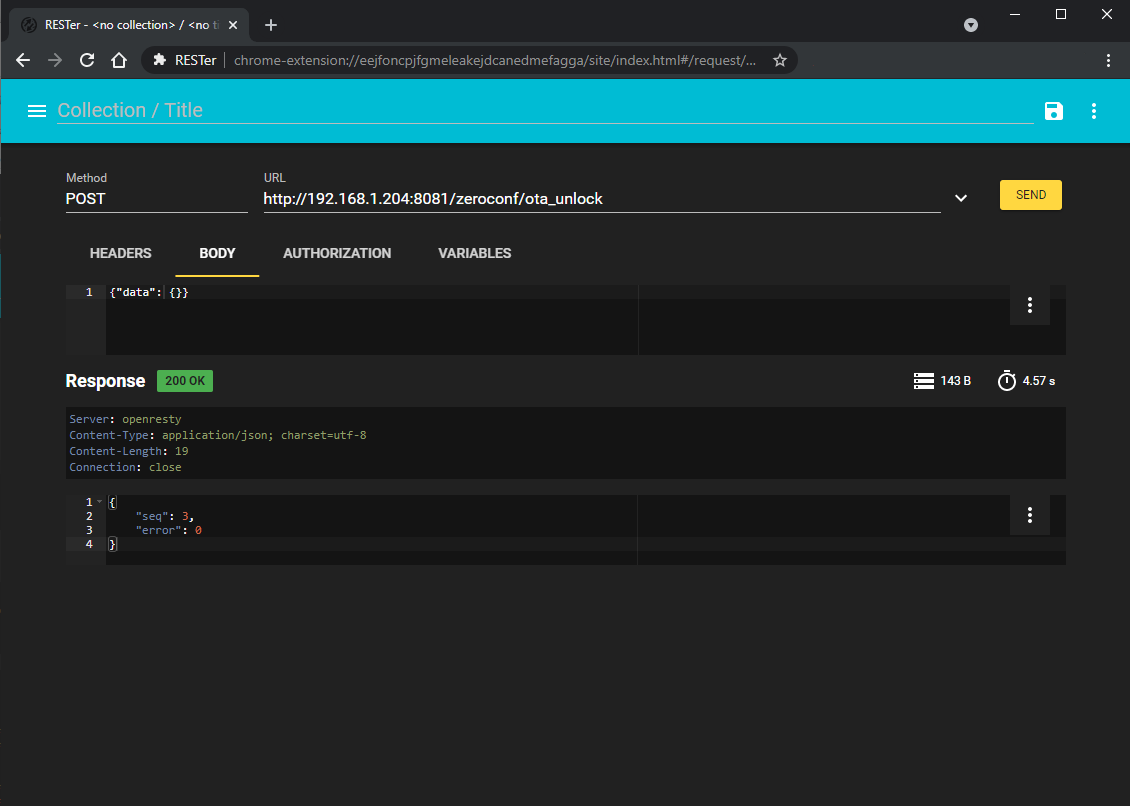
To enable Over the Air (WARNING, i don’t know if its possible to set this back to false) updates edit the URL to
URL: http://192.168.1.204:8081/zeroconf/ota_unlock
Click “SEND”
It should return some new information and “error”: 0
The last step here is just if you want to check that “otaUnlock” should be set to ‘true’.
Enter URL: http://192.168.1.204:8081/zeroconf/info
Click “SEND”
And you should hopefully get a result like this

- Open up the DIY tool (i used tool_01DIY85(3.3.0 from here Sonoff_Devices_DIY_Tools/tool at master · itead/Sonoff_Devices_DIY_Tools · GitHub).exe)
The Sonoff should be visible, you can try toggling the relay to be sure that the one listed is the one we are working with.

Click “Firmware flash”

In the dialog that opens, select your ESPHome .bin file you created for it(Chad flashes it using a Tasmota .bin so i guess any compatible firmware should work but i haven’t tried).
Now you are at the point of no return so double check everything.
Click “Flash device list” even if there is a device listed
Now you are even closer the point of no return so double check everything again.
Click OK to start the flash process

That should be all, momentarily you ESPHome flashed Sonoff should be discovered by the integration.
Here’s my config for these if it is any use to someone, its frankensteined from this forum and other sources
substitutions:
  device_name: sonoff_mini_r2_template

esphome:
  name: ${device_name}
  platform: ESP8266
  board: esp8285

wifi:
  networks:
  - ssid: the_ssid
    password: the_password
    hidden: true
  manual_ip:
    gateway: 192.168.2.1
    subnet: 255.255.255.0
    static_ip: 192.168.1.178
  domain: .localdomain

  # Enable fallback hotspot (captive portal) in case wifi connection fails
  ap:
    ssid: "${device_name}_Hotspot"
    password: "the_fallback_password"

captive_portal:

# Enable logging
logger:

# Enable Web server
web_server:
  port: 80

# Enable Home Assistant API
api:
#  password: "api_password"

# Enable Over The Air update
ota:
#  password: "ota_password"

time:
  - platform: homeassistant
    id: homeassistant_time

sensor:
# Extra sensor to keep track of plug uptime
  - platform: uptime
    name: ${device_name}_Uptime Sensor
    filters:
      - lambda: return x / 3600;
    unit_of_measurement: "hours"
    accuracy_decimals: 2

# Extra sensor for WiFi signal
  - platform: wifi_signal
    name: ${device_name}_WiFi Sensor
    update_interval: 60s

status_led:
  pin:
    number: GPIO13
    inverted: true

output:
  - platform: gpio
    id: relay_1
    pin: GPIO12

light:
  - platform: binary
    id: light_1
    name: ${device_name}_Lights
    output: relay_1

binary_sensor:
  - platform: gpio
    pin: GPIO00
    id: reset
    internal: true
    filters:
      - invert:
      - delayed_off: 10ms
    on_press:
      - light.toggle:
          id: light_1

  - platform: gpio
    name: ${device_name}_Lights
    pin: GPIO04
    id: switch_1
    on_press:
      then:
#        - switch.turn_on:
        - light.toggle:
            id: light_1
    on_release:
      then:
#        - switch.turn_off:
        - light.toggle:
            id: light_1
 - Goodbye TP-Link HS200!")
