Over at the Homey forum, a user shared a brilliant idea for a project. Take apart this elegant Kuxiu magnetic charging stand and mount it to the wall to make a magnetic charging iPad holder. This project works because some iPads (Air and Pro) have a “Smart Connector” magnetic attachment and charging pins that are meant to connect to Apple’s iPad keyboards. (This stand seems to work by tricking the iPad into thinking it’s a keyboard.)
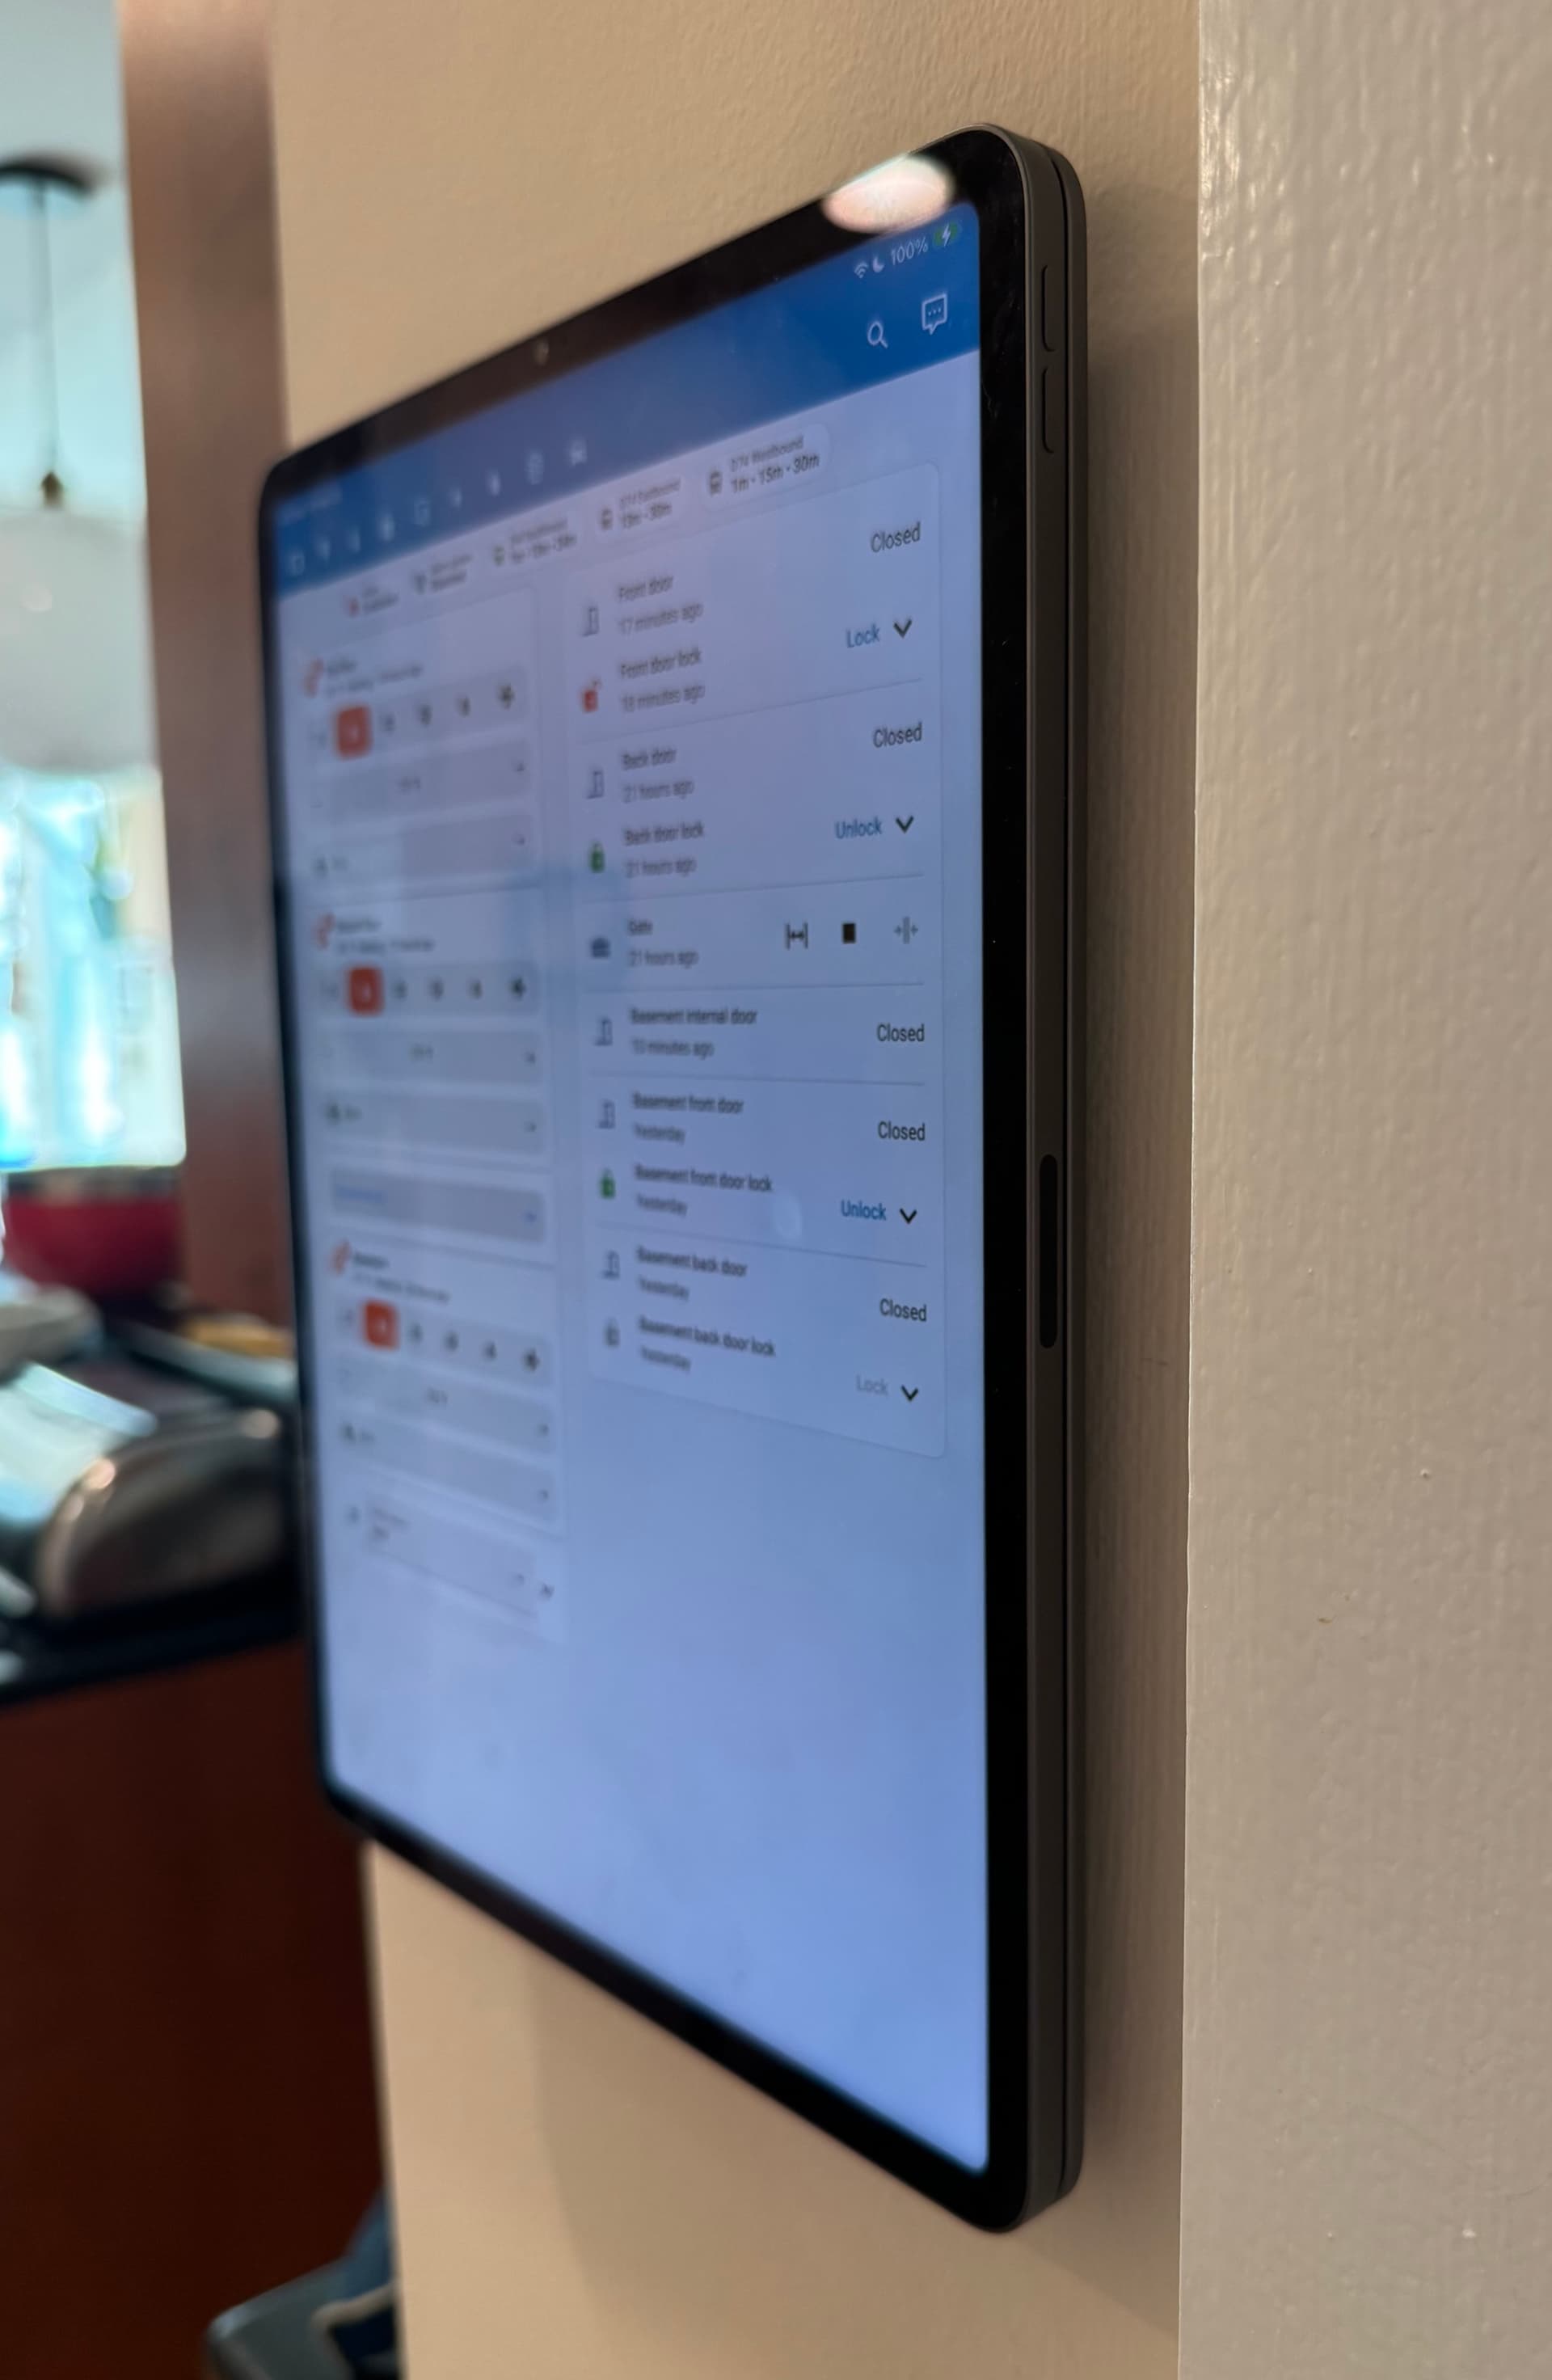
What’s really nice about this method is that the iPad looks like it’s floating (though you could make it flush or recessed if you wanted), it’s easy to take on and off, and there are no visible wires.
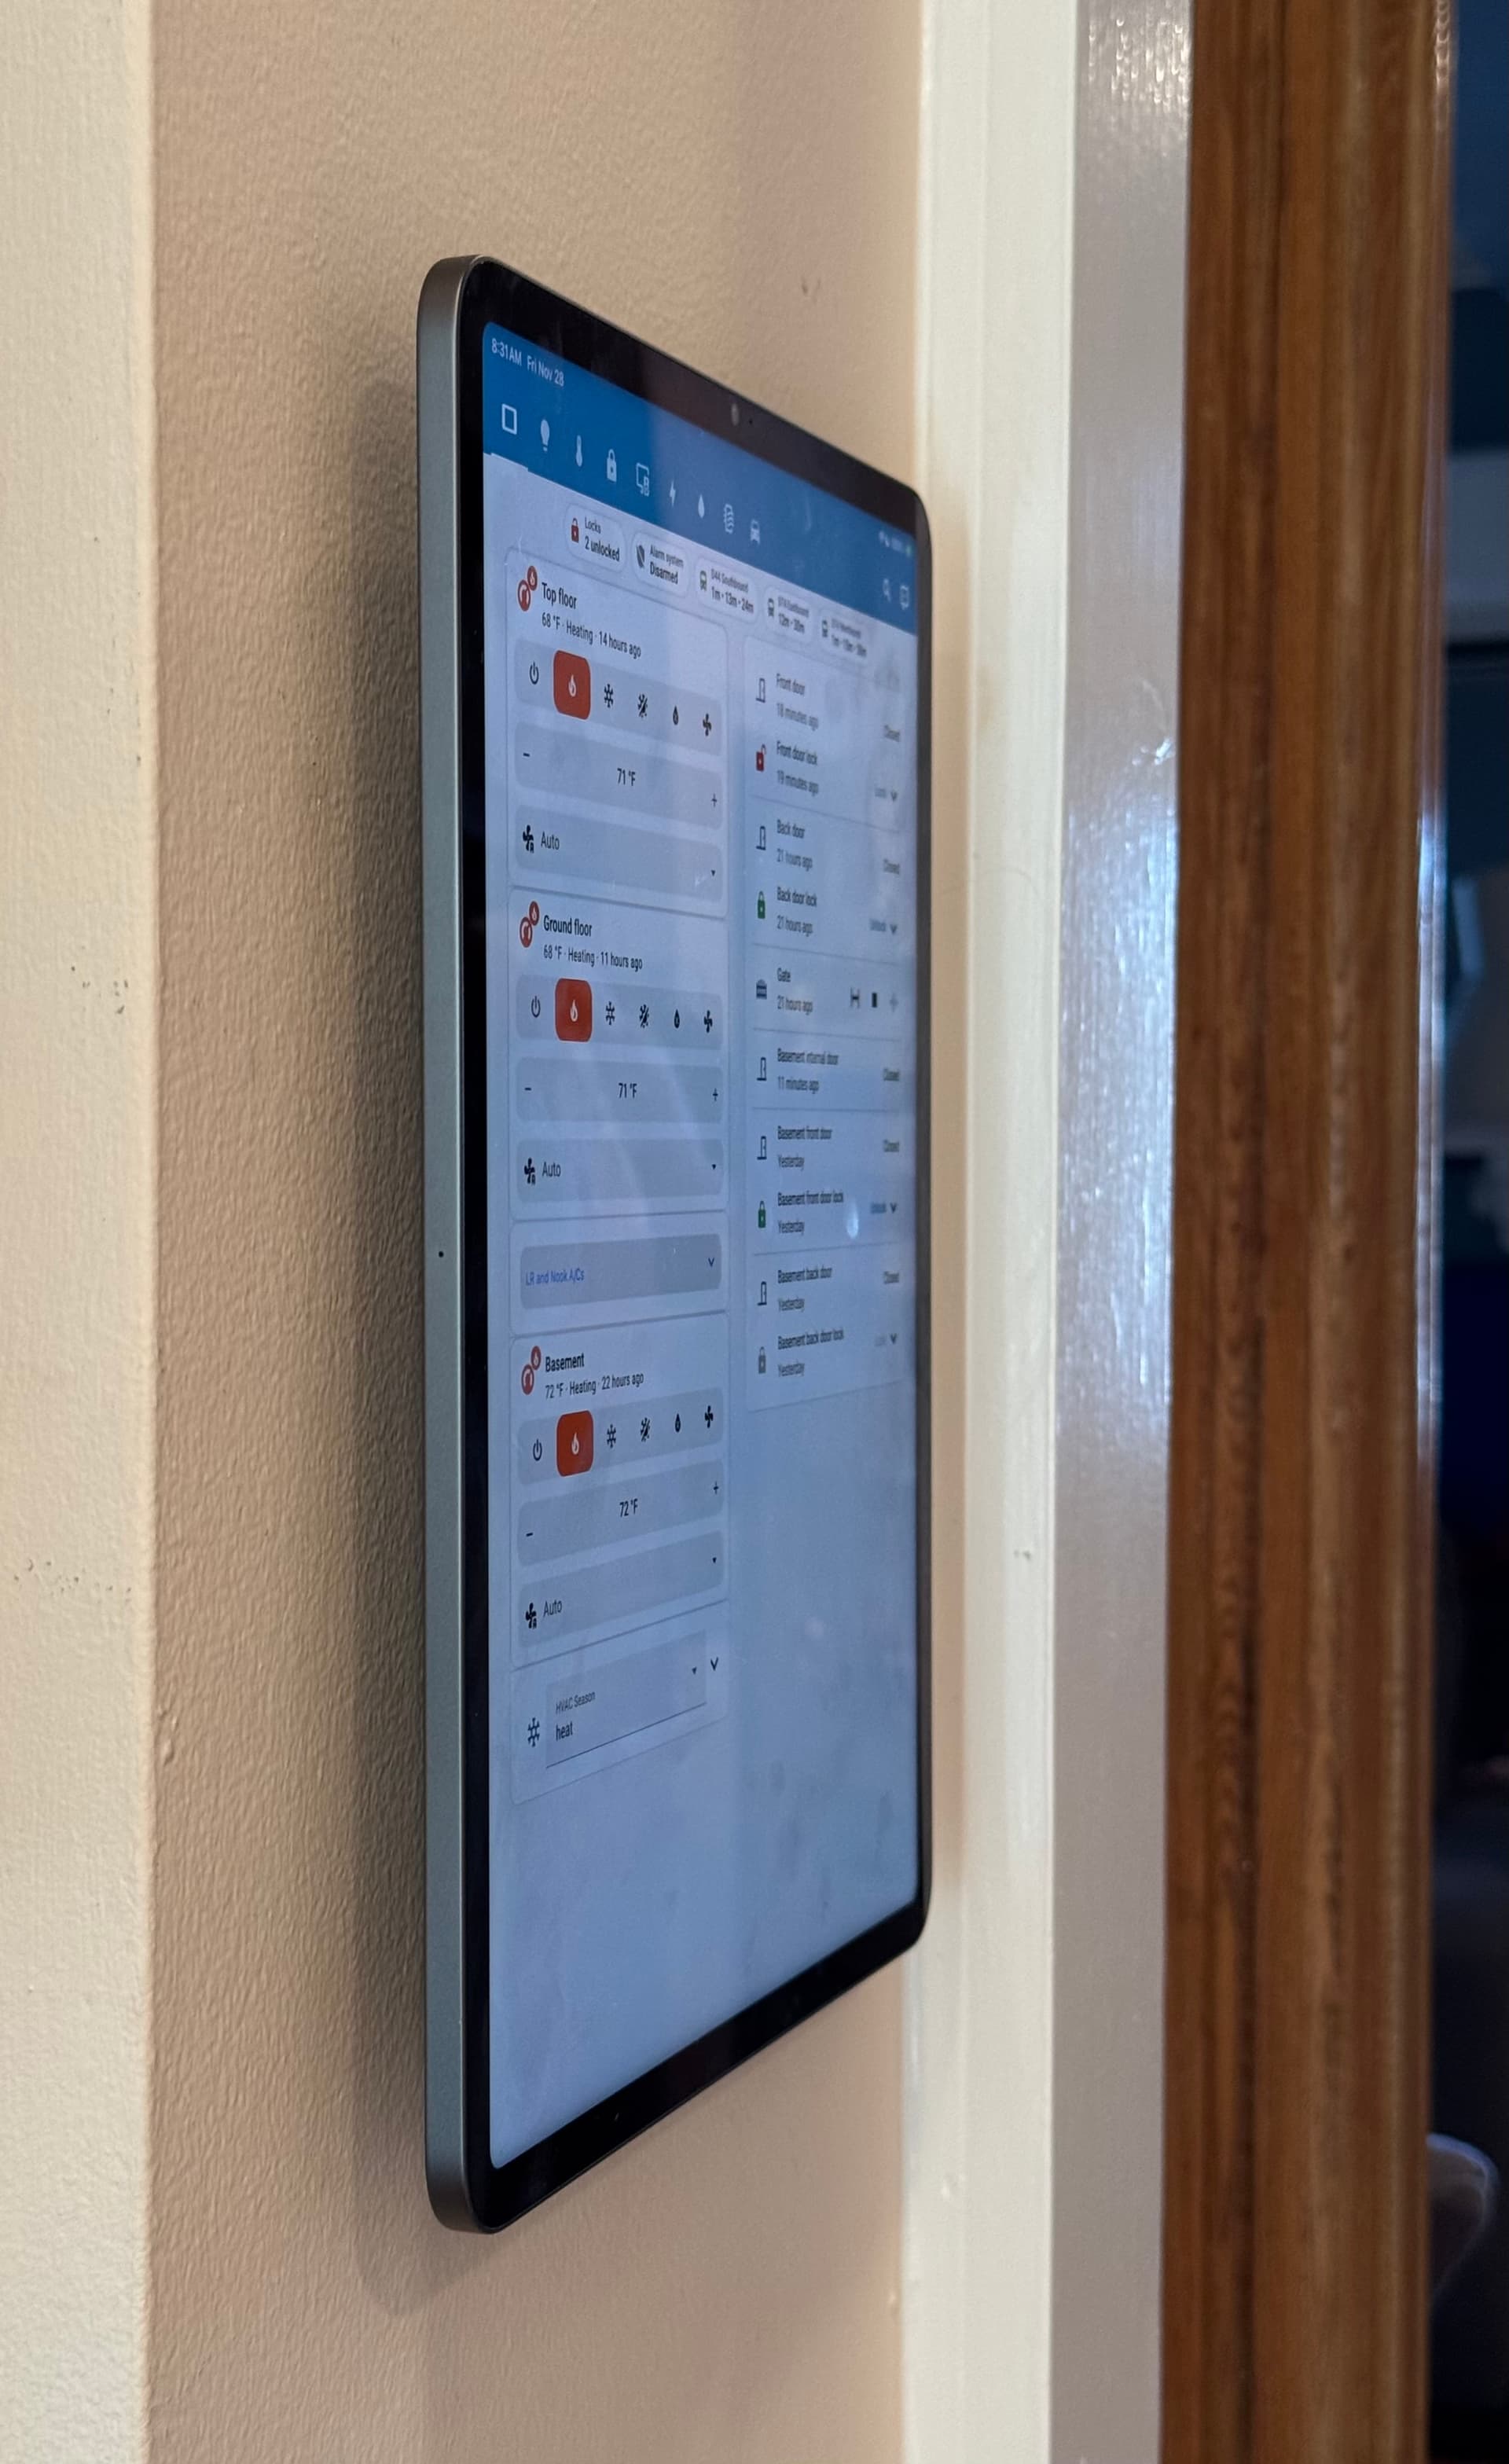
This is a big upgrade from my previous wall dashboard, which was an iPad mini semi-permanently stuck to the wall and with a wire going into the charging port. Ugly!
I want to share how I did it, and some tips, in case it’s helpful to anyone.
I bought a used 2018 iPad Pro on eBay to do this, but you can use any iPad Pro or Air where there is an associated Kuxiu stand. Outside of the iPad, the project cost about $140 total (for the stand, the outlet box, the outlet with USB-C, some bits, and some screws).
Construction
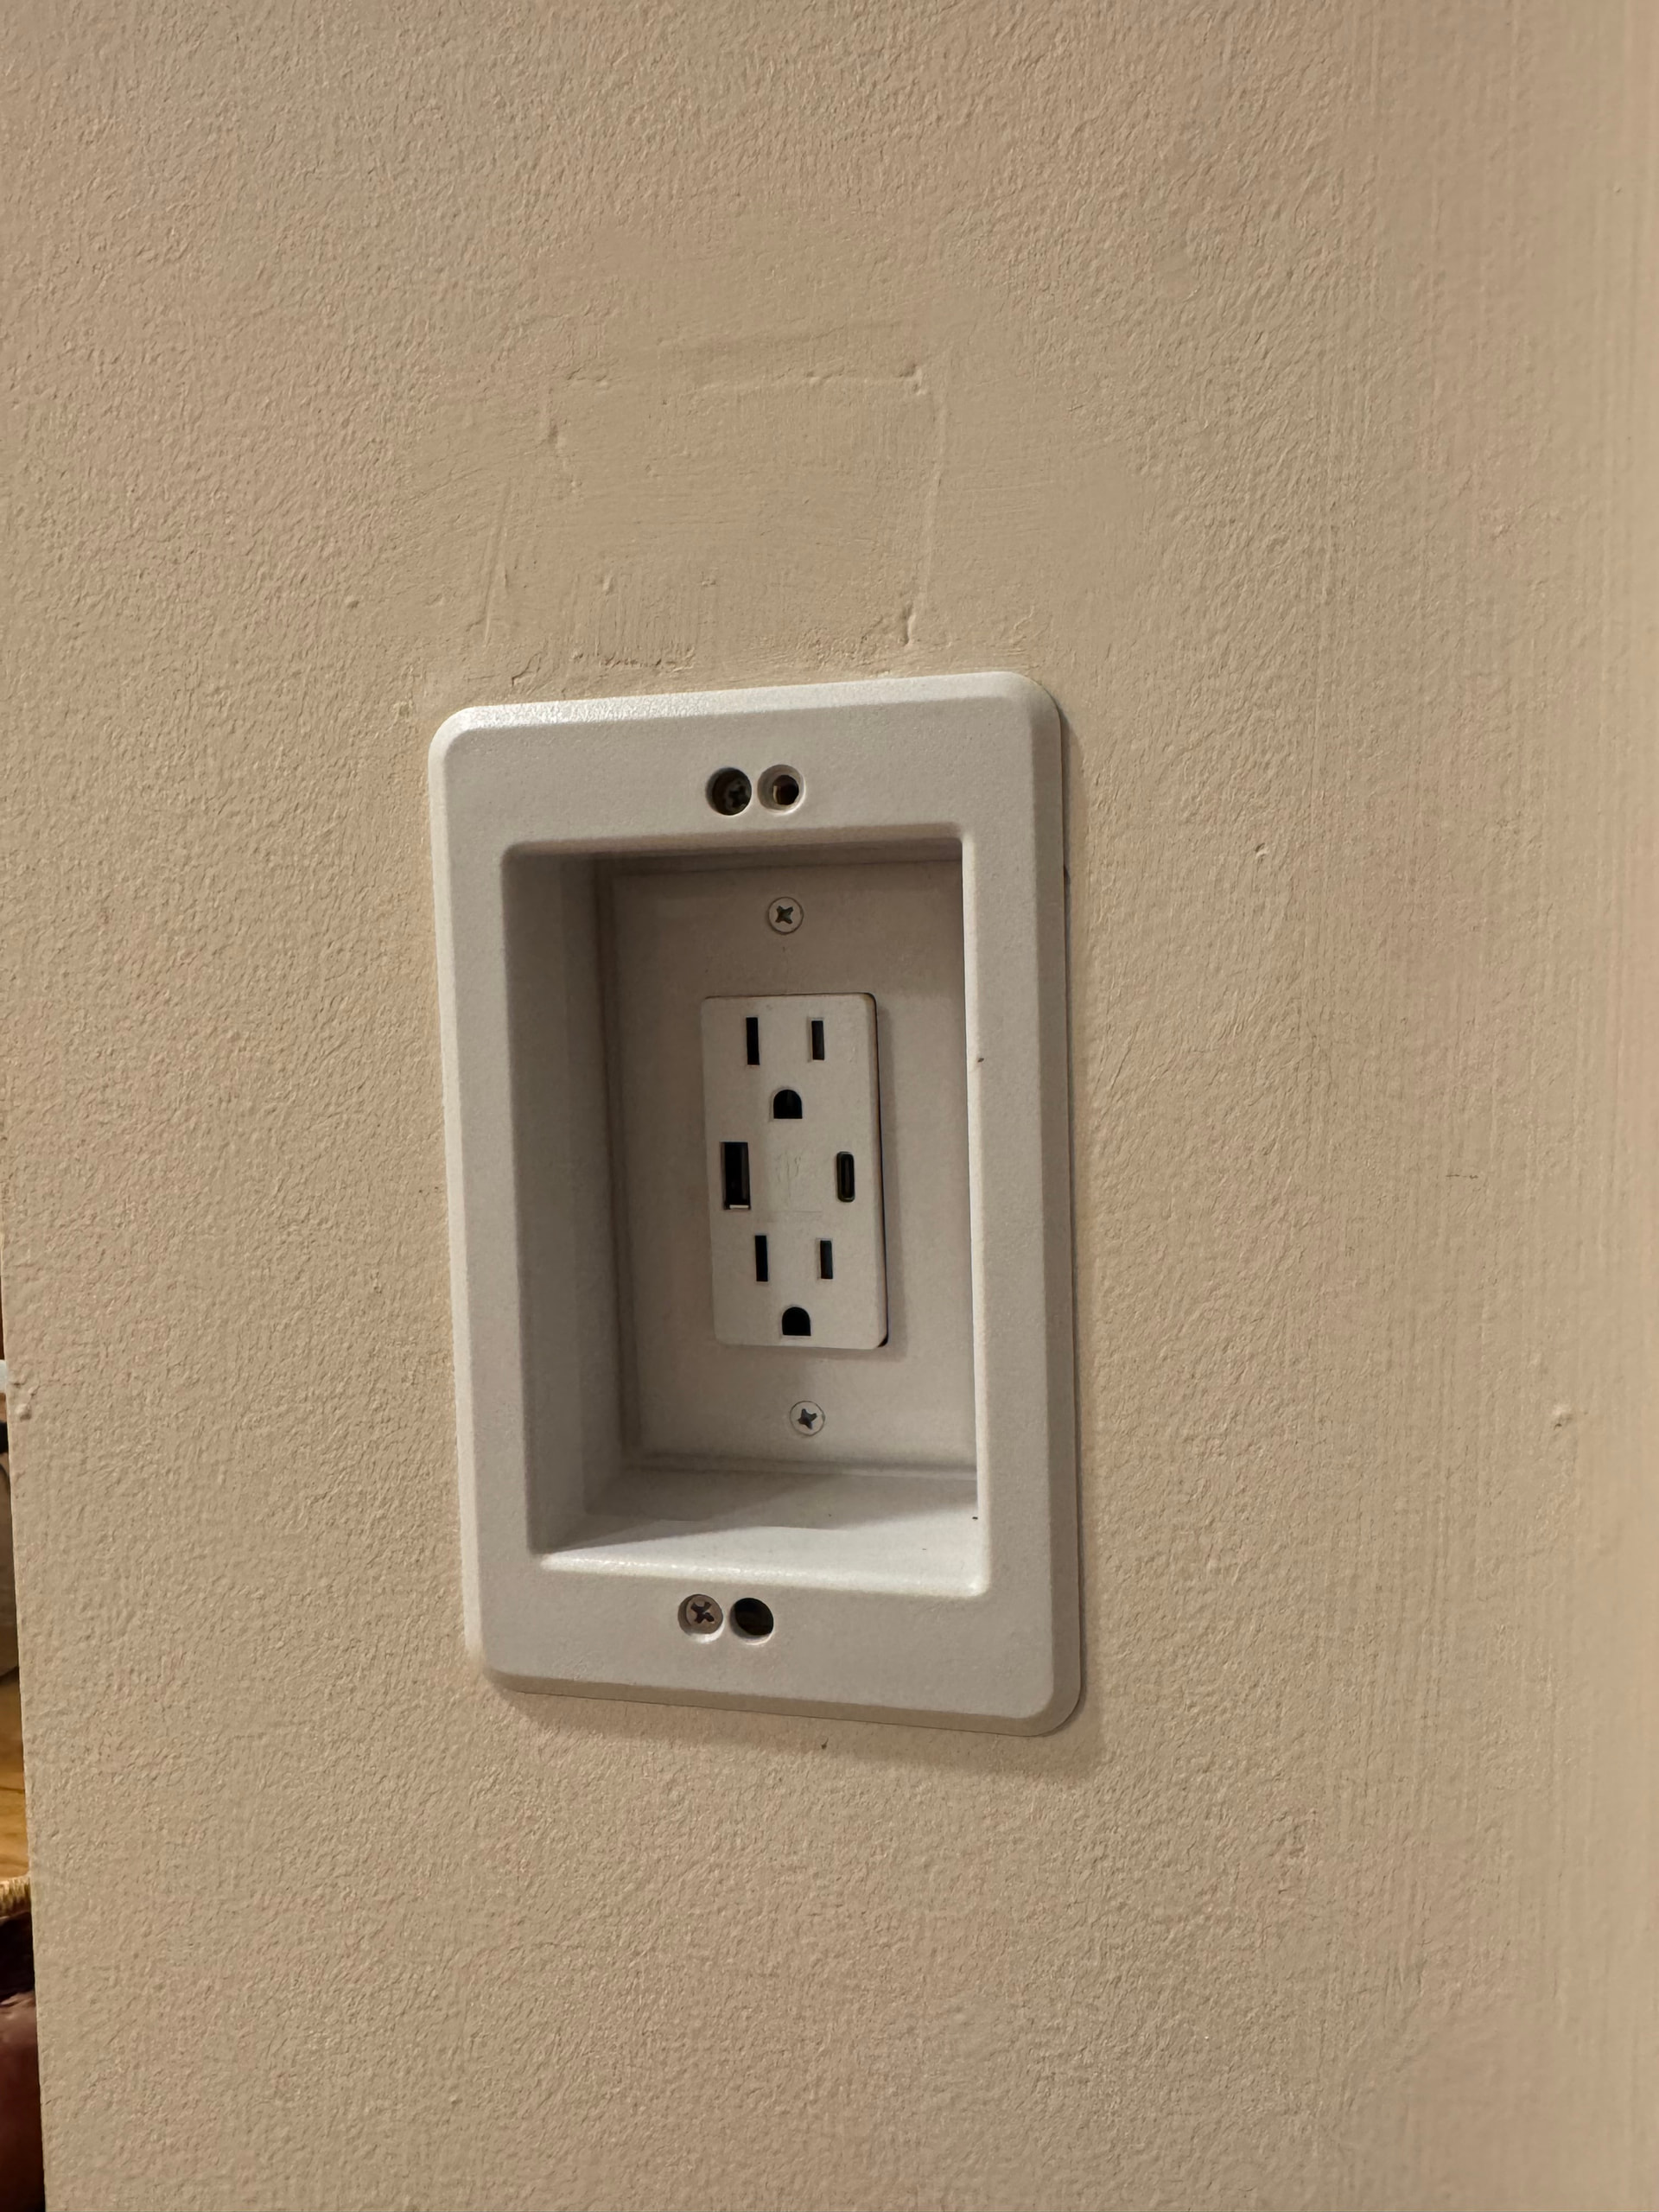
I installed this recessed outlet box with an outlet that has USB-C, running Romex wire to it from a nearby light switch. (As some of the reviews say, the box has some badly sized screw holes. This can be addressed by pressing in some threaded inserts with a soldering iron.)
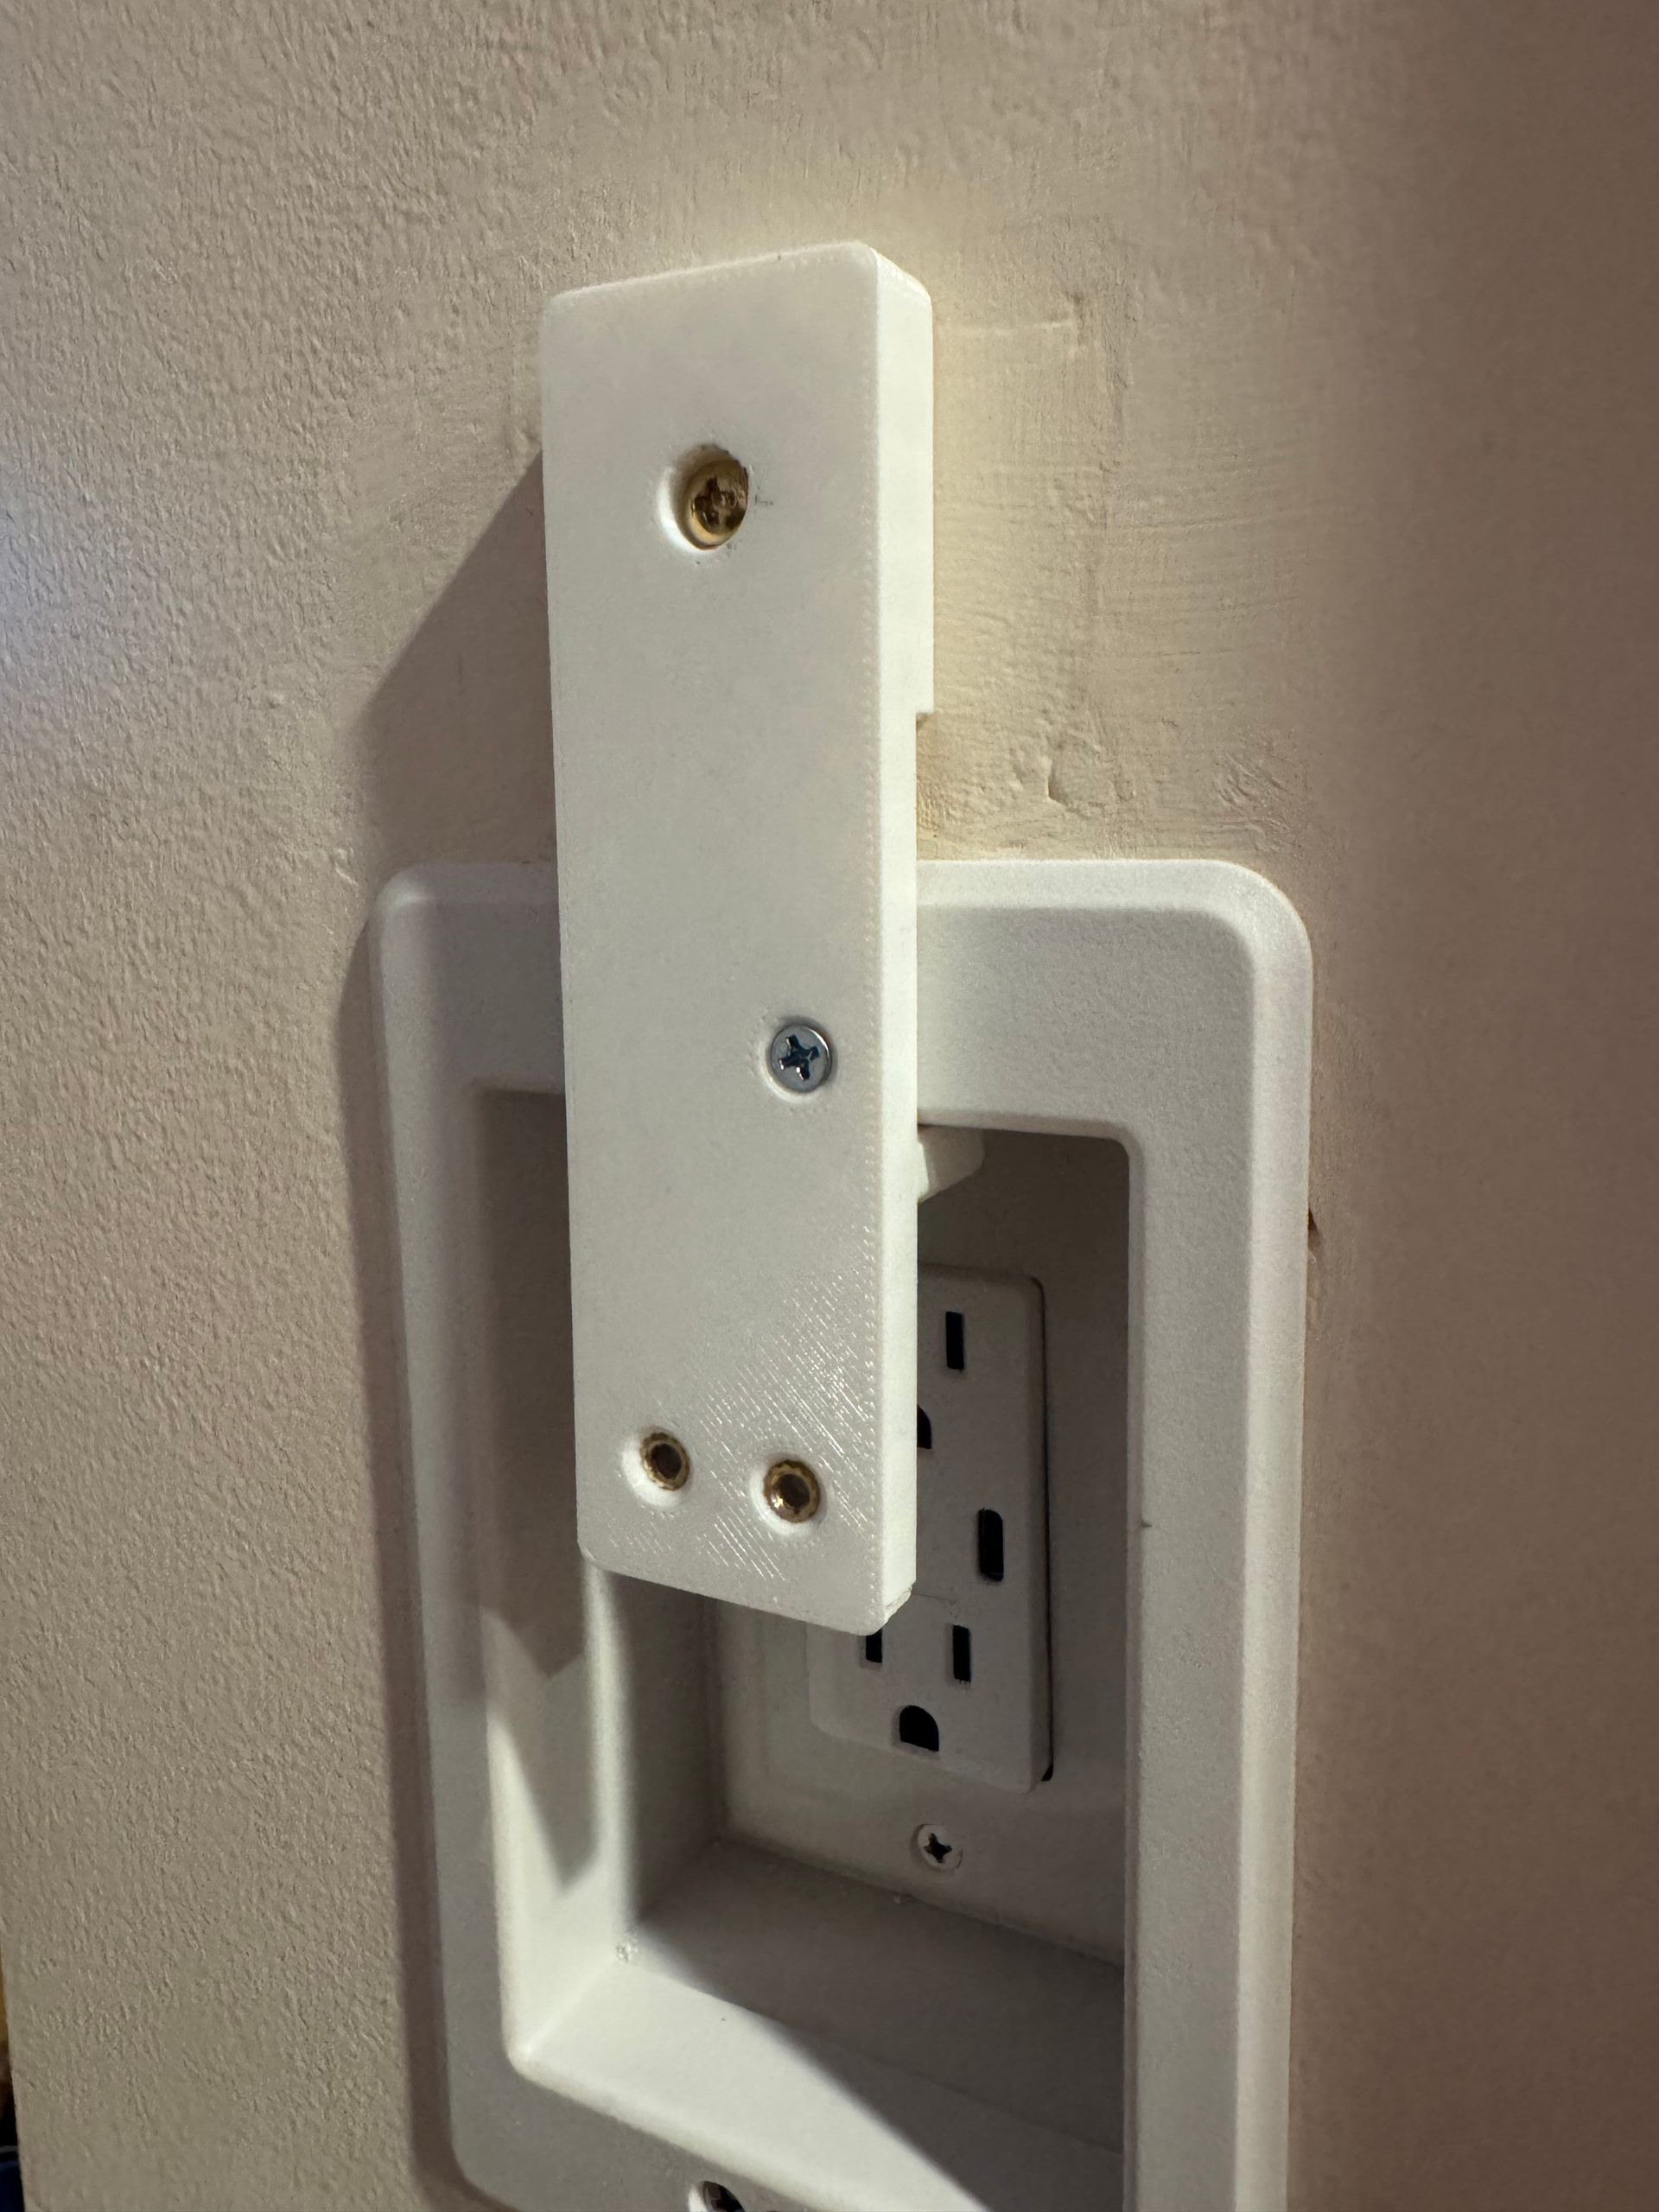
I 3D printed a bracket (Onshape file here), screwing it into the outlet box and the wall, again using threaded inserts where the Kuxiu mount will go. This bracket isn’t really necessary—you could forgo reusing the screw holes in the center of the Kuxiu mount and just put screws through the outside of the mount in 3 or 4 places.
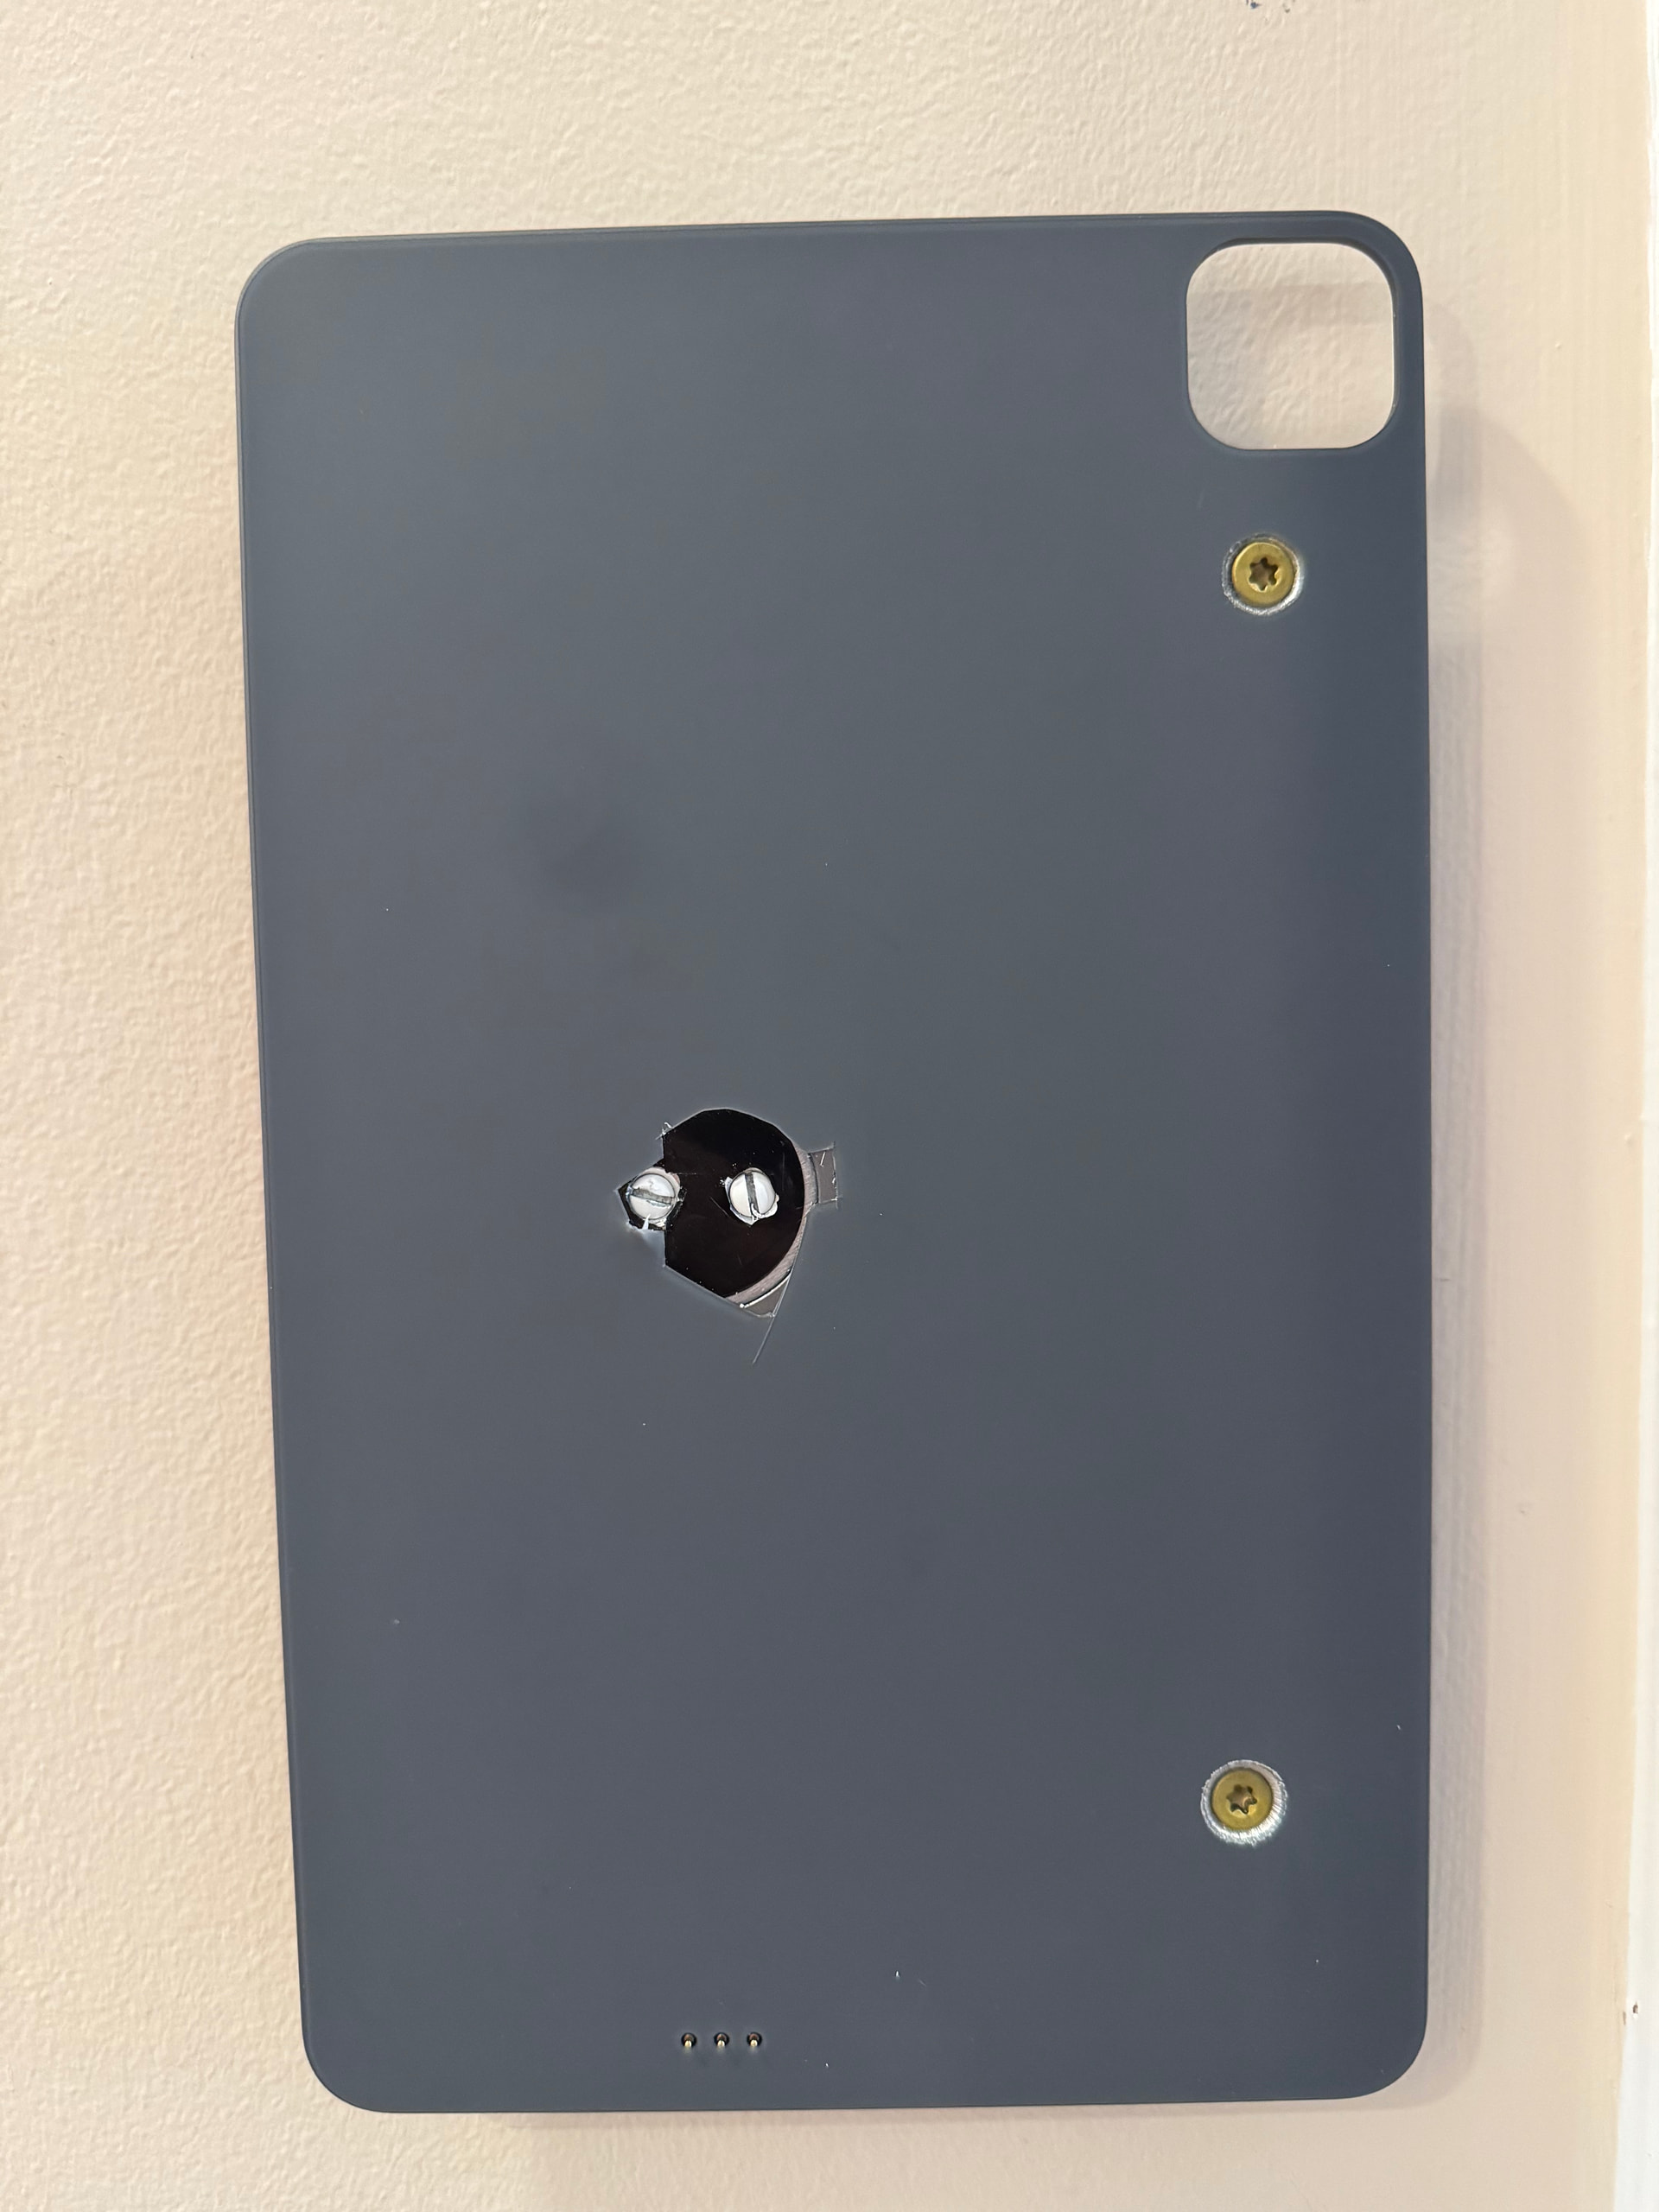
I used an exacto knife to cut away at the membrane and reveal two screws holding the pad onto the stand. If you do this, don’t cut away as much as I did—it’s good to have more membrane material keeping that black circle in place.
Getting out the screws that were revealed (not pictured here) was a little tougher than expected, but manageable. One was in really tight and was also stripped before I even started unscrewing it. I had to use an extractor bit to get it out. Then I drilled two holes (using a picture someone shared on the Homey thread to avoid drilling through any magnets) and used a 1/2” countersink drill bit to grind metal out so that the screw heads will be flush. I’d never countersunk a hole but it was easy.

Connecting the pad to the outlet via USB-C, I attached the stand to my bracket with wallplate screws, and screwed 3” structural screws into the wall, using nylon spacers for the gap between the wall and the pad.
Some things to know if you want to do this project:
Kuxiu charging problems
As discussed in various threads on the internet, iPadOS 26 broke something about how Kuxiu mounts convince the iPad to charge. Luckily, if you email Kuxiu, they’ll send you a replacement charging part for free, which worked for me even though it took a few weeks to receive it.
I’m a little worried that future iPadOS updates will break this again. I figure that if Kuxiu doesn’t keep up with replacing the hardware, it would be unfortunate but not horrible to have to connect a flat charging cable to the iPad. (I would rather not disable software updates on this iPad, but I guess that’s an option for the less security conscious among us…)
iPad software settings
You can use Guided Access to lock the iPad to the Home Assistant app. I’ve also set it to never have the display turn off. I messed around with motion detection to wake up the iPad but found that every method was too slow or unreliable to be satisfying. It’s my understanding that iPad displays don’t really burn in. My previous iPad mini was left on for about a year, 24/7 with no burn-in.
Because the Kuxiu stand appears to be acting to iPadOS like a keyboard, there are a few settings to adjust if you want to be able to use the onscreen keyboard and not have a little dot always visible: Turn on AssistiveTouch, and then within the AssistiveTouch menu, turn on “Show Onscreen Keyboard” and turn off “ALways Show Menu”
Home Assistant settings
I wanted to make it so, after 10 minutes of not interacting with the iPad (and every 10 minutes as a failsafe), the interface was refreshed and navigated back to the main dashboard view. Here’s an automation to do that (requires browser_mod).