I only have one ESP32 and three ESP8266’s, one of which wasn’t being used. The ESP32 is being used as BT controller for my AM43 blind motor in dining room. If the BT reached from bedroom to dining room, I would simply multi-purpose it but it does not. I have ordered another ESP32 from China but in the meantime, this works…
I have the same slats as you. They bent when pressure is added. I put the sensors on the part of the bedframe on which the frame of the slats rest.

In retrospect I could have gotten away with only 2 sensors in the middle of the bed.
Good idea, thank you! The states are stable in this position?. Did you wire two FSR in parallel on each side?
Version1 of my PCB for is up and running and the 3d printed case fits.


I’m in the process of making V2 though as even with the divider and the number of air vents the bme280 reports temperatures about 2 degrees to warm. In V2 I’ll connect the BME280 sensor with an JST-SH1.0 to JST-XH (JST-SH1.0 cable ordered, I’m going to crimp the other side with a JST-XH plug myself). The CA6H pots are quite fragile and you need a very small screw bit to turn it, so I ordered RM063 pots for V2 and also placed them at the PCB’s end, now you can adjust them live with the esp32 measuring the voltage even with the case on!
Does anybody know easy to solder and still better connectors than the JST_XH? The plastic part on the 90° mounted connector slide a little forth and back on the connector pins, making the connection less reliable. I’m open for suggestions.


great project, managed to install it using 8$ AliExpress film SF15-600 and 1M resistor. ( king size matters from IKEA )
https://www.aliexpress.us/item/1005004918766636.html
just warning, DO NOT USE SOLDERING , the terminals are just clipped to the plastic film and the heat will damage it. ( ask me how I know it ). Luckily it happened to just one terminal for me and I was able to recover with a glue. Use female dupond cables.
Question: I have one film connected to ESP32 for my side of a king size matters, would it be possible to connect second film ( for my wife ) to the same ESP32 ? or I would need second ESP32?
The film being on my side of the bed does not register any drops in V when my wife enters the bed on her side which is awesome!
There is a specific warning about that in the first post:
Yes the ESP32 has 16 possible ADC inputs. Someone has done this up in the topic somewhere.
Any way to get the icon to change depending on the state?
thanks for the quick reply. This is what I had and it always stays the same.
binary_sensor:
# Bed Sensor - Occupancy
  - platform: template
    name: Bed Occupied Side 1
    id: bed_sensor_o
    icon: mdi:bed
    device_class: occupancy
    lambda: |-
      if (id(bed_sensor1).state > 1.19) {
        return true;
      } else {
        return false;
      }
Remove this:
icon: mdi:bed
That’s a step in the right direction. Now I get a house that fills in and outlines as the state changes. I tried to set the icon in the UI to bed but then it wouldn’t change.
What you want to do is not possible using HA core functionality. You can vote here for the feature to be added:
You can probably work around this (in the dashboard only) with this:
Thanks for the info. I would have kept beating my head over it.
1 Like
I’m running two FSR strips and two RGB led strings on one esp32. Does it no problem.
Thanks @tom_l for the detailed explanation on this! I just setup an esp32 with two sensors for each side of the bed. It was my first esphome project and it was done in only a few hours. I got lucky with the sensors, about 4k resistance when in bed and more than 20M (max for my multimeter) when out of bed, so I got away with a 100k resistor for each side of the bed and it has been working perfectly.
Was using the Withings Sleep Analyzer before, but this was going through a webhook and it had to calibrate every time the power went off. This solution is way faster, no Internet needed and way more reliable.
1 Like
I’ve tried to build this sensor, without much success on the outcome. I have a foam mattress so I even used the plywood trick under the sensor. In doing so I managed to calculate resistor values of 4.4K for me and 3.2K for my wife. Trouble is, I am never seeing things trigger. Even worse is that the range and values seem to be all over the map. Here’s images of mine (left) and my wifes (right). There’s no discernable difference on mine and my wifes looks a bit off. Should I attempt a different resistor value? Perhaps the 100K that was suggested above?Edit only allowed to post a single media item, so I’ll go with my wifes.
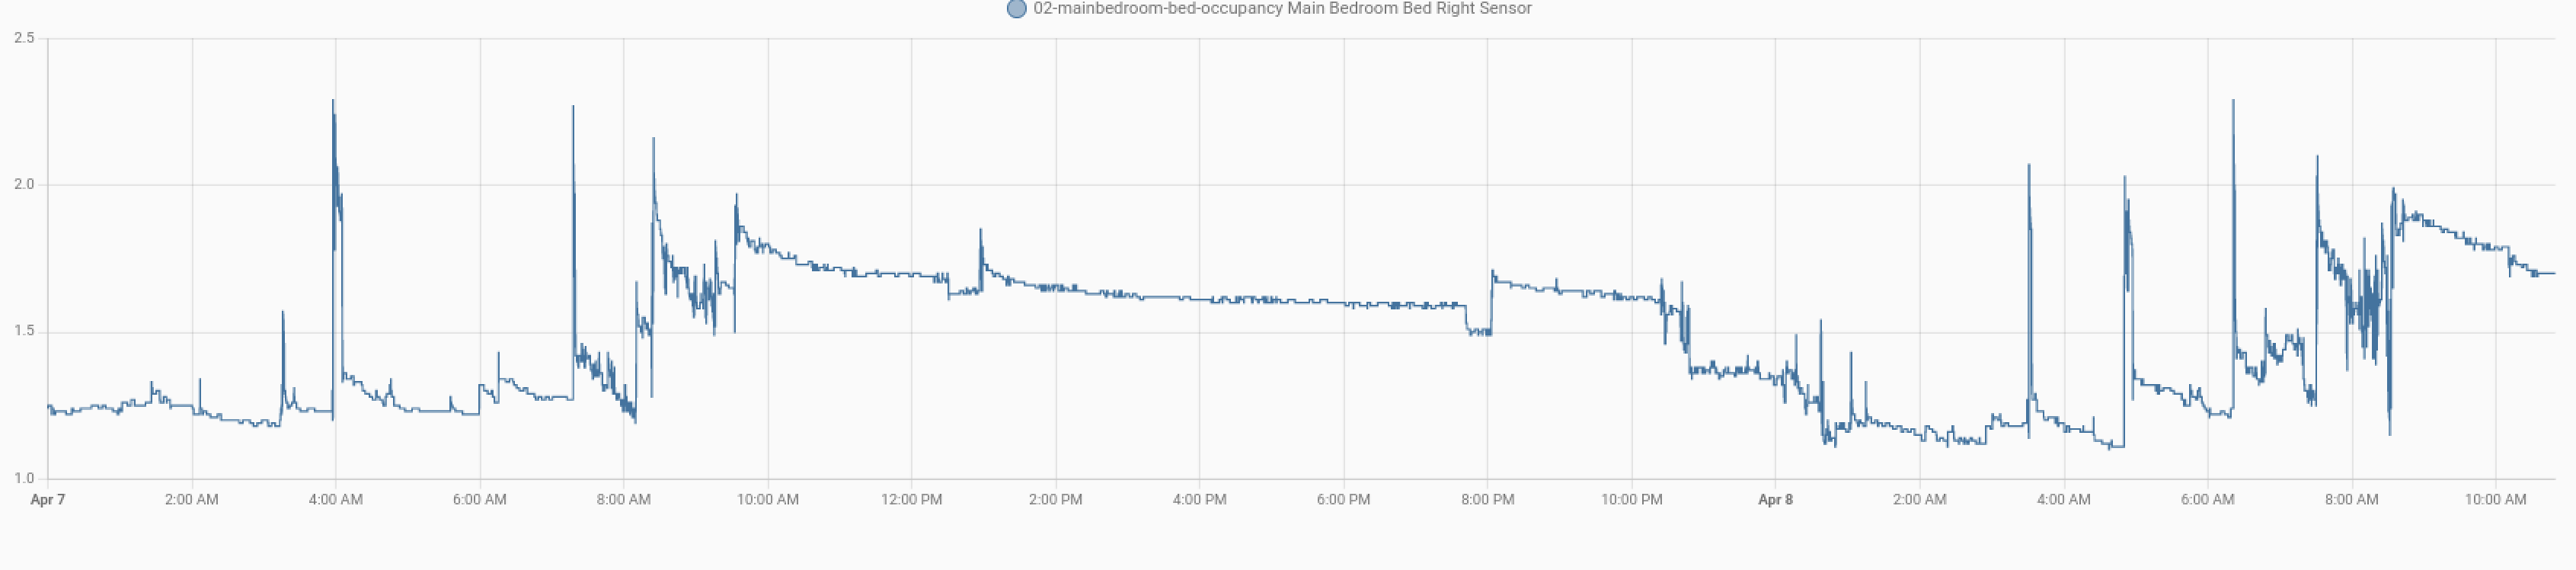
Any suggestions?
this is a great thread but i sometimes i wonder if you really need to reinvent the wheel …
all your really looking for is an OFF & ON yes someone’s in bed or not
what i used was a Universal Car Seat Pressure Sensor which will give you just an on and off … works like a dream and has done for almost two years
to play it safe and make for a larger read area on each side of the bed i brought four sensors and link two as one and placed each pair on its own side of the bed
captive_portal:
binary_sensor:
  - platform: gpio
    id: person_one_bed
    name: "Person One"
    pin:
      number: GPIO5
      mode: INPUT_PULLUP
    filters:
      - invert:
      - delayed_on: 2s
  - platform: gpio
    id: person_two_bed
    name: "Person Two"
    pin:
      number: GPIO4
      mode: INPUT_PULLUP
    filters:
      - invert:
      - delayed_on: 2s
1 Like
