Yes they say DIY with LED’s is much less expensive. But it does add up and it’s not as easy as people say it is. I have been doing HA for a couple of years now and have learned alot from these forums so this is a way of giving back I suppose. Also this is my way of keeping a record of what I bought in case I want to do this again - this is just for a simple beginning setup with two LED strips…
Use case:
Very dark basement stairs that were just painted - in a color that is too dark! Even though the surrounding area is well lit, still not enough lighting on the darkly painted stairs. Decided to put LED strips under the railings, one on each side. Followed these instructions (the wiring in the instructions is spot on):

Be sure to connect everything BEFORE mounting the led strips - easier to troubleshoot and make sure they are working before mounting!
And bought the equipment here (you have to make sure they are the same voltage, the power supply can supply enough but not too much juice, you do that by adding up the number of LED’s , there are plenty of videos available on how to do the calculations but this set togther works well):
Two of these (on ebay). Note do not bother using the power injector leads (as mentioned in the video) and only connect the power supply into the end of the lights at the outside end of the spool. (Connecting it to the other end of the led strip wil not cause any damage but won’t work either.) These already have adhesive on one side of the strip which is very handy. I bought the internal (non-waterproof) version of these.

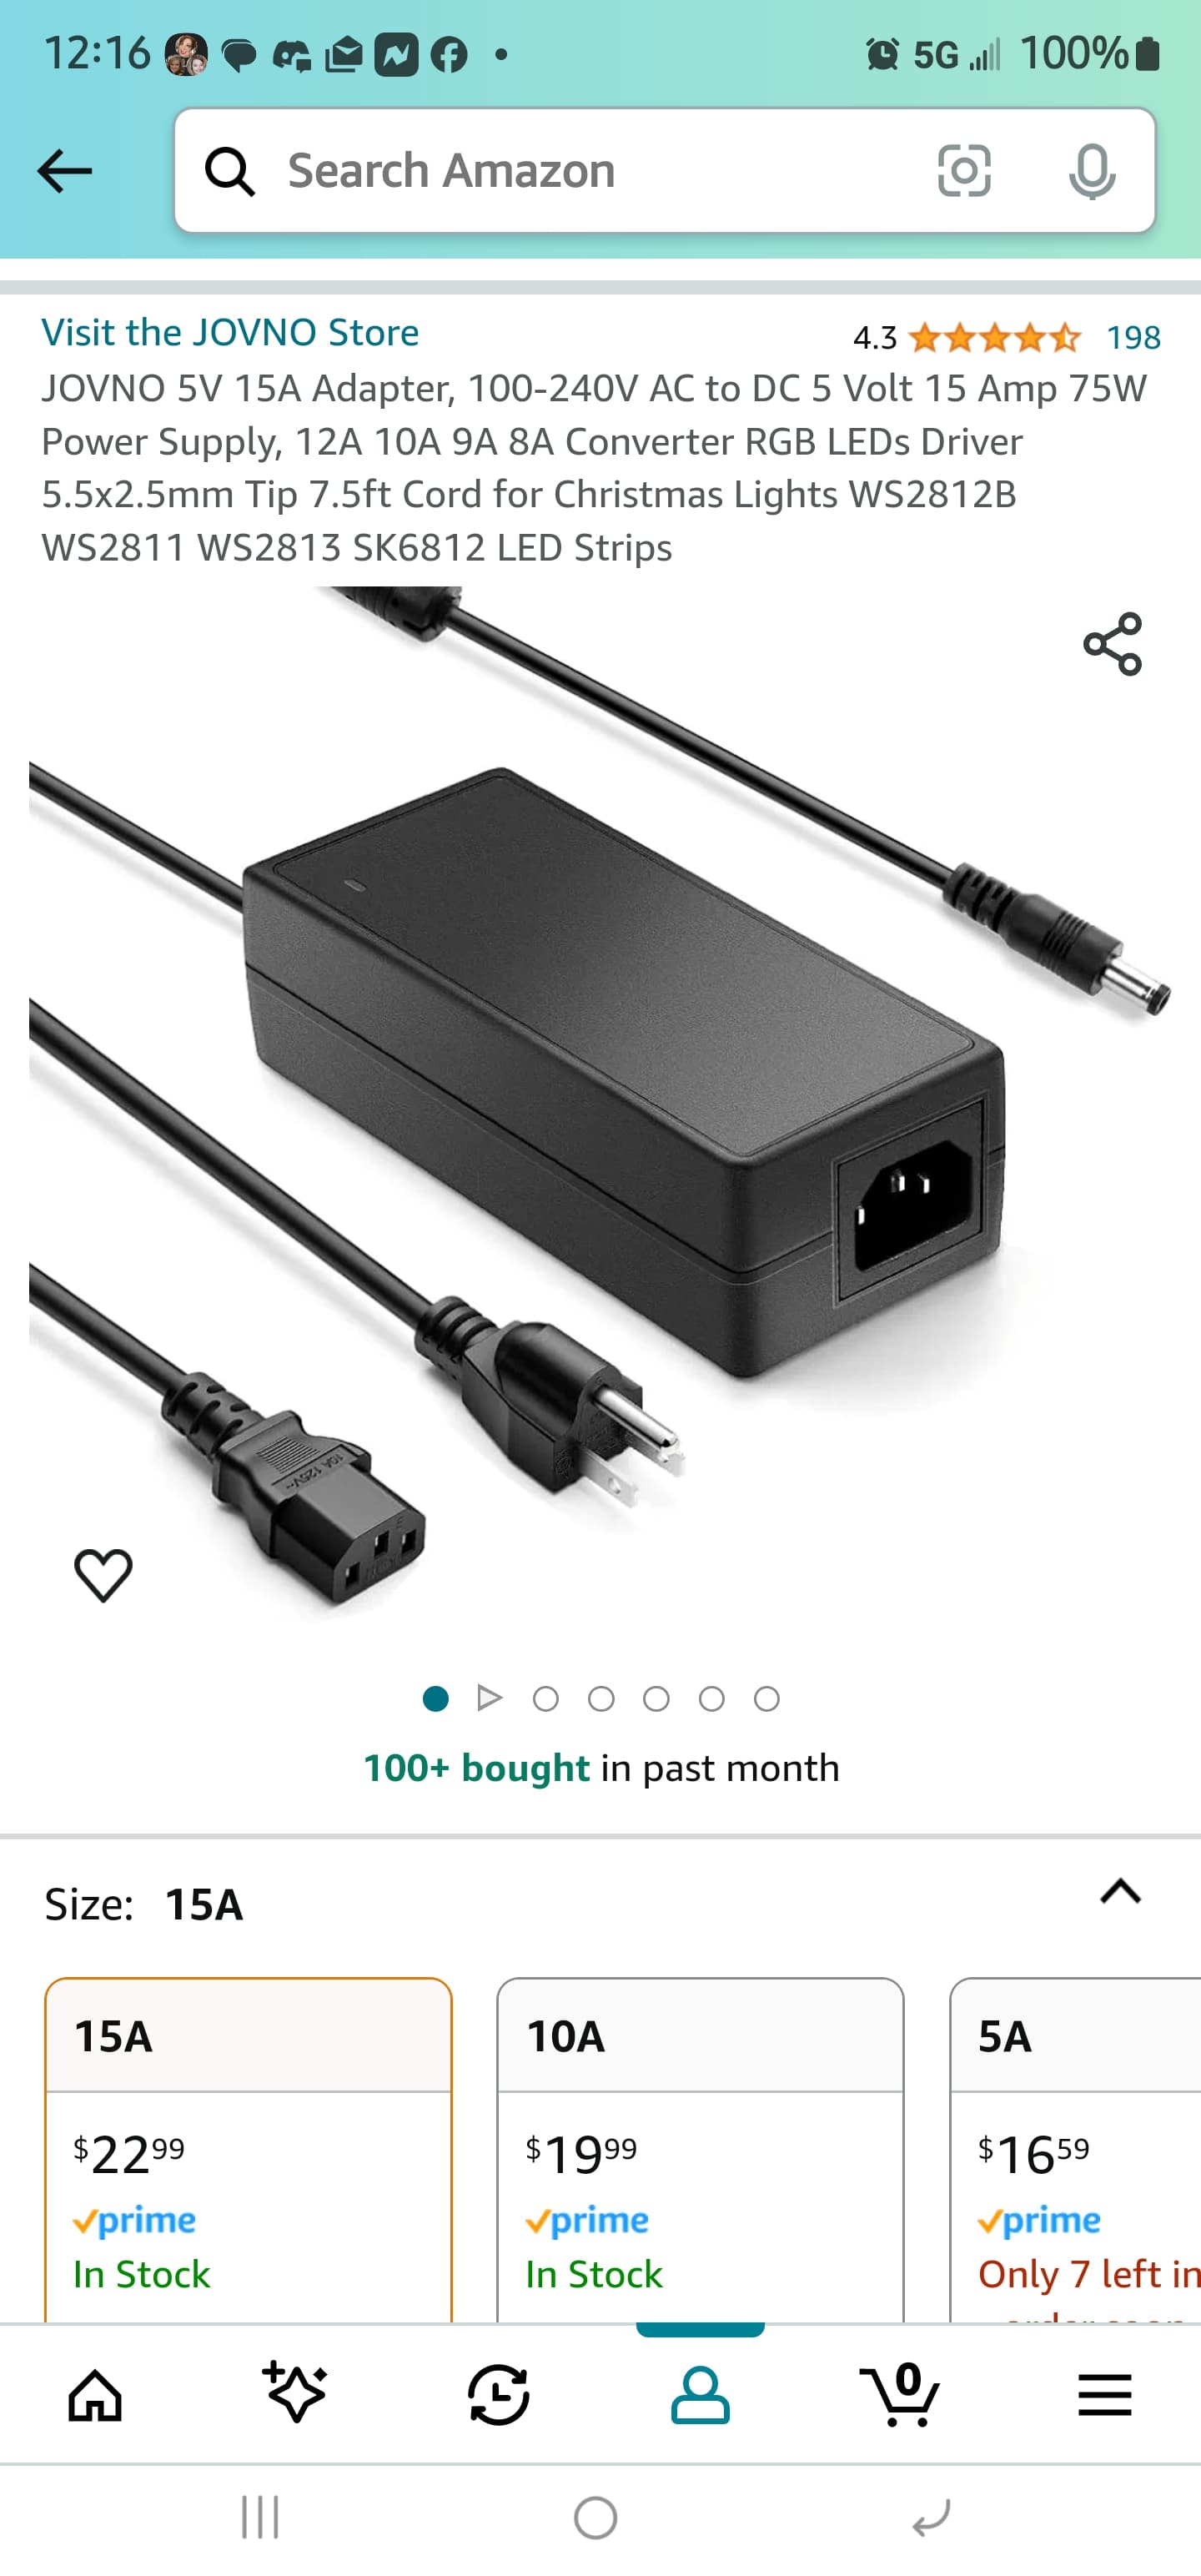
I have one power supply powering two of the above sets of lights (15a model) - from Amazon. This is only adequate I believe for a simple setup. I leave the power supply turned on so the ESP8266 units are always connecte d via WiFi and ready to turn on at a moment’s notice through HA automation (shown at bottom)):
These are handy instead of cutting the power supply cable (Amazon):

A decent length of three-strand cable (decent thickness to not add too much resistance) - Amazon:

And connectors as I am lazy (Amazon): - note the phot under the railing at the end of the LED strip. Note the wires above are ever so slightly too thick to fit into one end of each of these connectors, but a tiny amount of sanding makes the insulation on the wire thin enough to fit into the connector:

I cannot believe these are so inexpensive (I used two) - Amazon!

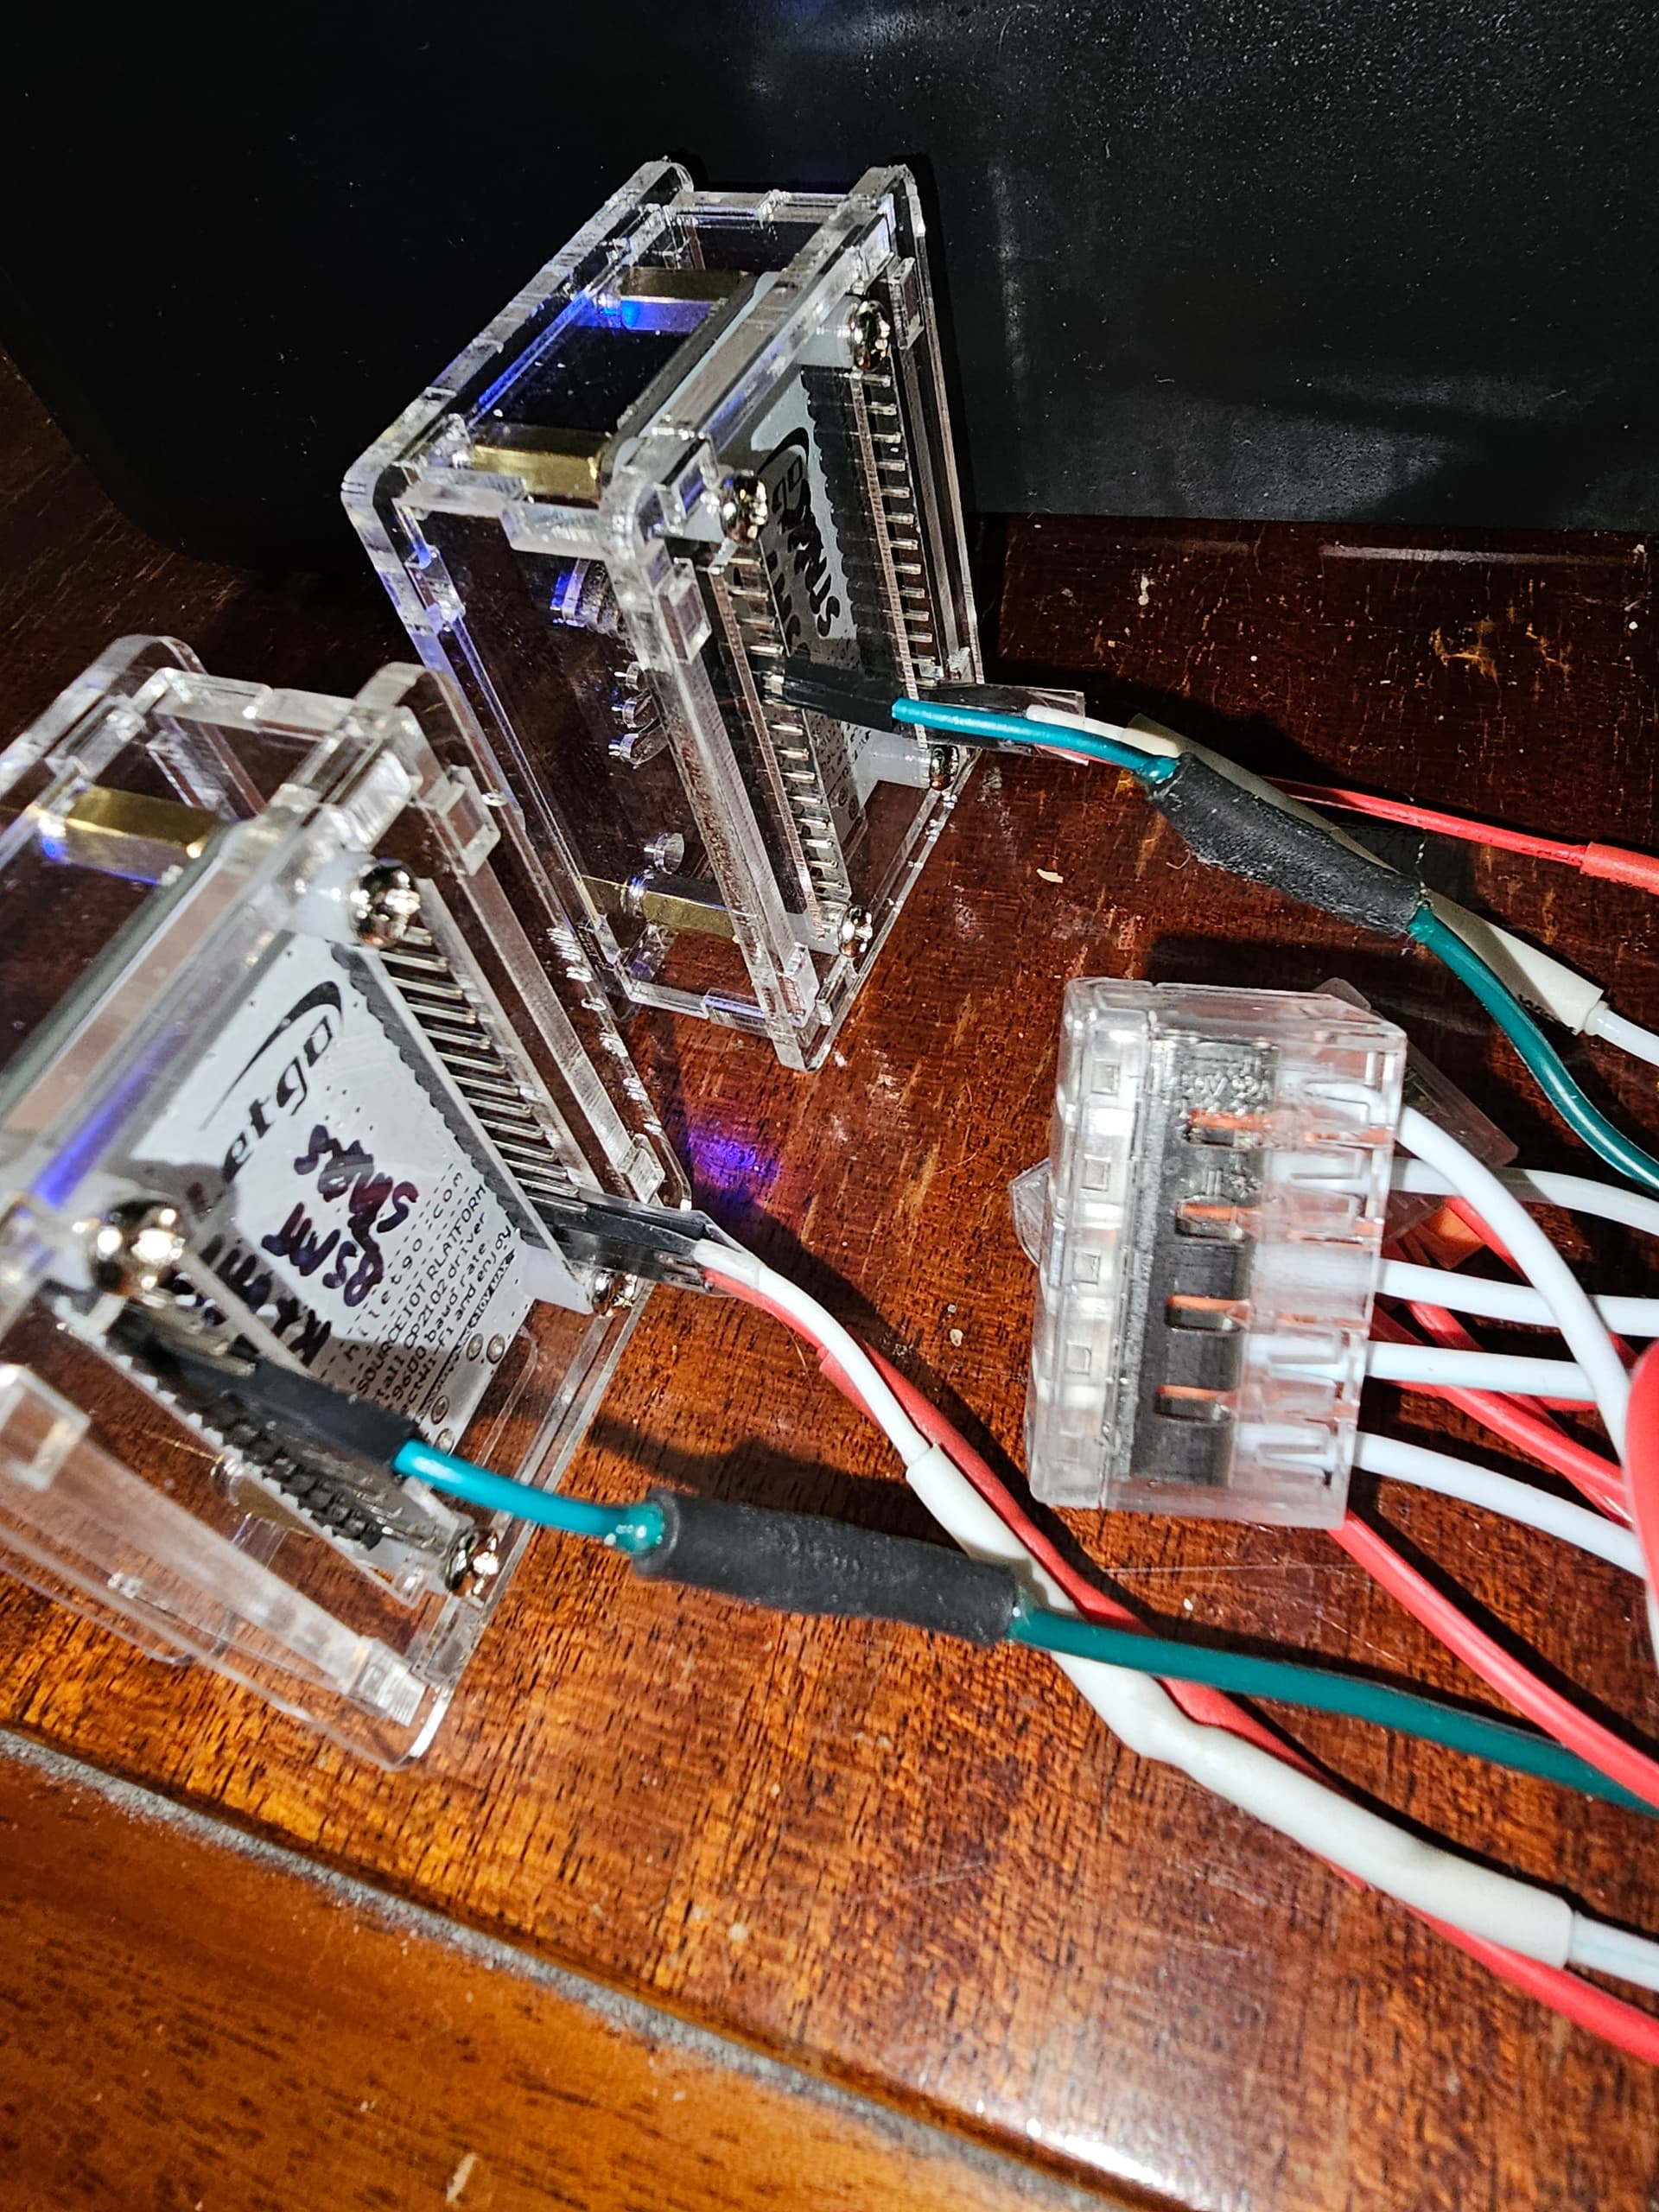
And I didn’t like the circuit boards just sitting there uncovered - so I was very pleased with these (photos below) - Aliexpress:

Front:

Back:
And an example of one of the LED’s in action, bottom of stair railings (unfinished basement):

Not sure if I am interested in doing any more LED lights - but these were easy to add into home assistant with the WLED integration, these now turn on with specified settings from home assistant using automations to turn them on when there is motion (if motoin at the top of stairs , lights move downward for two minutes before turning off, if motion at bottom of stairs, lights move upward for two minutes before turning off). Playing with the colors was fun - but makes the stairs more dangerous for older folks! - I have them just white (but moving):


