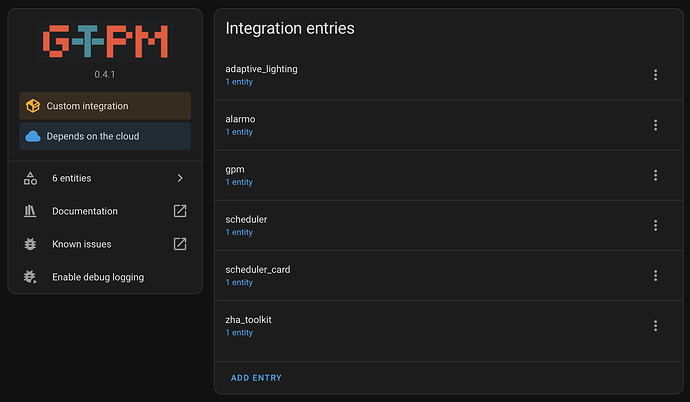
![]() I’m excited to share GPM (GIT Package Manager), a lightweight Home Assistant integration for managing custom_components and dashboard resources. GPM is ideal for advanced users seeking a Git-focused approach to package management without external APIs or accounts.
I’m excited to share GPM (GIT Package Manager), a lightweight Home Assistant integration for managing custom_components and dashboard resources. GPM is ideal for advanced users seeking a Git-focused approach to package management without external APIs or accounts.
What is GPM?
GPM enables you to:
- Install and manage custom_components: Extend functionality using third-party integrations in
/config/custom_components/. - Install and manage dashboard resources: Enhance UI with custom cards, themes, etc., stored in
/config/www/. - Stay updated: GPM creates update entities, simplifying maintenance.
Installing GPM
Run the following in your Home Assistant terminal:
wget -O - https://raw.githubusercontent.com/tomasbedrich/gpm/refs/heads/main/install/install.sh | bash -
Using GPM
- Go to Settings → Devices & Services → Integrations.
- Click “+ Add integration” and select GPM.
- Configure the desired package.
Custom Components
- Provide the repository’s HTTP URL in GPM’s config flow.
- GPM clones the latest version, creates symlinks, and activates it.
Dashboard Resources
- Specify a download URL template with
{{ version }}. - GPM substitutes
{{ version }}with the relevant tag or commit hash.
Example:
https://github.com/example-user/awesome-card/releases/download/{{ version }}/awesome-card.js
Why GPM?
Compared to HACS, GPM offers:
- Remote flexibility: Install from GitHub, GitLab, or any GIT repository.
- No external accounts or APIs: Operates purely with GIT.
- HACS compatibility: Supports repositories structured for HACS.
- Minimalist approach: Focuses on core functionality.
Provide a feedback
For advanced users who prefer GIT-based management without extra overhead, GPM is a puristic alternative to HACS.
Learn more and contribute:
- GitHub Repository: tomasbedrich/gpm
I’d love to hear your feedback and see how GPM works in your Home Assistant setup! ![]()
