How to edit Home Assistant config from locally installed Visual Studio Code

Full guide here: https://smarthomepursuits.com/edit-home-assistant-config-files-from-visual-studio-code/

In this guide, I’m going to show you how to access and edit Home Assistant configuration files from Visual Studio Code (installed locally on your computer). To do this, we are installing the Samba Share addon, installing the Home Assistant Config Helper extension in VSCode, and then opening the Samba share from VSCode.

This guide is intended for Windows 10/Server 2019 users, although the steps should be pretty similar for Mac or Linux.

Other Helpful Guides I’ve Created

If you were looking for instructions on how to install the Visual Studio Code add-in from within Home Assistant (to use VSCode from your Home Assistant web interface), follow this guide instead.

For accessing Home Assistant via SSH, follow this guide.

Let’s get started!

Step 1: Install Visual Studio Code

Download Visual Studio Code from here.

Once downloaded, install with all default options.

Step 2: Install Required Extensions

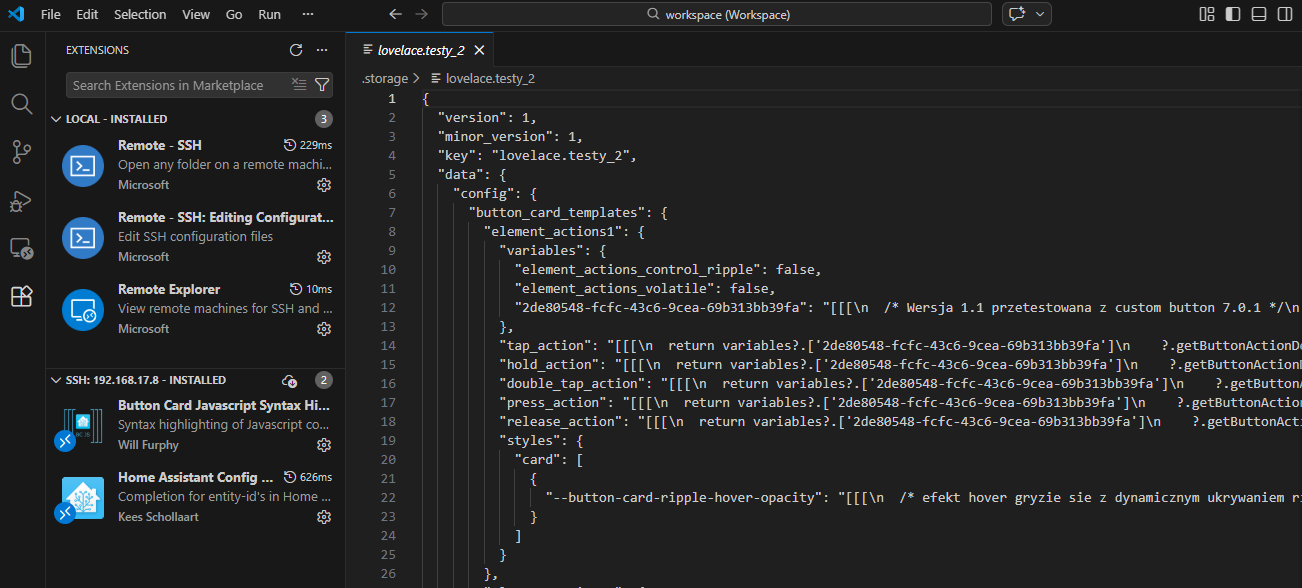
Click the start button and search for VS Code to open Visual Studio Code Editor. On the left sidebar, click Extensions.

Then search for Home Assistant Config Helper and click Install.

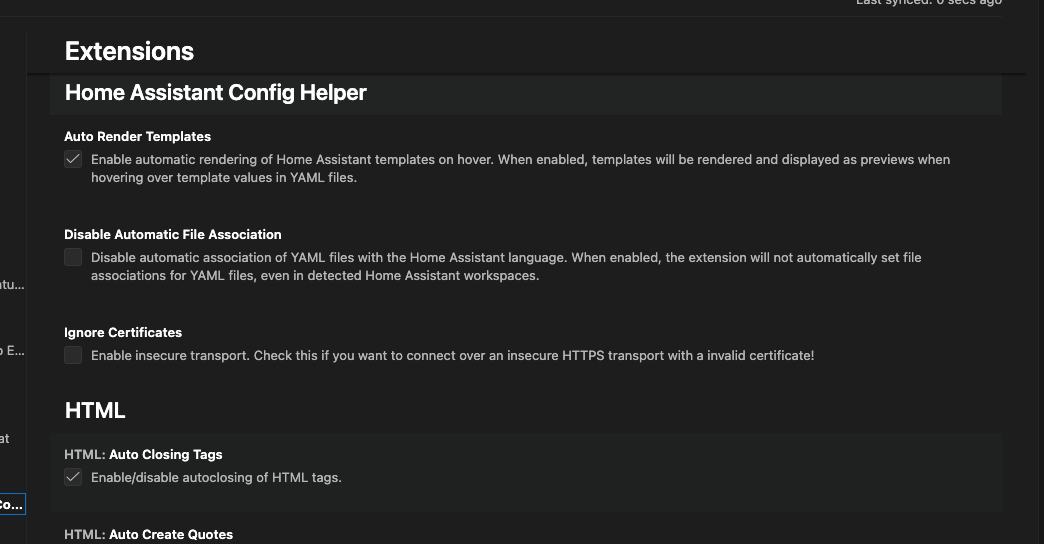
Step 3: Configure Settings for Home Assistant in VSCode

Go to File > Preferences > Settings. Expand Extensions, and then open the Home Assistant Config Editor.

Under Host URL, enter the IP and port of your Home Assistant instance (mine would be http://192.168.68.124:8123) Check the box for ignore certificates.

Step 4: Generate Long Lived Access Token from within Home Assistant

Now, you’ll need to generate a long-lived access token. To do this, click your profile picture in Home Assistant:

Then, scroll to the bottom until you see the Long Lived Access Tokens section.

Click Create Token and name it VSCode.

Copy the generated token to your clipboard and then paste into the Long-Lived Access Token field in Visual Studio Code. Make sure to copy this, it will not be shown again.

Step 5: Install Samba Share Addon in Home Assistant

Next, we need to download the addon called Samba Share from within Home Assistant. This enables file sharing across different operating systems on the same network, allowing us to access the HA configuration files via Windows File Explorer or vscode.

Supervisor > Add-On Store > Samba Share. Click Install.

Click Samba Share, and then click the Configuration tab. Set a password and then click Save.

Go back to the Info tab and start the addon.

Step 6: Open Samba Share

As a quick test, open File Explorer in Windows. Type the path to your new samba share like this:

\\192.168.68.124\config

In the credentials box, use the credentials you configured in the Samba Share addon.

You should now be able to see the entire folder structure of Home Assistant!

Step 7: Editing Files

To edit your config files, you have two options: editing them from Windows File Explorer or by opening the folder from VSCode.

Open Files from File Explorer

Right click on configuration.yaml > Open With > Visual Studio Code.

Open Folder from VSCode

Launch VSCode. Click the Explorer tab on the left sidebar, then click Open Folder.

Enter your Home Assistant IP address and credentials if prompted.

\\192.168.68.124\config

It will ask if you trust the authors of the files, click Yes.

You will now see your entire folder structure for Home Assistant!

18 Likes

Thanks for taking the time to share this

You dont need to install Samba anymore. Just connect directly to your Pi with Remote SSH in Visual Code and install Home Assistant plugin on target device (after connecting via SSH for the first time). You still need to obtain Long-Lived Access Tokens.

You are getting full access to the all configuration files with Home Assistant plugin support for navigation and templating.

1 Like

I’ve done all the steps above, including long-lived tokens, etc., but vscode doesn’t seem to recognize that the remote is a hass config directory. If I individually change the file type of a .yaml file, for instance, then auto-completion and other tools become available, otherwise it handles the remote as any other plain directory.

What do I miss?

Another problem with Visual studio Code:

I’m running more and more HA with VSC, and now I would like to access this file /config/.storage/lovelace.lovelace_tutorial, but it’s in /config/.storage, so is in a hidden folder? how can i access it so i can edit my code in this file???
I don’t see any hidden files in my config folder
do i have to redo all my installation of visual studio code as shown in this tutorial
Does anyone have a tip???

Thank you in advance

Can’t get it to run. Didn’t configure Samba because I want to keep away from that.
In vscode on my Mac I installed the home assistant extension.
I configured the long live access token and past it into the extension settings.
I configured the remote ssh session, login as root.
But when I make the connection, I get an error "the remote host may not meet vs code server’s prerequisits for glibc and libstdc++. (I’m running HA as HASSOS in a VM).
What do you mean in your reply about “install Home Assistant plugin on target device”? What is target device? To me that would seem to be the HA host?

Correct. “Target device” == “HA host”. I am using HA in a docker container on RaspberryPI. In your case it would be your virtual machine. Make sure you can connect via ssh from your Mac to your vm instance with HA.
If you can and VS keeps complaining on missing glib libraries, try installing them inside your VM.
VS code server here is just an application that needs to start on the host machine and needs certain dependencies. It will all depend what type of Linux, kernel, other installed apps you have for your HA host vm.

i have ssh to my pi setup (it runs home assistant os), in terminal I can simply ssh ha.local and everything is configured in my ssh.config

after installing the remote ssh in visual studio on my Mac and choosing connect to remote, ha.local automatically shows up. however when trying to connect, I get an error:

[11:30:58.276] stderr> Authenticated to ha.local ([fe80::....%en0]:22222) using "publickey".
[11:30:58.305] > ready: 99935ea33c3d
[11:30:58.316] > Linux 6.1.21-v8 #1 SMP PREEMPT Tue Apr 25 14:21:31 UTC 2023
[11:30:58.316] Platform: linux
[11:30:58.321] > /bin/sh
[11:30:58.321] Shell: sh
[11:30:58.321] Creating bash subshell inside "sh"
[11:30:58.377] > bash version:
[11:30:58.429] > bash version:
[11:30:58.436] stderr> bash: syntax error: unexpected "(" (expecting "then")

and then the connection fails

[11:30:58.450] > local-server-1> ssh child died, shutting down
...
[11:30:58.452] Failed to parse remote port from server output
[11:30:58.454] Resolver error: Error: 
	at m.Create 
	at t.handleInstallOutput
	at Object.e [as tryInstallWithLocalServer] 

I tried some of the advice listed at VS Code Remote SSH Connection not working - Stack Overflow

however I feel the the homeassistant OS might be a problem. Any ideas?

Hello,
Maybe it’s an old topic but i’ve done all this but when I modify a lovelace.dashboard, i can’t see my modification in the front, except if I restart all the rpi. I tried to reload the scene, automations etc but nothing work. Can somebody help me ? Is it possible to see directly the modification done on visual studio with a simple reload ?
Thanks

Or just use the built in functionality…

Click and hold ‘Home Assistant’ text for a few seconds, release and edit!