Hi All
As a newbie I’m struggling with connecting my ESP32-01 (ESP8266) to ESPHome. The following steps I have taken until now and they look successfull
Installing ESPHome to synology
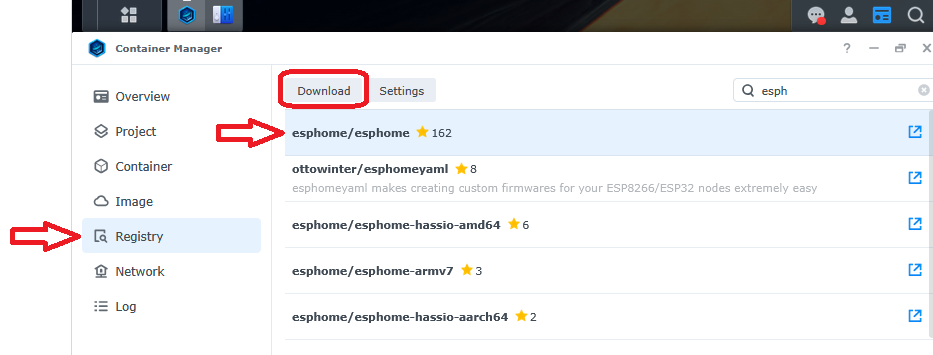
- Goto Container Manager and select ‘Registry’.
- Search for ‘esphome/esphome’
- Select it and hit ‘Download’
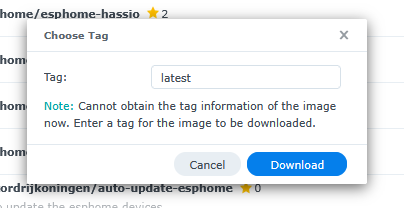
- Select the latest version if asked
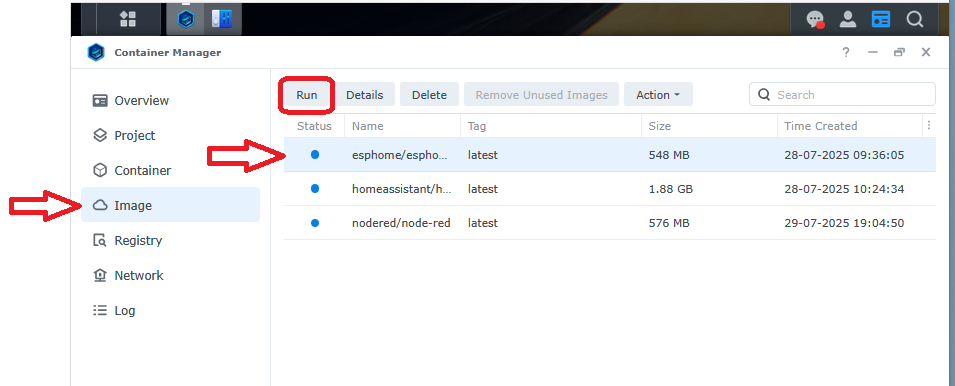
- Select ‘Image’, ‘esphome/esphome’ and hit ‘run’
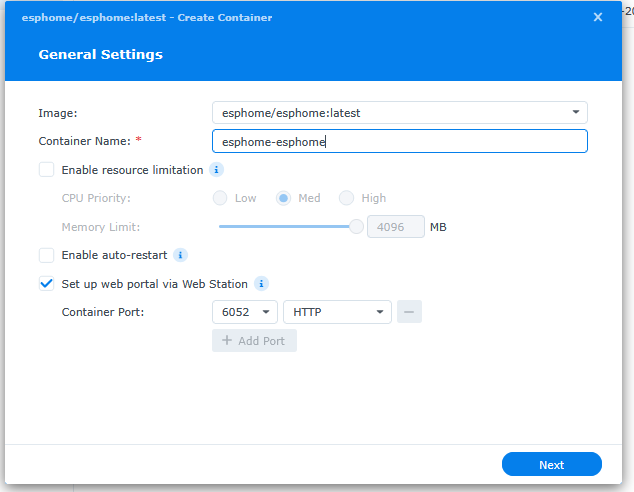
- Give the container a name and hit ‘next’
- Under ‘advanced settings’ set the external port (I used the default 6052). Add a folder for the files (I used ‘/docker/esphome’) and set it to ‘/config’.
- If all went well you will find the container under ‘Container’ with a green status. You can check if it runs by opening it in a browser
http://<your synology ip>:6052

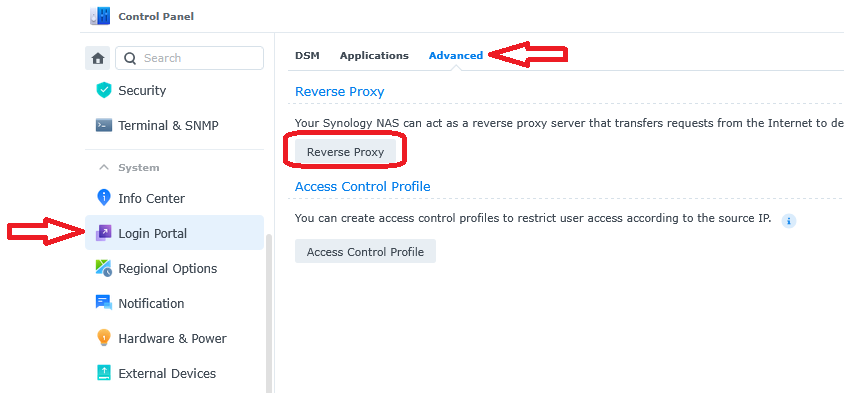
Setup reverse proxy in synology
- Goto ‘Login Portal’, select tab ‘Advanced’ and hit ‘Reverse Proxy’.
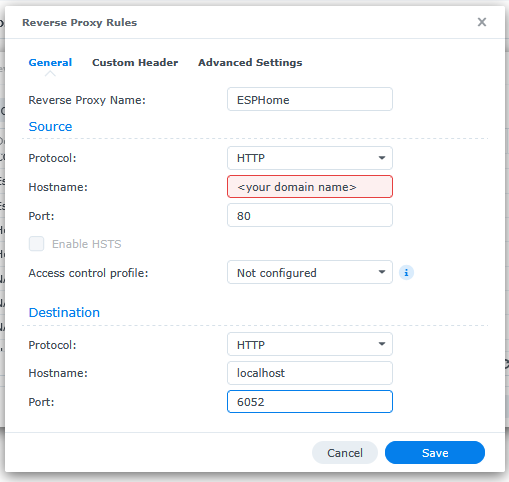
- Set the source hostname to e.g. ‘esphome.myhome.lan’ with port 80. Set the destination to ‘localhost’ with port 6052.
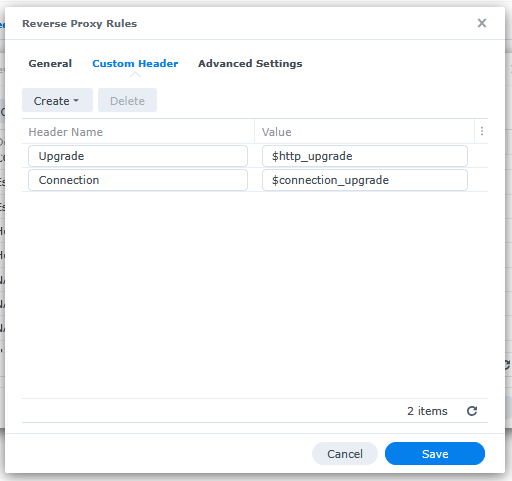
- Switch to tab ‘custom header’ and select ‘create’, ‘websocket’ leave the defaults and hit ‘save’
Modify the USB programmer
Follow this manual
Get some life in the ESP-01 (ESP8266)
-
Make sure you have followed the ‘Modify theUSB programmer’ steps.
-
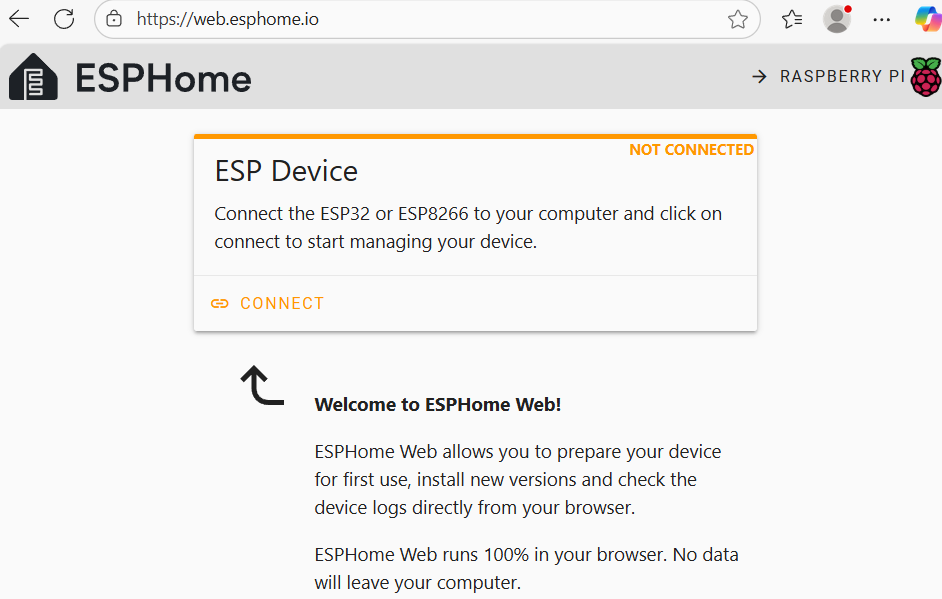
Goto https://web.esphome.io/ with chrome or edge browser as firefox does not support the serial programming.
-
Stack the ESP-01 onto the USB programmer
-
Push the button, hold it and insert the USB programmer into your computer. The blue LED will shortly blink.
-
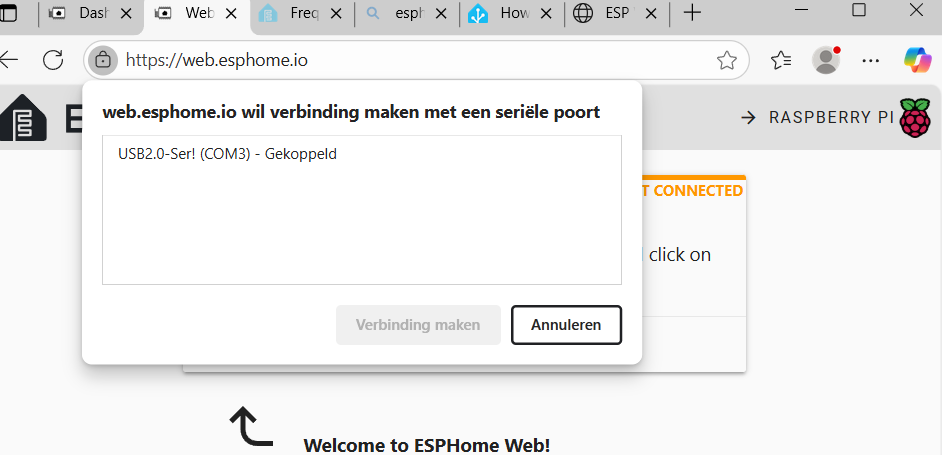
Hit the connect button, select the programmer and hit ‘connect’
-
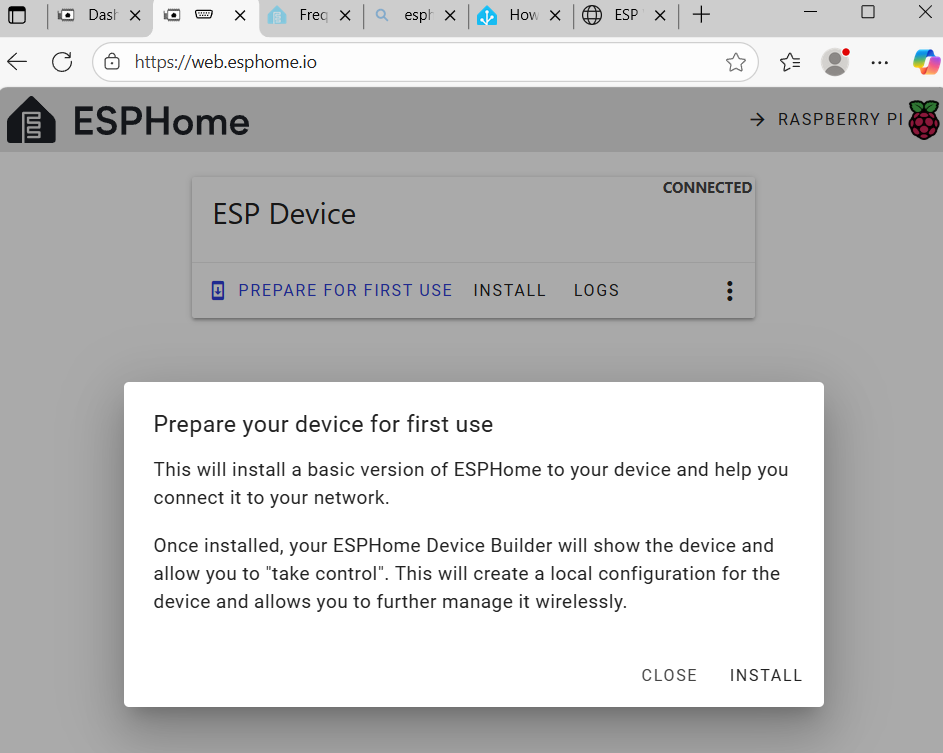
Select ‘prepare for first use’ and hit ‘install’
-
The website tries to connect and when it has, then the blue LED will blink several times each time the progress bar increases a new step.
-
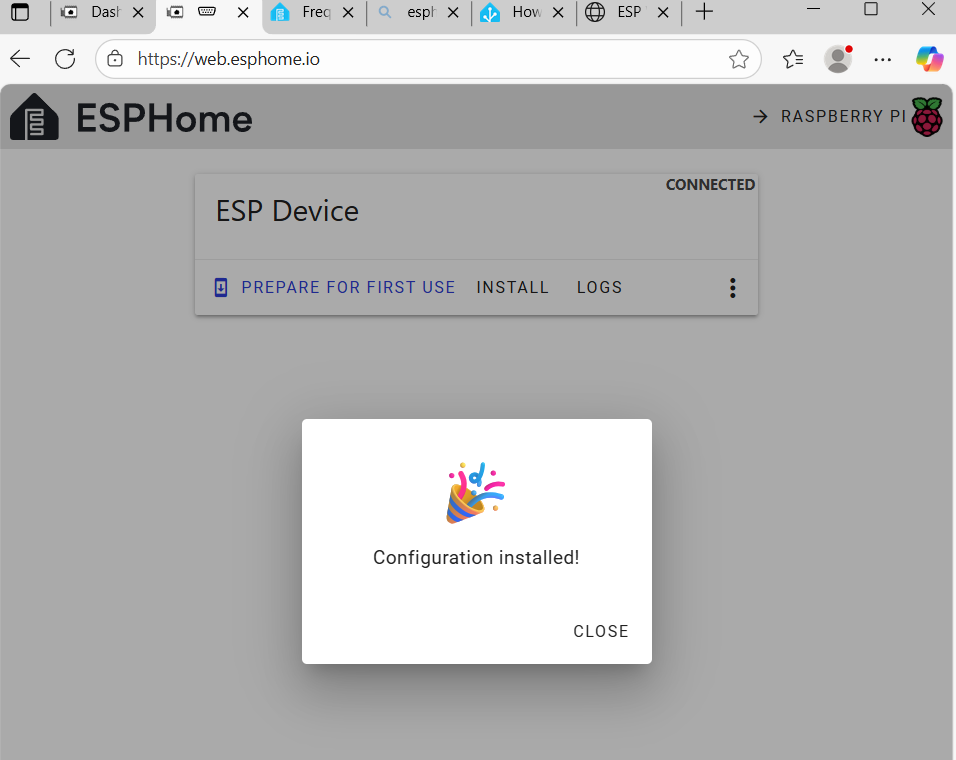
When everything went OK, then you will see this screen and you can hit ‘close’
-
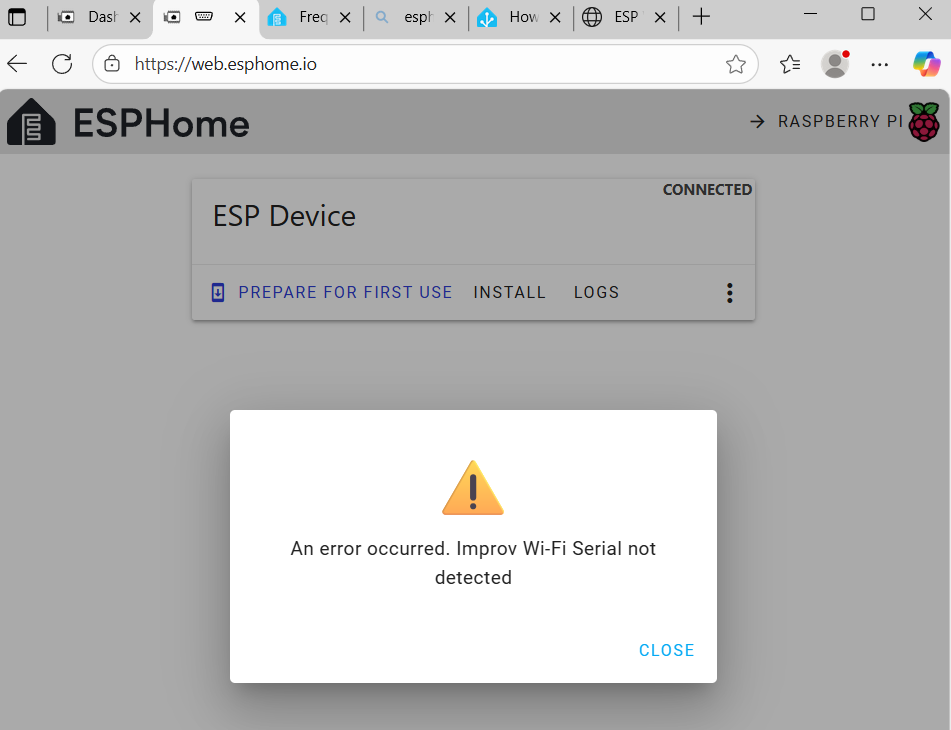
It will try to re-connect but fail with this screen.
-
Hit ‘close’, remove the USB programmer, wait 3 seconds and insert the USB programmer again without activating the added button. This will reboot the ESP-01
-
If it is realy the first time that you programmed the device, then get your smartphone and continue with step 12, otherwise continue with step 13
-
On your smartphone search for a WiFi network with the signature ‘esphome-web-’ and connect to it. A window will open and you can select your home WiFi. Add the required credentials and let it connect to your wifi. Unfortunally I already have done this, so I cannot add any screenshots anymore. Your device is now ready for the next part. You can skip the next steps.
-
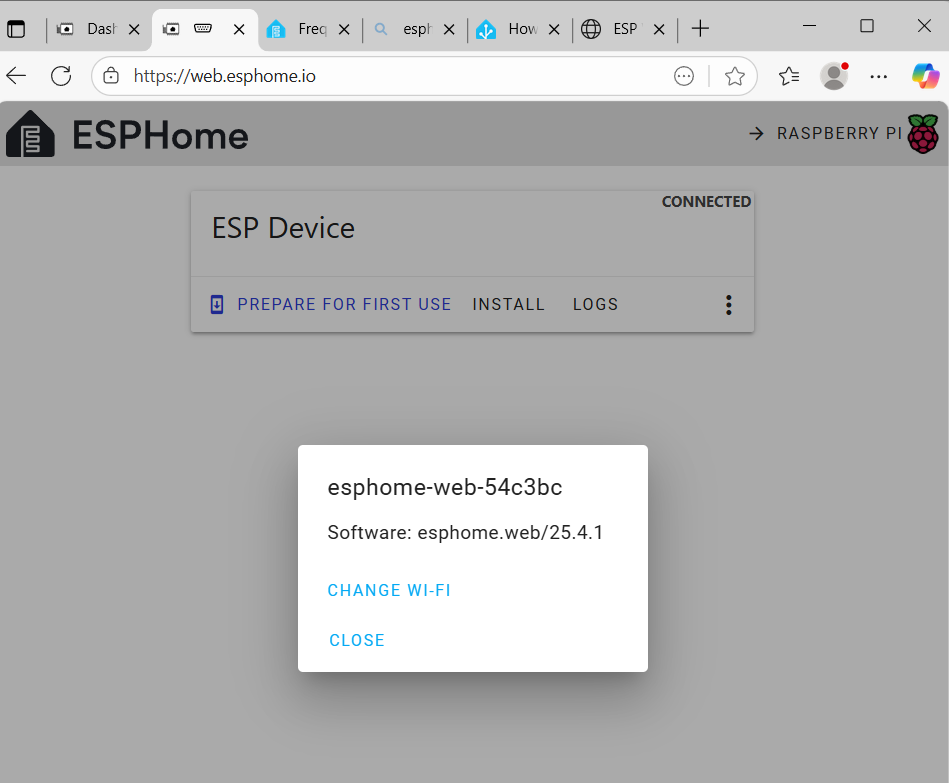
When the device was loaded in the past, then reconnect to the USB programmer and hit the 3 dots at the end. Select ‘configure wifi’
-
When your device is discovered, then you will see the following. Hit ‘change wifi’ to change the WiFi. You may skip this if it was already correctly configured.
-
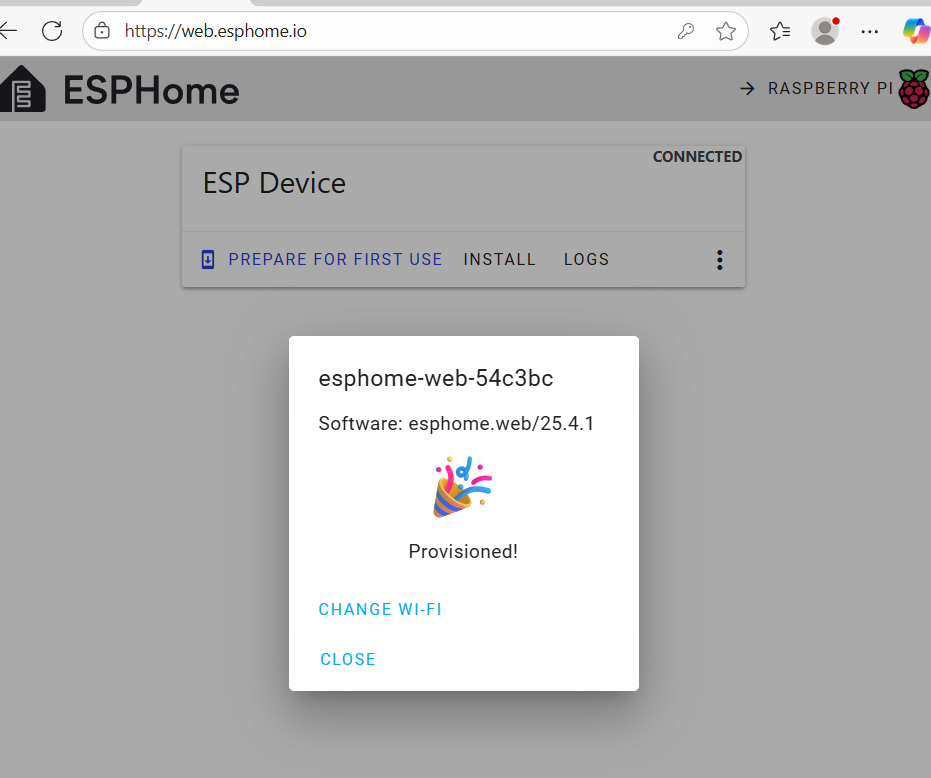
Select your home WiFi and supply the credentials. Hit ‘connect’ and wait until finished.


Create a device in ESPHome
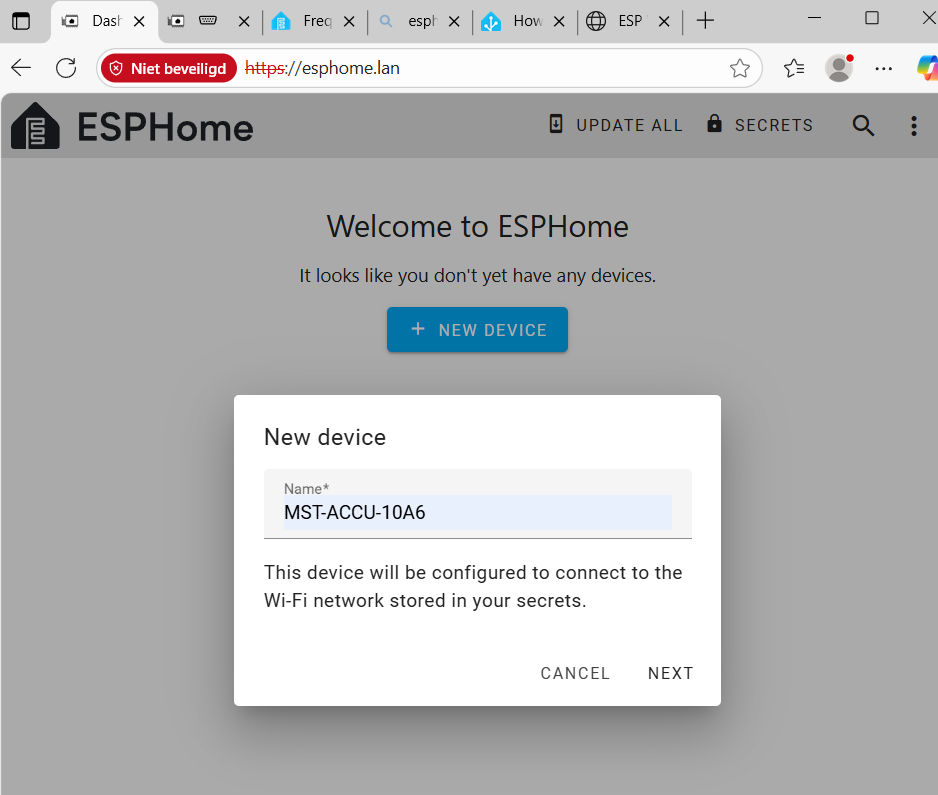
- Goto your instance of ESPHome, hit ‘add device’ and ‘continue’ when you get the info about a new device (you already have done this by now). Add the name of the device and hit ‘next’
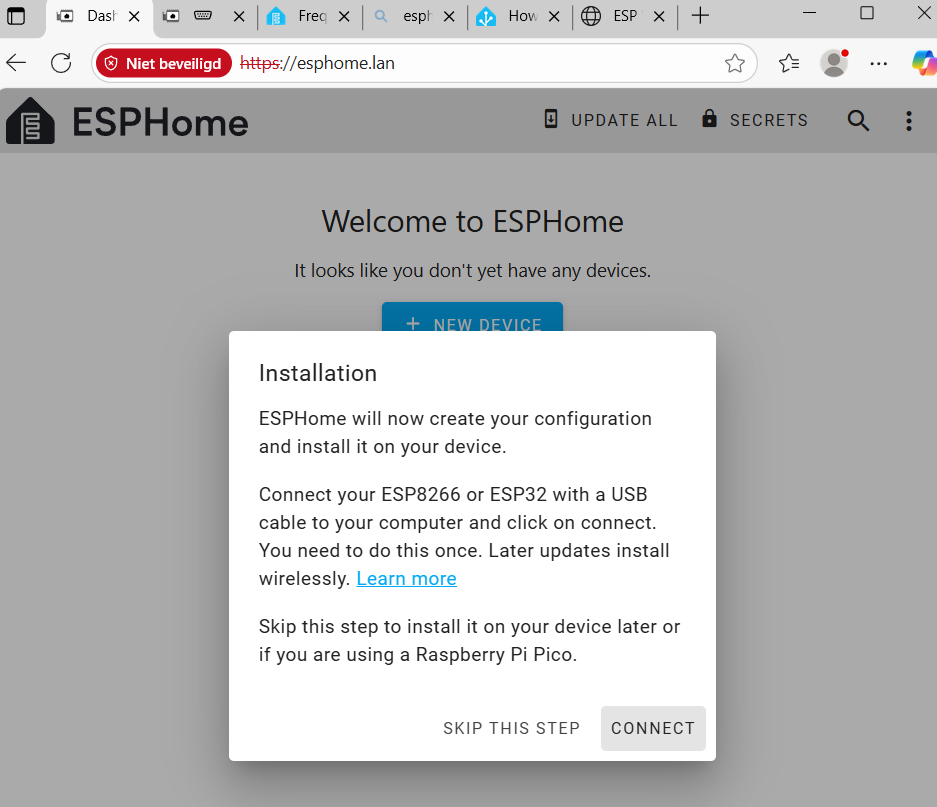
- Press ‘skip this step’ when prompted
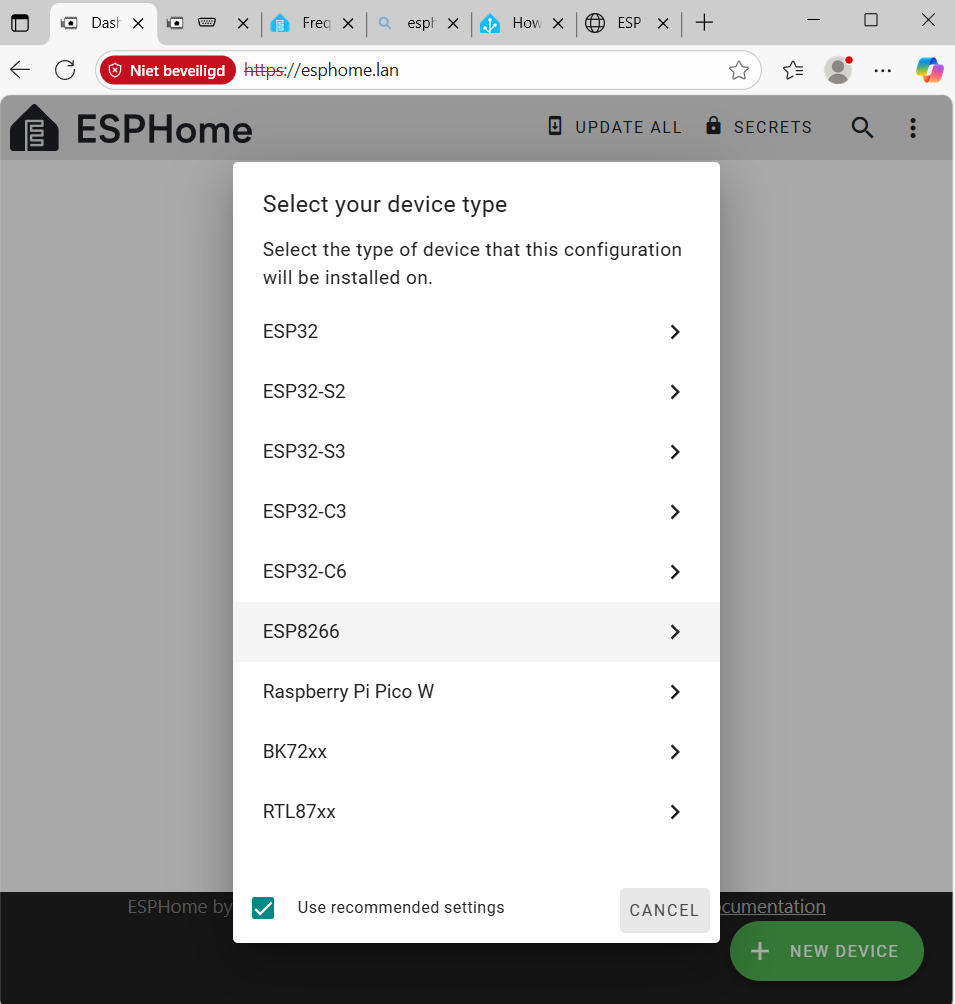
- Select the ‘ESP8266’ device from the list
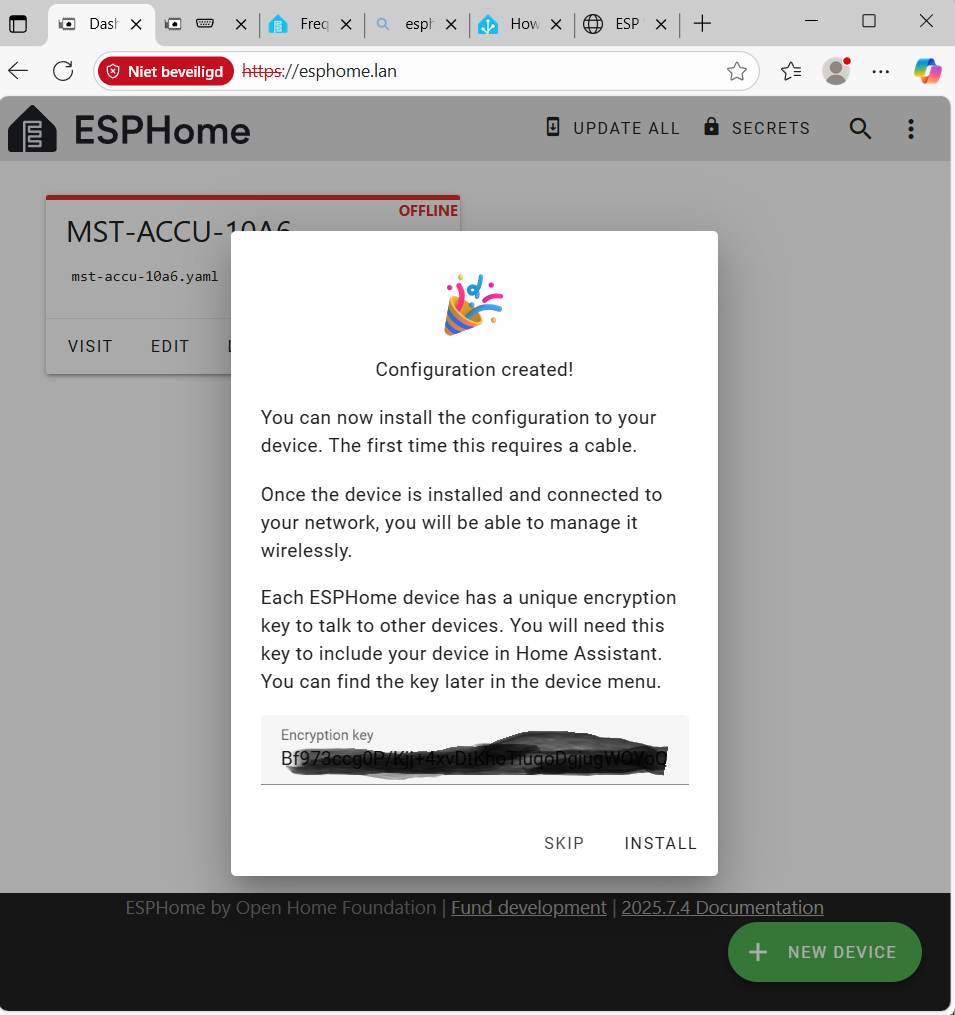
- Wait until the installation is finished and select ‘install’
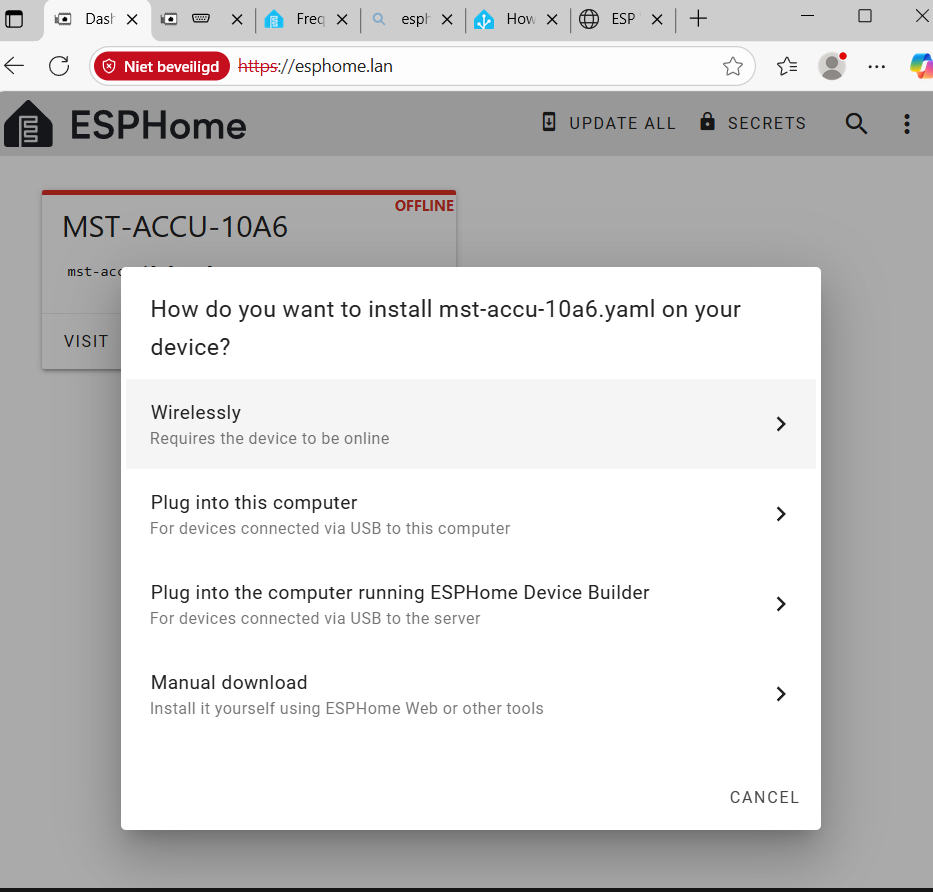
- Select wirelessly
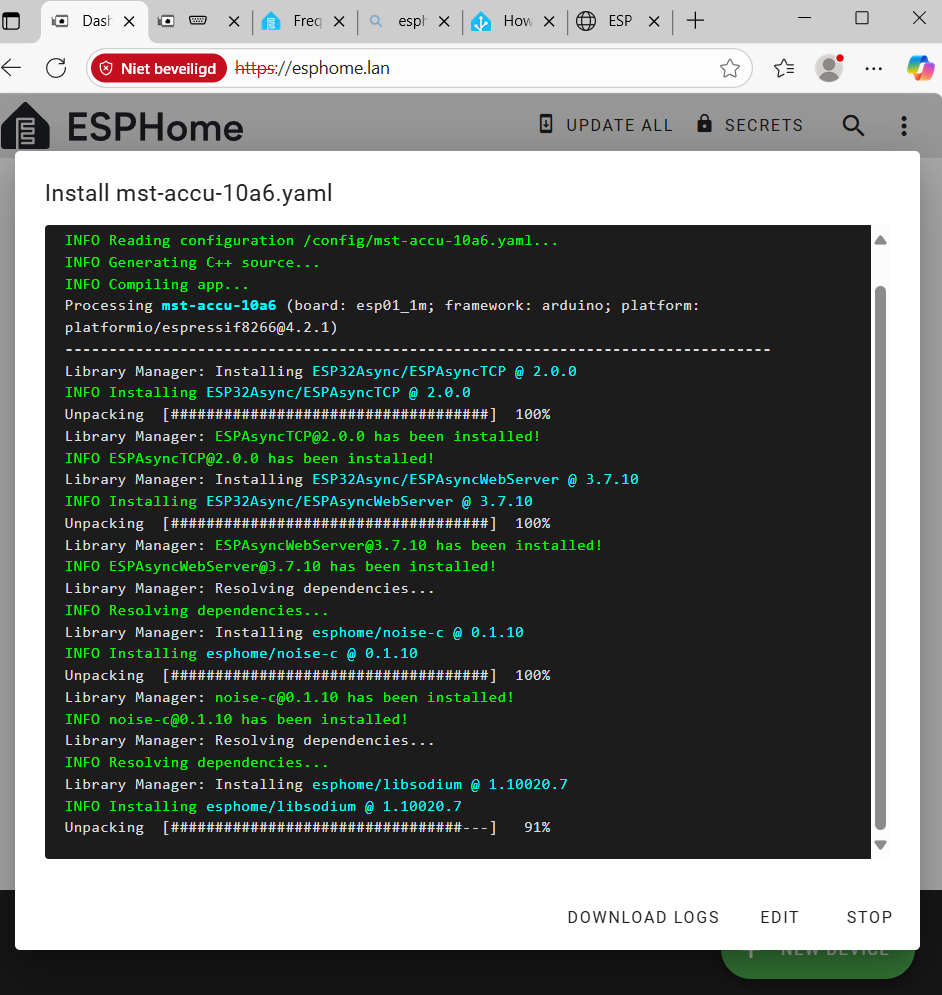
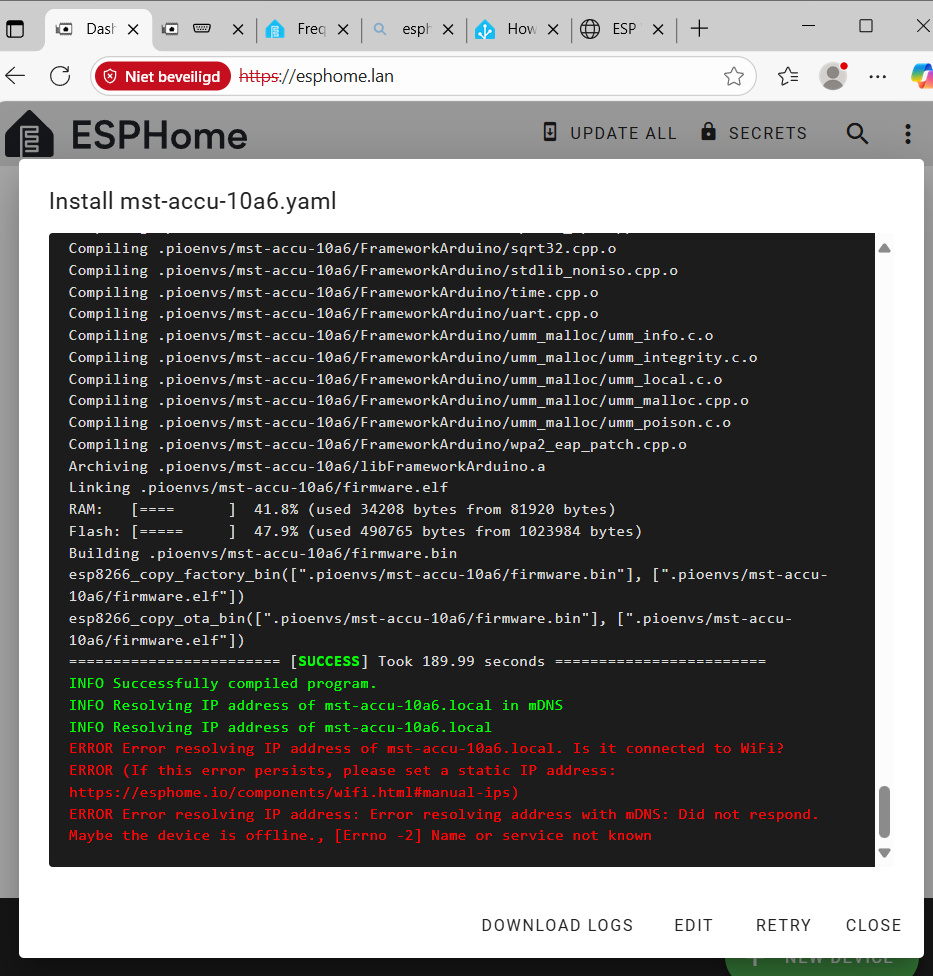
- Have patience, it needs some time to start (approx. 30 seconds), when you see data appearing then it is installing. Let the installer finish!!
- When you see this, then the installing was OK and continue with the next part ‘Get the damn thing working’
Get the damn thing working
…yup need to find a solution for the next part