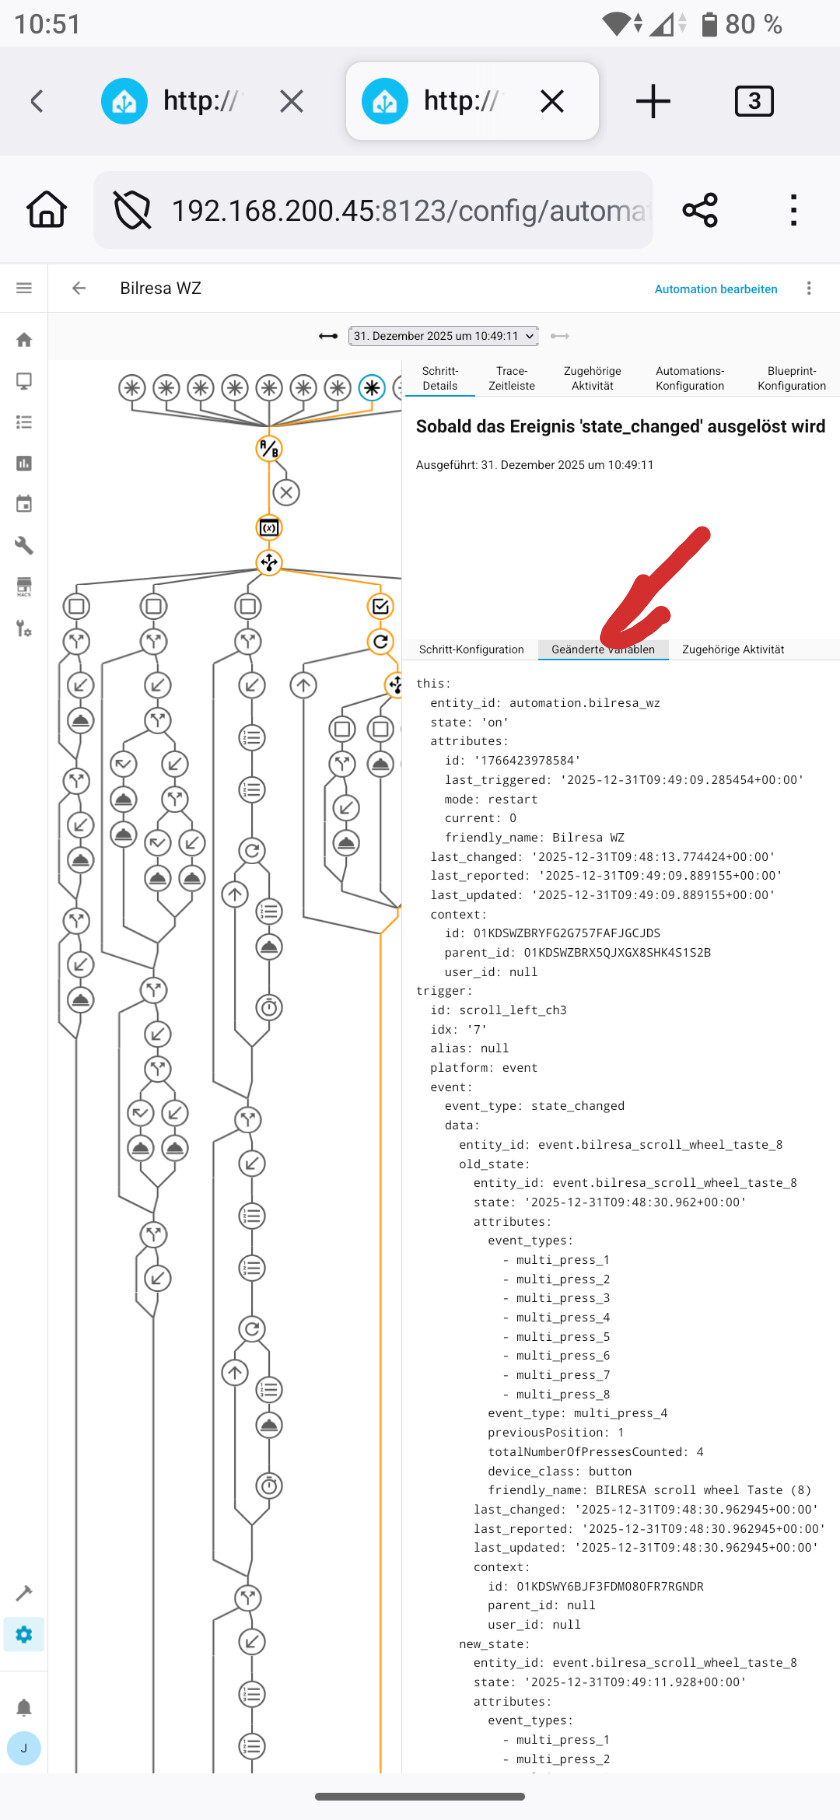
I have created a blueprint for my Ikea Bilresa scroll wheel remote.
Button supports:
- click
- double-click
- long-click
- on-hold
Scroll wheel supports:
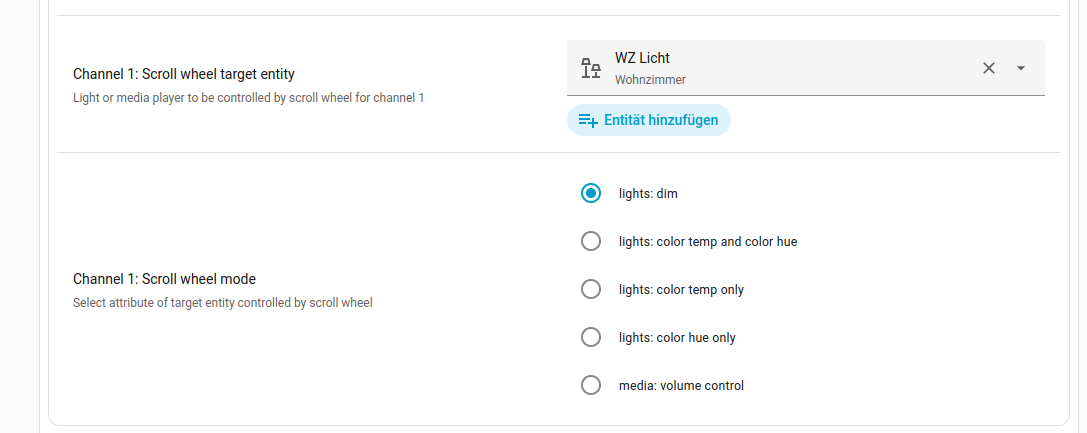
- for lights:
– dimming
– color temperature change
– color hue change - for media player:
– volume control
You need two additional helper scripts for color control, these can also be used stand-alone (e.g. as action for double-click or on-hold), see below.
Update: 2025-01-01
- use automation mode
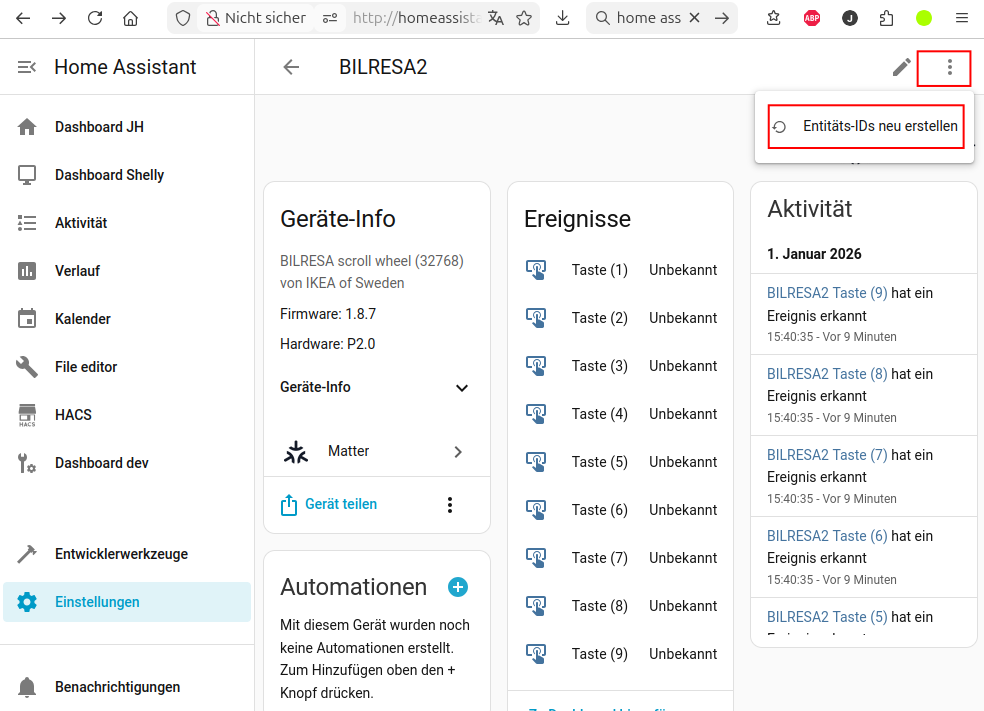
singleinstead ofrestart(useful for some edge cases) - fix issue if entity names of buttons are suffixed with
_2(e.g. for second Bilresa device with same device name)
previous changes
- add sections to blueprint
 breaking change:
– to support future enhancements I renamed “lights_target” → “scroll_wheel_target”, you have to reconfigure this once, sorry- add volume control for media player
- fix: check if old_state is ‘unavailable’
- add “on-hold” action
Description
A typical example for a light may look like this:
- toggle light “Globe” on click
- use scroll-wheel to dim up/down light “Globe” (you can change dim step size and min brightness as well)
- long-click turns light “Globe” on
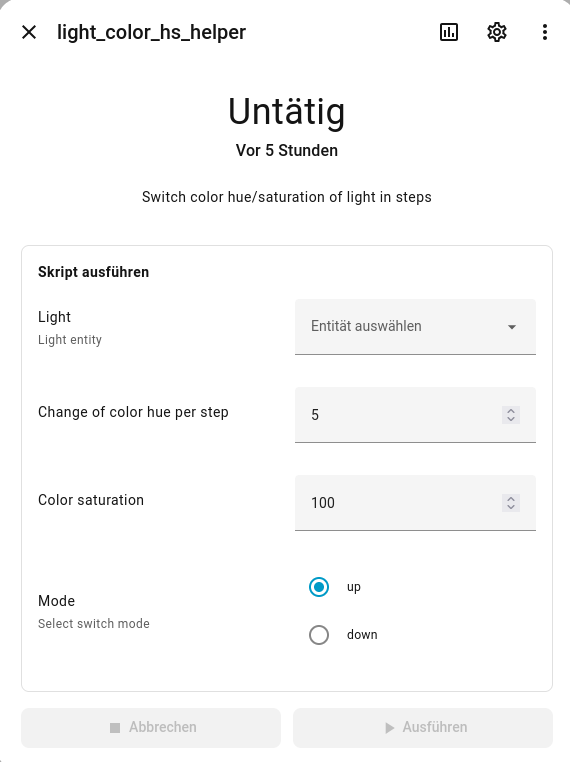
- on-hold calls repeatedly helper script “light_color_hs_helper” to change color of light “Globe”

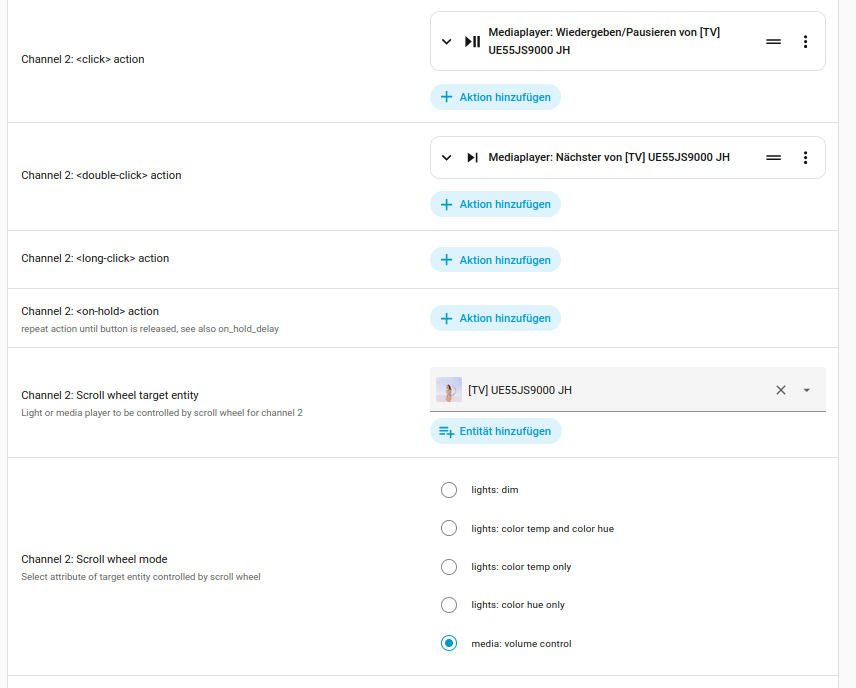
A typical example for a media player may look like this:
- start/pause player on click
- double-click jumps to next title
- use scroll-wheel to volume up/down (you can change volume step size and max volume as well)
Get the blueprint blueprint Ikea_bilresa_scroll_wheel.yaml here:
![]()
Or copy from github: Home Assistent Blueprint "Ikea_bilresa_scroll_wheel" · GitHub
First helper script
light_color_hs_helper (change color hue in steps):
sequence:
  - action: light.turn_on
    target:
      entity_id: "{{ target_light }}"
    data:
      hs_color: >-
        {% set new_value = (state_attr(target_light, 'hs_color')[0] + iif(mode
        == "down", -1, +1) * color_hue_step)  %} {{ [iif(new_value > 360,
            new_value - 360,
            iif(new_value < 0,
                new_value + 360,
                new_value),
            new_value),
          color_saturation - 1 ] }}
alias: light_color_hs_helper
fields:
  target_light:
    name: Light
    description: Light entity
    selector:
      entity:
        filter:
          domain: light
    required: true
  color_hue_step:
    name: Change of color hue per step
    default: 5
    selector:
      number:
        mode: box
    required: true
  color_saturation:
    name: Color saturation
    default: 100
    selector:
      number:
        mode: box
    required: true
  mode:
    selector:
      select:
        options:
          - up
          - down
    required: true
    default: up
    name: Mode
    description: Select switch mode
description: Switch color hue/saturation of light in steps
Second helper script
light_color_temp_helper (change color temp in steps):

sequence:
  - action: light.turn_on
    target:
      entity_id: "{{ target_light }}"
    data:
      color_temp_kelvin: |-
        {% if state_attr(target_light, 'color_temp_kelvin') is none %}
          {{ max_color_temp }}
        {% else %}
          {% if mode == "cycle" and state_attr(target_light, 'color_temp_kelvin')
          == max_color_temp %}
            {{min_color_temp}}
          {% else %}
            {% set new_value = state_attr(target_light, 'color_temp_kelvin')+iif(mode == "down", -1, +1) * color_temp_step %}
            {{ [([new_value, max_color_temp] | min), min_color_temp] | max}}
          {% endif %}
        {% endif %}
alias: light_color_temp_helper
fields:
  target_light:
    name: Light
    description: Light entity
    selector:
      entity:
        filter:
          domain: light
    required: true
  min_color_temp:
    name: Minimal color temperature
    default: 2200
    selector:
      number:
        mode: box
    required: true
  max_color_temp:
    name: Maximal color temperature
    default: 4000
    selector:
      number:
        mode: box
    required: true
  color_temp_step:
    name: Change of color temperature per step
    default: 300
    selector:
      number:
        mode: box
    required: true
  mode:
    selector:
      select:
        options:
          - up
          - down
          - cycle
    required: true
    default: cycle
    name: Mode
    description: Select switch mode
description: Switch color temperature of light in steps