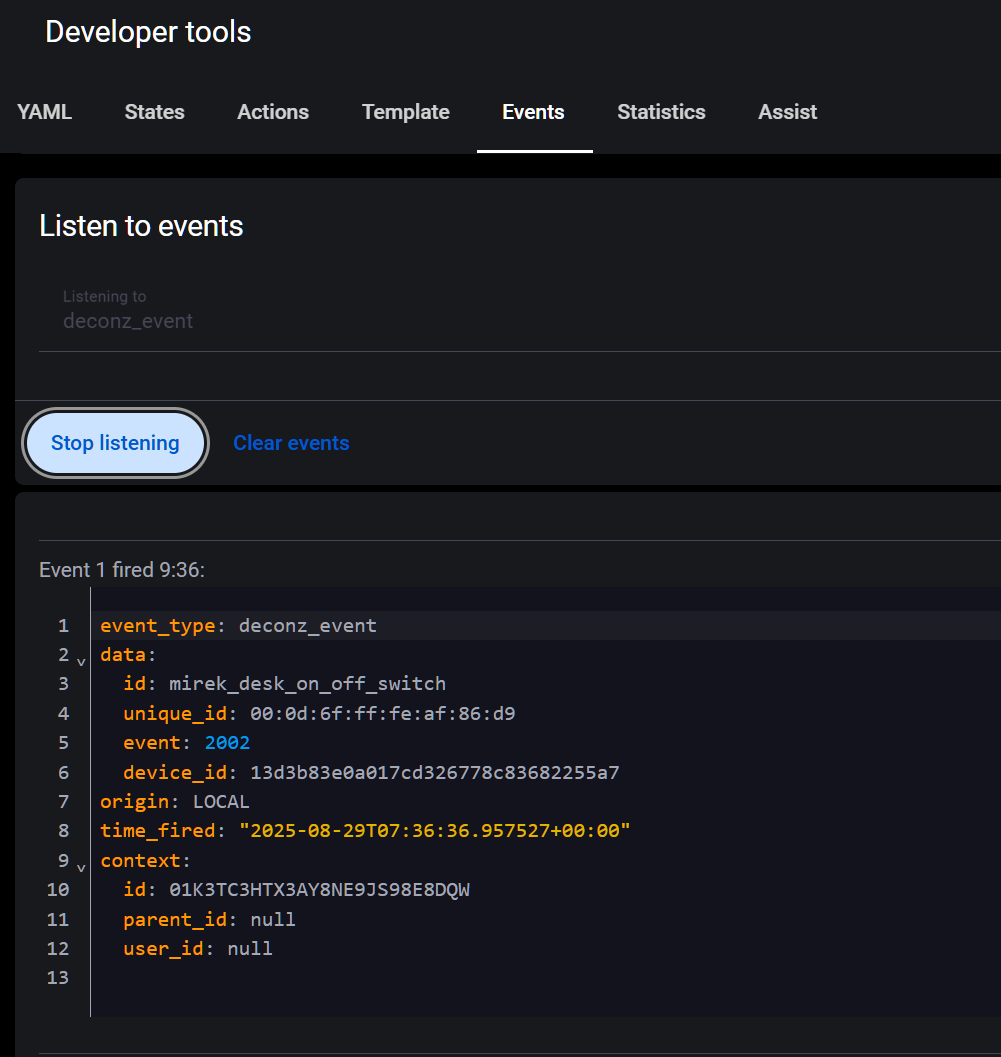
Basic blueprint to use the IKEA SOMRIG Shortcut button with deCONZ.
The shortcut button has two buttons. Each button has a single, double and long-press, so multiple scenes or automations can be assigned to one button. This way up to 6 scenes or automations can be assigned.

blueprint:
  name: IKEA Somrig Shortcut Controls (for deCONZ)
  description: "## IKEA Somrig shortcut button (2 buttons)

    This device has two buttons. Each button has a single, double and long-press, so multiple scenes or automations can be assigned to one button. This way up to 6 scenes or automations can be assigned.

    Available controls:

    - Press the buttons **1** or **2**.

    - Double press the buttons **1** or **2**.

    - Press and hold the buttons **1** or **2**.
    "
  domain: automation
  input:
    remote:
      name: SOMRIG shortcut button
      selector:
        device:
          integration: deconz
          model: SOMRIG shortcut button
          multiple: false

    button_one_press_action:
      name: Button 1 - Single press action
      description: Choose action(s) to run when the button with **ONE** dot is **pressed**.
      default: []
      selector:
        action: {}
    button_one_double_press:
      name: Button 1 - Double press event
      description: Choose action(s) to run when the button with **ONE** dot is **double pressed**.
      default: []
      selector:
        action: {}
    button_one_hold_action:
      name: Button 1 - Hold action
      description: Choose action(s) to run when the button with **ONE** is **pressed and hold**.
      default: []
      selector:
        action: {}

    button_two_press_action:
      name: Button 2 - Single press action
      description: Choose action(s) to run when the button with **TWO** dots is **pressed**.
      default: []
      selector:
        action: {}
    button_two_double_press:
      name: Button 2 - Double press event
      description: Choose action(s) to run when the button with **TWO** dots is **double pressed**.
      default: []
      selector:
        action: {}
    button_two_hold_action:
      name: Button 2 - Hold action
      description: Choose action(s) to run when the button with **TWO** dots is **pressed and hold**.
      default: []
      selector:
        action: {}

mode: restart
max_exceeded: silent

trigger:
- platform: event
  event_type: deconz_event
  event_data:
    device_id: !input remote

action:
- variables:
    event: '{{ trigger.event.data.event }}'

- choose:
  - conditions:
    - '{{ event == 1001 }}'
    sequence: !input button_one_hold_action
  - conditions:
    - '{{ event == 1002 }}'
    sequence: !input button_one_press_action
  - conditions:
    - '{{ event == 1004 }}'
    sequence: !input button_one_double_press

  - conditions:
    - '{{ event == 2001 }}'
    sequence: !input button_two_hold_action
  - conditions:
    - '{{ event == 2002 }}'
    sequence: !input button_two_press_action
  - conditions:
    - '{{ event == 2004 }}'
    sequence: !input button_two_double_press