Support status
This port is experimental and the T3 is not listed among the officially supported HAOS hardware families. Expect occasional quirks and always keep backups.
Preparation
What you’ll need
Hardware:
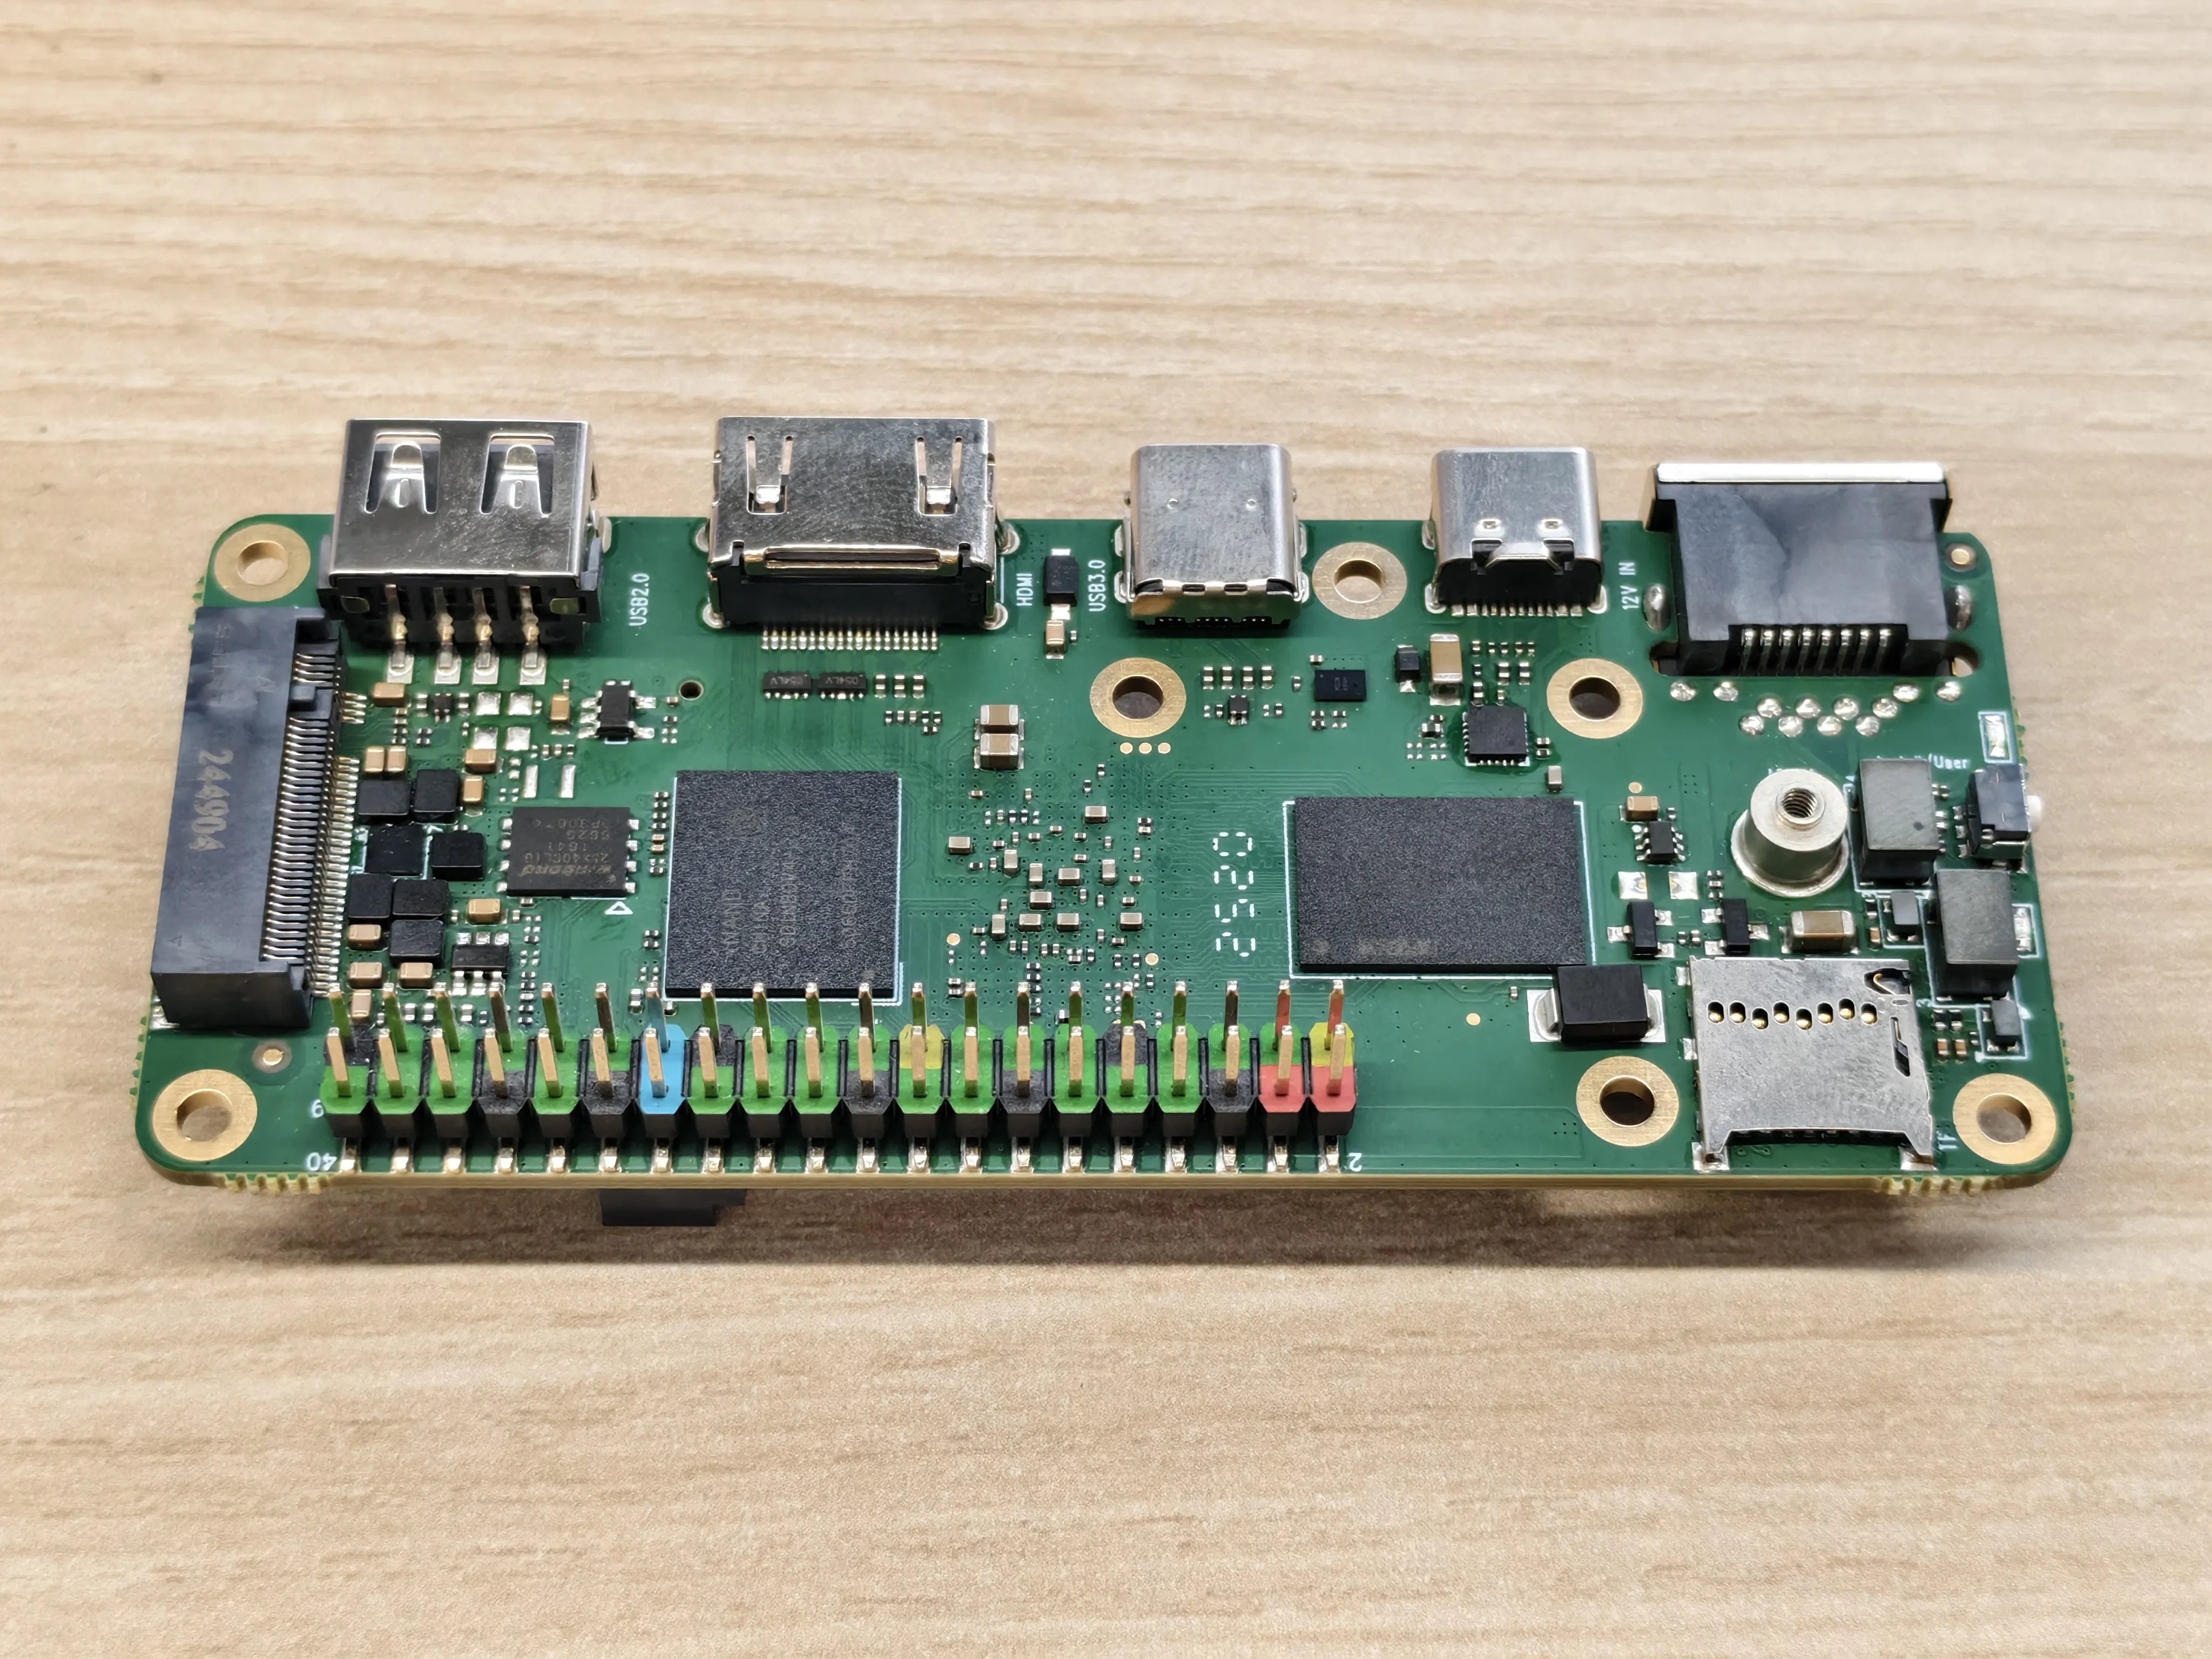
- XpressReal T3 board
- Power supply that meets board spec
- Storage: microSD card (≥ 16 GB, U3/Class 10 or better)
- Card reader (for flashing)
- Network: Ethernet cable (recommended) or Wi‑Fi
- (Optional) HDMI display + USB keyboard (for local console), USB Zigbee/Z‑Wave dongles, etc.
Software:
- HAOS image for XpressReal T3: download from the GitHub Releases page
- balenaEtcher (Windows/macOS/Linux) or Rufus (Windows)
- (Optional) SSH client (for add‑on shell access later)
Get the image and flash
- Download the latest HAOS for XpressReal T3 image (and its checksum file if provided).
- Verify the checksum to ensure the download isn’t corrupted (recommended).
- Insert the microSD/SSD (via USB adapter) into your computer.
- Open balenaEtcher → Flash from file → select the HAOS image → select the target drive → Flash.
- Safely eject when done.
Optional: Pre‑configure Wi‑Fi (headless mode)
Ethernet is recommended for the first boot. If you must use Wi‑Fi, HAOS supports a NetworkManager keyfile named my-network placed on the CONFIG/network/ folder of the flashed media.

-
After flashing, re‑insert the card/drive so your OS mounts the
hassos-bootpartition.-
On macOS, mount the
hassos-bootpartition as follows:$ diskutil list /dev/disk4 (external, physical): #: TYPE NAME SIZE IDENTIFIER 0: GUID_partition_scheme *7.9 GB disk4 1: EFI hassos-boot 33.6 MB disk4s1 ... $ mkdir ~/volumes/efi $ sudo mount -t msdos /dev/disk4s1 ~/volumes/efi $ # make changes to CONFIG/network/my-network $ sudo umount ~/volumes/ext4
-
-
Create a
CONFIGdirectory at the root of the partition, then anetworksubdirectory inside it. -
Create a file named
my-network(no extension, UNIX LF line endings) in thenetworkfolder with the following content:[connection] id=my-network uuid=GENERATE_A_UUID_FIRST type=802-11-wireless [802-11-wireless] mode=infrastructure ssid=YOUR_WIFI_SSID # Uncomment below if your SSID is not broadcasted # hidden=true [802-11-wireless-security] auth-alg=open key-mgmt=wpa-psk psk=YOUR_WIFI_PASSWORD [ipv4] method=auto [ipv6] addr-gen-mode=stable-privacy method=auto -
Safely eject the media.
First boot & access
First boot
- Insert the flashed microSD into the T3.
- Connect Ethernet (recommended) or rely on your pre‑configured Wi‑Fi.
- Power on the board.
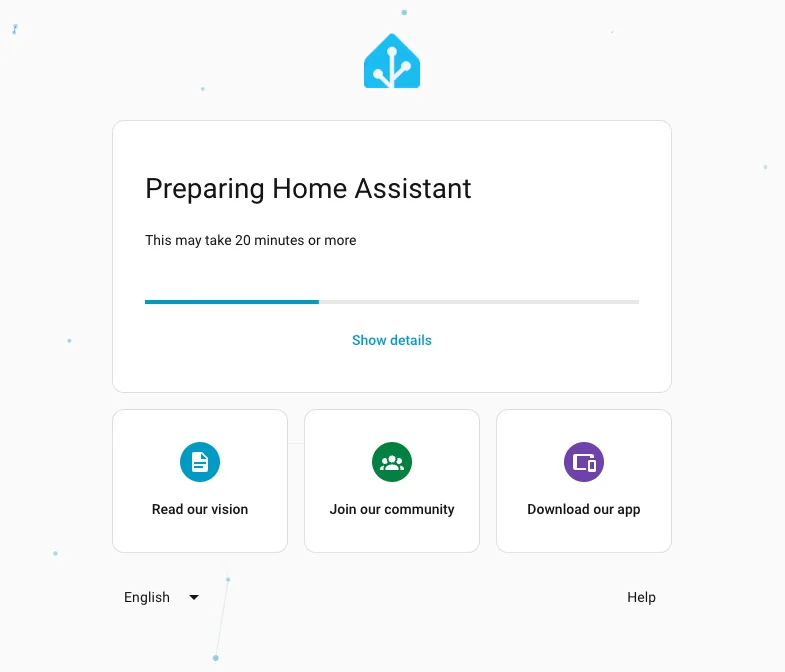
- Wait 5–10 minutes for initialisation (first boot expands the filesystem, sets up containers, etc.).
If you have a monitor connected, you’ll see the HAOS console. Otherwise, continue headless.
Notes:
In the version v0.1, there’s a bug that results in failed network connections, which may cause the web UI stuck in the loading state.
The reason behind is that the NTP server was not set correctly. You may need to access the Home Assistant CLI to solve it after booting. The detailed steps are as follows:
-
After the Home Assistant CLI is ready, type
loginin the console. -
Type the following commands to edit the
/etc/systemd/timesyncd.confvi /etc/systemd/timesyncd.conf -
Add a new line:
NTP=pool.ntp.org time.cloudflare.comafter the previous line ofFallbackNTP=time.cloudflare.com -
Restart the
timesyncdservice to sync the time:systemctl daemon-reload systemctl restart systemd-timesyncd
Access the web UI and onboarding
On a device in the same network:
- Try
http://homeassistant.local:8123 - If mDNS isn’t working, open your router’s DHCP client list and find the T3’s IP, then visit http://<T3_IP>:8123
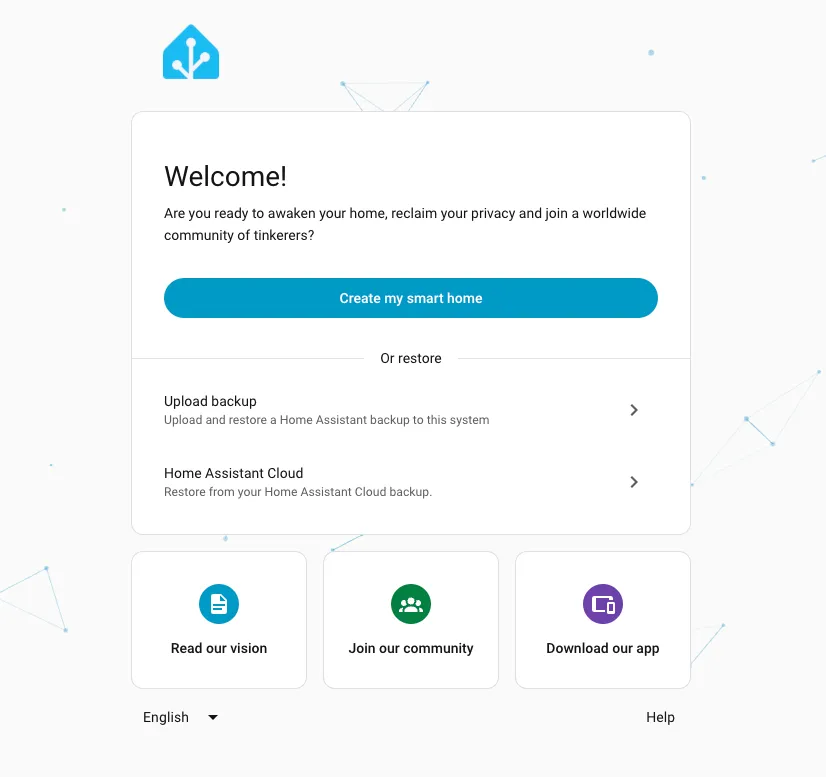
You should see the onboarding wizard, then:
- Create your Home Assistant user (username + strong password).
- Set location, time zone, units.
- Choose whether to enable anonymous usage analytics (optional).
- Home Assistant will auto‑discover some devices on your LAN; you can add or skip for now.
Happy automating!