Which is exactly what I linked - following the official instructions.
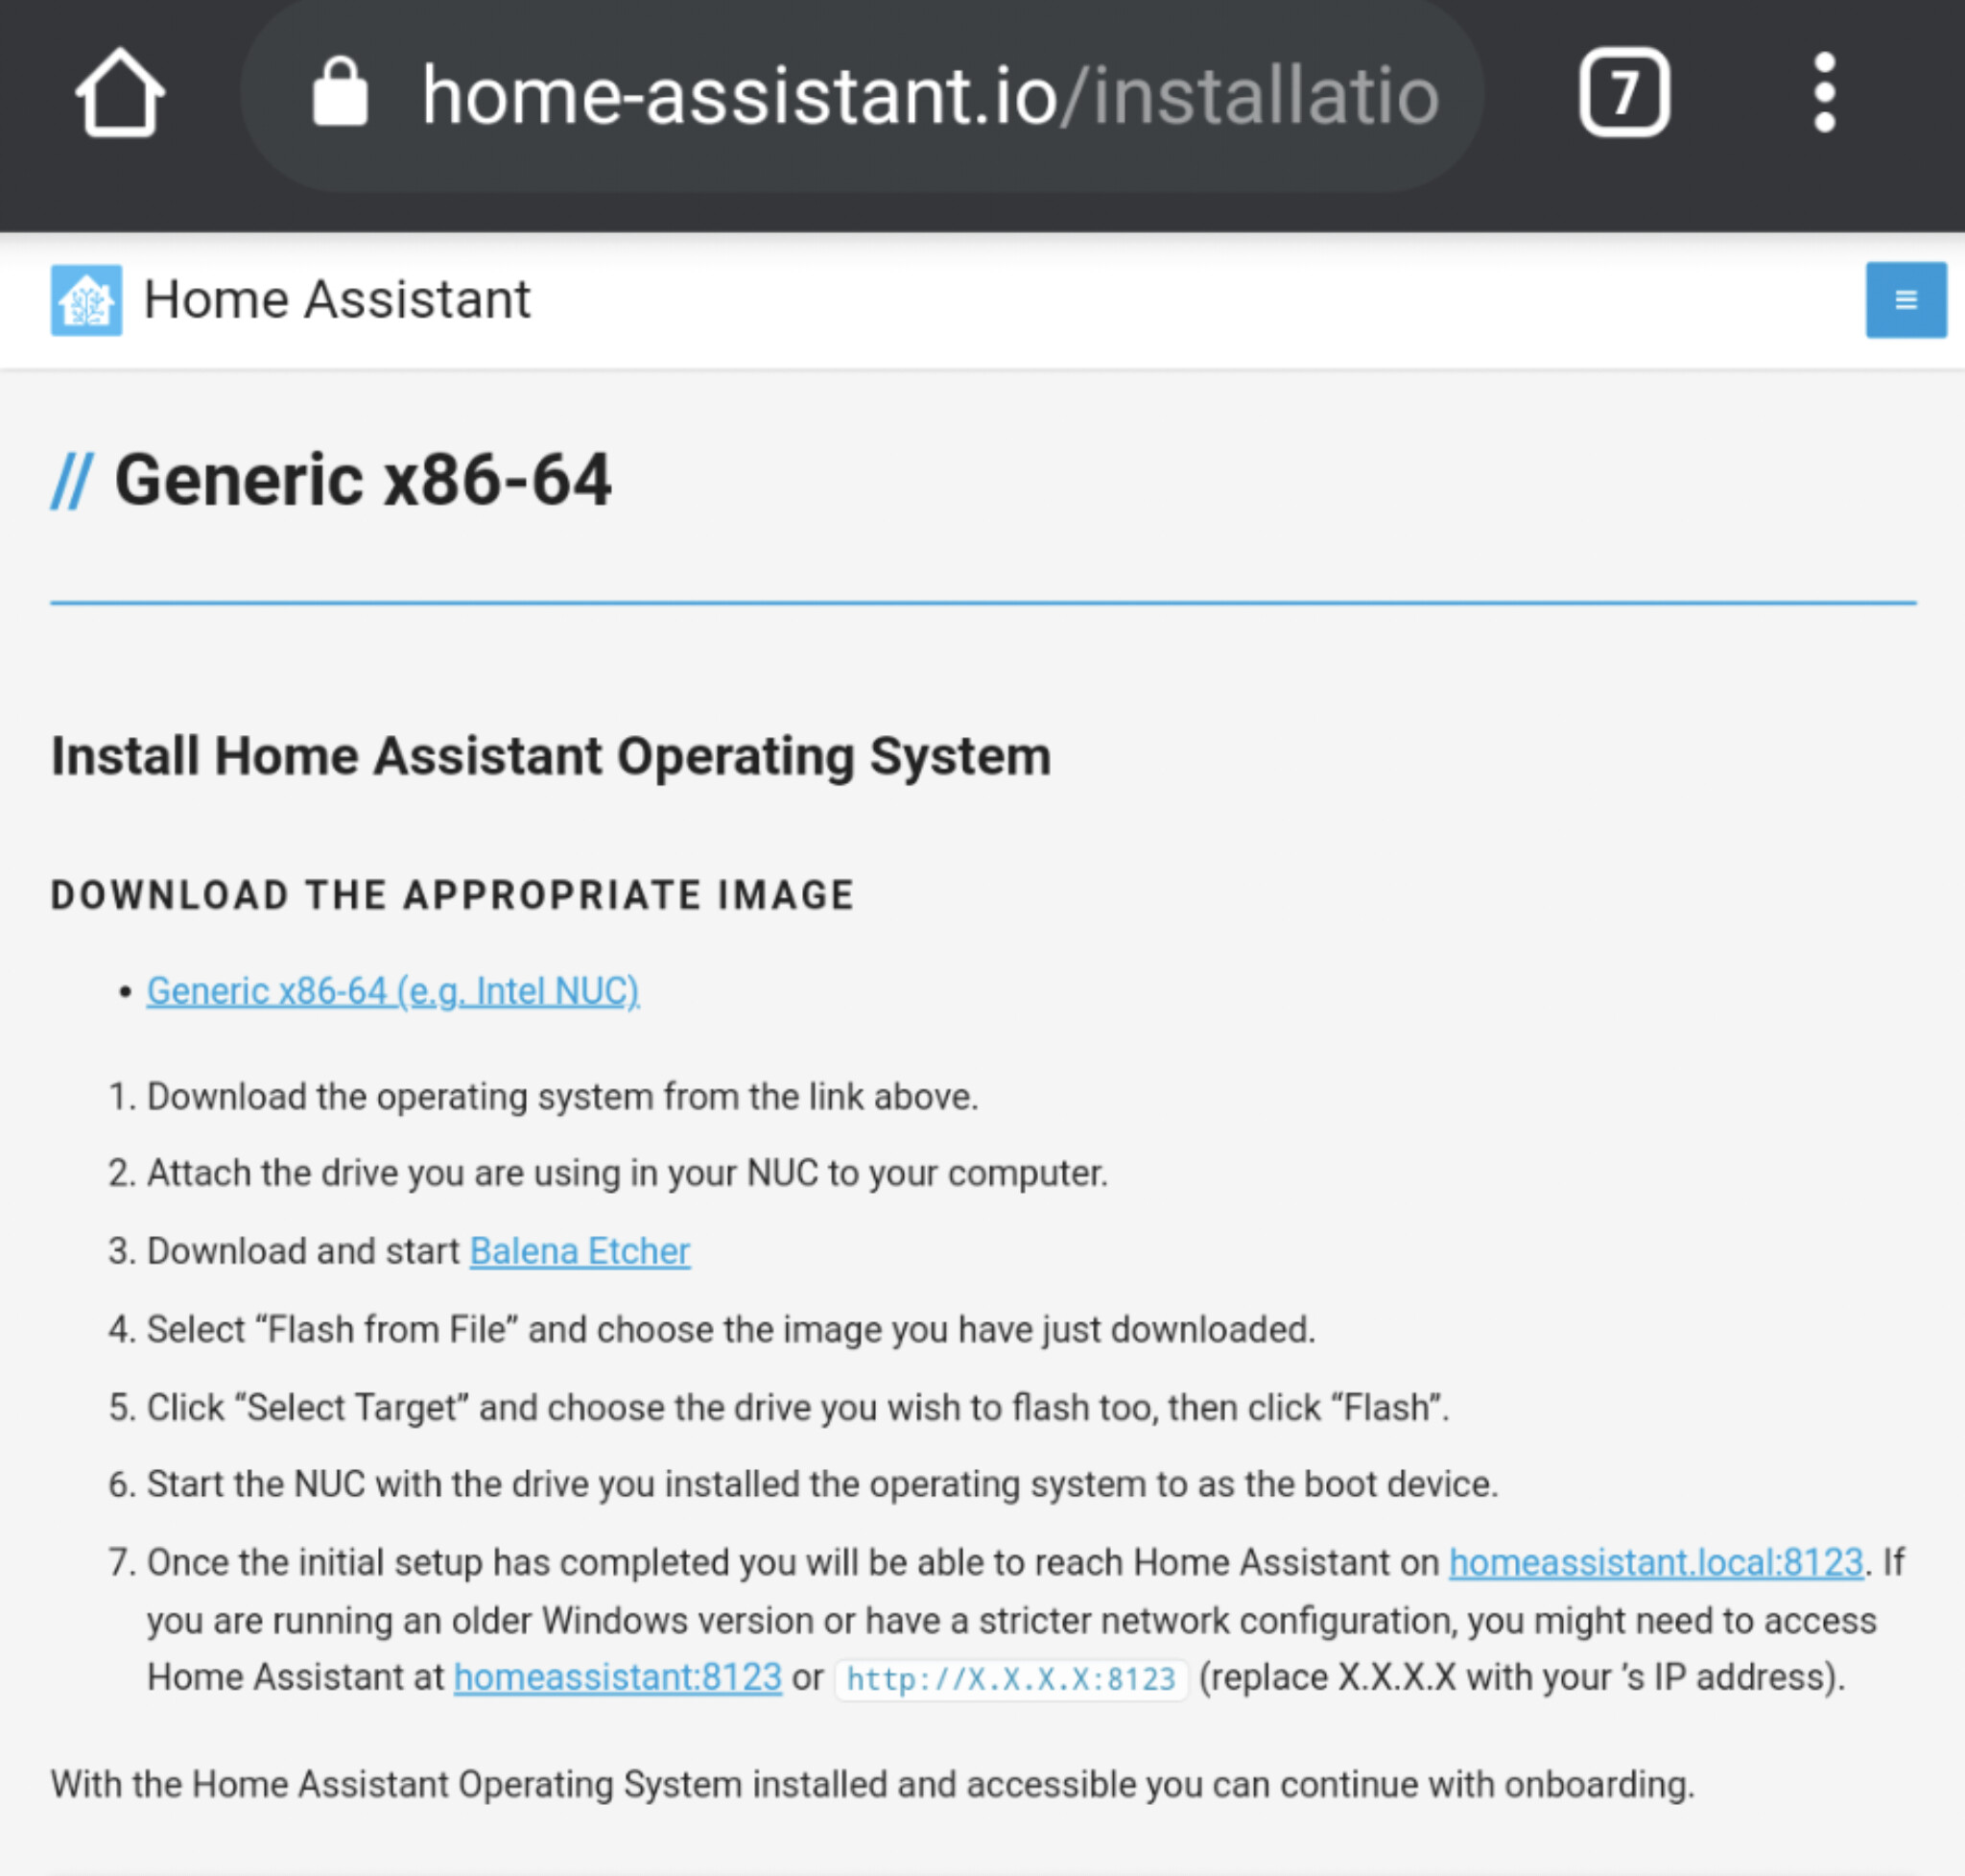
Those official instructions miss a huge step on getting connected to the network…
1 Like
Do you mean plugging an Ethernet cable into your device?
I plugged an Ethernet cable into my Intel NUC and it connected to the network automatically. I used my router homepage to identify the NUC’s IP address. The default host name for it is “homeassistant”.
Jesus why is everyone around here a smart arse… Beginning to think that Paul Hibbert is right…
What about those of us without a wired connection?
If it’s wired only then yes, that step needs to be stated
1 Like
You didn’t mention the requirement to use WiFi in your OP, or any other post, so why would someone link that for you? You are getting upset with people offering help when you haven’t provided all the variables of your equipment or use case scenario.
It isn’t included in the instructions as it isn’t a recommended way to run HA.
These instructions should help you setup WiFi.
If thrusting your hips in the air in a sexual manner while angrily repeating something ad nauseam is something that you feel is more beneficial, then perhaps HA isn’t for you.
You aren’t helping yourself by being so adversarial. You come looking for help, people are trying to help you. Stop throwing mud.
3 Likes
If having it plugged in by ethernet “just works” as you imply and I I was asking how I connect to a network, then logic dictates that I must have been looking for WiFi. And for the record I did ask in a different thread specifically about WiFi (tho I wouldn’t be expecting you to look, just tackling your statement on “or any other post”)
The instructions don’t specify a recommendation either way as far as I can see…
Anyway thanks for the link, what if I don’t have a working ethernet connection (base assumption on that link)
I’m thinking both sides of this kerfuffle could tone down a bit. We who have been at this a while need to remember that, when you’re starting out, you often don’t even know what question to ask or how specifically to frame it. All you know is that you tried something and it didn’t work.
The new folks could do well to read through the “How to help us help you” article and remember to provide as much detail as possible about exactly what you were doing, at what point it failed, and what, if any messages you received when it did.
Patience, all around is vital. I’ve benefitted in so many ways from people who took the time to answer my questions in detail. I’ve also benefitted from following links and reading up on my own.
5 Likes
No, it doesn’t.
I am addressing this thread, not some other thread. I have no idea what else you posted somewhere else.
Or, try this.
After you have flashed the Home Assistant image to the drive, go to the Windows File Explorer. The drive should now be labeled haos-boot (or similar). Double click on it and then create a new folder named CONFIG. Then, inside that folder, create another folder and name it, network. Using Notepad, create a new file named my-network (no file extension) with the following:
[connection]
id=my-network
uuid=YOUR_UUID_NUMBER
type=802-11-wireless

[802-11-wireless]
mode=infrastructure
ssid=YOUR_WIFI_NAME
#Uncomment below if your SSID is not broadcasted
#hidden=true

[802-11-wireless-security]
auth-alg=open
key-mgmt=wpa-psk
psk=YOUR_WIFI_PASSWORD

[ipv4]
method=auto

[ipv6]
addr-gen-mode=stable-privacy
method=auto
You can generate a UUID HERE
I don’t, and haven’t used the instructions listed, so can’t help any further.
I just see only in one last week the fourth topic, where some wise nose is stating against a newcomer, that maybe he is not capable enough to run HA, based on that one single question.
This annoys me realy very much, the sphere on the forums is touched by this behaviour.
So i will say it again, even expecting a rainshower of critics from the best coders on this planet, who knows everything:
Not everyone here is even smart as you. If people ask for help, tha last thing they expect is being told, that their are maybe not capable enough. Well, that way any learning is blocked, no any help is given, it’s just a smash in the face.
Please, realise, that we are all different, have different skills and need different methods to learn and find out, how things sticks together. Be kind to each other.
That part, Paul Hibbert is right. I’ve experienced this here also. And I’m actually a geek my whole life.
Thanks for listenning.
And now I’m seeking cover, because I know, the stones are going to fly against my head…  Well I don’t care. If I only helped one man to change his mind, my mission of this message is accomplished.
3 Likes
Thanks. Will give that a go, appreciate the help
I have just tested these instructions on a Pi4 with HA OS and can confirm they work, so assuming you have a HA/Linux compatible WiFi device in your PC, you shouldn’t have any problems.
All I did was to generate a UUID using the link provided, and enter my network name and password in the relevant places.
I need help with my installation. I have HA running successfully on VMware on windows 10. HA does not start up when I try to boot it after a power outage. startup always gets stuck at a black screen with “autoboot-” on it.
I’ve have struggled all day to install HA x86-64 on an old desktop on which I can happily install Windows 10 or Ubuntu 20.x and perform whatever activities I want. I have HA running on an RPi with an SSD, but I have close to 900 entities and the fan is running really loudly. So I though I’d give the x86-64 a try.
I have two drives, 1TB and 3TB. The 3TB supports UEFI. I created an ubuntu boot image and run ubuntu in trial mode. I then install Balena Etcher on ubuntu and use it to burn the x86-65 image tot he 3TB drive.
But when I come to boot, it keeps on telling me to install a boot drive. I rebooted into the BIOS, and now I cannot see the 3TB UEFI drive, only the 1TB non-UEFI drive. However, if I go into the Boot Loader menu I can see the 3TB drive. Selecting it just takes me back to the message that I need a boot drive.
- I don’t know why the drive disappeared from the list of boot drives after I flashed the x86-64 image
- I don’t know why the drive is no longer seen as a UEFI drive after I flashed the x86-64 image
Any clues? Any suggestions for the next step?
You can see the x86-64 image written the the one hard drive:

The boot image and other partitions I presume are as expected:

Make it easy on yourself. Install Debian, install supervised.
2 Likes
Exactly, what I’ve done too. Easy install and reliable, fast response on a Intel Celeron J1900 Quad core processor with 4GB RAM.
yeah, I’m not very good at the OS level, so I was hoping for something as simple to install and maintain as the RPi
If you are not using the machine for other things, just for HA, ditch one of the hard drives, keep just one in it.
-
Install Debian → How To Install Debian 11 (Bullseye) with Screenshots – TecAdmin
-
Install HA → https://github.com/home-assistant/supervised-installer
Done.
Thanks for the links. Very helpful.
The only issue that I ran into is that I had to create a new user with Admin rights because I couldn’t change the default user rights to sudo.
Will this work on Ubuntu too?