I’ve finally set up all my roller shutters correctly. I’ve configured nine of them. I don’t have a detailed step-by-step guide because I haven’t fully figured out how this device works yet, but I do have a rough guide to share.
Before setting up in Home Assistant
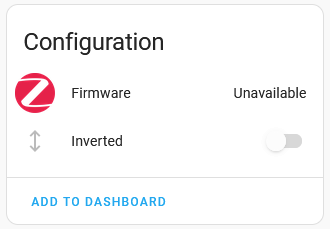
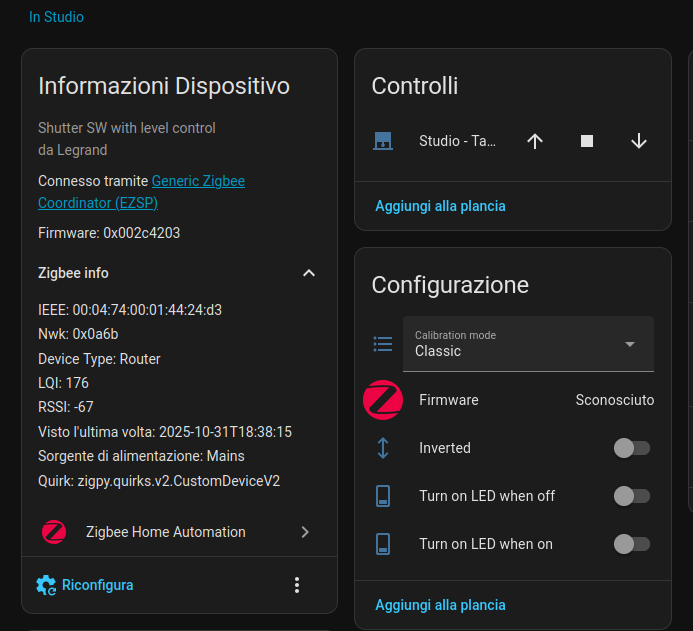
Mount the devices in the correct orientation (the “inverted” option isn’t supported for this device because it has a mandatory orientation)
The first step is complete. 
Setup (follow these steps in the exact order)
If the device happens to lose power or shut down, you'll need to return to this step.
- Close the roller shutter
- Press and hold the reset/setup button for 10 seconds, and release it only when the device flashes red (the device will be reset to factory settings).
- Open Home Assistant and select “Add device” from your Zigbee service. I use the default ZHA (Zigbee Home Automation) service, but several others are available.
- On the device, quickly press and release the reset/configuration button: the device will flash green. If this does not happen, it means you pressed and released it too quickly. Wait for pairing to complete, then choose the name and, optionally, the zone. Do nothing else.
- The first thing to do after a successful pairing is calibration. To calibrate the roller shutter, select the “Specific” option in configuration mode. After selecting “Specific,” the LED will flash orange and the device configuration will begin. This takes a long time—in some cases, up to 1 hour. Do not do anything if the roller shutter appears to be stuck for a long time; as long as the LED is orange, do not do anything. Calibration ends when the LED flashes green.
The roller shutter is currently open.
If Home Assistant shows a different percentage—in most cases, it will say “50% open”—don't worry; we'll fix that in the next few steps.
The second milestone has been reached. 
How to synchronize the opening of roller shutters in Home Assistant
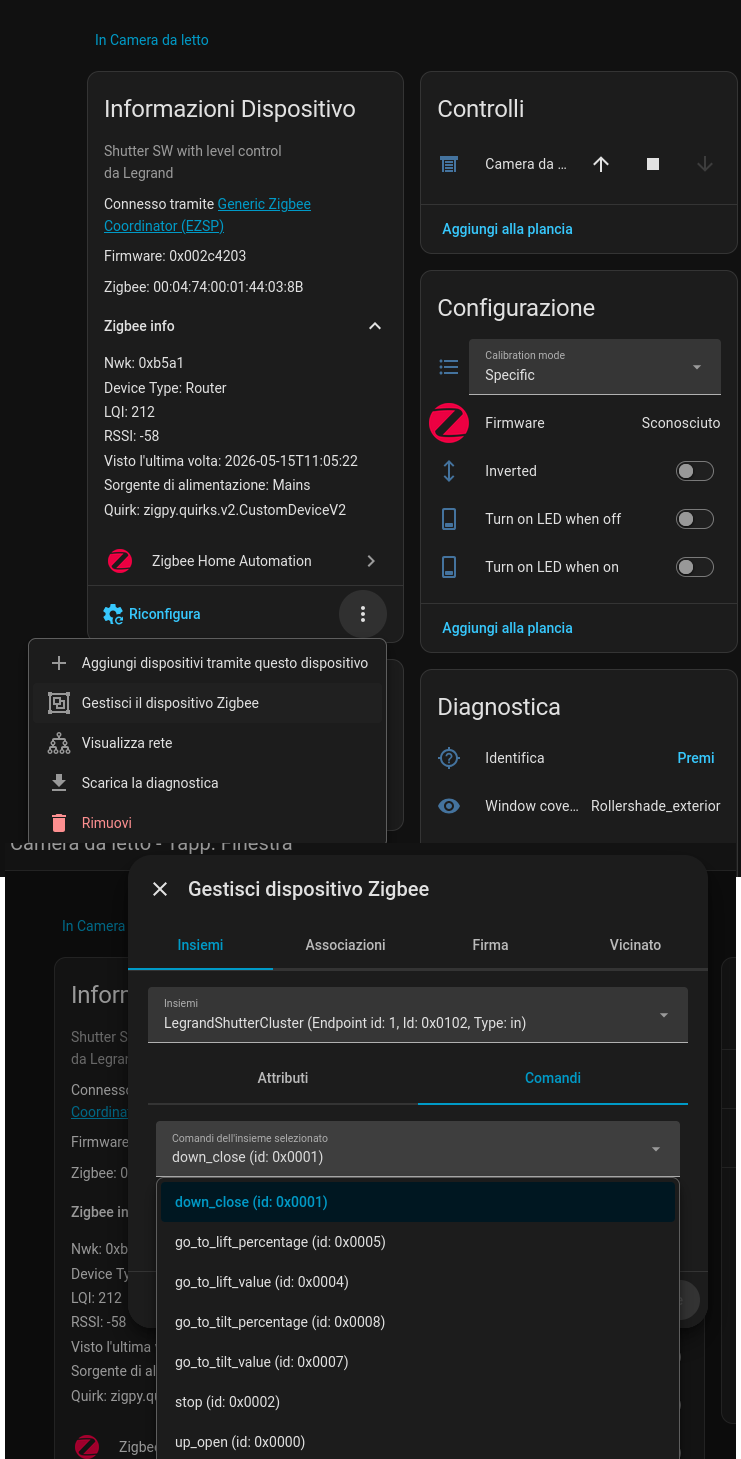
- Go to the roller shutter device configuration page
- Open “Manage Zigbee Device” from the menu with the three dots.
-
In the dialog box, select “LegrandShutterCluster” -> “Command” and you’ll see several options in the dropdown menu. Currently, the only commands that work are “down_close,” “stop,” and “up_open”; by the end of this guide, they will all work.
-
If the roller shutter is open (even partially), run “down_close” and let the command complete. If it is closed, run “up_open.” Repeat these steps until Home Assistant displays the correct percentage. At this stage, it can only display: 100%, 0%, and 50%; the other partial values aren’t available yet, but they will be by the end of the guide.
Completing the Installation
This section isn’t very precise because I haven’t yet figured out the exact sequence, but by following these steps, I was able to configure 9 roller shutters with 1% accuracy.
- Click the “Reconfigure” button on the device page; while reconfiguration is in progress, quickly press and release the physical configuration button to activate pairing mode.
- Start searching for new devices in Home Assistant
- Reset the device to factory settings by holding down the configuration button for 10 seconds.
Or
- Remove the device from Home Assistant
- Pair it again
Or
- Click the “Reconfigure” button on the device page; while reconfiguration is in progress, remove it from Home Assistant
Or any other combination. Do not perform these steps quickly; always wait 30–45 seconds between steps.
After each action, it’s important to verify that Home Assistant displays the correct opening percentage and that the roller shutter is synchronized; if not, you must synchronize it using the method described above. Keep in mind that at this stage, the percentages that work are 0%, 50%, and 100%.
You’ll know this step is complete when, after resetting the device once more, it flashes pink.
When it flashes pink, you’ve reached the penultimate milestone.
At this point, you can turn off the device, and it will remain configured.
Opening Precision
First, make sure the roller shutter is synchronized to the correct percentage; otherwise, follow the steps described above.
To adjust the opening precision, after the device has flashed pink, use the open/close/stop buttons (arrows and square) in Home Assistant. Open and close the roller shutter completely a couple of times. Then make small openings/closings (arrows), stopping the roller shutter with the stop button (square) at random intervals.
At this point, the 25%, 50%, and 75% buttons should work. Test them.
Now any position works, and you can use the slider to set it to 37%, for example.
Done.