IR Blaster — Home Assistant HACS Integration
![]()
![]()
Local control for Tuya IR blasters (PID: zG1yTHAcRg5YvqyA) via Tasmota MQTT — no cloud required.
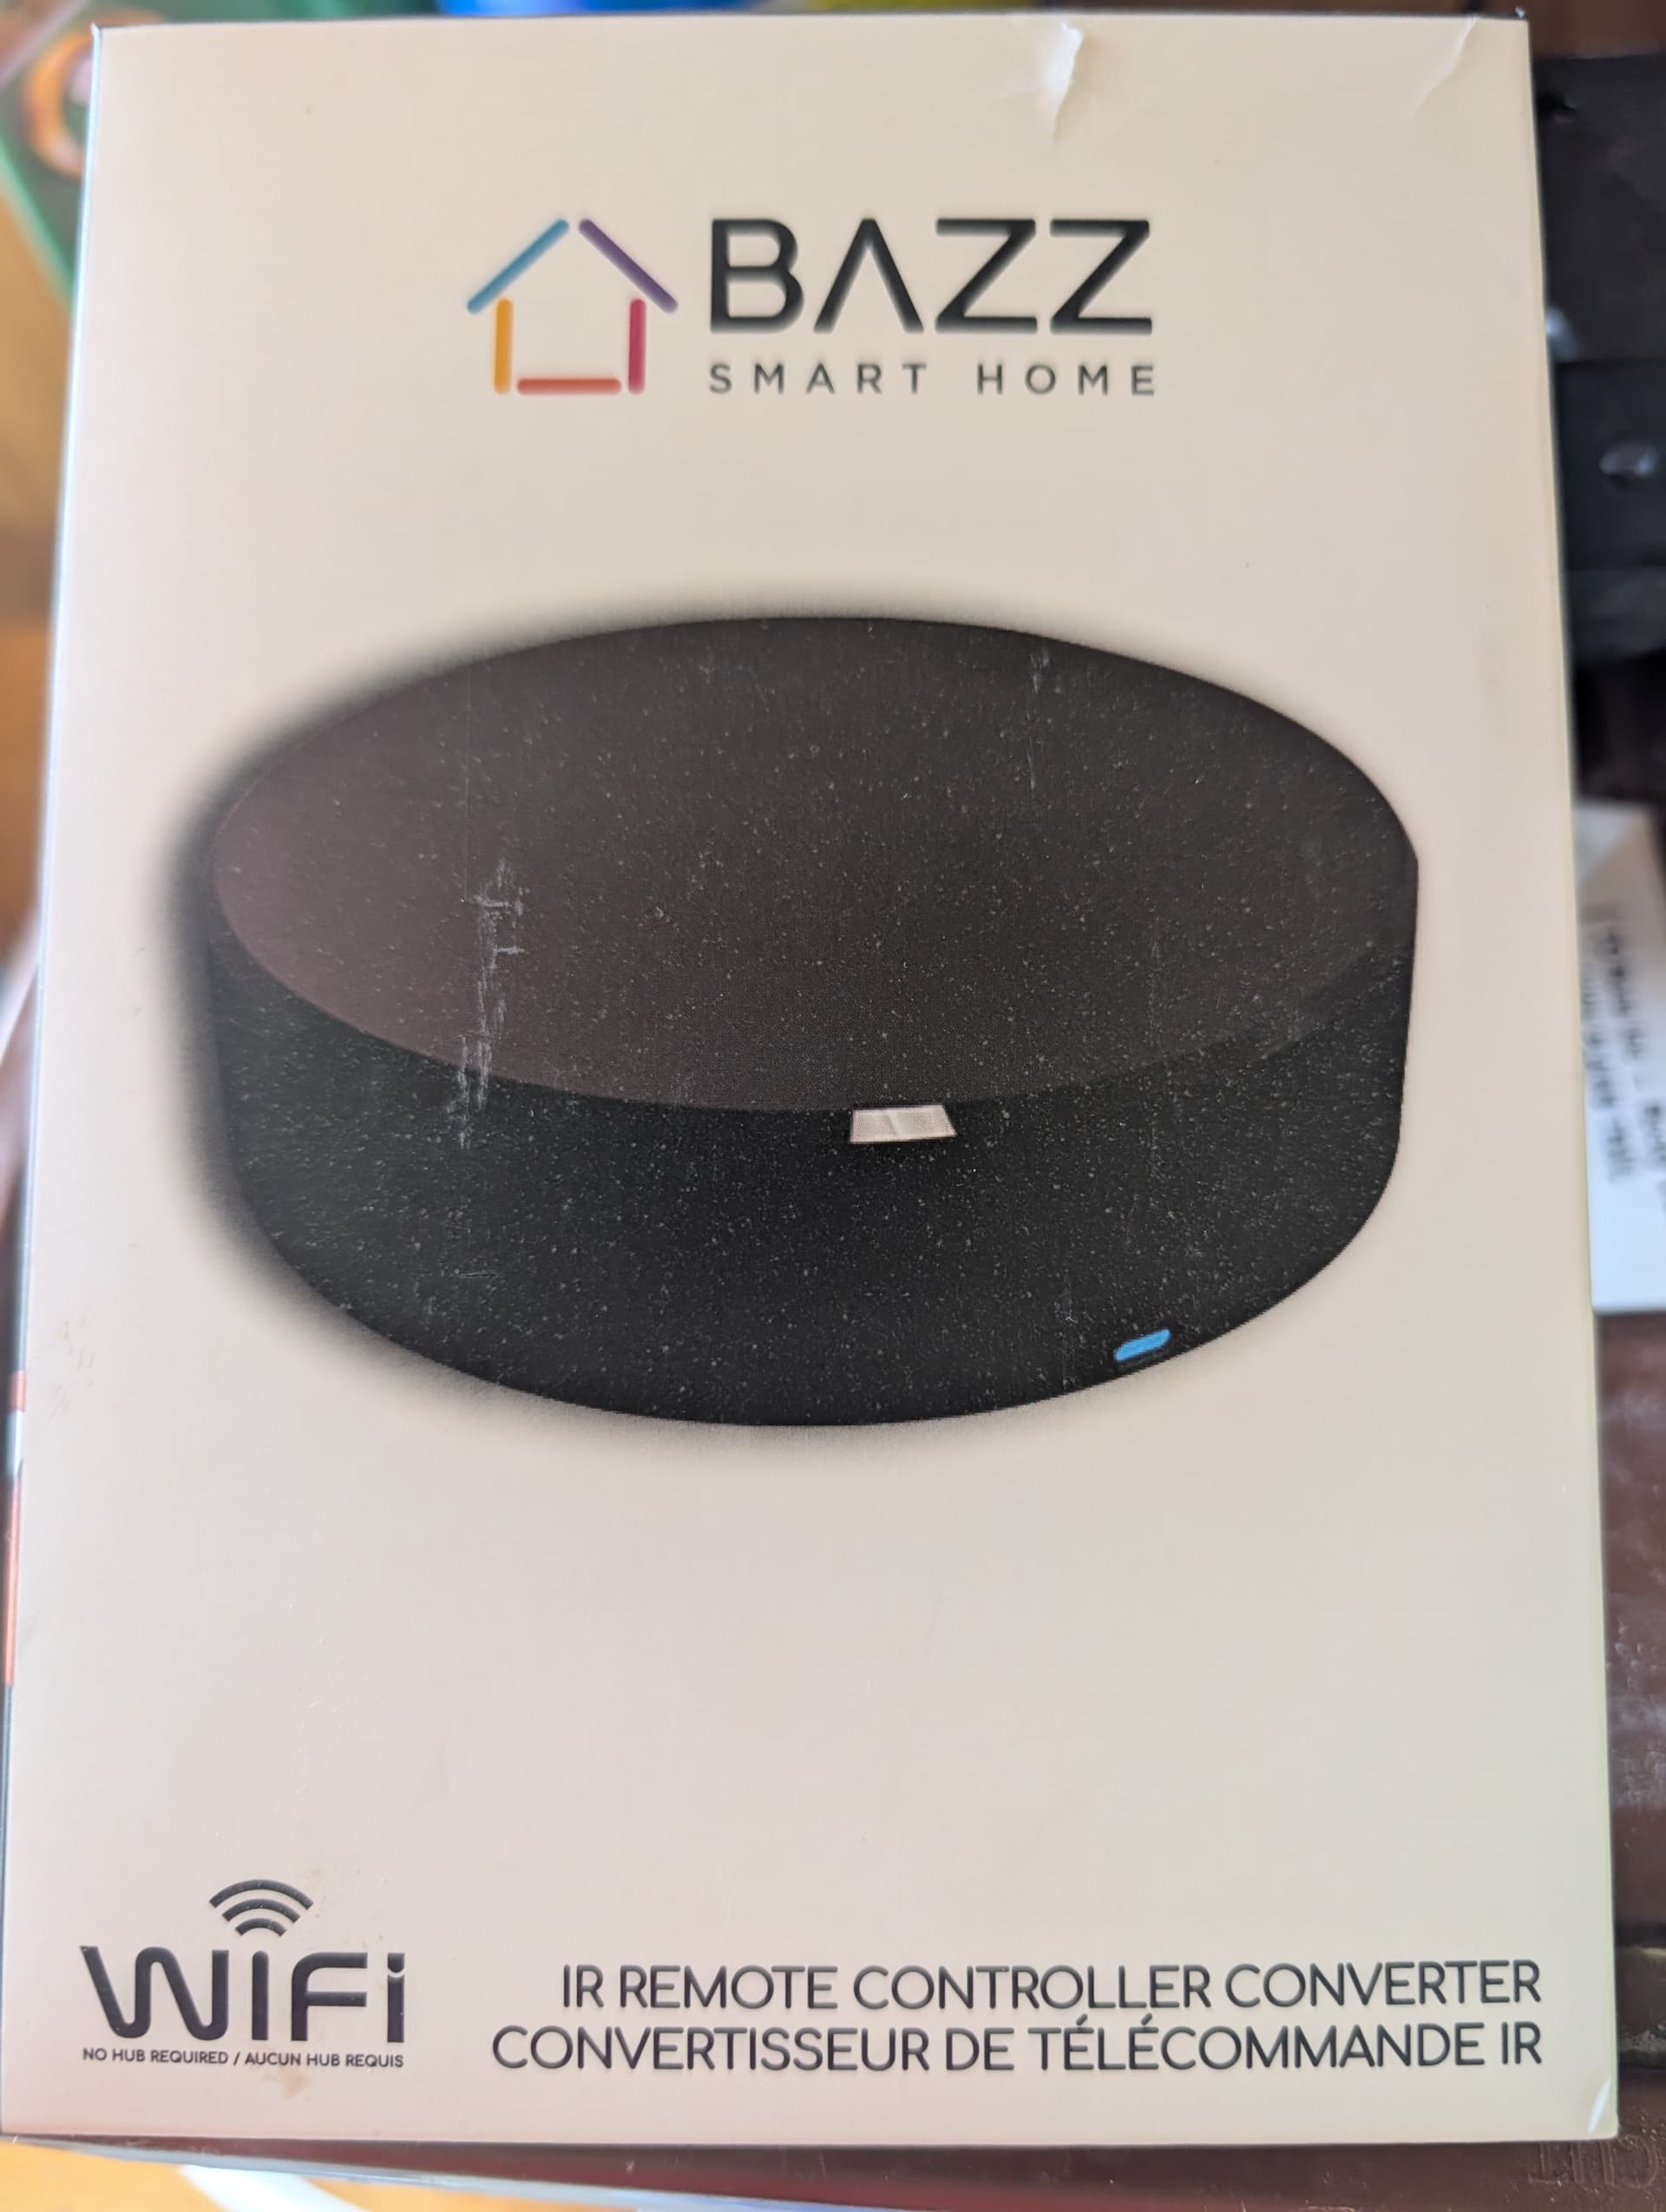
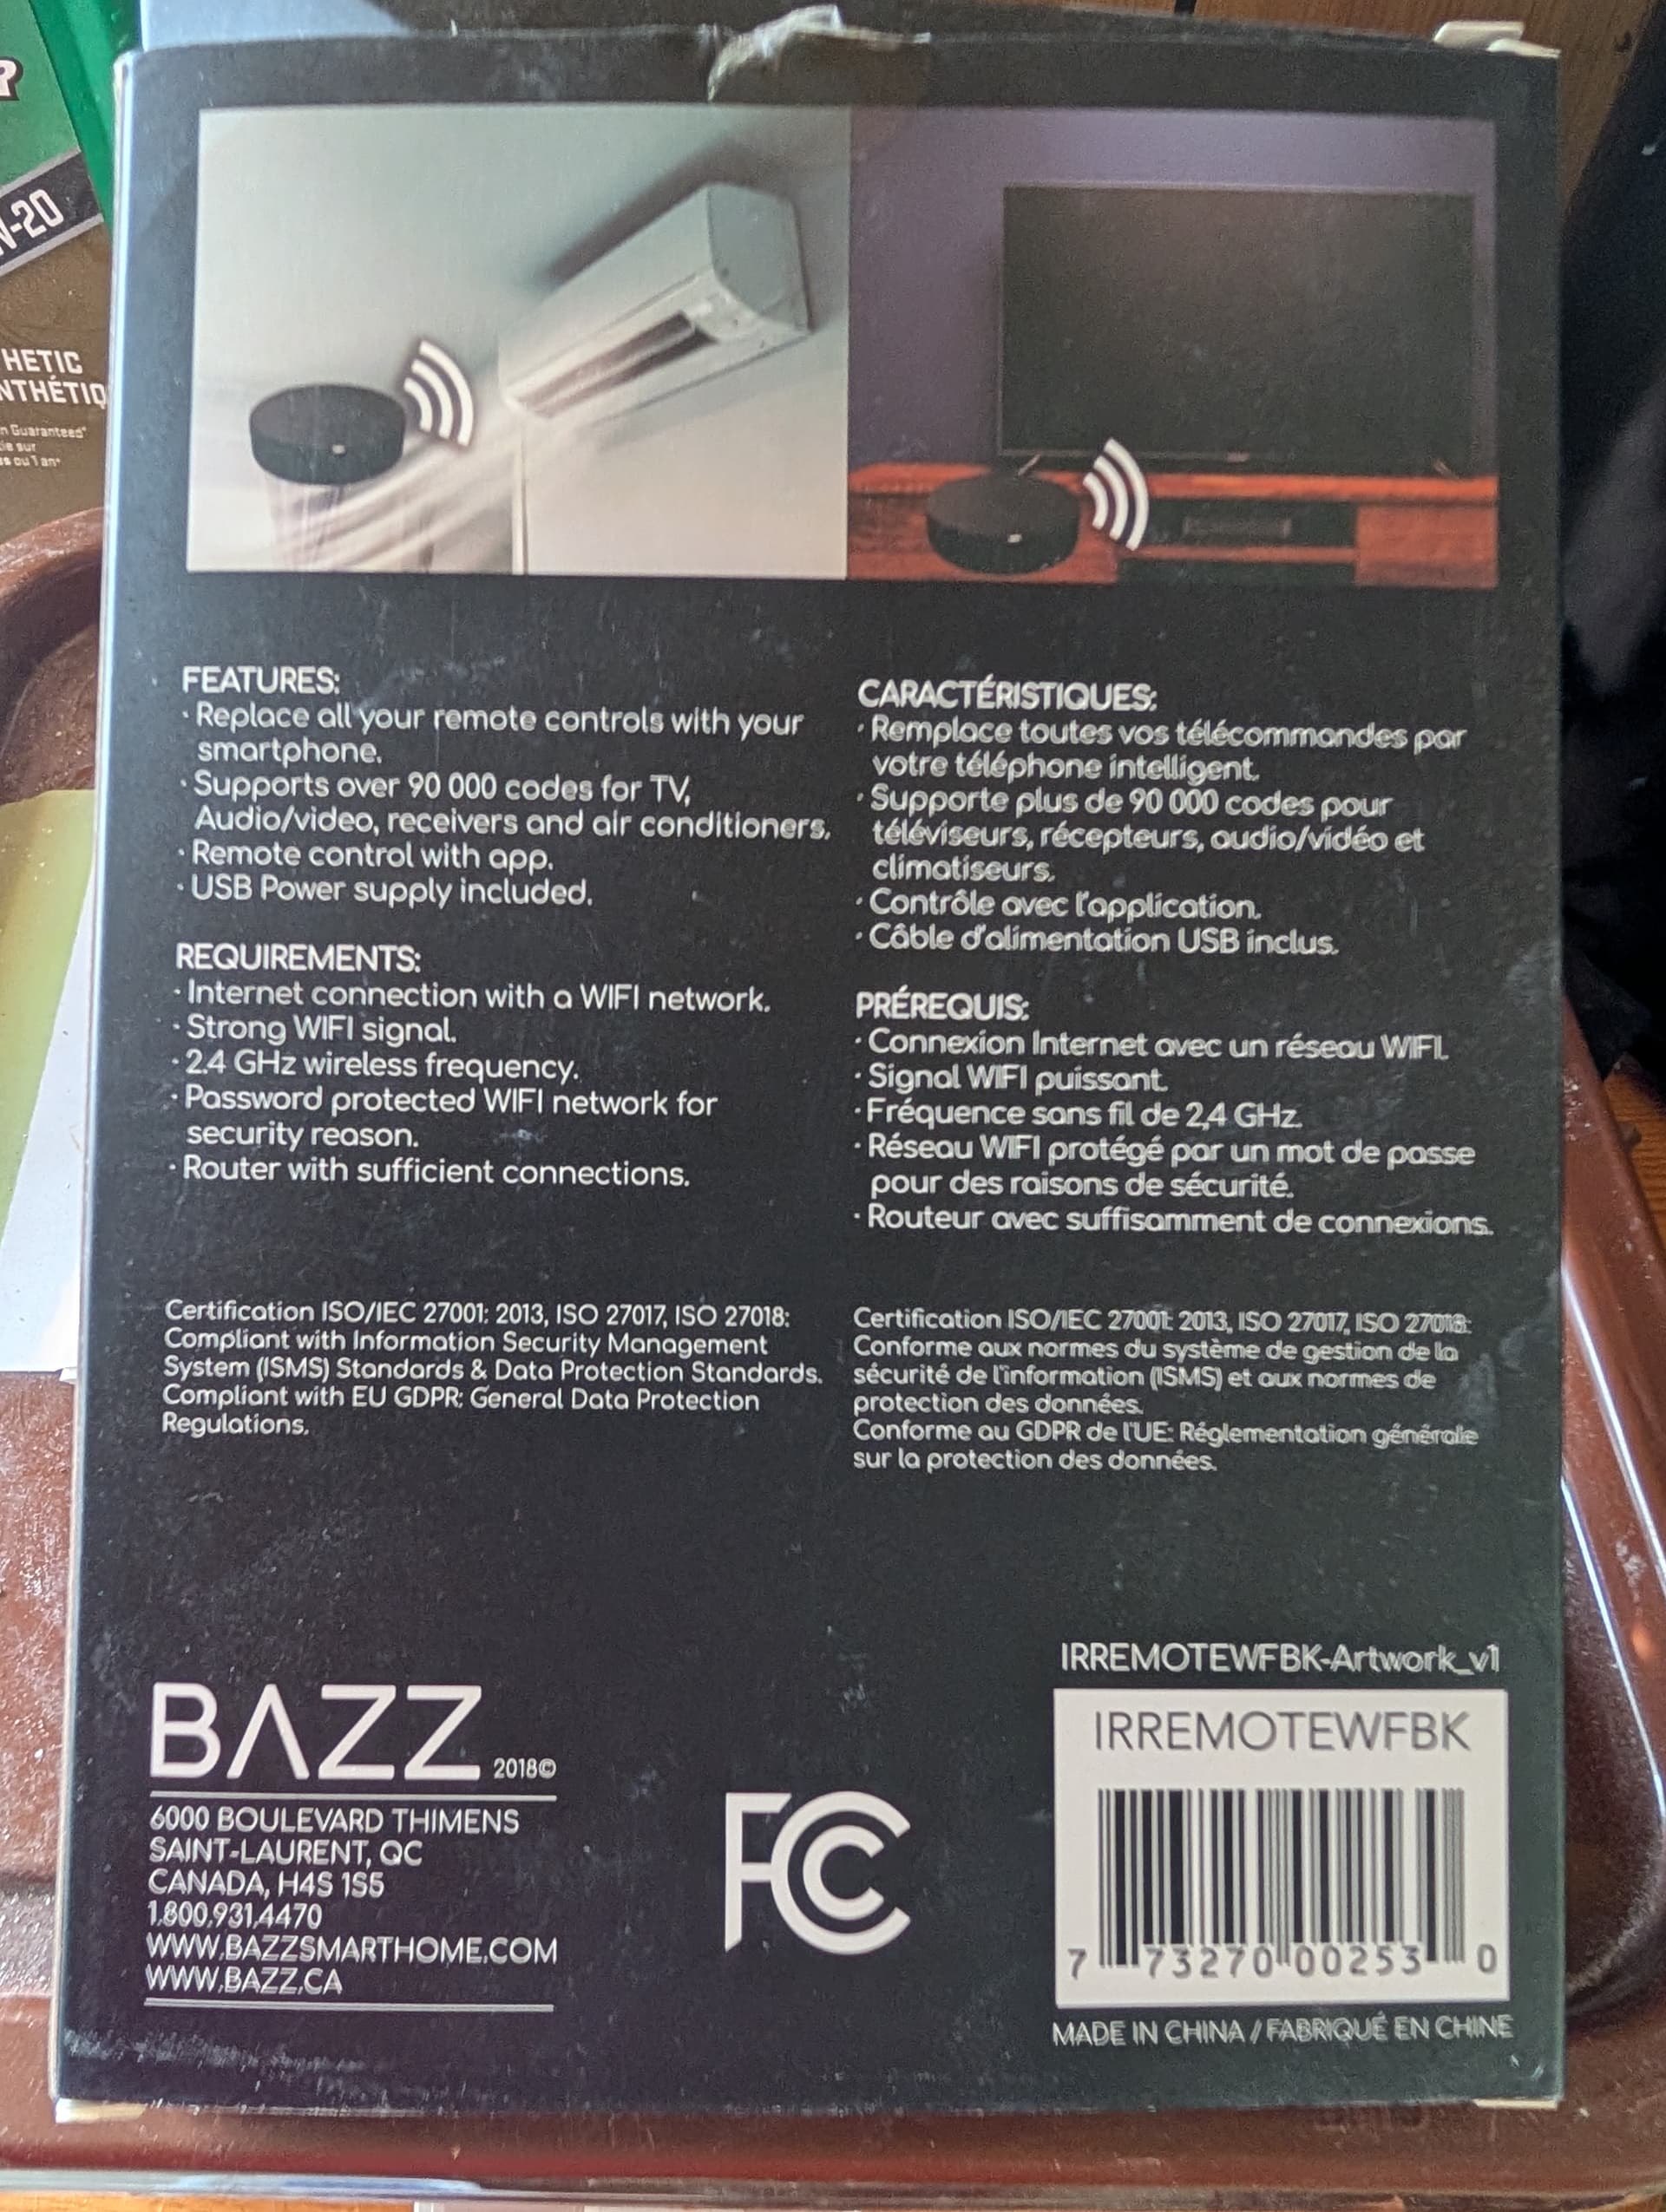
Local control integration for the RSH-Smart-IR V6 IR blaster board (sold under various brand names). Replaces Tuya cloud with full local control via Tasmota and MQTT.
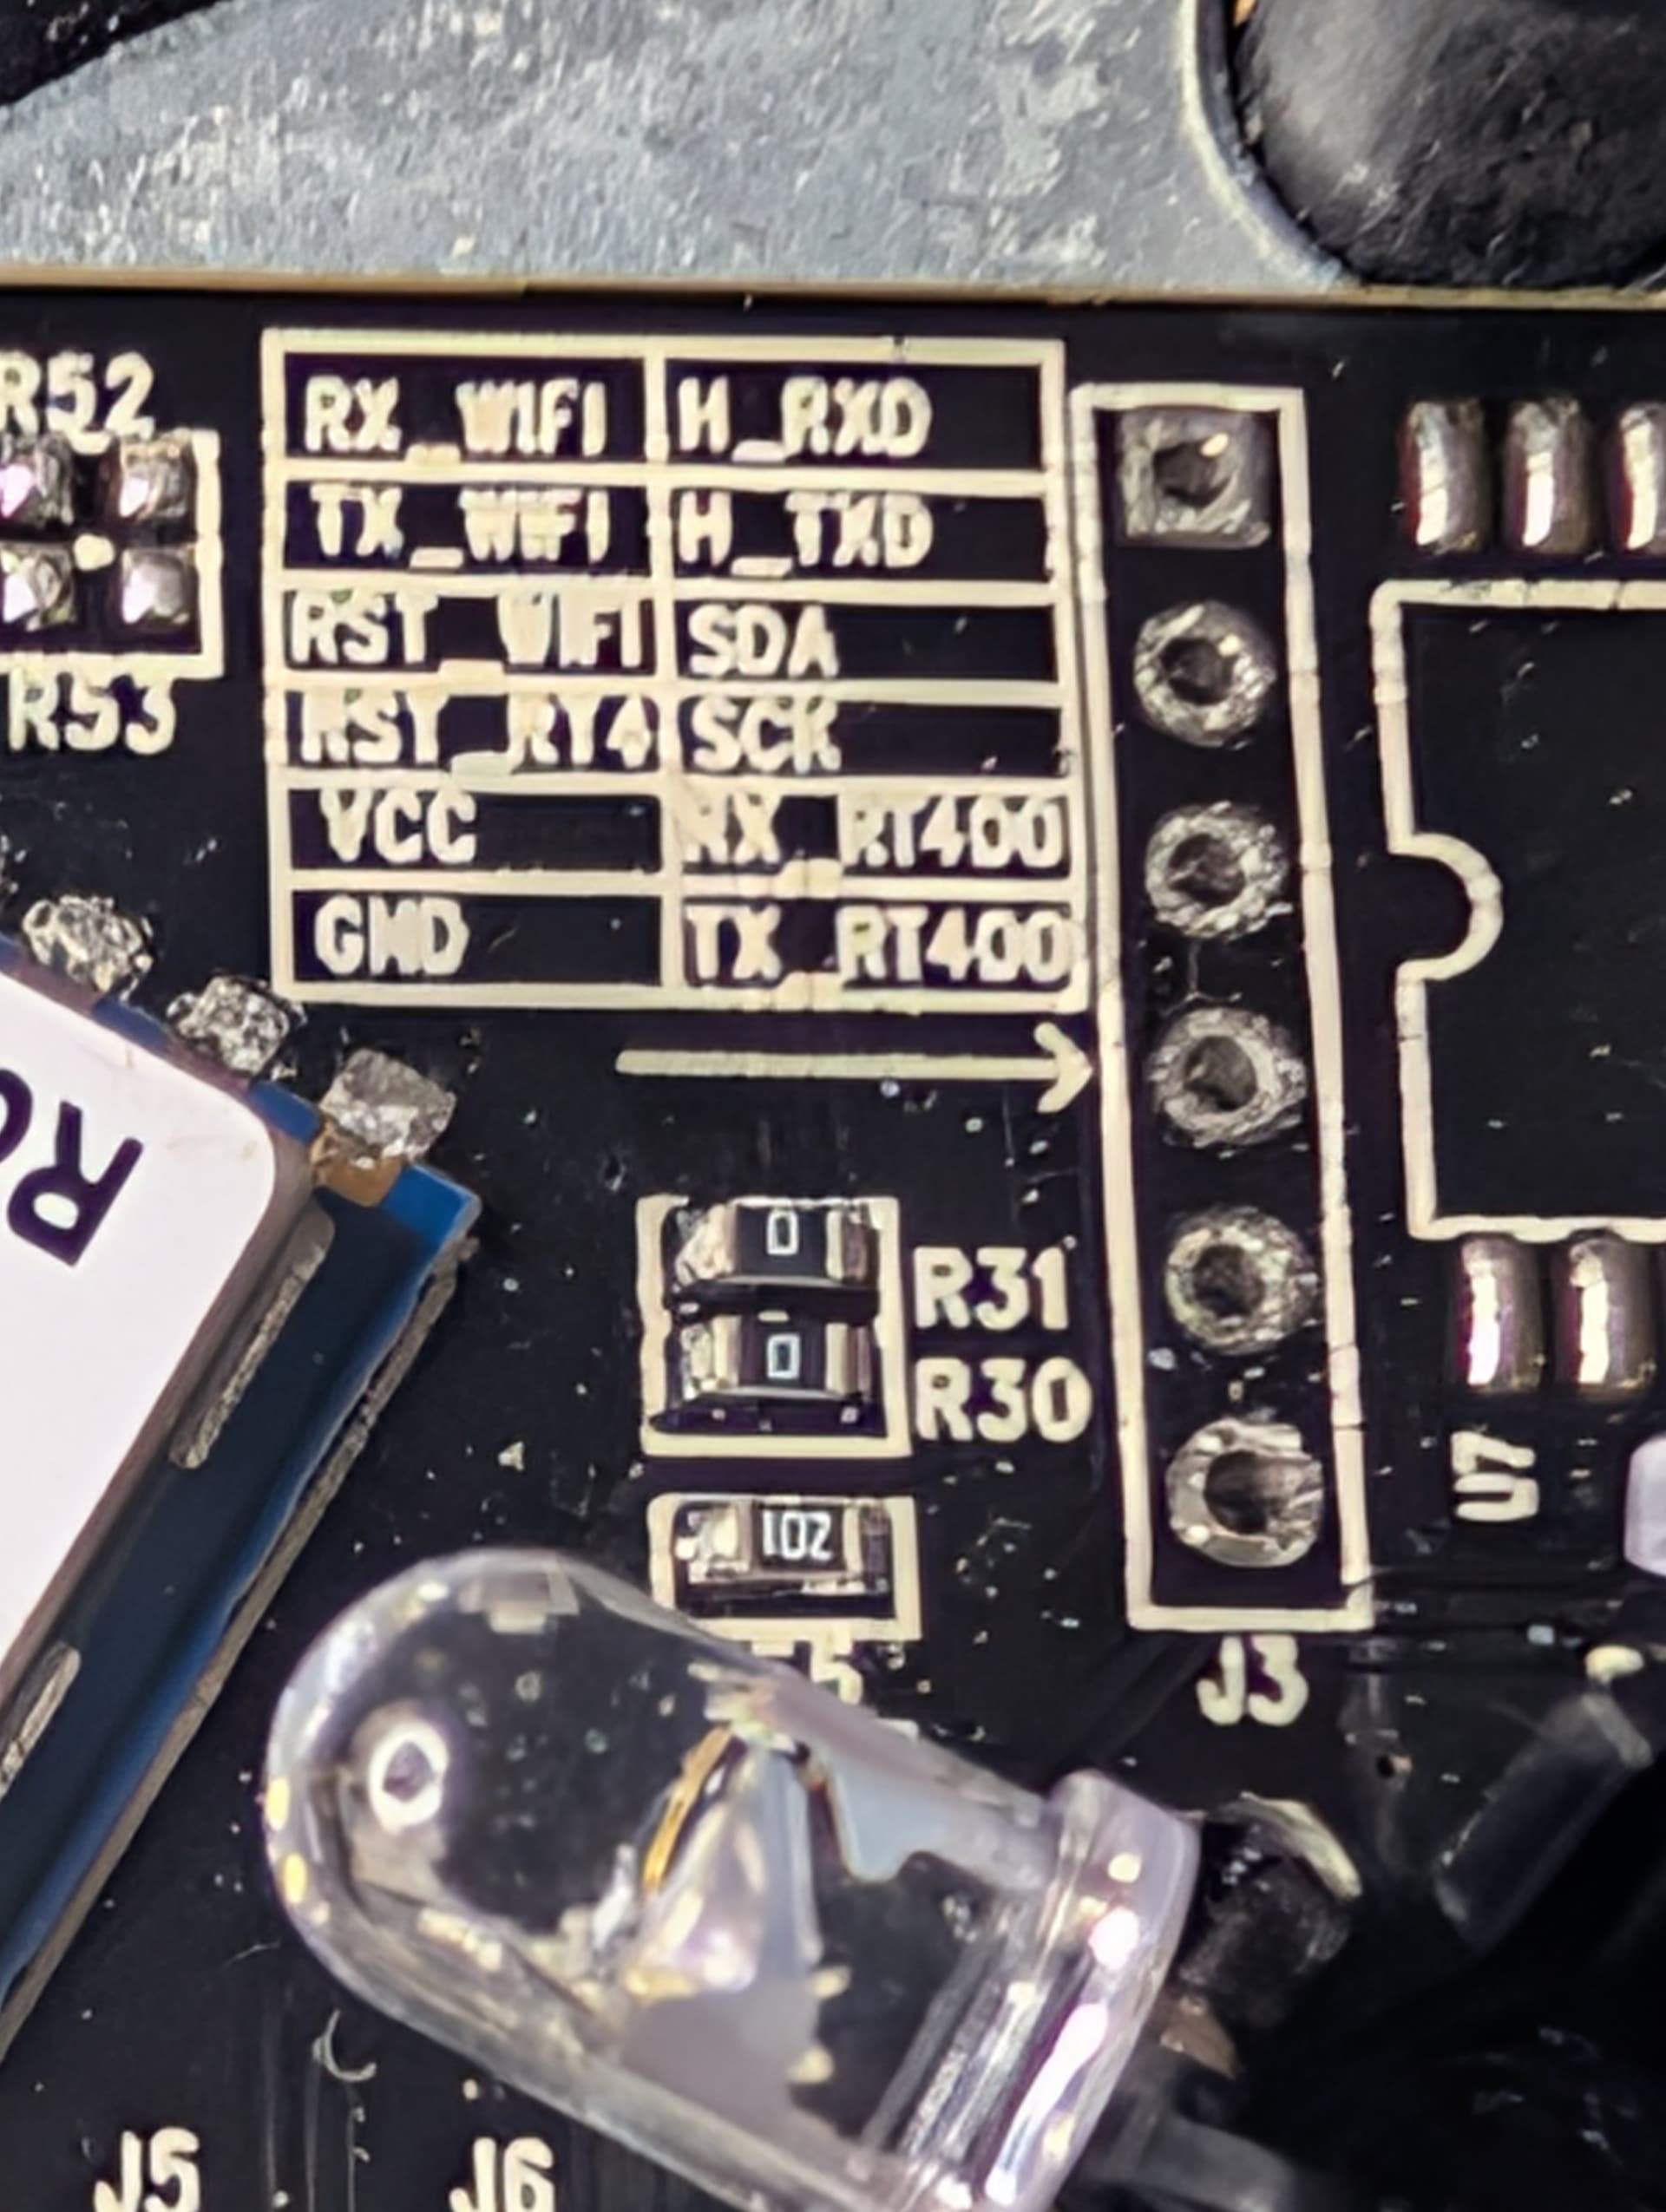
The board uses a dedicated IR MCU for all transmission and reception, with a TYWE3S (ESP8266) WiFi module acting as a UART bridge. This integration talks to Tasmota running on the TYWE3S via MQTT, exposing study/learn mode and IR code transmission to Home Assistant.
Reverse engineered via UART traffic analysis — no Tuya cloud, no app, no account required.
Supported Hardware
- Board: RSH-Smart-IR V6 (2018)
- WiFi module: TYWE3S (ESP8266, 1MB)
- IR MCU: Dedicated on-board controller
- UART: 9600 baud, Tuya MCU serial protocol
- Tuya Product ID:
zG1yTHAcRg5YvqyA - Tuya Product Code:
IRREMOTEWFBK
Requirements
- Home Assistant with MQTT integration configured
- Tasmota flashed to the device’s WiFi module (TYWE3S)
- MQTT broker (e.g. Mosquitto)
Step 1 — Flash Tasmota
The TYWE3S is 1MB — use tasmota-lite.bin, not full Tasmota.
Flash via your preferred method (Tasmotizer, esptool, web installer). Standard ESP8266 flashing procedure applies. Connect to the Tasmota fallback AP to configure your WiFi, then open the Tasmota console and run the following:
Set TuyaMCU template
Backlog Template {"NAME":"Tuya IR","GPIO":[0,0,0,0,0,0,0,0,0,0,0,0,0],"FLAG":0,"BASE":54}; Module 0
Base 54 = TuyaMCU generic — required for UART passthrough.
Set baud rate
Baudrate 9600
Important: this device runs at 9600, not the more common 115200.
Enable TuyaReceived reporting
SetOption66 1
This makes captured IR codes appear in the console and publish to MQTT.
Configure MQTT
Backlog MqttHost 192.168.1.x; MqttUser youruser; MqttPassword yourpass; Topic Irblaster
Step 2 — Capturing IR Codes (Tasmota Console)
You can capture and test codes directly from the Tasmota console without the HACS integration.
Enter study mode
SerialSend5 55AA000600050104000101 11
The red LED lights up — device is ready to learn.
Point your remote and press the button you want
Watch the console for TuyaReceived output:
TuyaReceived: {"DpType0Id2":"0xABCD1234...","2":{"DpIdData":"ABCD1234..."}}
Copy the hex string from DpIdData — that is your IR code.
Exit study mode
SerialSend5 55AA000600050104000102 12
Step 3 — Sending IR Codes (Tasmota Console)
Use this Python helper to build the correct send packet with checksum:
def build_ir_command(hex_code):
    code = bytes.fromhex(hex_code.strip().replace(' ', '').replace('0x', ''))
    payload = bytes([0x07, 0x00]) + len(code).to_bytes(2, 'big') + code
    header = bytes([0x55, 0xAA, 0x00, 0x06]) + len(payload).to_bytes(2, 'big')
    pkt = header + payload
    pkt += bytes([sum(pkt) & 0xFF])
    return pkt.hex().upper()

code = "ABCD1234..."  # paste your DpIdData hex here
print("SerialSend5 " + build_ir_command(code))
Paste the output into the Tasmota console:
SerialSend5 55AA000600540700005036 3E91344C...B6
The red LED flashes briefly and the target device responds.
Note: Only the DP7 packet is needed. You do NOT need to send DP1 send_ir separately — the MCU fires immediately on receiving the DP7 packet.
Note:
TuyaSend5/TuyaSend6Tasmota commands do NOT work reliably for this device. Always useSerialSend5with manually built packets.
Step 4 — Install the HACS Integration
- In HACS → Integrations → Custom Repositories
- Add
https://github.com/tds04/ir_blasteras type Integration - Install IR Blaster
- Restart Home Assistant
- Settings → Devices & Services → Add Integration → IR Blaster
- Enter your device name and Tasmota MQTT topic (e.g.
Irblaster)
Entities Created
| Entity | Type | Purpose |
|---|---|---|
text.ir_blaster_code_name |
Text | Type a name here before pressing Learn |
button.ir_blaster_learn |
Button | Start learning a new code |
switch.ir_blaster_study_mode |
Switch | Manual study mode toggle (backup) |
button.ir_blaster_<name> |
Button | One per saved code — fires that IR code |
button.ir_blaster_delete_<name> |
Button | Deletes the corresponding saved code |
Learning New Codes via the Integration
All learning happens directly on the device card — no config menus needed.
- Type a name in the Code Name field (e.g.
Fireplace On,TV Power) - Press the Learn button — device enters study mode
- Point your remote at the IR blaster and press the button within 30 seconds
- A notification confirms the code was captured and saved
- A new button appears on the device card — press it to fire that IR code
Codes are stored persistently and survive HA restarts. The Study Mode switch is available as a backup for manual control.
Technical Details
The TYWE3S WiFi module communicates with the IR MCU over UART at 9600 baud using the Tuya serial protocol (55 AA framing). The MCU handles all IR timing — Tasmota just passes the raw code blob through via SerialSend5.
Key DP assignments
| DP | Type | Direction | Purpose |
|---|---|---|---|
| 1 | enum | rw | 0=send_ir, 1=study, 2=study_exit, 3=study_key |
| 2 | raw | r | IR code reported back after capture |
| 7 | raw | w | IR code to transmit |
IR codes are captured on DP2 but must be sent on DP7 — different DPs for receive vs transmit.
Packet reference
55 AA [ver] [cmd] [len_h] [len_l] [data...] [checksum]
Checksum = sum of all bytes mod 256
| Packet | Hex |
|---|---|
| Study ON | 55 AA 00 06 00 05 01 04 00 01 01 11 |
| Study OFF | 55 AA 00 06 00 05 01 04 00 01 02 12 |
| Send IR (DP7) | 55 AA 00 06 00 54 07 00 00 50 [80 bytes] [checksum] |
| Heartbeat | 55 AA 00 00 00 00 FF |
Boot sequence
On startup the module sends this sequence to initialize the MCU:
55 AA 00 06 00 05 01 01 00 01 00 0D   (DP1 bool=0)
55 AA 00 03 00 01 02 05               (WifiState connecting)
55 AA 00 00 00 00 FF                  (Heartbeat)
55 AA 00 03 00 01 03 06               (WifiState router connected)
55 AA 00 01 00 00 00                  (Product query)
55 AA 00 02 00 00 01                  (McuConf)
55 AA 00 08 00 00 07                  (QueryInitStatus)
55 AA 00 03 00 01 04 07               (WifiState cloud connected)
Tools Used
- TuyaMCU Explorer/Analyzer (Elektroda.com) — UART traffic sniffing and packet decoding
- Tasmota (tasmota-lite.bin for 1MB devices)
- Python for checksum calculation and packet building
- Waveshare USB-Serial adapter for initial sniffing
Credits
Reverse engineered from IRREMOTEWFBK using TuyaMCU Explorer/Analyzer and Waveshare USB serial adapter. Protocol documented through extensive UART traffic analysis.
https://www.bazzsmarthome.ca/products/smart-wifi-ir-remote-controller-converter