I spent over an hour fussing with an Sonoff Zigbee 3.0 USB Dongle Plus V2 trying to get it to act as a Thread Border Router. Looking back, all the information I needed does exist somewhere, but as a new user doing it very recently, all I found was third party guides that turned out to be outdated, and feeling like the HA documentation only covered their official hardware/ dongle, with not a word of guidance about 3rd party dongles.
This was the first article that I worked from: Enabling Thread and Matter on Sonoff ZBDongle-E - SmartHomeScene
This website is a great resource, but the article is 2 years old. It has us install the Multi-PAN (RCP) firmware onto the dongle. However, after doing so and attempting to proceed, I saw in the Silabs Multiprotocol Addon addons/silabs-multiprotocol at master · home-assistant/addons · GitHub that:
Multiprotocol is no longer supported and will be removed in the near future!
So we move on. Here are the actual steps to follow. Note that this means that your dongle will only speak Thread afterwards, and no longer be able to speak Zigbee. You would likely need separate dongles if you wish to have a mix of Zigbee and Thread devices talking to HA.
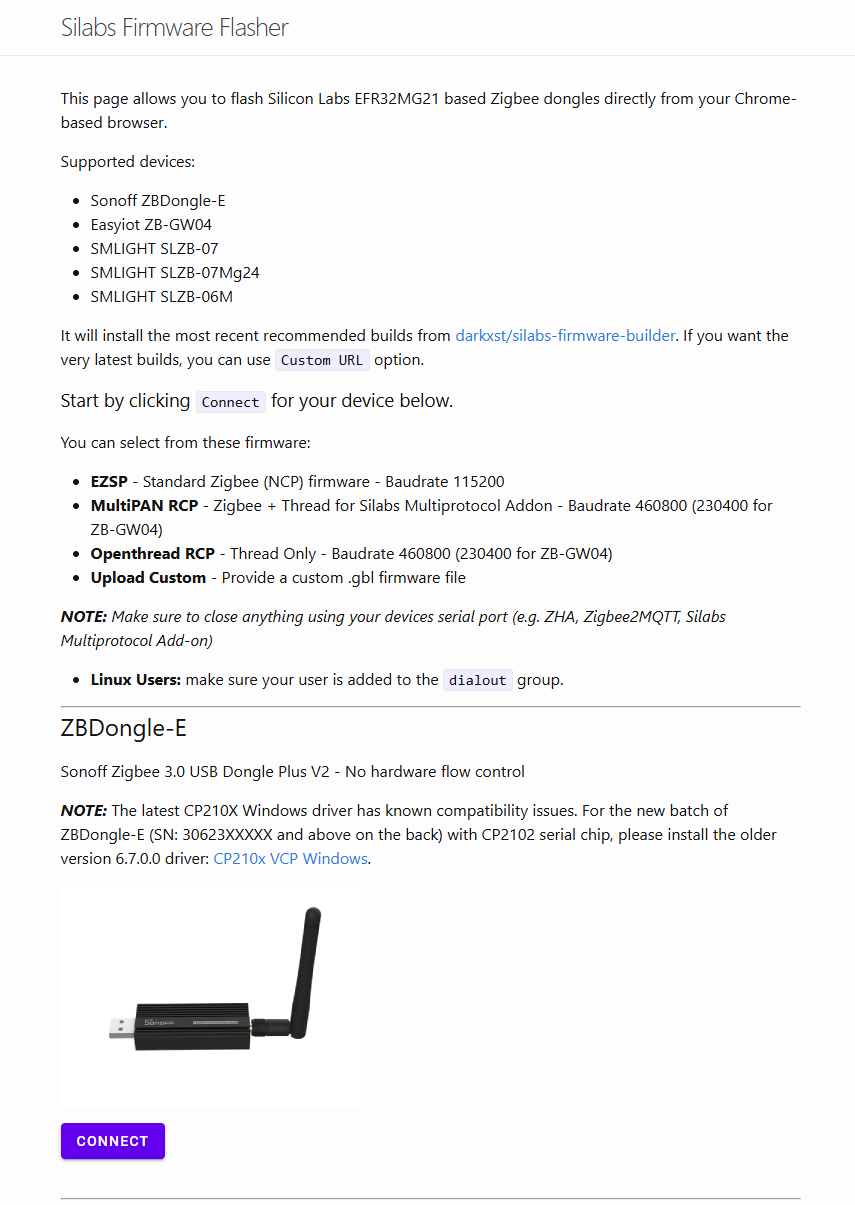
- This is the same flasher that the article above has us use. We still use it, but flash the Openthread firmware:
Silabs Firmware Flasher | Web based flasher for ZB-GW04 and ZBDongle-E. MultiPAN RCP firmware enables these devices to be used with Silabs Multiprotocol Addon in Home Assistant. Allow Zigbee and Thread to co-exist on the same dongle. Get ahead of the tech an experiment with Matter!
Follow the instructions on that page. Use a Chrome-based browser. Heed the warnings about the CP2102 driver potential issues on Windows. I gave up on fussing with Windows and used my Macbook for this. Wait until Openthread firmware is successfully flashed on your dongle, then disconnect it. - You will want to get deeply acquainted with this part of the documentation: Thread - Home Assistant
In my case, I would follow:Turning Home Assistant into a Thread border routerand thenCase 1: Making Home Assistant your first Thread network. But if you have existing Thread networks/ routers, another section may apply to you.
Plug your flashed USB dongle into your Home Assistant server/ host device.
Install the Thread integration in HA underSettings→Devices & services→Thread.
Then I opened it up and for me it was empty/ showed no devices, as I did not have any Thread devices yet and the Thread dongle is not yet set up. - Install the
OpenThread Border Routeradd-on , not the integration you just saw as an option in the last step. Navigate to it and you will see theInfo,Documentation,Configuration, andLogtabs at the top.
Now, you need to configure it, and while I now know that all the information was right in front of me in docs I have already linked above, I didn’t know what was relevant to me at the time as I tried to fuss with all of this. This was the topic I kept getting led to, and used as a starting point, but there are differences for the Sonoff dongle, so follow my config options below instead. Sonoff ZBDongle-E with Openthread RCP - #5 by francisp- Select your USB device from the options/ list.
- The Baudrate for the Sonoff dongle is 460800
- Turn
Hardware flow controloff !!! - Turn
Automatically flash firmwareoff as it will not help you anyways, you are not using official HA hardware. - leave
OTBR firewallon - leave
NAT64off - in my
Networksection, I already had port 8080 in use, so I changed it to 8082 and kept the second line as 8081. You should handle this if needed based on your own setup.
Save all your Config settings. Go to theInfotab and start the add on. Watch Logs from theLogtab. If you put incorrect settings in Configuration above, you will see errors here, like I did. Not seeing errors and seeingINFO: Successfully sent discovery information to Home Assistant.is a great success point!
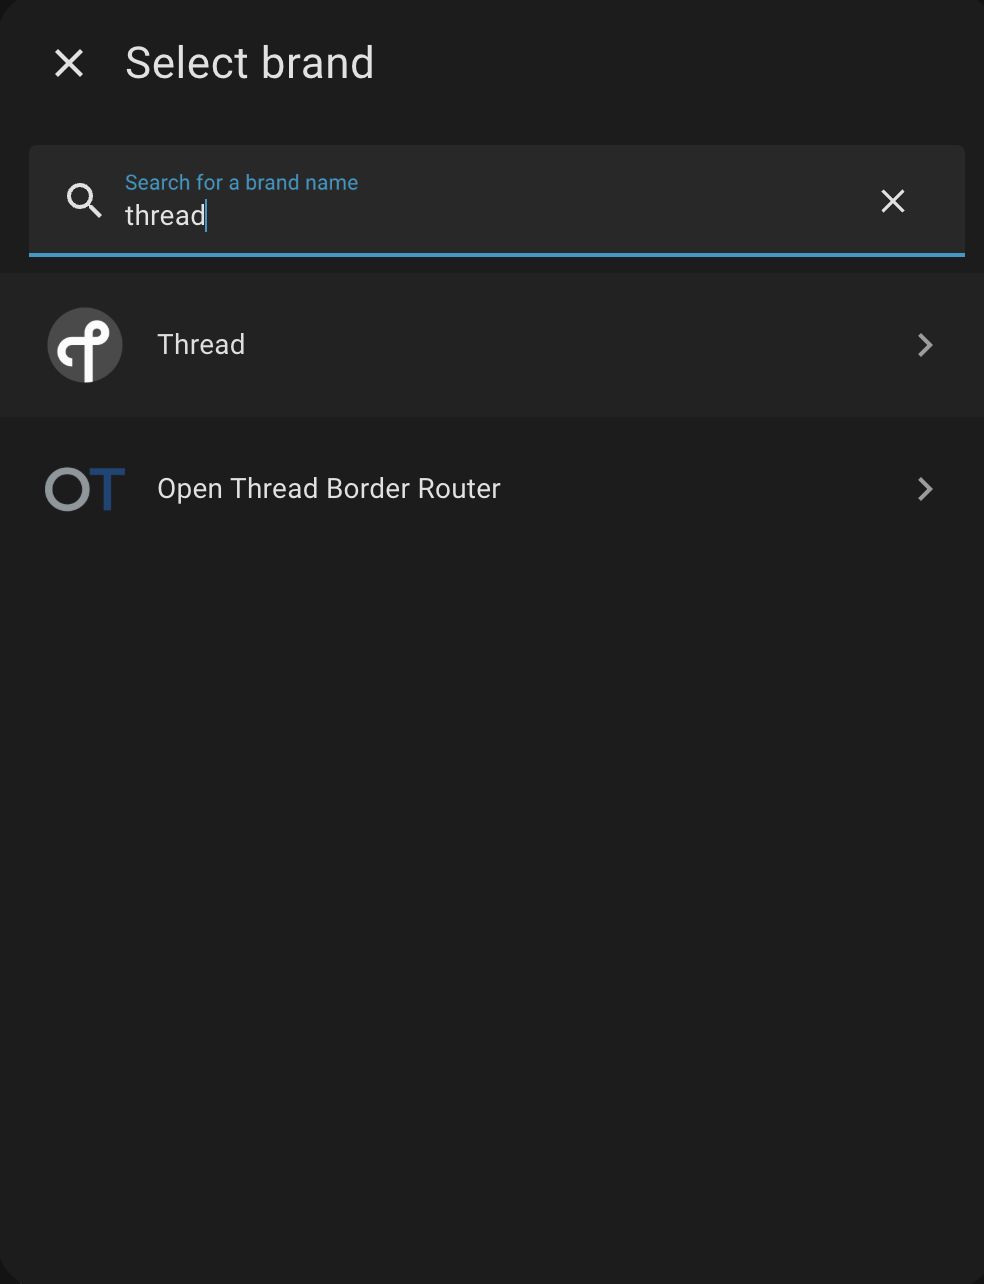
- Exercise patience. I would open a new tab of Home Assistant and navigate to
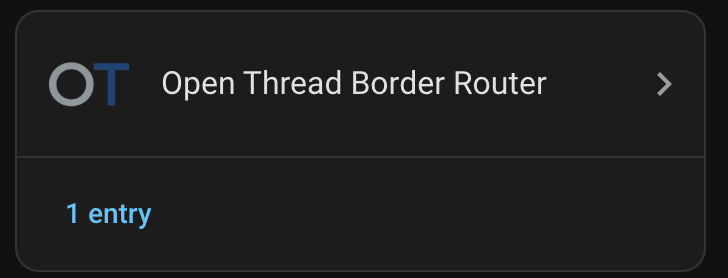
Settings→Devices & services. Perhaps refresh it after a few minutes. Our goal is for theOpen Thread Border Routerintegration to automatically show up in your list of integrations. Remember how you didn’t add this integration earlier? Good. You shouldn’t have to add it now. It should show up by itself. If you don’t see it after a few minutes, I suggest to restart Home Assistant. That’s what got things going for me. - After the
Open Thread Border Routerintegration has shown up,
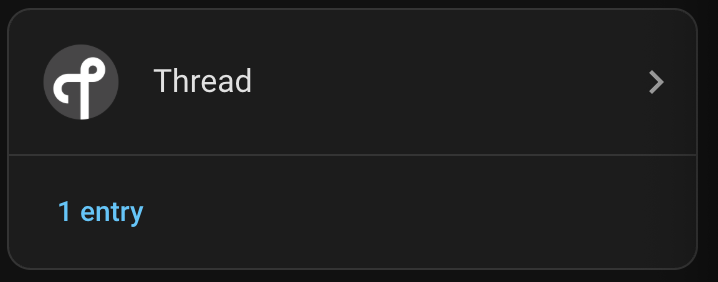
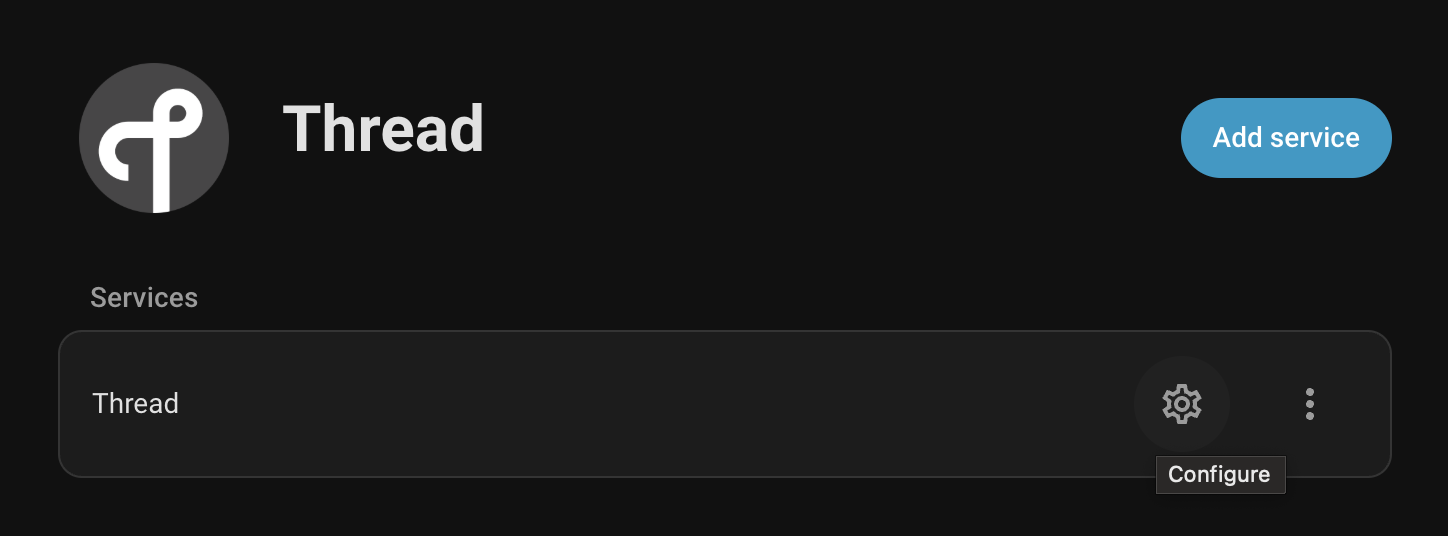
we want to click on theThreadintegration.
and press on the gear icon here:
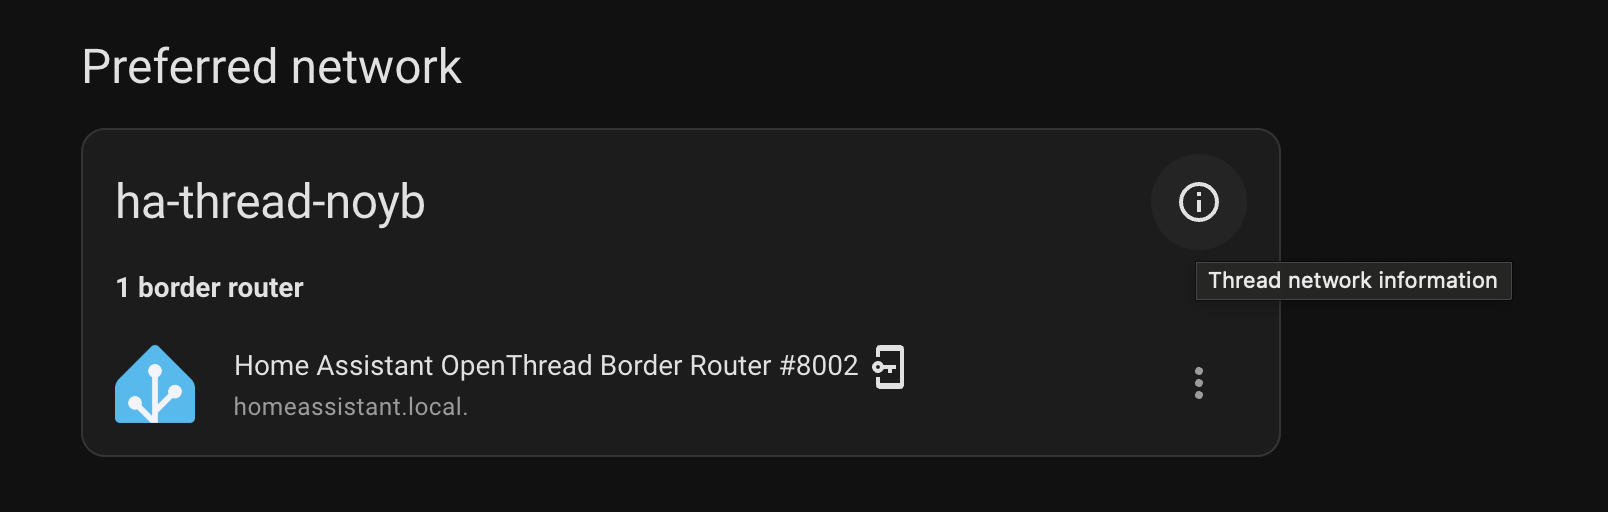
You should see something like this:
The littleiicon in the top right of is where the network information lives. That also took me a little while to figure out. Click it.
I won’t show a screenshot of that particular modal that pops up as it is all your own private Thread network information.
You don’t need to copy every line/ entry one by one.
To configure ESPHome, just copy the last long line underActive dataset TLVs:


If you wish to set up an ESPHome device using Thread, you will need a compatible chipset. The ESP32-C6 supports Wifi, Bluetooth, and Thread, but to use Thread, you’ll need to turn the Wifi off. The ESP32-H2 does not speak Wifi. If you want to play, I suggest getting a ESP32-C6-DevKitC-1. Other options also exist, which the
Read this in great detail:
If you want to play, I suggest getting a ESP32-C6-DevKitC-1. Other options also exist, which this wonderful article also talks about:
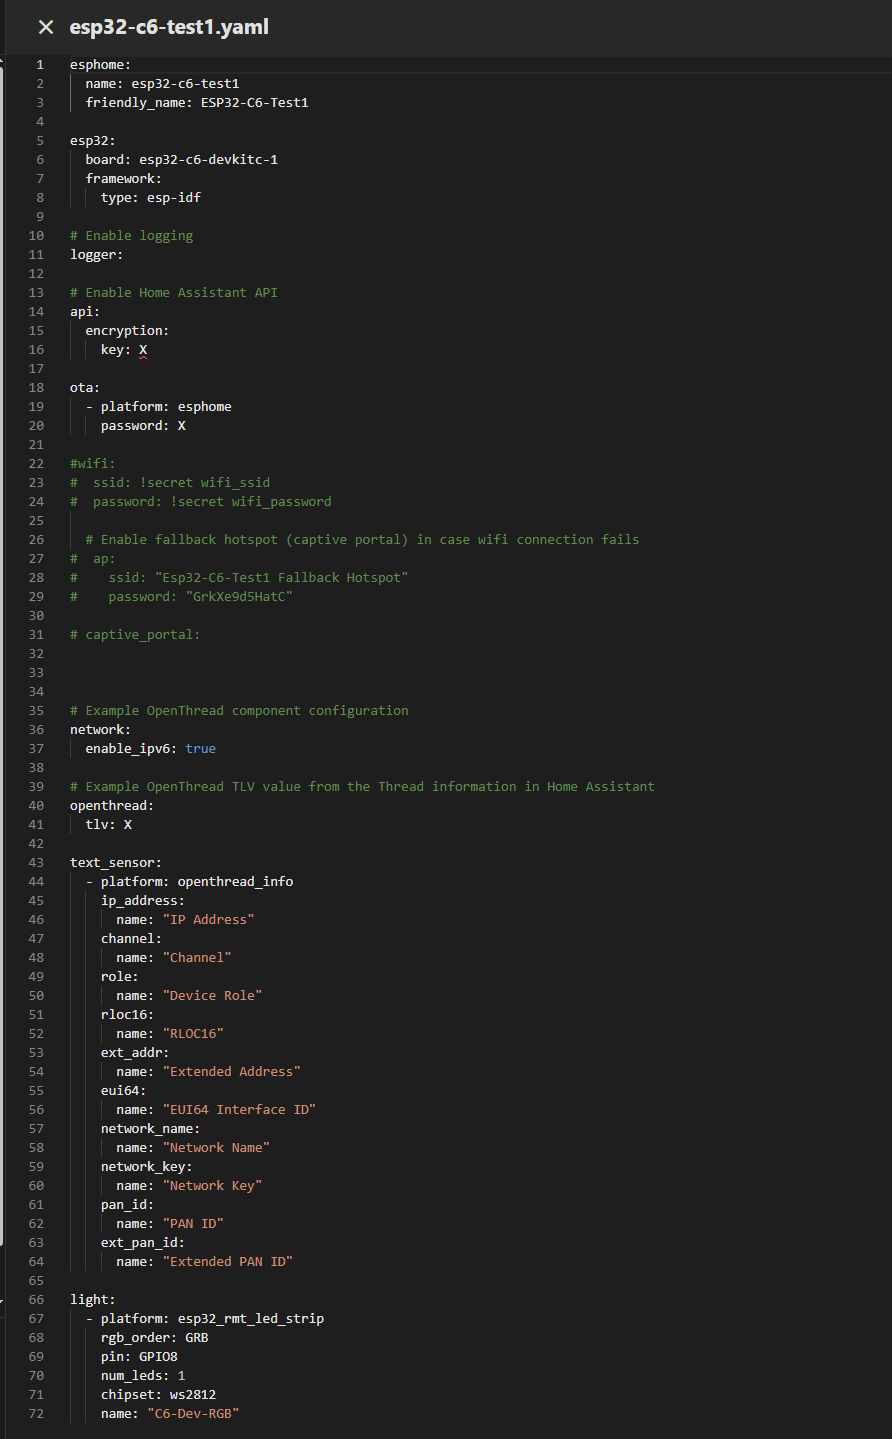
Here I show a screenshot of my test ESPHome config of the C6-Devkit. I purposefully leave it as a screenshot only, as all the options are copied from the 2 articles linked above. Read them and you too shall have all the resources you need.
As I said, Wifi needs to be disabled to enable Thread.
I have the RGB LED on the dev board in Home Assistant!

You can OTA update over Thread! It takes a minute (seriously). It’s not molasses slow, but it is noticeably slower than USB or Wifi flashing. And that was with the ESP talking directly to the dongle, a foot apart, with no other nodes in between. But still, the fact that it’s possible amazes me. For your playing/ development, I suggest saving yourself some perception units and connecting to the ESP32-C6 dev board over USB for flashing and reading the logs afterwards.
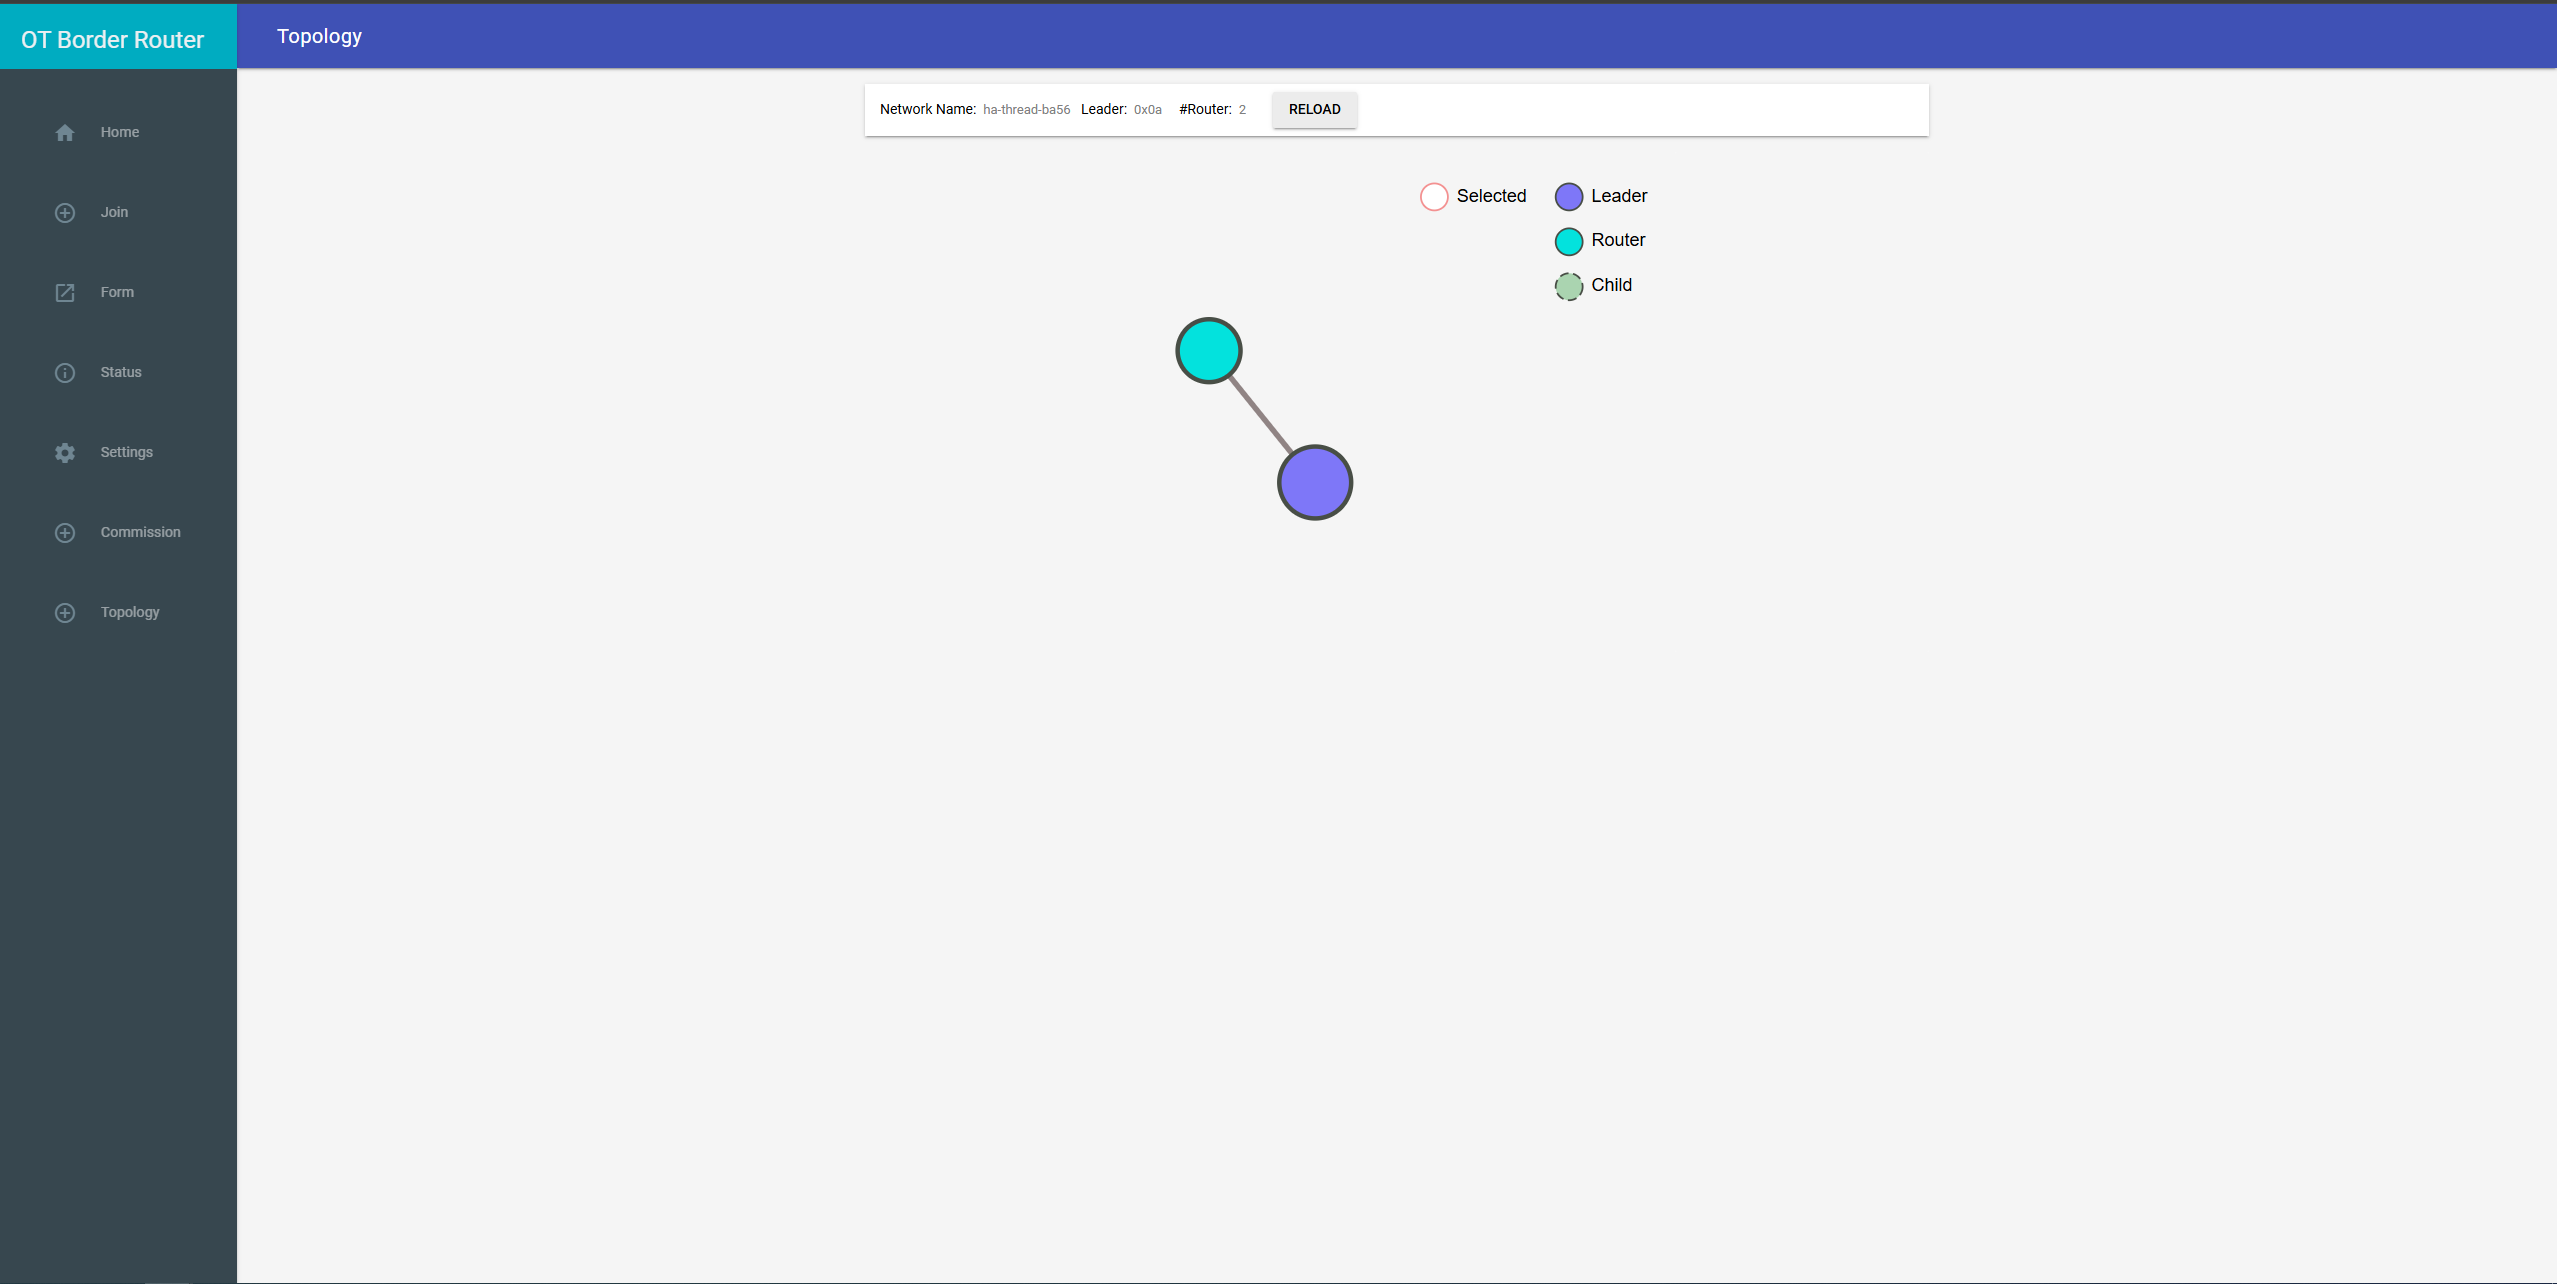
And lastly, if you’ll recall the config that I changed to port 8082, this is what lives there! You can load that up in your browser, and go to the Topology tab to see what your Thread network is up to ![]()
I hope this helps someone!