I've been using various forms of sensors in the door of my mailbox for a few years and there is a serious lack of choices in tilt sensors so I've had to "build my own". The mailbox is on the other side of the street about 100 feet away from the antennas so z-wave long range is the obvious choice. Zooz made an 800LR tilt sensor (ZSE43) but it is no longer but they do make an 800LR magnetic contact switch (ZSE41).
All contact switches use a magnetic reed switch along with a magnet to trigger it. That means you can remove the reed switch and put any type of switch you'd like to trigger the sensor. I've tried ball type tilt switches and I've found them to be unreliable as it seems that the balls are sticky, bounce, or have some other problem.
But old school mercury tilt switches (like from old thermostats) are absolutely rock solid. They are very sensitive and the "contacts" can't wear. So I found some old Honeywell mercury switches on Ebay and picked up a ZSE41.
When you open a contact sensor it is easy to find the reed switch and you can test it with a multimeter by putting the magnet next to it to see it trigger. Here is my sensor with the cover on and off. (The mercury switch was much larger than I expected!)
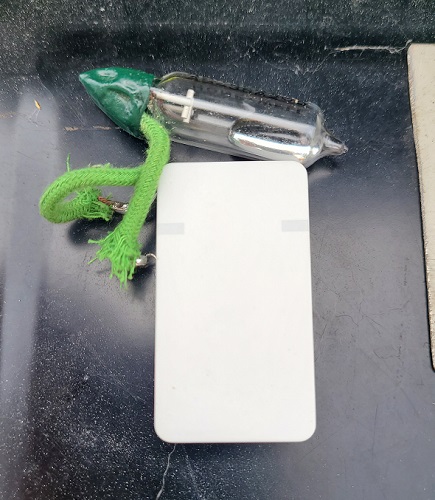
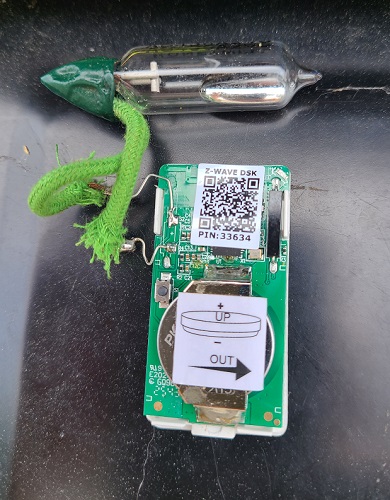
You don't have to remove the reed switch like I did but I was figuring out where to cut slots in the cover to get the wires out.
I formed a "radio transparent" window in the door of the mailbox by cutting a square hole and using some flat plastic and bondo to make the door's outside smooth. Some paints aren't radio transparent so I used laserprinter toner powder (polyurethane and carbon black) with some clear paint to finish it.
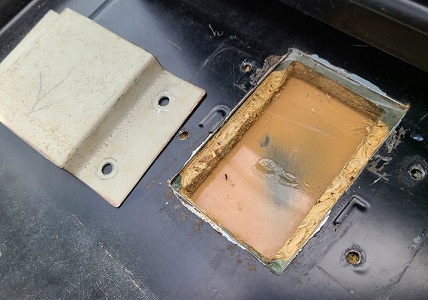
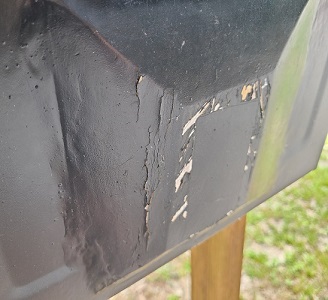
(The door has gotten scuffed up over the years...)
Because of the size of the mercury bulb I had to carefully angle it so it was barely "On" in the vertical position but angled towards the door so it would trigger when the door was opened a little.
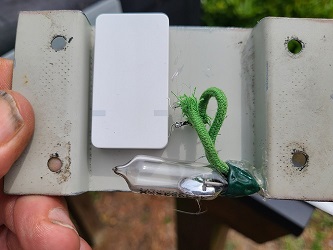

I detest hot glue guns but I borrowed my wife's because it made positioning it easy and it makes removal easy too.
And here is the end result.

(I did add a little bit of a plastic bag over the top as I've found that over time rain coming in the box can get to the sensor.)
Hope this idea helps someone who has a weird switch or trigger they want to connect to Home Assistant.