So I’m a MASSIVE fan of these little ESP8266 chips so been tinkering away
RF Ceiling Remote Hack
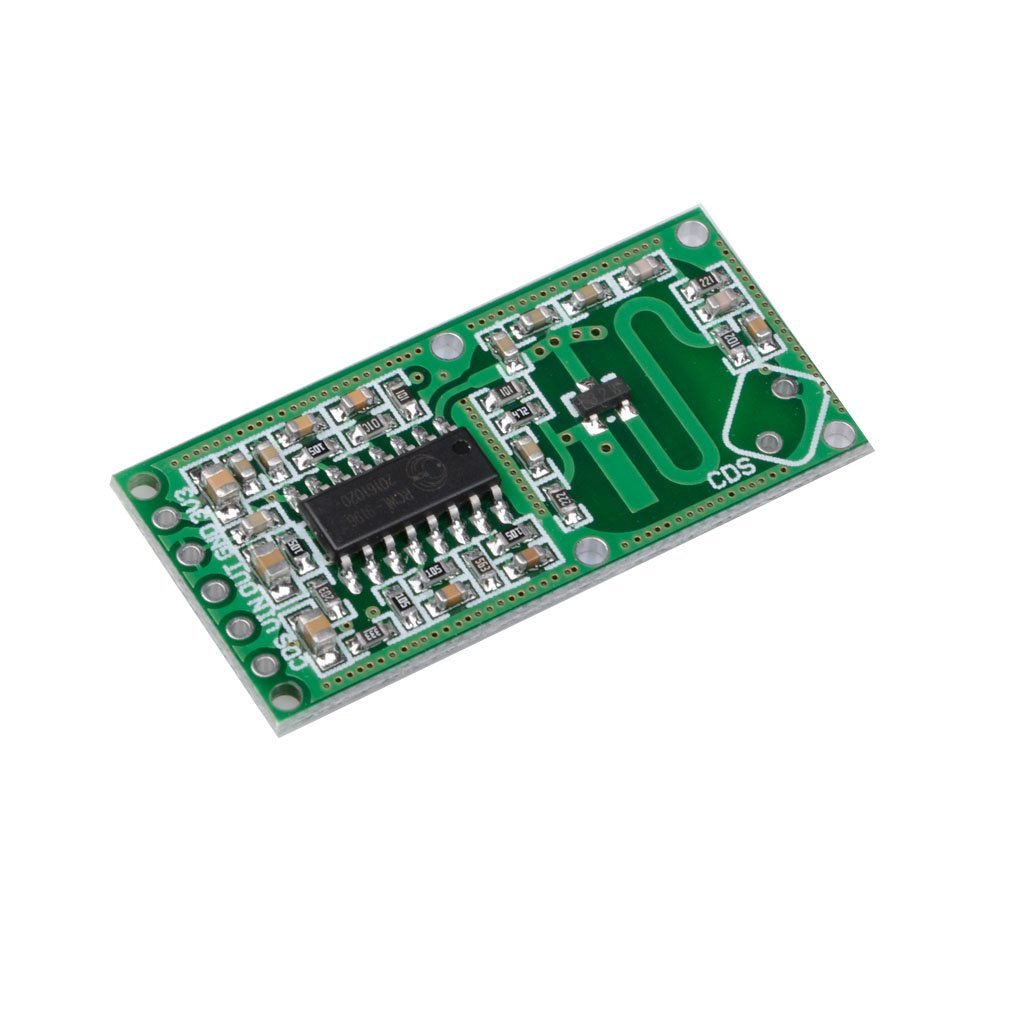
anddddd purchased a bag of these: Microwave RF motion sensor
<First up, I am documenting the process I went through - you may have a different set up, or you may have different components - so please check everything before proceeding. I take no responsibility for any damage to ANYTHING if you decide to replicate these steps>
Detailed video here - NOT mine credit to JohnAudioTech: Youtube 6:30 is a little demo. interestingly ignores the pet but not the human through the door!
I’m going to try and wire it properly but for now this works (albeit inverted)
What you’ll need (will edit as I progress) - soldering iron (and solder)
1 x SONOFF Basic http://a.co/eP2T81e
1 x microwave motion sensor http://a.co/2MqznBD
1 x bag of header pins http://a.co/8przwbq
1 x 2 prong power cable (needs cutting)
1 x bag of connector cables http://a.co/gbiMj3x
Step 1:
header pins - not really sure I need a picture here but just in case:

Also solder the header pins on to the motion sensor
Step 2:
Flash the SONOFF with Tasmota firmware
The best tutorial to flash the firmware is here:

Be sure to edit user_config.h with your wifi settings (the rest is less important as you can edit from the web interface it puts on the device). After, check it powers and you can connect to the IP address (go into your wifi router and look for the device named sonoff-xxxx, then type that IP address in your browser).
you should then see this page:

Click on configuration and then Module configuration so you see this page:

I chose Switch 2, as after testing i want to stop it triggering the relay.
Step 3:
Wire up for testing

Now it takes a few seconds on powering up, but when you move you will hear the relay click. Note as before its inverted so movement turns the relay off (on the todo list)
Feel free to test around the house, behind doors, through monitors ![]() whatever you want.
whatever you want.
Step 4:
Home Assistant connection. This has been on my list FOREVER (to connect up MQTT).
So after a lot of reading i finally figured out the topics and prefixes.
I chose to use Mosquitto and there is an awesome video from Bruh Automation

If you follow the instructions you should have a working MQTT install.
NOTE when configuring the SONOFF Basic, on the main Web UI of the basic, this guy:

this time click configuration and MQTT configuration.
Your settings will be:
Host: <IP Address of MQTT instance, which should be your Home Assistant IP>
Port: 1883 #unless you have a custom install
Client: home-assistant-p1 #i fell for using the same client as the MQTT server, DONT.
user:
password:
Topic: lab/sonoff/presence
Full Topic: %prefix%/%topic%/
If you have followed everything correctly (and by the way you can use the same settings for your other SONOFF basic devices now, just remember to change the client to say p2 at the end, and topic to presence2
you can now add the binary_sensor to home assistant:
binary_sensor:
  -  platform: mqtt
     name: lab_movement
     state_topic: "stat/lab/sonoff/presence/POWER"
     payload_on: "OFF"
     payload_off: "ON"
     availability_topic: "tele/lab/sonoff/presence/LWT"
     payload_available: "Online"
     payload_not_available: "Offline"
     qos: 0
     device_class: motion
     value_template: '{{ value.x }}'
Now questions to the readers:
- I want to invert the signal, and have read some items on a pull up resistor - however is just inverting the payload enough?
- I am looking to decouple ‘Switch2’ on the GPIO14 from the physical relay. However i’m not familiar with the SwitchTopics so need a little direction:
GitHub - arendst/Tasmota: Alternative firmware for ESP8266 and ESP32 based devices with easy configuration using webUI, OTA updates, automation using timers or rules, expandability and entirely local control over MQTT, HTTP, Serial or KNX. Full documentation at
Ultimately the firmware should create a fake relay, and have Switch 2 turn it on (not the physical relay, which will continue to click)
Next step:
I plan to miniaturize this and 3D print a custom surround.
- New parts needed:
1 x ESP8266 http://a.co/1NJA6Ld
1 x Mains 5V step down http://a.co/gMP7hbN (note this is for 110V so check your countries voltage)
1 x US plug http://a.co/7qLv8ji
1 x screw terminals http://a.co/ezbSpqk
I should be able to squeeze the components into a similar size as an iphone charger. Then my plan is to hide them round the house. All the parts are pretty cheap, and given they come in packs of 5 - i’ll make at least a couple for testing (especially any interference).
What got me interested was Xandem.com however its a very complete solution (although doesnt differentiate between people, and i doubt integrating where someone is on the HASS floorplan will be all that easy). So thought it may be easier to test this out.
Hope you enjoyed


