I couldn’t find any information on running the Shelly Plug Plus UK under ESPHome, but I bought a couple guessing that they’d be the same inside as the EU version. Turns out that’s not quite true. I quickly semi-bricked mine by OTA flashing it to ESPHome, not realising that the new locked bootloader means that you can’t then OTA flash it again, so that gave me enough of an excuse to take it apart.
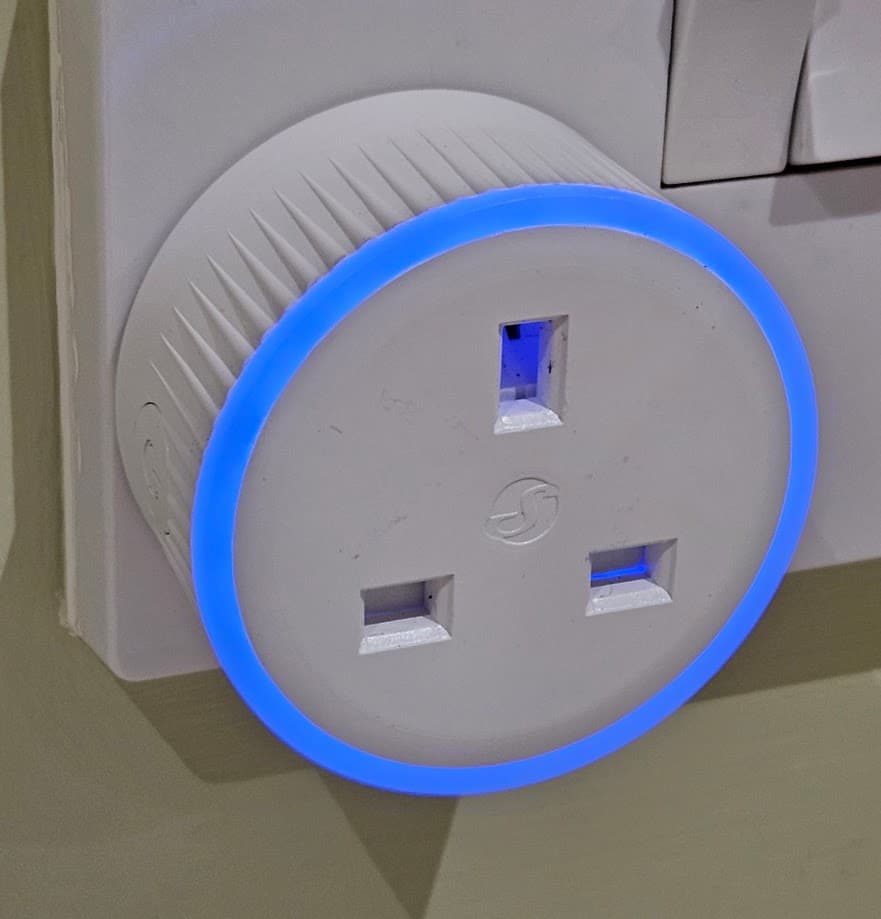
The front plate is glued on, and can be removed by sliding a blade between the LED ring and the body, and carefully working it all the way round the outside.

There are three PCBs. The top is the LED board, this just pulls off.

The main PCB is soldered to the live and neutral pins on the back. The ESP32 board is mounted sideways next to the left of the earth pin. The riser pins for the LED board rule out any chance of accessing the ESP32 board without removing the main board (both are soldered from the underside of the main PCB).
The ESP32 board has test points for serial. I soldered wires to these to serial flash it.

Brown = GND
Red = 3.3V
Orange = GPIO0
Yellow = RX
Green = TX
The unsoldered pad to the right of the red is CHIP_PU.
I traced the pin outs while I had it open:
Switch = GPIO4
Relay = GPIO32
The LED ring is a set of normal RGB LEDs:
Red = GPIO12
Green = GPIO26
Blue = GPIO14
The temperature sensor is a 10k NTC next to the big 1mΩ resistor in the bottom left, connected to GPIO34.
The power sensor is a BL0937, with:
SEL = GPIO27
CF1 = GPIO25
CF = GPIO33
(I’ve not tested these three yet)
Hopefully this is useful to others. I’ve got another one that I’m going to attempt to flash to ESPHome OTA using the code on PR5535.