TTGO HiGrow with ESPHome

I’m trying desperately to get this Soil/moisture/temp/hum/light package running in esphome, I’m getting nowhere. Its the newer (?) 1.1 version, and the only thing I can find online is for the older version, which was of little help.

The only docs for this new version are here https://github.com/Xinyuan-LilyGO/TTGO-HiGrow which, after parsing thru the code seems to declare the pins, but esphome is not picking up on any of the sensors aside from the soil salt sensor (pin 34). DHT12 seems to be in one-wire mode as opposed to i2c, the bh1750 light sensor is not being found with an i2c scan, just a big mess.

Hoping you guys can shed some insite of something I missed?!

DHT12 when configured like the esphome docs ( https://esphome.io/components/sensor/dht12.html ) got nothing as well, I think its an i2c config issue.

esphome:
  name: higrow1
  platform: ESP32
  board: nodemcu-32s #tried multiple board types, including lolin_d32

wifi:
  ssid: "nopenope"
  password: "nopenope"
  manual_ip:
    static_ip: n.o.p.e
    gateway: n.o.p.e
    subnet: n.o.p.e
  fast_connect: true

# Enable logging
logger:

# Enable Home Assistant API
api:
i2c:
  sda: 25
  scl: 26
  scan: True
ota:
sensor:
  - platform: dht
    model: AUTO_DETECT
    pin:
      number: 16
      mode: input
    temperature:
      name: "HiGrow1 Temperature"
    humidity:
      name: "HiGrow1 Humidity"
    update_interval: 60s
    setup_priority: -100
  - platform: adc
    pin: 32
    name: "HiGrow1 Soil"
    update_interval: 60s
  - platform: adc
    pin: 34
    name: "HiGrow1 Salt"
    update_interval: 60s
  - platform: bh1750
    name: "BH1750 Illuminance"
    address: 0x23
    update_interval: 60s

It compiles fine, uploads and connects to wifi. Cant find any of the i2c components. No idea what I’m missing here. any help will be appreciated!!

Hi Ilan,

very interested in this product!
Did you try to look at the pin-out reported here?

Also…is a cover for the board included or can be bought separately?

Yes thats the same image from the github - those are the pins I’ve been calling in esphome but had no luck getting the sensor data.

They have the 3d model file on the github too, you can print/order the print for the cover (https://github.com/Xinyuan-LilyGO/TTGO-HiGrow)

Sorry I know it’s an old thread but did any one get anywhere with this unit?
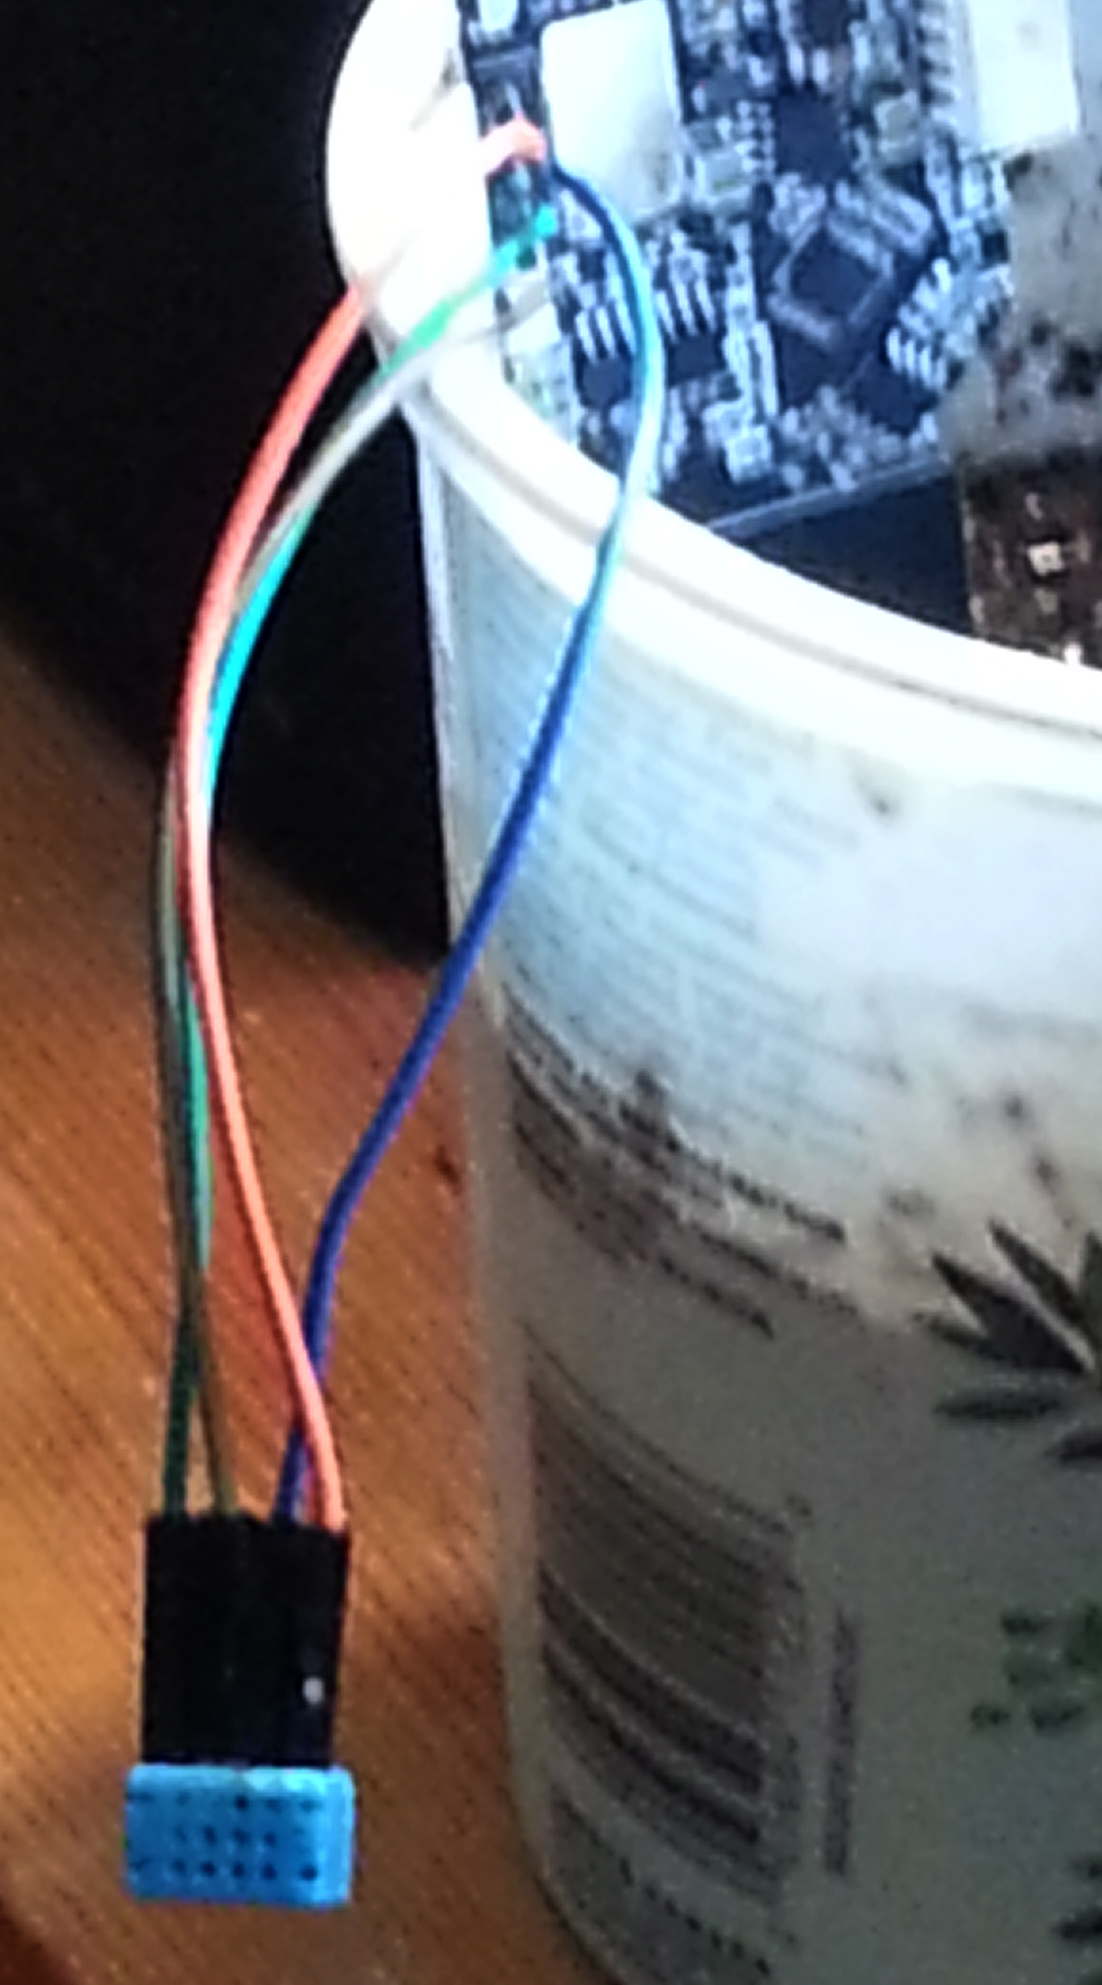
I’ve quickly run a multimeter over a few pins…
Going from the dht 12 datasheet it seems like it is the scl pin (dht pin 3) that has been grounded rather than gnd (dht pin 4). Guessing this could be (one of) the issue(s).
Not sure about other components yet, will have a proper look later, and may start desoldering and bridging to test but if anyone’s got anywhere then please let me know beforehand…

Sorry other way around
Dht pin 3 should be gnd, but isn’t
Dht pin 4 should be scl but is grounded

1 Like

I wish I got further with this project, I hit a wall. ESPHome also apparently doesn’t support the DHT12 in one-wire mode yet, just in i2c. Supposedly it is on the dev version but I have not tried.

So I’ve got the dht12 and the moisture sensor working… but in doing so have broken the salinity data…
but humidity, temp and water matter most so hey… success…i’sh :slightly_smiling_face:

Its just on some guys simple code for the v1 hardware i think… needs a soldering iron to get the sensors going though.
Basically there seems to be some crazy power issues with how the sensors were wired…
I desoldered the dht12, moved it up to the through-holes,
Soldered pin1 to 3v3, and pins 3&4 to gnd,
Pin 2 i bent up out of the way, soldered a cable to it, and fed it back to its original solder pin…


As this fixed it, i figured what the hell… and soldered another wire from the through-hole 3v3 to the 3v3 the dht was orginally attached to…
In doing so, it stopped the salinity sensor working, but started the water sensor. :slight_smile:

I’m not sure if you actually need to move the dht-12… the wire from 3v3 to 3v3 might do it along with desoldering pin3 and shorting it to pin 4, maybe even just bridging pins 3&4 would work.
But as it’s working in my config i’m not messing any further for now.

1 Like

What is really strange about this unit, is if you upload the original firmware from that github, it seems to read all the values correctly (if I remember correctly) with no soldering necessary. I have no idea why or how. I’d love to get ESPHome running nicely with this but I’m just not technically minded enough.

after few sleepless nights and ‘dismounting’ the arduino code from their github, I found these lines

    pinMode(POWER_CTRL, OUTPUT);
    digitalWrite(POWER_CTRL, 1);
    delay(1000);

which seems to turn on/off the power for sensors.
So, after adding the following in my esphome yaml

  - platform: gpio
    pin: 4
    name: "power sensors"
    restore_mode: ALWAYS_ON

the adc and dht12 sensors started responding.
Still have not figured out i2c/bh1750 though :frowning:

after I had found out the gpio04 thing, here was another guy publishing the same

though the i2c still not working for me:(

.yaml:

  - id: bus_a  
    sda: 25
    scl: 26
    scan: True

console:

[E][esp32-hal-i2c.c:1426] i2cCheckLineState(): Bus Invalid State, TwoWire() Cant init sda=0, scl=0
[C][bh1750.sensor:012]: Setting up BH1750 'BH1750_Illuminance'...
[W][i2c:067]: Too much data to fit in transmitter buffer for address 0x23
[E][component:092]: Component was marked as failed.

Here’s what I had to add to fix it. Seems if you don’t line this up, it ends up using the default i2c lines.

 - platform: bh1750
    i2c_id: bus_a
    name: "Illuminance"
    address: 0x23
    update_interval: 60s
2 Likes

Hi,

Great thread.

In which file do you write this? A Json file? I sthis kind of file available in Arduino ide? Plarformio ide?

JPD

Hi,

I have the battery, salt, soil and BH1750/lx readings but no temp and no humidity readings.

Could not find a valid BMP280 sensor, check wiring!
BH1750 Advanced begin

Regards.

I dont understand why you linked the two 3.3 volts together with a wire?

On this dht22, there is a 4M resistor between the NC and GND pin and VCC
and the usual 3.2 K between vcc and data.

I did not found them on the lilygo board.

Regards

JPD

How about the pins order?

I soldered 4 wires to the probes hole: vcc-data-gnd-nc and then I tried with the dhat 12 right pin order.

Then I replaced it with a dht22 pluging the wires accordingly.

Zero success. Humidity and temp stays at 0 in all configuration.
What is salt ?

This probe could have been something else than a piece of shit.

More info here
https://github.com/Xinyuan-LilyGO/TTGO-HiGrow/issues/1

I Lost track of the total working solution. Can you please provide me the total .yaml configuration?

1 Like

In case you still need it, this is my config which also includes a change to use MQTT rather than the API

esphome:
  name: higrow1
  platform: ESP32
  board: lolin32

wifi:
  ssid: "<ssid>"
  password: "<key>"

  # Enable fallback hotspot (captive portal) in case wifi connection fails
  ap:
    ssid: "Higrow Fallback Hotspot"
    password: "<key>"

captive_portal:

# Enable logging
logger:

# Enable Home Assistant via API
#api:

# Enable Home Assistant via MQTT
mqtt:
  broker: <mqtt server ip address>
  username: <mqtt user name>
  password: <mqtt password>

ota:

i2c:
  sda: 25
  scl: 26
  scan: True
  id: bus_a

switch:
  - platform: gpio
    pin: GPIO4
    name: "Sensor Power"
    id: spower
    restore_mode: ALWAYS_ON
    internal: true

binary_sensor:
  - platform: gpio
    pin: 
      number: GPIO35
      mode: INPUT_PULLUP
      inverted: True
    name: "Wake Button"

sensor:
  - platform: dht
    model: dht11
    pin:
      number: 16
      mode: input
    temperature:
      name: "HiGrow1 Temperature"
    humidity:
      name: "HiGrow1 Humidity"
    update_interval: 60s
    setup_priority: -100
    
  - platform: adc
    pin: 32
    name: "HiGrow1 Soil"
    update_interval: 60s
    unit_of_measurement: '%'
    filters:
      - calibrate_linear:
          # Map 0.0 (from sensor) to 0.0 (true value)
          - 1.1 -> 0.0
          - 0.0 -> 100.0
    
  - platform: adc
    pin: 33
    name: "HiGrow1 Battery"
    attenuation: 11db
    unit_of_measurement: 'V'
    update_interval: 60s
    filters:
      - calibrate_linear:
          # Map 0.0 (from sensor) to 0.0 (true value)
          - 0.0 -> 0.0
          - 2.06 -> 1.89
      - lambda: return x * 2.0;
        
  - platform: adc
    pin: 34
    name: "HiGrow1 Salt"
    update_interval: 60s
    unit_of_measurement: '%'
    filters:
      - sliding_window_moving_average:
          window_size: 15
          send_every: 15
      - calibrate_linear:
          # Map 0.0 (from sensor) to 0.0 (true value)
          - 0.0 -> 0.0
          - 1.1 -> 100.0
    
  - platform: bh1750
    i2c_id: bus_a
    name: "BH1750 Illuminance"
    address: 0x23
    update_interval: 60s
2 Likes

Alright, apologies for my earlier post, I jumped the gun too soon. But the below config appears to work for the light sensor. It seems it takes a while for the BH1750 to show up on the i2c bus and ESPHome boot timing will miss it unless you use the setup_priority function on a few components.

esphome:
  name: garden_bed_01
  platform: ESP32
  board: lolin_d32
  on_shutdown:
    then:
      - switch.turn_off: spower
wifi:
  ssid: "SSID"
  password: "password"

  # Enable fallback hotspot (captive portal) in case wifi connection fails
  ap:
    ssid: "Garden Bed 01 Fallback Hotspot"
    password: "password"

# Enable logging
logger:

# Enable Home Assistant API
api:
  password: "password"

ota:
  password: "password"

deep_sleep:
  run_duration: 60s
  sleep_duration: 60m

switch:
  - platform: gpio
    pin: GPIO4
    name: "Sensor Power"
    id: spower
    restore_mode: ALWAYS_ON
    internal: true
    setup_priority: 1000

binary_sensor:
  - platform: gpio
    pin: 
      number: GPIO35
      mode: INPUT_PULLUP
      inverted: True
    name: "Wake Button"

i2c:
  sda: 25
  scl: 26
  scan: True
  id: bus_a
  setup_priority: -200

sensor:
  - platform: dht
    model: dht11
    pin:
      number: 16
      mode: input
    temperature:
      name: "HiGrow1 Temperature"
    humidity:
      name: "HiGrow1 Humidity"
    update_interval: 60s
    setup_priority: -100
    
  - platform: adc
    pin: GPIO32
    name: "HiGrow1 Soil"
    update_interval: 60s
    attenuation: 11db
    #unit_of_measurement: '%'
    #filters:
    #  - calibrate_linear:
    #      # Map 0.0 (from sensor) to 0.0 (true value)
    #      - 1.1 -> 0.0
    #      - 0.0 -> 100.0
    
  - platform: adc
    pin: 33
    name: "HiGrow1 Battery"
    attenuation: 6db
    unit_of_measurement: 'V'
    update_interval: 60s
    filters:
      - calibrate_linear:
          # Map 0.0 (from sensor) to 0.0 (true value)
          - 0.0 -> 0.0
          - 2.06 -> 1.89
      - lambda: return x * 2.0;
        
  - platform: adc
    pin: GPIO34
    name: "HiGrow1 Salt"
    update_interval: 60s
    unit_of_measurement: '%'
    accuracy_decimals: 4
    filters:
      - sliding_window_moving_average:
          window_size: 15
          send_every: 15
      - calibrate_linear:
          # Map 0.0 (from sensor) to 0.0 (true value)
          - 0.0 -> 0.0
          - 1.1 -> 100.0
    
  - platform: bh1750
    i2c_id: bus_a
    name: "BH1750 Illuminance"
    address: 0x23
    update_interval: 60s
    setup_priority: -300
2 Likes

What kind of battery life do you get with this? I have a similar one that gets terrible battery life.

I’m using a 1000mAh lipo on these. While the config posted (60s on, 1h off) wouldn’t last much more that a day or so, I am currently doing some power testing on a 60s on, 4hr off config and it looks like I’m getting about 1-2 weeks of battery life.

I’m currently building a little solar charging setup to attach to the sensor so that it tops off the sensor battery during the day so that it can run it continuously.

1 Like

I’m looking to do an improved version of this board, i2c everything where possible and support better (100% RH) and additional external sensors (ds18b20 or another sht30/31/35) and maybe swap lux sensor for LDR, and inspired by the feather S2 im going to have the power supply to sensors controlled to off by using a second dedicated sensor LDO with enable pin tied to gpio.

My needs also tempt me to add a low current relay with power sense for DC up to ²⁶volt using the INA219 to control a valve per device.

Will keep you in the loop as am on nodered right now but wish to get HA running comfortably

1 Like