Venmar (Vanee/Broan) ERV / HVAC controller output

The Bluetooth is there to interface with the 20-40-60 deluxe control. (20-40-60 Deluxe Control | VänEE)

For those periods, the 20-40-60 control will turn on turbo mode (max ventilation). Since it’s a battery-operated Bluetooth device, you can put it anywhere and attach a switchbot. That way, you can automatically turn on high-speed ventilation if the air quality falls below a certain threshold.

I have the Bluetooth controller but was hoping for a more elegant solution than sticking switchbot onto it to trigger the unit. The bluetooth switch does have tx and receive terminals pads so wondering there is anyway to hack a ESP32 on it to control it or perhaps anyway to capture and clone the Bluetooth signal being sent from it so home assistant can directly trigger it without needing a switchbot.

Failing that using a Shelly Relay maybe the next best bet.

I was thinking the same thing last night, but if it’s possible at all, it’s way beyond my capabilities. I think that Bluetooth communications might be encrypted, and there may be some protection that ensures that the advanced controller pairs with the deluxe 20-40-60 controller. Or maybe not. I have no idea.

I know the switchbot is not an elegant solution, but look at the bright side: you can create a custom 3d case that will hold both the switchbot and the 20-40-60 controller. That’s what I plan to do. It will be a stand-alone package that I can keep in the closet, and no one will ever know how inelegant it is.

I tried to look into Bluetooth Packet capture using wireshark but novice at it so couldn’t seem to capture the proper data packets. If anyone has good tutorial on how to try to read the signal being sent from Bluetooth switch to remote controller, please share.

Hey @strikeir13 have you tried the in-line power monitoring method I highlighted above… (re: feedback in knowing that a state change request has been accepted by the switchbot), using a power meter smart plug, i was able to map all of the states to various power levels. But more importantly, because you can see the power CHANGING, you can assess if a state transition actually made it from the switchbot to the pressing of the button to the change of state. This is a little slow, but I’ve learned for efficiency, my zigbee based power meter sends updated information whenever even the power changes by a watt. So you can see the system where you can build a parallel look that looks like an “ACK” in ethernet comms, etc. ie., send the command, have a timeout for the “ACK” that is represented by a change in “Watts” >= xyz Watts, then you WAIT to confirm the state change in the state machine. I put a HA bluetooth proxy right beside my switchbot, and the signal is pretty fast. I learned to do this with my cat feeder that also is a cheap automatic feeder that has two extra sensors, a RF tag reader and a switchbot. Unfortunately this one didn’t have the power meter, so when i designed the HRV system I was looking forward to trying it out as a feedback sensor.

No, my issue was not the state feedback, but the Bluetooth reception. I couldn’t get the Switchbot to reliably receive commands, even with an esphome Bluetooth proxy in the same room, so I abandoned my efforts.

I am using power monitoring to verify the operational status, but I still don’t have a way to turn the unit off. I’ve partially sidestepped the issue, though, by adding the optional HEPA filter to my ERV. This lets me run the unit continuously even with residual wildfire smoke outside, which was my goal to begin with.

1 Like

I have finally solved the problem or having HA control my ERV. I designed and printed a 3d holder for my switchbot and attached it to the 20/40/60 Deluxe controller. I can tell you that Broan doesn’t make it easy to use their controller with a switchbot. I had 7 prototypes to get this design right. I’m going to write my scripts to press the buttons when the air quality degrades and I’ll keep this setup in the closet behind the master controller.

1 Like

Three helpers and two automations later, I have the entire setup automated. Please see the attached Lovelace Cards. The system now activates the ERV Turbo mode when the Air Quality drops to Abnormal or worse. But I can also trigger the system by pressing the ERV Turbo Button on the dashboard. Regardless of which method activates the ERV, Home assistant will track the state of the ERV and the time left in turbo mode:

2 Likes

Hi,

Daryl from Canada here.

I am wondering if you have an info package on how to implement your solution and what products to buy? I have the Vanee G2400E and I would like to control it based on CO2 and more if I can. I am a chemical engineer, so tech savvy but not an electronics guy!

D

1 Like

@holstein13 @dcfwilson

Hey Daryl,

Since I last checked this thread, it’s really refreshing to see how much it has evolved since the early threads that resignatively came to the conclusion that Venmar is useless when it comes to integrating their products into a smart home.

So - when you ask what do you need to buy to get this working – I think it amounts to what you want to do. In the thread above, you can see two examples of possible solutions. Mine provides an ability to sequence through the state machine of my Venmar HRV, and Paul, who provides a Turbo ON/OFF framework.

So, because there are infinite numbers of hardware combinations we could set you up with → we could start with writing down your requirements for a system, and how much you plan to spend.

First off – do you care to have feedback of the state of your system? I think Paul above was able to do this open loop and as long as he knows the starting state, he can keep track of whether the HRV is in Turbo or Not. He has a display that shows the ERV Power-- and I’m not exactly sure how he assesses that. In my case, i wanted to have feedback so I could know the state of my system. (and cycle it through its various power levels and/or turn it off when we aren’t around).

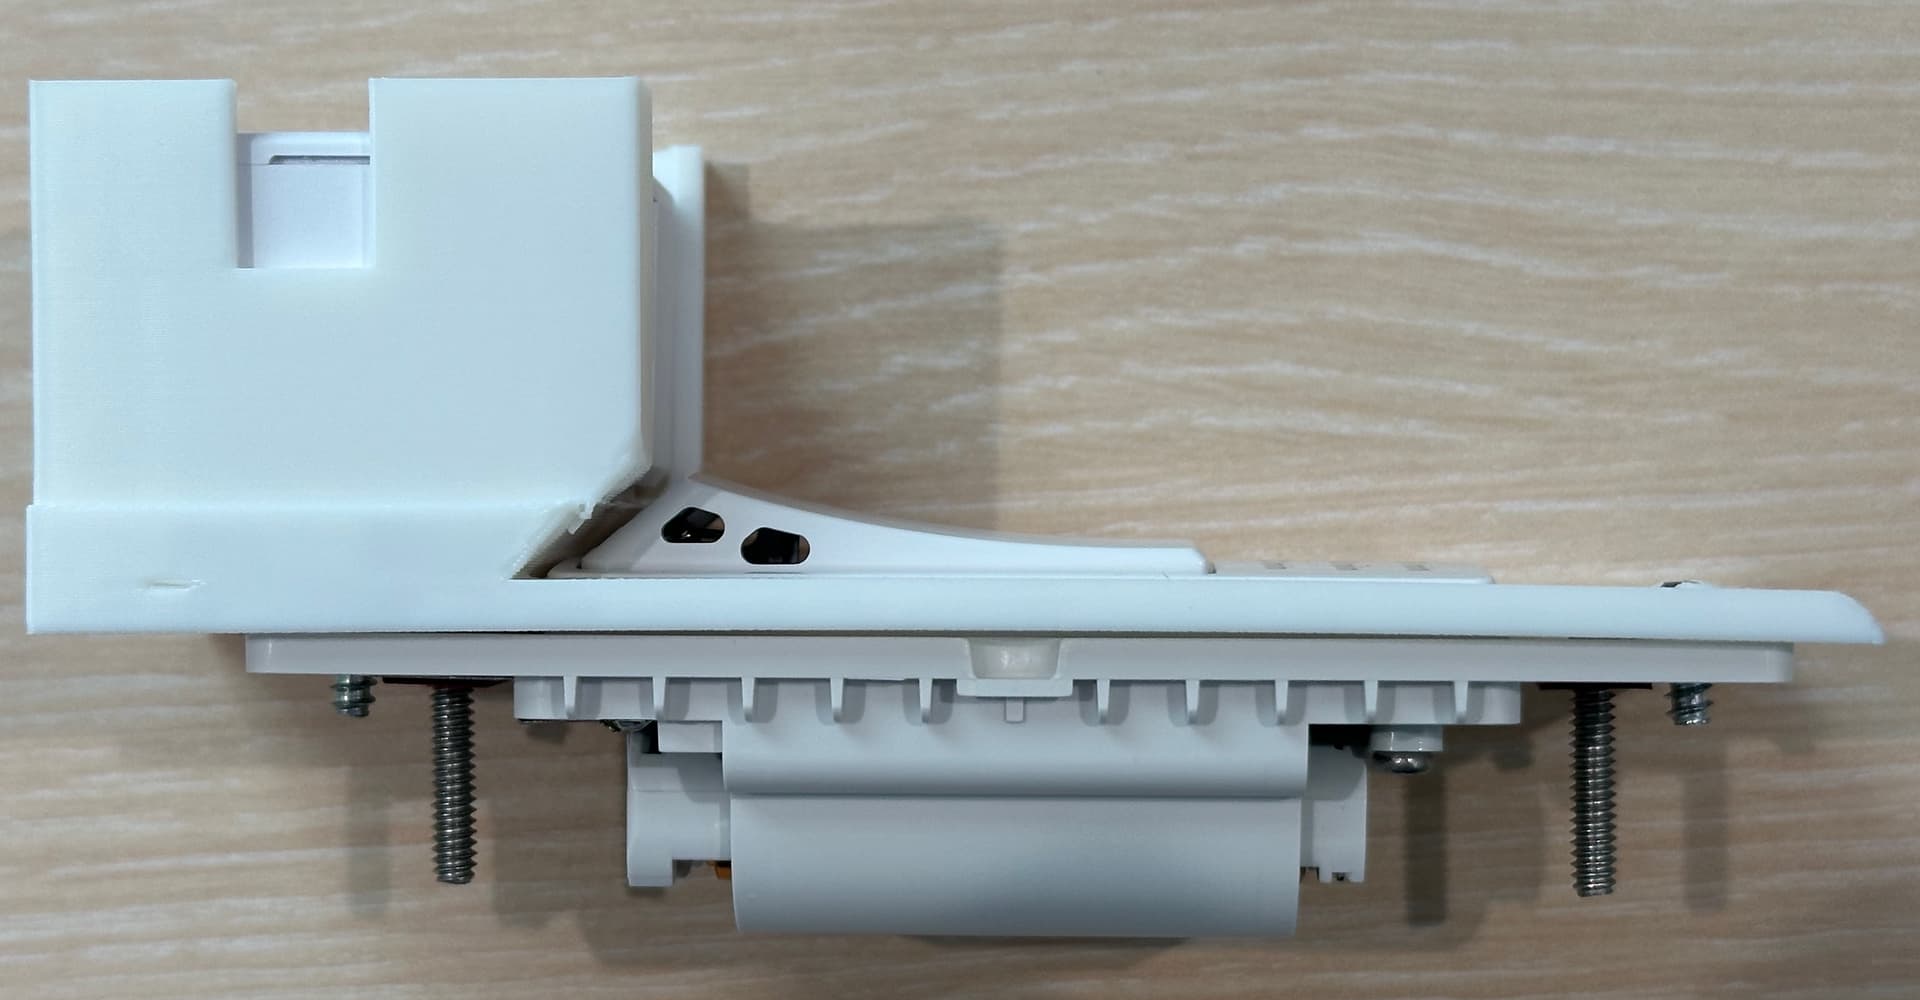
Secondly, you have to come up with an actuator that can commanded with home assistant. After a lot of fretting about this, as you can see above, i couldn’t find anything that works better than switchbot in my case. (and note he even made a cool 3Dprinted case, whereas i just stuck mine below) The negative here, is the darn thing is battery powered with a tiny lithium battery. So, over time, I’ve simplified my control strategy to minimize the cycling of the switchbot actuator. On a bench, i’ve successfully wired a powersupply to an old switchbot, and long term, I plan to make a mains connected version of the switchbot so i can switch it to my hearts content.

If if you have the most basic version of the control knob (ie., not much smarts within the switch), seemingly you could start with a simple switchbot actuator and not really care about what the state is, but my theory is that over time, you’ll find more and more use cases where you want to know the state. So for my case, the most simple way was to map the power meter on an aqara plug and simply use that as the state (as highlighted above).

A couple other closing notes until I learn more about your needs → bluetooth doesn’t travel very well in a residential application (IMO) - so I needed some ESPhome Bluetooth extenders. With that – my commands hit the HRV really fast, and the slowest part is the physical moving of the “switchbot finger”.

I’ve looked at amazon.ca → and here are the links for what I have. However, I’d take a few moments to talk to this thread about your needs, some of the other folks might have better ideas for you than my installation.

https://www.amazon.ca/SwitchBot-simple-switch-smart-White/dp/B07B7NXV4R

https://www.amazon.com/Aqara-12LM-ZNCZ-Smart-White/dp/B07CJ2MM6Z

Cheers, Andrew

@dcfwilson

Hi Daryl from Canada.

Assuming that you already have the Broan Advanced Touchscreen Control on your wall, SKU: VTTOUCHW, you’ll need the 20-40-60 Deluxe Control SKU: VBATHBTW. I got mine at SupplyHouse.com

The Advanced Touchscreen Control has a Bluetooth connection that you can connect the 20-40-60 Deluxe Control to. This is important. Without both controllers, this doesn’t work. So replace the touchscreen controller on your wall with the Advanced Touchscreen Control, then pair the 20-40-60 Deluxe Control to it. Note, there is another 20-40-60 Controller commonly available for cheaper but it doesn’t have Bluetooth. Don’t buy the cheap one.

You’ll also need a power meter outlet. I use the third Reality ZigBee Smart Plug from THIRDREALITY ZigBee Smart Plug 4 Pack with Real-time Energy Monitoring,15A Outlet, Zigbee Repeater,ETL Certified,ZigBee Hub Required,Work with Home Assistant,Compatible Echo Devices and SmartThings: Amazon.com: Tools & Home Improvement. Plug your ERV into the Smart Plug and create a helper to translate the wattage to a state, “Off, Medium, or Turbo.”

You’ll also need a Switchbot Bot: SwitchBot Smart Switch Button Pusher - Bluetooth Fingerbot for Rocker Switch/One-Way Button, Automatic Light Switch, Timer and APP Control, Works with Alexa When Paired with SwitchBot Hub (White): Amazon.com: Industrial & Scientific

You’ll need any CO2 monitor that works with HA. I use the Air1 from Apollo Systems (https://apolloautomation.com/products/air-1), but any CO2 monitor integrated with HA will work.

You’ll need some way to attach the switch bot to the 20-40-60 Deluxe Controller. I created a 3D print to hold both in perfect alignment. Let me know if you need the files.

After that, it’s a simple matter of programming automations to press the switchbot button whenever the air falls below a certain threshold. I also created timers and cards on my dashboard to tell me the status of the ERV and what time is left on the ERV. I can also press a button on my dashboard to press the switchbot button. The Switchbot and Deluxe Controller can be hidden anywhere you want because they are battery-operated, but I keep mine on my desk because I enjoy watching it click once in a while.

Let me know if you need any help or files, or code for automation and dashboards.

@dcfwilson and @Foosman

I still have my detailed air quality dashboard but I found that this simplified version works well for my main dashboard:

The grayed out buttons respond to clicks, double clicks and triple clicks for various functions. Here it is with the ERV Turbo turned on:

A single click on the ERV Card brings up the history. A double click activates the swithbot. I can also click on the button on the mushroom card below it if I want to.

Also, since my initial posts, I’ve taken control of my dehumidifier as well with a simple zigbee relay switch MHCOZY, it has a USB power input and two wires to complete the circuit on the dehumidifier (super simple):

I couldn’t find a thermostat card to match my other thermostats so I improvised with a markdown card and some buttons:

Those last three cards on the bottom are my controllable Flair vents. I close those room vents at night to conserve power.