Wink Relay Guide To Migrate to Home Assistant (with reference to SmartThings/Hubitat)

Like many of you, I was recently blindsided by Wink’s decision to transition towards a subscription service. For the most part, I only used the Wink hub to control my light switches, which are primarily Lutron Caseta. However, I had a number of Wink Relays as well, and I didn’t want to let capable hardware go to waste, so I decided to spend a few days researching what Home Automation services the Wink Relays could work with. I found Home Assistant, Smartthings, and Hubitat had recently supported workarounds (big thanks to @jimpastos and @joshua_lyon) . Lots of credit goes to a number of other users who contributed to these communities I’ve scoured. With my decision to leave Wink, I needed to purchase the Lutron Hub regardless. However I did not want to spend more money on yet another Hub : Smartthings/Hubitat, so I decided to give Home Assistant a try first. I’m happy I did, as Home Assistant is very powerful and configurable. I’ve now converted 6 Wink Relays, which have been running quickly/stable for days.

As I have benefited greatly from the generosity and knowledge of others, I felt compelled to share my learnings to give others confidence to make the jump. Below are steps I’ve compiled from reading numerous sources I’ve linked/credited at the bottom of my post.

If you have access to an already connected Wink Relay.

Go grab your WIFI IP connection in advance (as you will need this IP later) : Settings>General>About

Now Factory Recover the device

Hold down the Reset Button at the bottom of the device while holding down the top Relay Button

Release the Reset Button while holding down the top Relay Button

You will be brought into System Recovery

  • Factory reset devices and wipe data
  • Wipe cache partition
  • Reset to Factory Image
  • Reboot

Re-Connect to your WIFI. DO NOT SIGN INTO WINK . IP should be the same as before. If not, find the IP from your router.

Install and run ADB Tools https://www.xda-developers.com/install-adb-windows-macos-linux/

adb connect 192.168.86.xxx (IP of your Wink Relay)
adb shell
su

su gives you ROOT privileges if your device is already ROOTED

Command below is useful for bringing up default Android Launch Screen :

am start -n com.android.launcher/com.android.launcher2.Launcher

On the default launch screen on the Wink Relay, navigate to Settings>Security>Unknown Sources. This will enable you to install APK files you can find from APKPure.

Back to ADB :

Exit
Exit
adb reboot

Download and transfer the files of your choice. KingRoot is the only mandatory one you need . Below are the ones and versions I found very useful. The adb push command transfers the file from my local machine in my /Downloads/Apps/ directory to the /data/local/tmp/ directory on the Wink Relay. Replace jun3280 with your username/path.

adb connect 192.168.86.xxx
adb push /home/jun3280/Downloads/Apps/KingRoot_v4.96.apk /data/local/tmp/
adb push /home/jun3280/Downloads/Apps/SolidExplorer.apk /data/local/tmp/
adb push /home/jun3280/Downloads/Apps/HomeButton_v2.40.apk /data/local/tmp/
adb push /home/jun3280/Downloads/Apps/NovaLauncher_v554.apk /data/local/tmp/
adb push /home/jun3280/Downloads/Apps/EasyTouch_v4.63.apk /data/local/tmp/

Install the apps you have just pushed :

adb shell
su
cd /data/local/tmp
adb install KingRoot_v4.96.apk
adb install SolidExplorer.apk
adb install HomeButton_v2.40.apk
adb install NovaLauncher_v554.apk
adb install EasyTouch_v4.63.apk

am start -n com.android.launcher/com.android.launcher2.Launcher

On your Wink Relay, navigate to KingRoot and execute the root process.

Download the @jimpastos files to your Downloads directory. Not sure why the files are separate. You can scroll to the bottom my INI and Home Assistant configurations.

Wink Manager : https://github.com/jimpastos/wink-relay-manager/releases/download/v1.2/wink_manager

Wink Ini : https://github.com/jimpastos/wink-relay-manager/archive/master.zip

adb reboot
adb connect 192.168.86.xxx
adb push /home/jun3280/Downloads/wink_manager /sdcard/
adb push /home/jun3280/Downloads/wink_manager.ini /sdcard/
adb shell
su

You will need to go your screen and Accept Root Access (you have only 20 seconds to do this). Once you grant root access to ADB on your Wink Relay, you will see ROOT in your ADB Shell

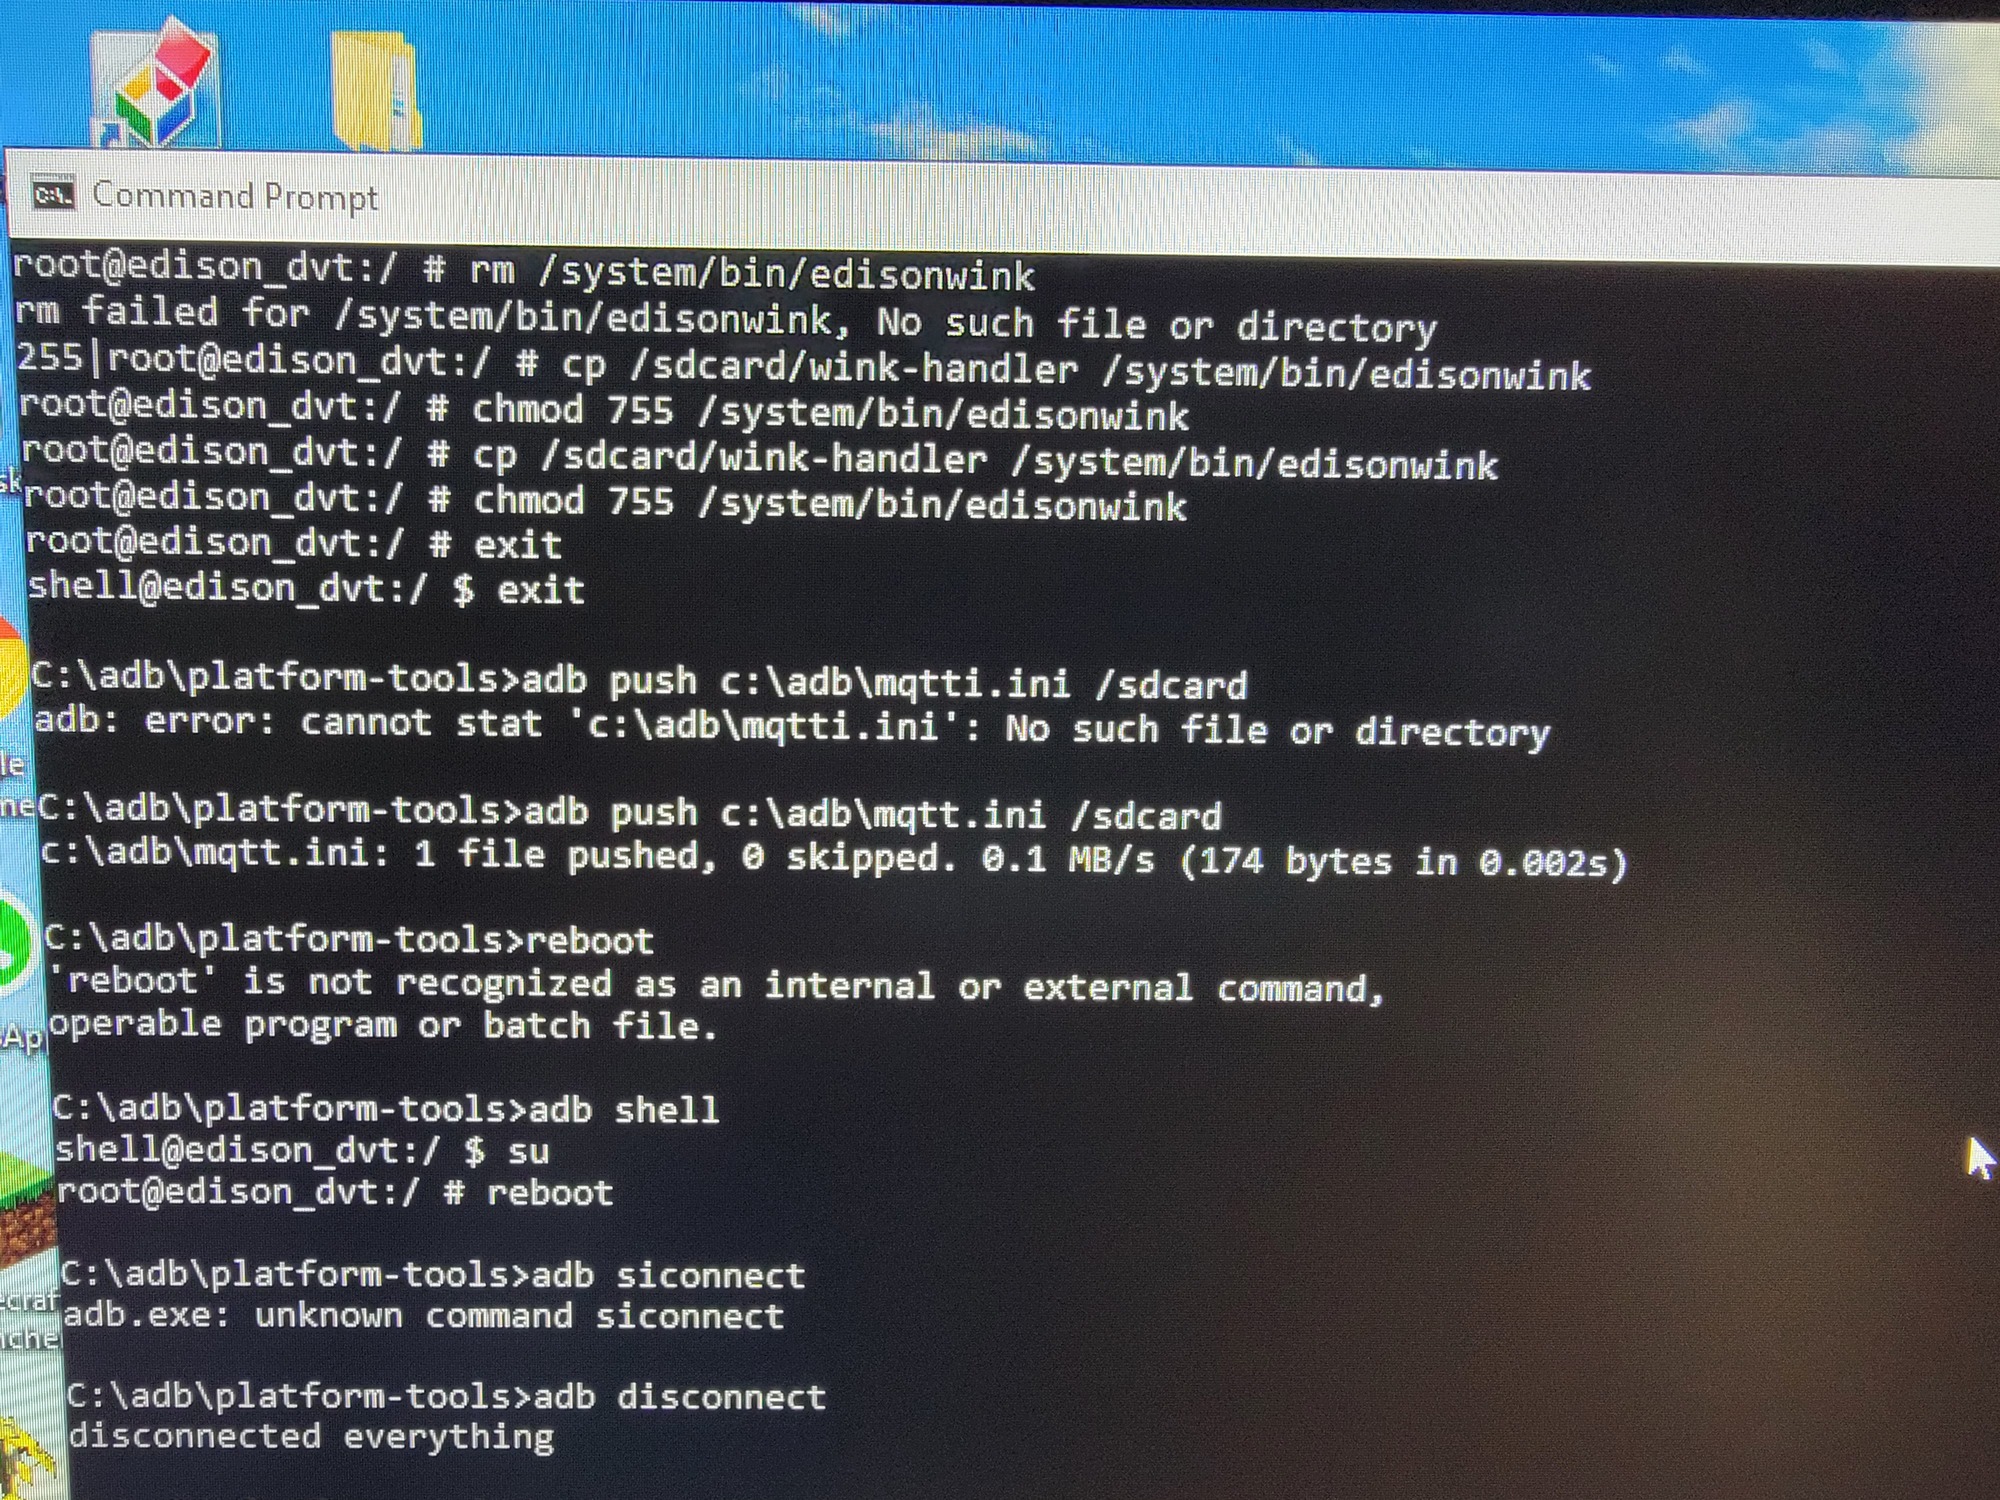
mount -o remount,rw /system
rm /system/bin/edisonwink
cp /sdcard/wink_manager /system/bin/edisonwink
chmod 755 /system/bin/edisonwink
reboot

If you get weird error messages like being unable to mount you might need to use “ adb kill-server ” and reconnect and/or combination of removing the relay from the way to power cycle. This happened to me a few times when I was getting invalid message for mount, even though I was SU / ROOT.

Congrats. You are all done!

Bonus (If you want to install the Google Playstore – because some Apps require it (eg Blue Iris)):

adb connect 192.168.86.xxx
adb shell
su
cd /sdcard
mkdir gapps
adb push /home/jun3280/Downloads/Apps/gapps.zip /sdcard/gapps/

*Use SolidExplorer to navigate to the Root Directory sdcard/gapps/ and extract the contents

mount -o rw,remount /system
chmod 755 /system/addon.d/70-gapps.sh
chmod -R 644 /system/app/*
chmod 755 /system/app
reboot

The Google Play Store takes about an hour to update and stabilize

adb connect 192.168.86.xxx
adb push /home/jun3280/Downloads/Apps/BlueIris_v2.063.apk /data/local/tmp/
adb shell
su
cd /data/local/tmp
adb install BlueIris_v2.063.apk

Big thanks to @jimpastos and @joshua_lyon for their current solutions to make the Wink Relay operable with Home Assistant and Smartthings/Hubitat respectively. Also, thanks to @TechieFan for his Google Play solution.

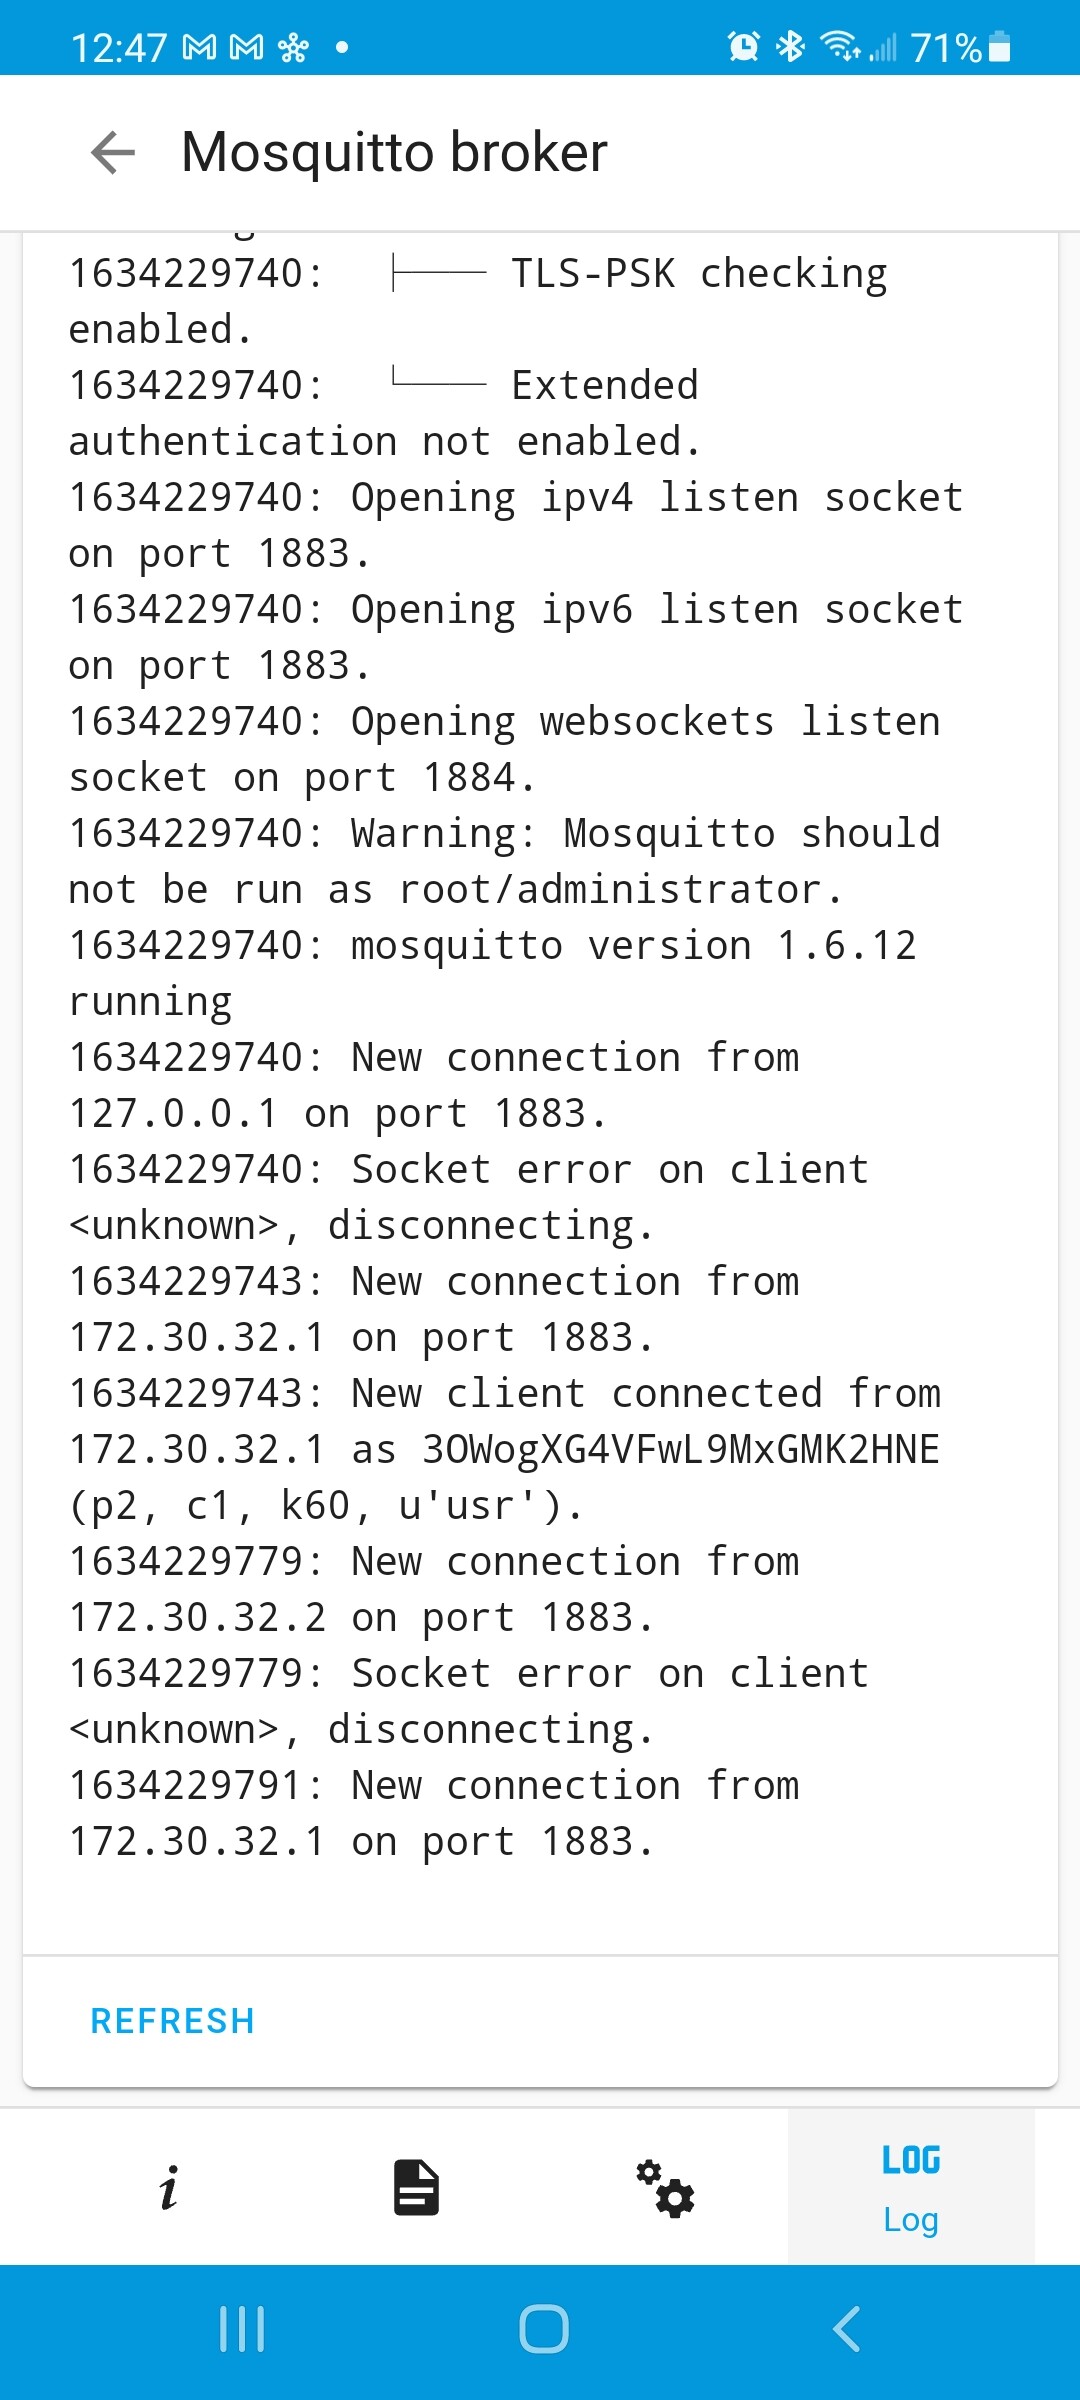
wink_manager.ini file looks like this to connect to MQTT in Home Assistant:

#MQTT Login/Password defined in server

mqtt_username=mqttuser
mqtt_password=mqttpass
#Your Relay ID
mqtt_clientid=Relay_01
mqtt_topic_prefix=Relay_01
#MQTT server address
mqtt_address=tcp://192.168.86.83:1883
screen_timeout=20
proximity_threshold=5000
hide_status_bar=true
#Button/Switch State
relay_upper_flags=3
relay_lower_flags=3
send_proximity_trigger=true
send_screen_state=true
debug=true
#log_file=/data/local/tmp/wink_manager.log

Home Assistant Configuration.YAML file

light:
#Relay #01

  • platform: mqtt
    name: “Basement Front”
    state_topic: “Relay_01/relays/0/state”
    command_topic: “Relay_01/relays/0”
    payload_on: “ON”
    payload_off: “OFF”

  • platform: mqtt
    name: “Basement Back”
    state_topic: “Relay_01/relays/1/state”
    command_topic: “Relay_01/relays/1”
    payload_on: “ON”
    payload_off: “OFF”

MQTT Home Assistant

https://github.com/jimpastos/wink-relay-manager/blob/c7502b2ab21837bd03890188a8a92bdb399f8b2e/README.md
https://community.home-assistant.io/t/toggle-homeassistant-groups-from-wink-relay-buttons/18606/156

Smartthings
https://community.smartthings.com/t/beta-wink-relay-custom-smartthings-integration/111732
https://community.smartthings.com/t/smartthings-running-on-wink-relay/40946

Hubitat
https://community.hubitat.com/t/beta-wink-relay-lan-integration/272

Rooting + Google Play Installation
https://www.youtube.com/watch?v=WRvV4tZxCxo&feature=youtu.be

Rooting + Unbricking Info
https://forum.xda-developers.com/general/general/wink-relay-touchscreen-t3286097

ADB Commands
https://developer.android.com/studio/command-line/adb.html#stopping

7 Likes

I have had 2 Wink Relays in the house and I started to migrate to HA last year after it looked like WInk was on the death spiral.

So last week I got another Relay to try to root and install Wink_Manager on and would allow me to just swap out with no down time. Factory reset, rooting and migrating went well on that so I swapped it for the front door relay and tried to root the front door relay.

That did not go so well. First it got stuck in the boot loop after factory reste and I had to get out the TTL serial cable to turn on the WIFI and get it connected. After that things got better and I was able to install Wink_Manager along with Chrome, APKPURE, Total Launcher, KingRoot etc. It then tried to get me to go through WInk Setup every boot up when the other one didn’t. I managed to kill that by renaming one of the WInk files run by init.rc but the weirdness continued…

When I pull up HA in the browser (Chrome and FireFox) it doesn’t ask about staying logged in. So after every reboot I have to log in. The first unit remembers the log in. Then once the Kiosk Dashboard comes up the everything is larger so the weather card is barely on the screen when the first one has the whole card. Also the proximity sensor values are very different so I can’t get it to turn on the screen from as far away as I want without it staying on.

Well I decided that would be ok since the rest of my family doesn’t really use the screen and I installed it.

This morning I went to switch the other unit to HA and that went well except it doesn’t ask about staying logged in so I need to log in everytime.it boots.

Not being an android guru I have no idea what would be the difference but I suspect the credential storage is somehow protected in one of the newer wink updates.

Any ideas would be helpful.

I did download the Wink_Manager source and change the temperature and humidity output to MQTT so it only has 1 digit to the right of the decimal. I am considering adding the ability to utilitize the HA MQTT auto discovery feature but I need to put my british car back together so I can drive it this summer which means those features won’t be done soon (if ever).

Also where did you get a Google Play zip file that works with the Relay?

Hi there when you say re-login, you aren’t talking about Wink right?

Are you running you using Chrome on your relay, and connecting to your Home Assistant? Are you talking about needing to re-login to view your HA content? To be honest, I’ve never tried. If that’s the case, I wonder you can run the Android HA app.

The google play files are from the youtube video from @Techiefan - but here’s the link I grabbed from his tutorial : GAPPS File

Cheers,

J

The GAPPS file from that link ended up being bad (likely fishing). But I did find good files elsewhere at https://forum.xda-developers.com/showthread.php?t=1809377

The unit with the bad display bricked shortly after I posted and now I can’t even get the launcher up using ttl serial connection. It constantly has a task exit so I suspect something HW went bad, but it may be the memory went since restore to factory doesn’t work.

The other one still wants me to enter the HA login when I first open the HA web page after boot. I’m not sure why it doesn’t show the stay logged in dialog which is what I need to get it where I want. And it seems the HA app doesn’t support Android 4.3 as far as I can tell

Oh well it is good enough, but I may keep an eye out for another cheap Relay to play with.

@AlfaElan are you in U-Boot? Since you have a ttl serial connection , can you try my suggestion in my post : https://forum.xda-developers.com/showpost.php?p=78872344&postcount=53. It seems just recently somebody was stuck in U-Boot, and thought his memory was bad as well.

That said, I was stuck in an infinite boot loop - and it would load UBOOT over and over again. Through trial and error - this is what I did.

  1. While your relay is LOOPING, cover up the Proximity Sensor and press the Top Switch Button.
  2. Doing so should bring you to Recovery Mode
    3. Wipe the Cache 3 Times
    4. Delete and Reset Device 3 Times
  3. Reboot device
  4. Your Putty screen will start printing a bunch of gibberish.
  5. Have the following copied to your clipboard : am start -n com.android.launcher/com.android.launcher2.Launcher
  6. While your Putty is updating - keep pasting what is in line 7, and keep pressing Enter on your keyboard.
  7. Hopefully, you will get lucky - and the Launch Screen will appear.
  8. From there you can follow the rest of the guide in the aforementioned video.

When I try to launch launcher I get:

       android.util.AndroidException: Can't connect to activity manager; is the system running?
        at com.android.commands.am.Am.onRun(Am.java:226)
        at com.android.internal.os.BaseCommand.run(BaseCommand.java:47)
        at com.android.commands.am.Am.main(Am.java:75)
        at com.android.internal.os.RuntimeInit.nativeFinishInit(Native Method)
        at com.android.internal.os.RuntimeInit.main(RuntimeInit.java:235)
        at dalvik.system.NativeStart.main(Native Method)

I did find that even though i had restored factory image the edisonwink executable was still wink_manager, so I renamed that back to the factory edisonwink and it still didn’t boot, Something keeps crashing and the wifi isn’t enabled according to iwconfig.
using ls to explore the /sdcard directory is empty but it is hard to tell with the constant take exit messages.

Rob

Anyone else notice that there seems to be an incompatibility between jimpatsos’s and josh’s implementations? Ideally, I’d like to run jimpatsos for all of the MQTT integrations as well as run Josh’s for the pretty app, but when I have both installed, the screen will never go off.

Any ideas???

Anyone know how to get button held MQTT events. Wink Relay Manager config is slightly confusing with the flag settings. Currently have flags set to “2”. I don’t want the control of the relays just the button clicks and would like to have an option to hold the button to trigger something, ei “dimming lights”.

Can someone help my why my ha does not discovery the wink relay buttons at all?

I tries 2 different guides, and couldn’t figure this out.

Thanks


You may have probably solved this already, the flags are bitwise flags described on the github page as follows:

# Relay Toggle          0001 = 1
# Relay Send Click      0010 = 2
# Relay Send Held       0100 = 4
# Relay send release    1000 = 8

so to get toggle + send click event, + send held event + send release event you need to add all those numbers … for me, i don’t care about release, so I used 7

I wrote a script (in the gist above) to publish mqtt discovery of the wink relay features instead of adding them to the config. Actually for button clicks sent as device triggers, the only way to add them at the moment is via mqtt discovery.

Hello, I’m quite the newbie to MQTT. I can see that my MQTT is getting information from the relay but I haven’t really figured out what to do with it. I just see it when I go to the MQTT integration and look at the listen. I try publishing payloads to the relay but nothing happens either.

Wow - it’s been a long time. The original instructions are still mostly valid, but some things have changed with updates to Home Assistant. On that note, I’m just going to screenshot the relevant items. You might have to save/reboot settings a few times to see things work. Check the MQTT Broker Log - and eventually you will see the connections, assuming you’ve configured your Wink Relay properly. Good luck!

Wink Relay Internal Storage

wink_manager.ini
mqtt address is your home assistant IP

Mosquitto Broker (default settings)
-In Home Assistant you need to add mqttuser to match what is in the wink_manager.ini
-Settings>People>Users>Add User
mqttuser
mqttpass

Configuration.yaml
-reflects the mqtt_clientid and mqtt_prefix_id from wink_manager.ini (Relay_03)

Entities

Home Assistant Card

Thank you this helped a lot. I got it working!

2 Likes

So, a heads up if there’s any life on this in the future: Wink Relays evidently suffer from what has been dubbed the “Groundhog Day” issue where the flash will act like all is fine and dandy, but always reverts upon each boot - in other words, nothing persists.

I’ve shared a workaround on the XDA Developer forums (link below). It’s a bit more involved, but it’s workable. If anyone stumbles on this thread after finding a deal and wondering if they should buy these (like I did), you should be warned. Additionally, the WebView does not support Websockets, so you won’t be able to directly display the HA UI on these (I’ve got a workaround in mind using SockJS as a proxy, but I use a custom/external dashboard). wallpanel-legacy has a somewhat newer (based on Chrome 53) browser built in that supports a number of newer features (including WebSockets) - still won’t run HA directly, but is more likely to run other dashboards.

2 Likes