Hello,
As this was my first custom integration in HA, i’ve written the different steps which i have followed, and some explanations (based of course on the previous posts + documentation). If it’s too much “beginner oriented” don’t hesitate to tell me, i can remove this post, otherwise i hope i can help some other beginners like me. Don’t hesitate if a modification is required.
As a prerequesite, you need to have a MQTT broker installed in your HA.
Architechture
First of all, a quick overview on the different physical devices and connections:
Note: The Raspberry has a raspbian installation.
Hacomfoairmqtt installation
- Connect to the raspberry via SSH
- Install the required packages:
sudo apt-get install python3-pip python3-yaml python3-serial
sudo pip3 install paho-mqtt python-etcd
- Copy the hacomfoairmqtt files to the raspberry
sudo mkdir /usr/local/share/mytmp
sudo mkdir /usr/local/share/ca350
sudo git clone https://github.com/adorobis/hacomfoairmqtt/ /usr/local/share/mytmp/
sudo mkdir /usr/local/share/ca350/bin
sudo cp /usr/local/share/mytmp/src/ca350 /usr/local/share/ca350/bin/
- Edit ca350 script with your personal configuration, so in my case:
sudo nano /usr/local/share/ca350/bin/ca350
- Change the following entries (to be adjusted with your personnal data):
SerialPort='/dev/ttyUSB0' --> To be adjusted with your Serail port
MQTTServer='192.168.1.XXX' --> Ip address of my HA (which has the MQTT broker)
MQTTUser = ‘myuser’ --> User set in my MQTT broker settings
MQTTPassword = ‘mypassword’ --> Password set un my MQTT broker settings
HAEnableAutoDiscoveryClimate = True --> To publish the climate entity
- Ctrl + o so save
- Ctrl + x to exit
At this stage, launching the following command, the raspberry starts to publish the data:
sudo python3 /usr/local/share/ca350/bin/ca350
Last step on the raspberry, create a service to enable the automatic start at each boot.
sudo nano /etc/systemd/system/comfoair2mqtt.service
- Fill it with this content (you can adjust the user if you prefer to use another user):
[Unit]
Description=comfoair2mqtt
After=network.target

[Service]
ExecStart=python3 ca350
WorkingDirectory=/usr/local/share/ca350/bin/
StandardOutput=inherit
StandardError=inherit
Restart=always
User =root

[Install]
WantedBy=multi-user .target
- Ctrl + o to save
- Ctrl + x to exit
- Start the service:
systemctl start comfoair2mqtt
- And enable it for automatic boot
systemctl enable comfoair2mqtt
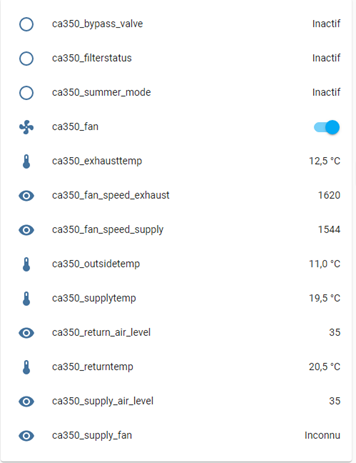
At this stage, the raspberry will publish automatically (even after a reboot), the different entities are now available in HA with a “ca350” name (climate.ca350_climate, fan.ca350_fan, sensor.ca350_outsidetemp …), so they can be used, example:
Lovelace MQTT Comfoair card installation
Now let’s get a better view for HA display.
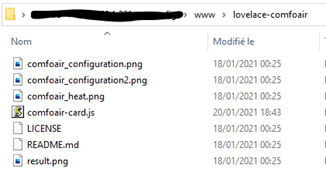
Let’s download comfoair-card.js (https://github.com/TimWeyand/lovelace-comfoair/blob/beeddb434ece08b3309784bb7538ede491245c10/comfoair-card.js), and store it under your www folder, in HA.
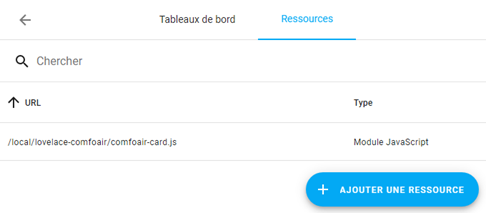
Now add this file as a resource for lovelace:
Configuration -> Lovelace customizing -> Resources tab -> ‘+ add resource’
Fill “url” with which ones you added the file in the step before, changing “www” in “local”, so in my example, I stored the file in /www/lovelace-comfoair, so I put /local/lovelace-comfoair/comfoair-card.js. Resource type is Javascript module.
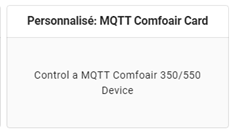
At this moment, a new card is available for your dashboards.
Now go on your desired dashboard, add a card, and a new customized card will be available:
The link to every entity is already done by default (with the “ca350” names), so you should not modify anything:
Now let’s enjoy your new card to manage your MVHR.
Thanks again to @adorobis and @TimWeyand for your support and for the work done!

 )
)


