I think there have been a couple of reviews of this but I thought I'd share what I have found. Disclaimer, Zemismart did reach out to me to see if I will be available to test some of their Zigbee stuff, the review is my own and they didn't have any input on it.
I choose this as I have build a few of these presence sensors using ESP32 and LD2410c but they were always powered devices with WiFi.
Introduction:
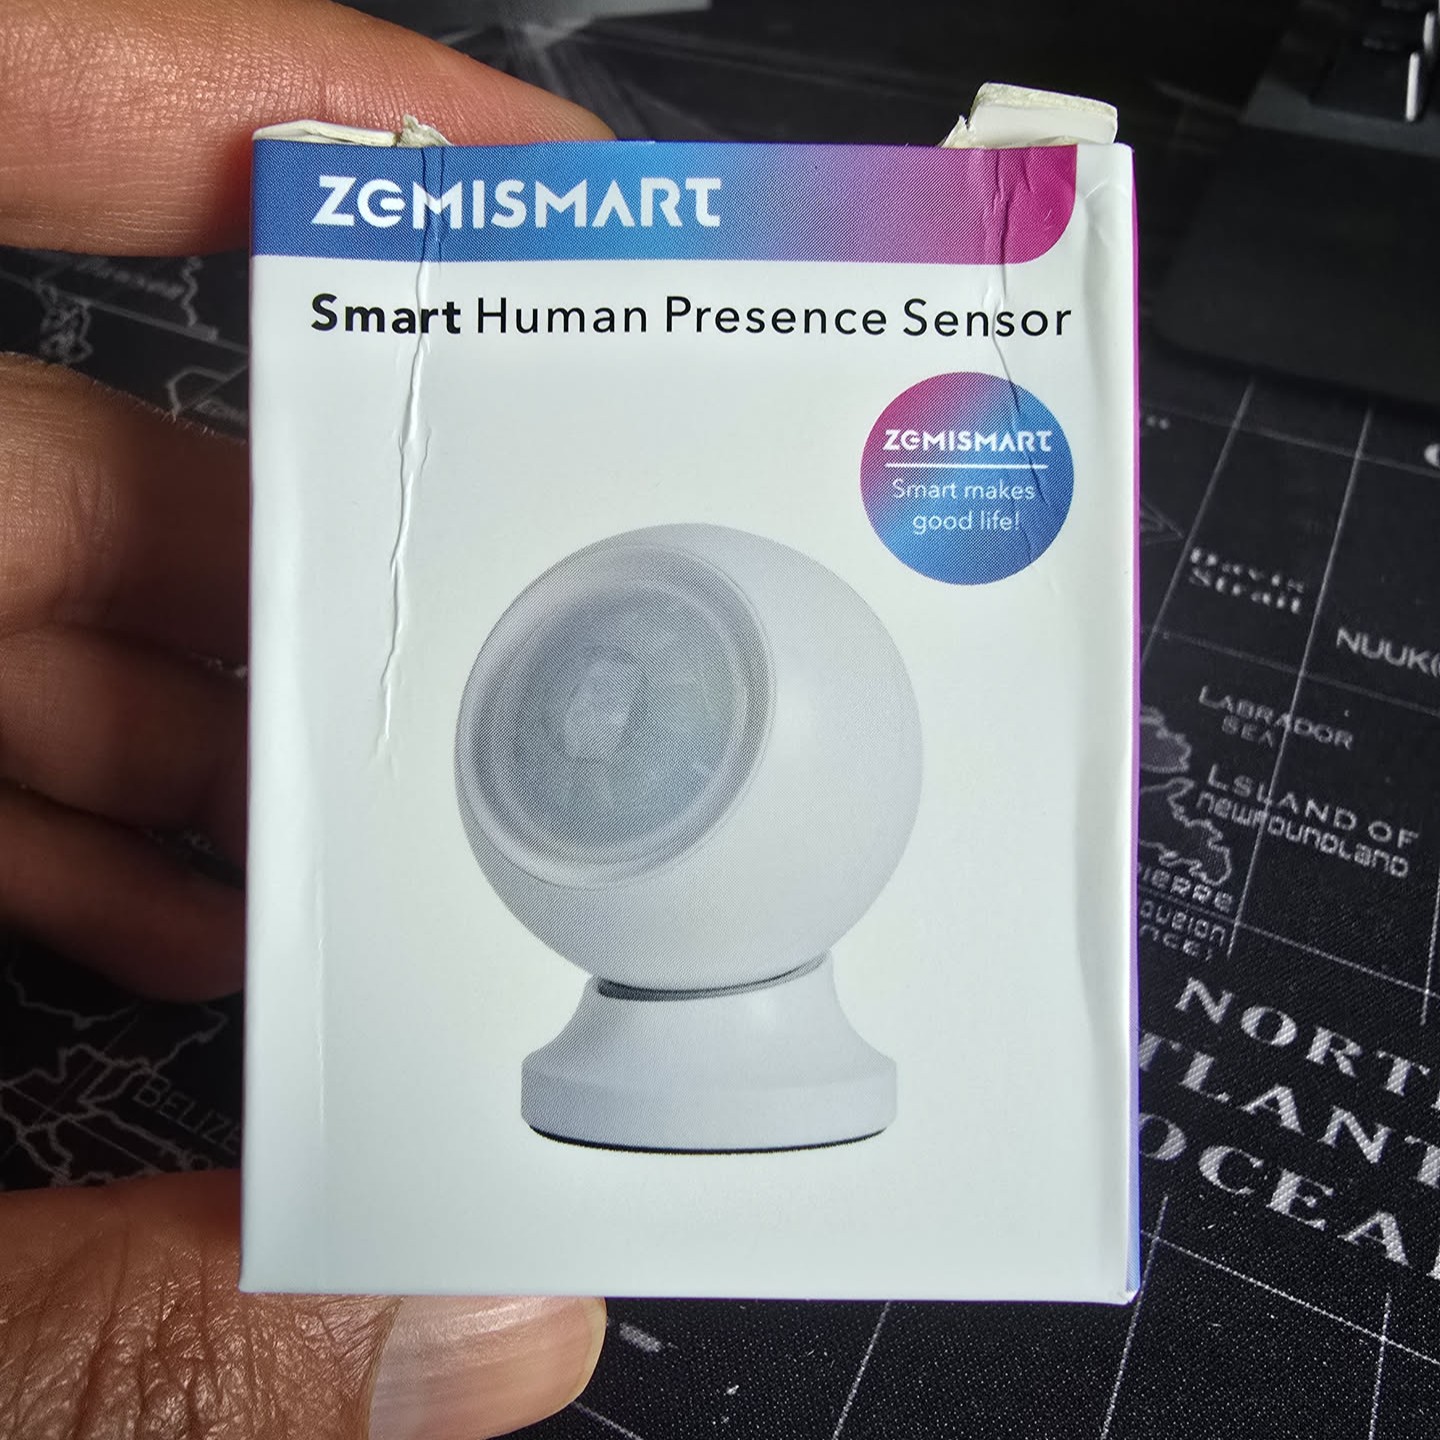
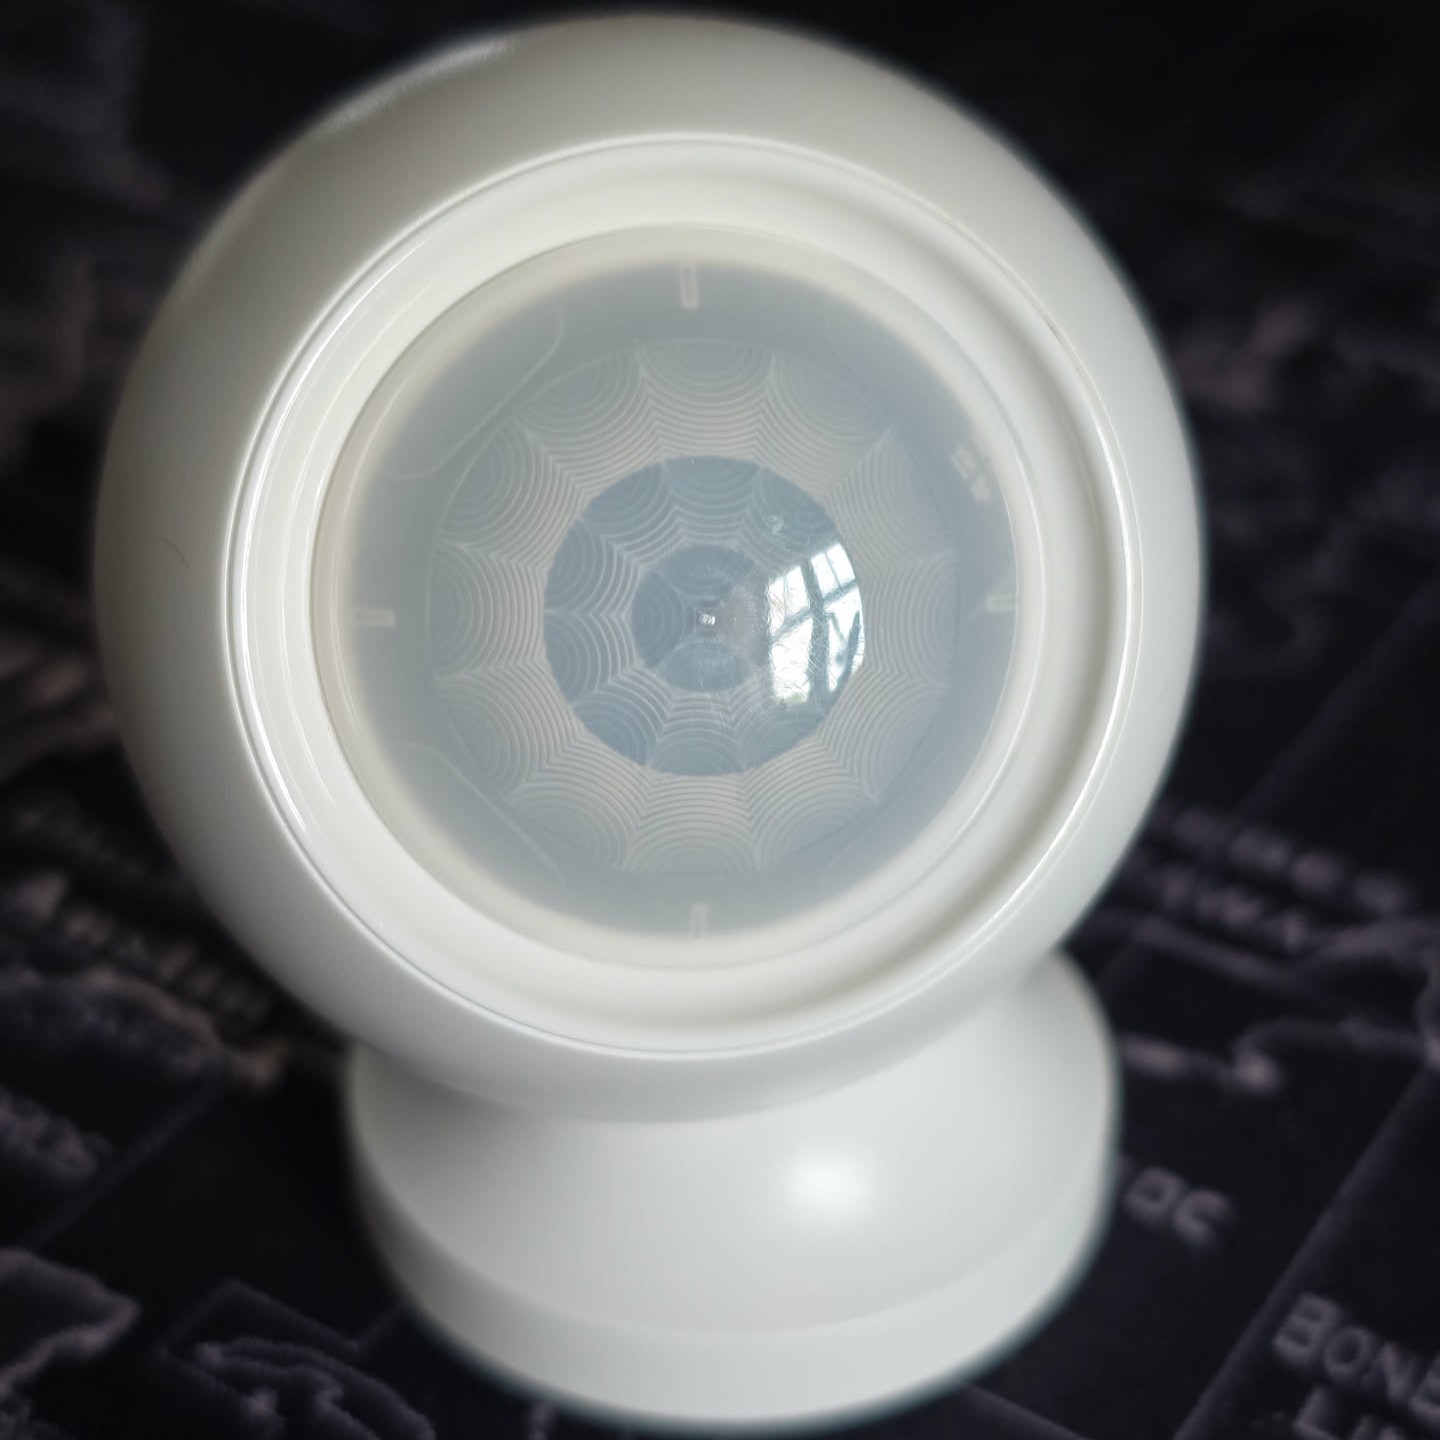
The device’s overall appearance is similar to motion sensors offered by other manufacturers. The primary presence-sensing component is a spherical unit measuring approximately 5 cm in diameter, with the magnetic base adding an additional 1 cm to its overall dimensions.
A notable aspect of the design is the plastic cover over the sensor. Zemismart has styled this element to resemble an eye, complete with detailed features that reinforce the likeness. While visually distinctive, this design choice may be somewhat striking, particularly for younger individuals, as evidenced by its reaction from my own five-year-old.
The primary advantage of this device is its function as a presence sensor, capable of detecting stationary objects as well as those in motion. While traditional motion sensors are well-suited for high-traffic areas such as hallways, presence sensors are more effective in environments where occupants may remain still for extended periods, such as seated workspaces.
Historically, devices of this type have required a wired power connection; however, this model operates entirely on a CR2450 battery, offering greater flexibility in installation and use.

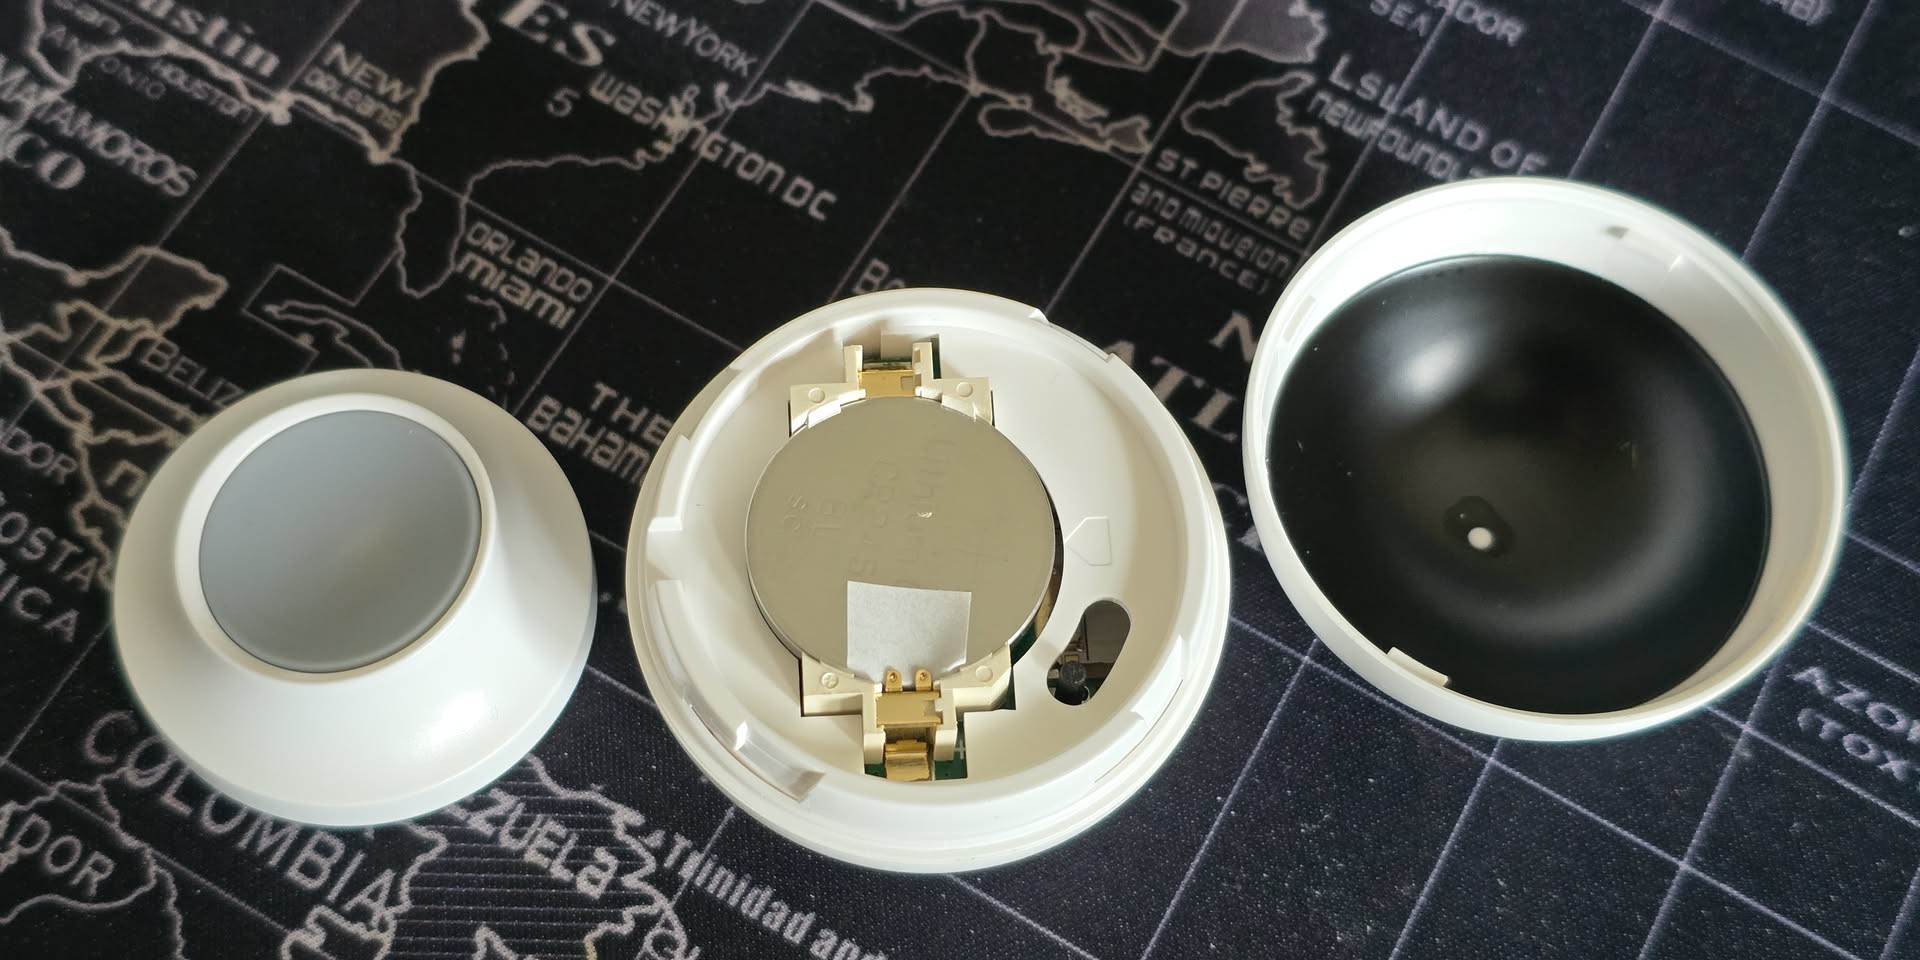
As mentioned earlier, the device is powered by a CR2450 battery. According to the manufacturer’s specifications, it incorporates a 24 GHz mmWave presence sensor with a maximum detection range of up to 5 metres.
The device is also rated to operate in temperatures below -10 °C. While this could make it suitable for certain outdoor applications, it is the start of summer where, I am so I am unable to check that but potentially it can be used outdoors if temps do not drop below that.
Using It:
Pairing
Zigbee2MQTT is my preferred Zigbee platform. As this is a new device, the initial setup requires removing the insulating tab that prevents the battery from making contact. To enter pairing mode, press the small black button located beside the battery. The button has an unusual design, moving both sideways and vertically, but you should feel a click when it is pressed correctly. Continue holding it until a red LED begins to flash.
Once Zigbee2MQTT is set to pairing mode, the device should connect almost immediately.
At this stage, no entities will appear in Zigbee2MQTT, which is expected, as the sensor is not yet officially supported. However, by adding the external converter available here and restarting Zigbee2MQTT, several new entities will become available. I am hoping that native support for this device will be added in a future update, so this part can be skipped.
Exposed Entities

The main entities are as in the screenshot above:
• Occupancy – Binary presence detection. Person detected (true) or not detected (false).
• Presence state – absence — no one detected. presence — person detected. sensor_close — detection zone is physically obstructed or sensor is disabled.
• Illuminance – Ambient light level (0–1300 lx).
• Detection range – Maximum radar detection distance (0–500 cm, 50 cm steps). Firmware limits radar distance to 500 cm (5 meters).
• Presence clear cooldown – Presence clear time before the sensor switches state to "absence". (2–60 s).
• Sensitivity preset – "high" — detects subtle movement and stationary presence. "medium" — balanced default. "low" — only strong or close-range activity triggers detection. "custom" — per-zone thresholds active (set automatically when any zone threshold is written).
You also get an auto calibration option but I was unable to get it to work. I assume this is the same kind of auto floor noise detection provided in the HLK chips like LD2410

NOTE: I was finally able to get this to work, you will need to set energy streaming on before starting the auto calibration, otherwise it will always remain at start. Make sure you turn it back off to avoid spamming your zigbee network.
There is also an option to turn off the red LED that is used to notify of detection and clearance. However during calibration, it is good to have this turned on.
In addition, the device exposes a range of other configurable tuning options. Users familiar with presence sensors from other manufacturers will likely recognise these settings. They are primarily intended to fine-tune sensitivity across different detection zones. Specifically, the device provides parameters labelled Zone[1–10] for presence detection, along with corresponding motion settings. These likely relate to thresholds for detecting both movement and stationary occupancy.
Achieving optimal performance may require some adjustment of these settings. Based on prior experience, sensitivity can vary between different hardware units, and it is reasonable to expect similar variability with this device. As such, some experimentation may be necessary to identify the most suitable configuration for your environment.
Each zone/gate has a range and most likely the zones that are outside your detection settings will be ignored. I am not sure why they dont get disabled to false automatically but you can do it manually. I didnt see any difference in testing by leaving it turned on.
I would also turn on the energy streaming option during manual calibration as it will show you the sensitivities of each zone/gate as you move in your area.
One key entity that wasn't available was the battery indicator which is a shame as I wanted to figure out how good the battery life can be. Hopefully this can be fixed with an updated converter.
Testing
I have been using this in my living room which is mostly a rectangle 3mx4m. The setup was as follows:
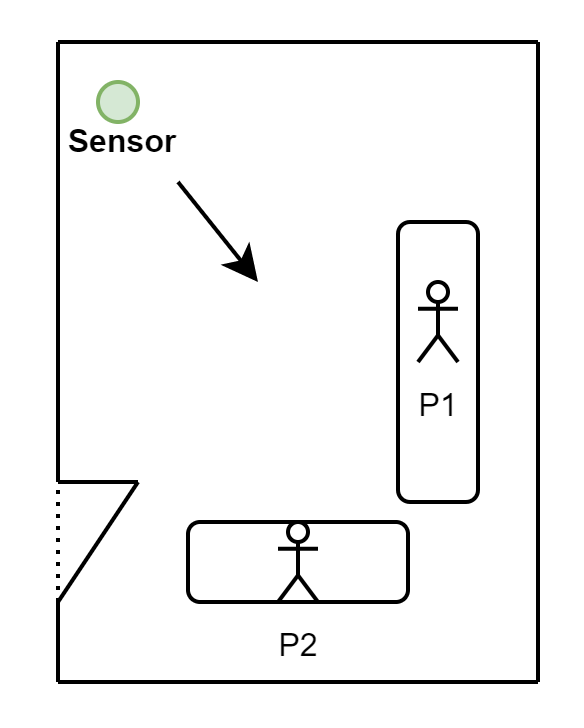
The sensor was placed about 1m high in one corner of the room.
Most of the settings were default, I only lowered the detection range to 2.5m.
Now I didnt face any trouble with detection. I did realise that the when P2 was closer to the door, the detection will fail. This is expected however as the vision of the sensor is limited to 110 degrees,
Now the next test I did was to lower the cooldown to 2s (lowest). This however caused some false positives if I lay on the sofa still while watching the TV. It seems sometimes the sensor detects but since the cool down is too low, it flips back and forth. I guess some more tuning might fix it but depending on your usecase I would recommend this to a higher value to remove false postives.
Conclusion:
At the time of writing, the device is priced at $23.39 excluding shipping and taxes. This is considerably higher than standard motion sensors, which can cost as little as $5 per unit. However, for applications where it is necessary to detect continuous occupancy—such as determining whether someone remains in a room—a conventional motion sensor is often insufficient.
In terms of alternatives, I have not identified a more cost-effective off-the-shelf option. While it is possible to build a custom solution using an ESP32 and an LD2410 sensor for under $10 in components, this approach typically requires a wired setup and lacks the compact, polished design of a commercial product. By contrast, the battery-powered nature of this device allows for more flexible placement in optimal positions for accurate detection. Depending on the intended use case, this added convenience and functionality may justify the higher price.
That said, there are some notable drawbacks. The absence of a battery level indicator is a significant limitation, and the lack of official Zigbee2MQTT support means that over-the-air (OTA) updates are not currently available. If these features are introduced in future updates, the device would become a much more compelling and straightforward recommendation for users with relevant requirements.