A lid switch tells you the lid was opened. The question I actually care about is is there still mail in
the box? If the postie has been and nobody’s emptied it, I want Home Assistant to know, and when someone
takes the post out it should go back to empty by itself.
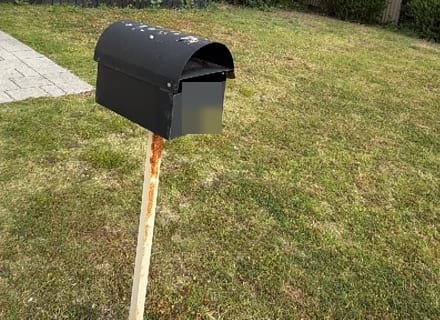
So this one looks for the mail itself. An infrared LED on the underside of the lid shines straight down, and
a light sensor under a printed false floor looks up at it. Anything lying on the floor blocks the beam.
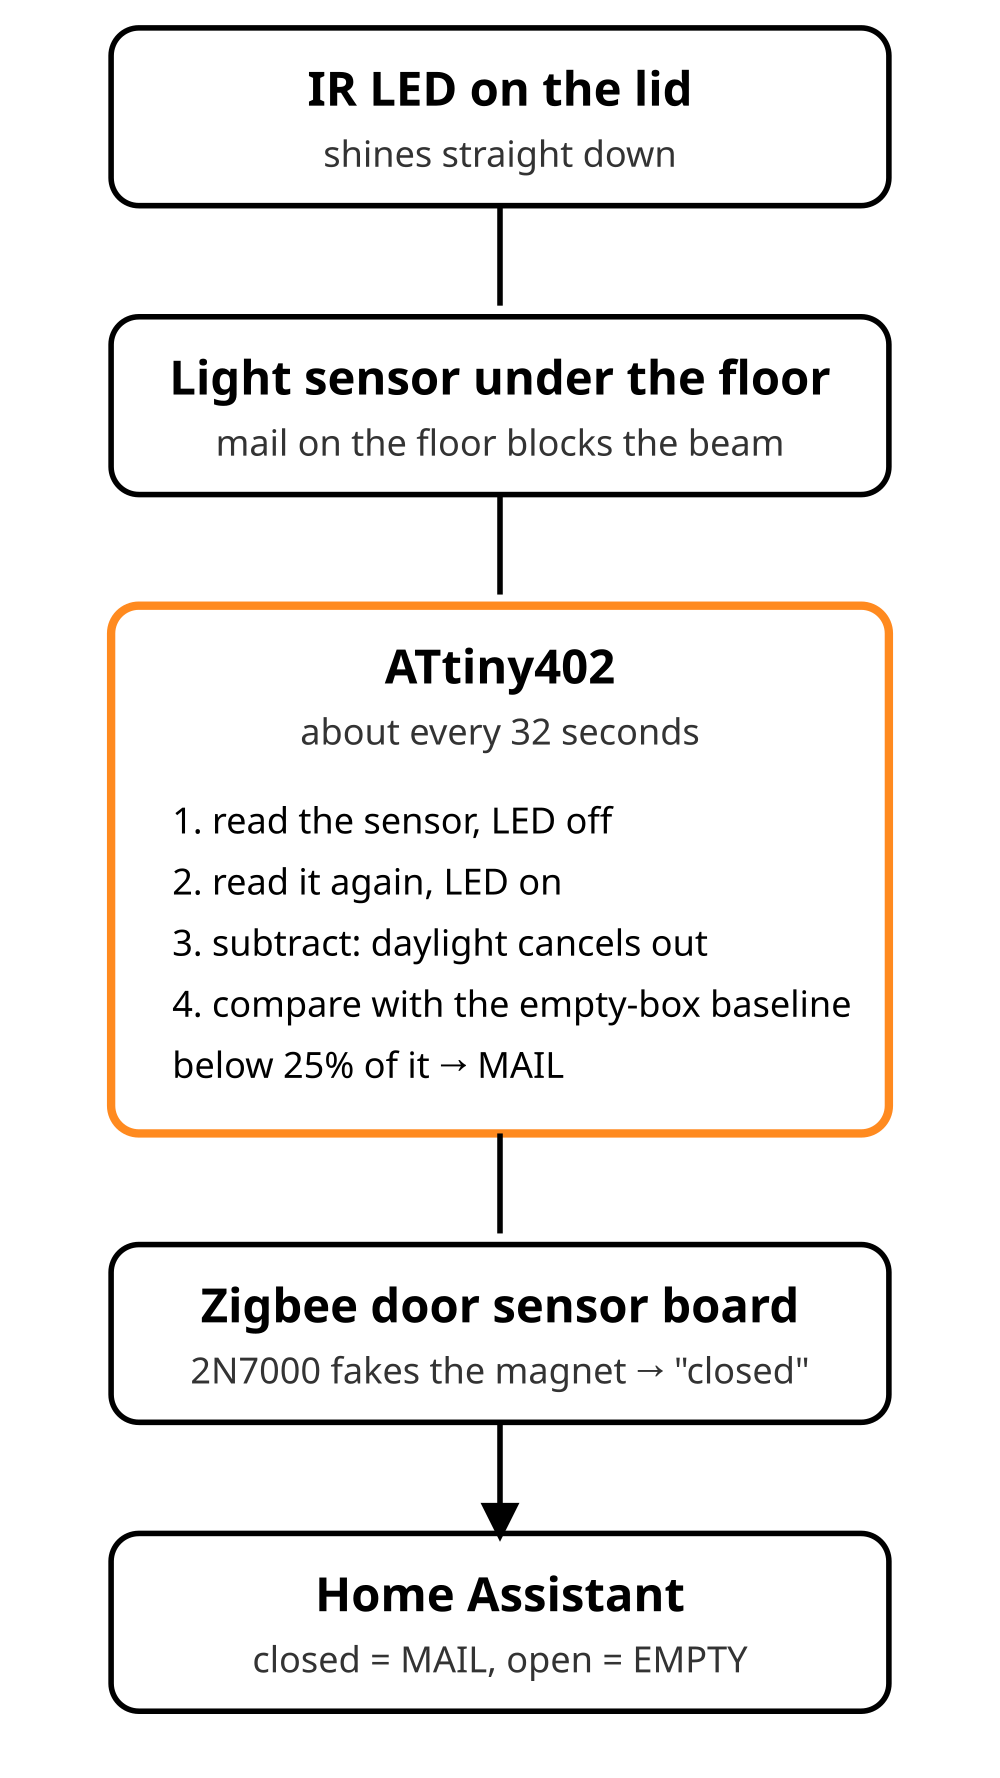
How it handles sunlight
A steel letterbox goes from pitch dark to full sun, so a plain “is the beam there?” check doesn’t work. About
every 32 seconds a little ATtiny402 reads the sensor with the LED off, then again with it on, and uses
the difference. Daylight shows up in both readings, so it cancels out. That difference is compared with a
baseline it learns from the empty box: if the difference falls below a quarter of the baseline it’s MAIL,
and it has to climb back above 40% before it says EMPTY again, so it doesn’t flicker.
Getting it into Home Assistant
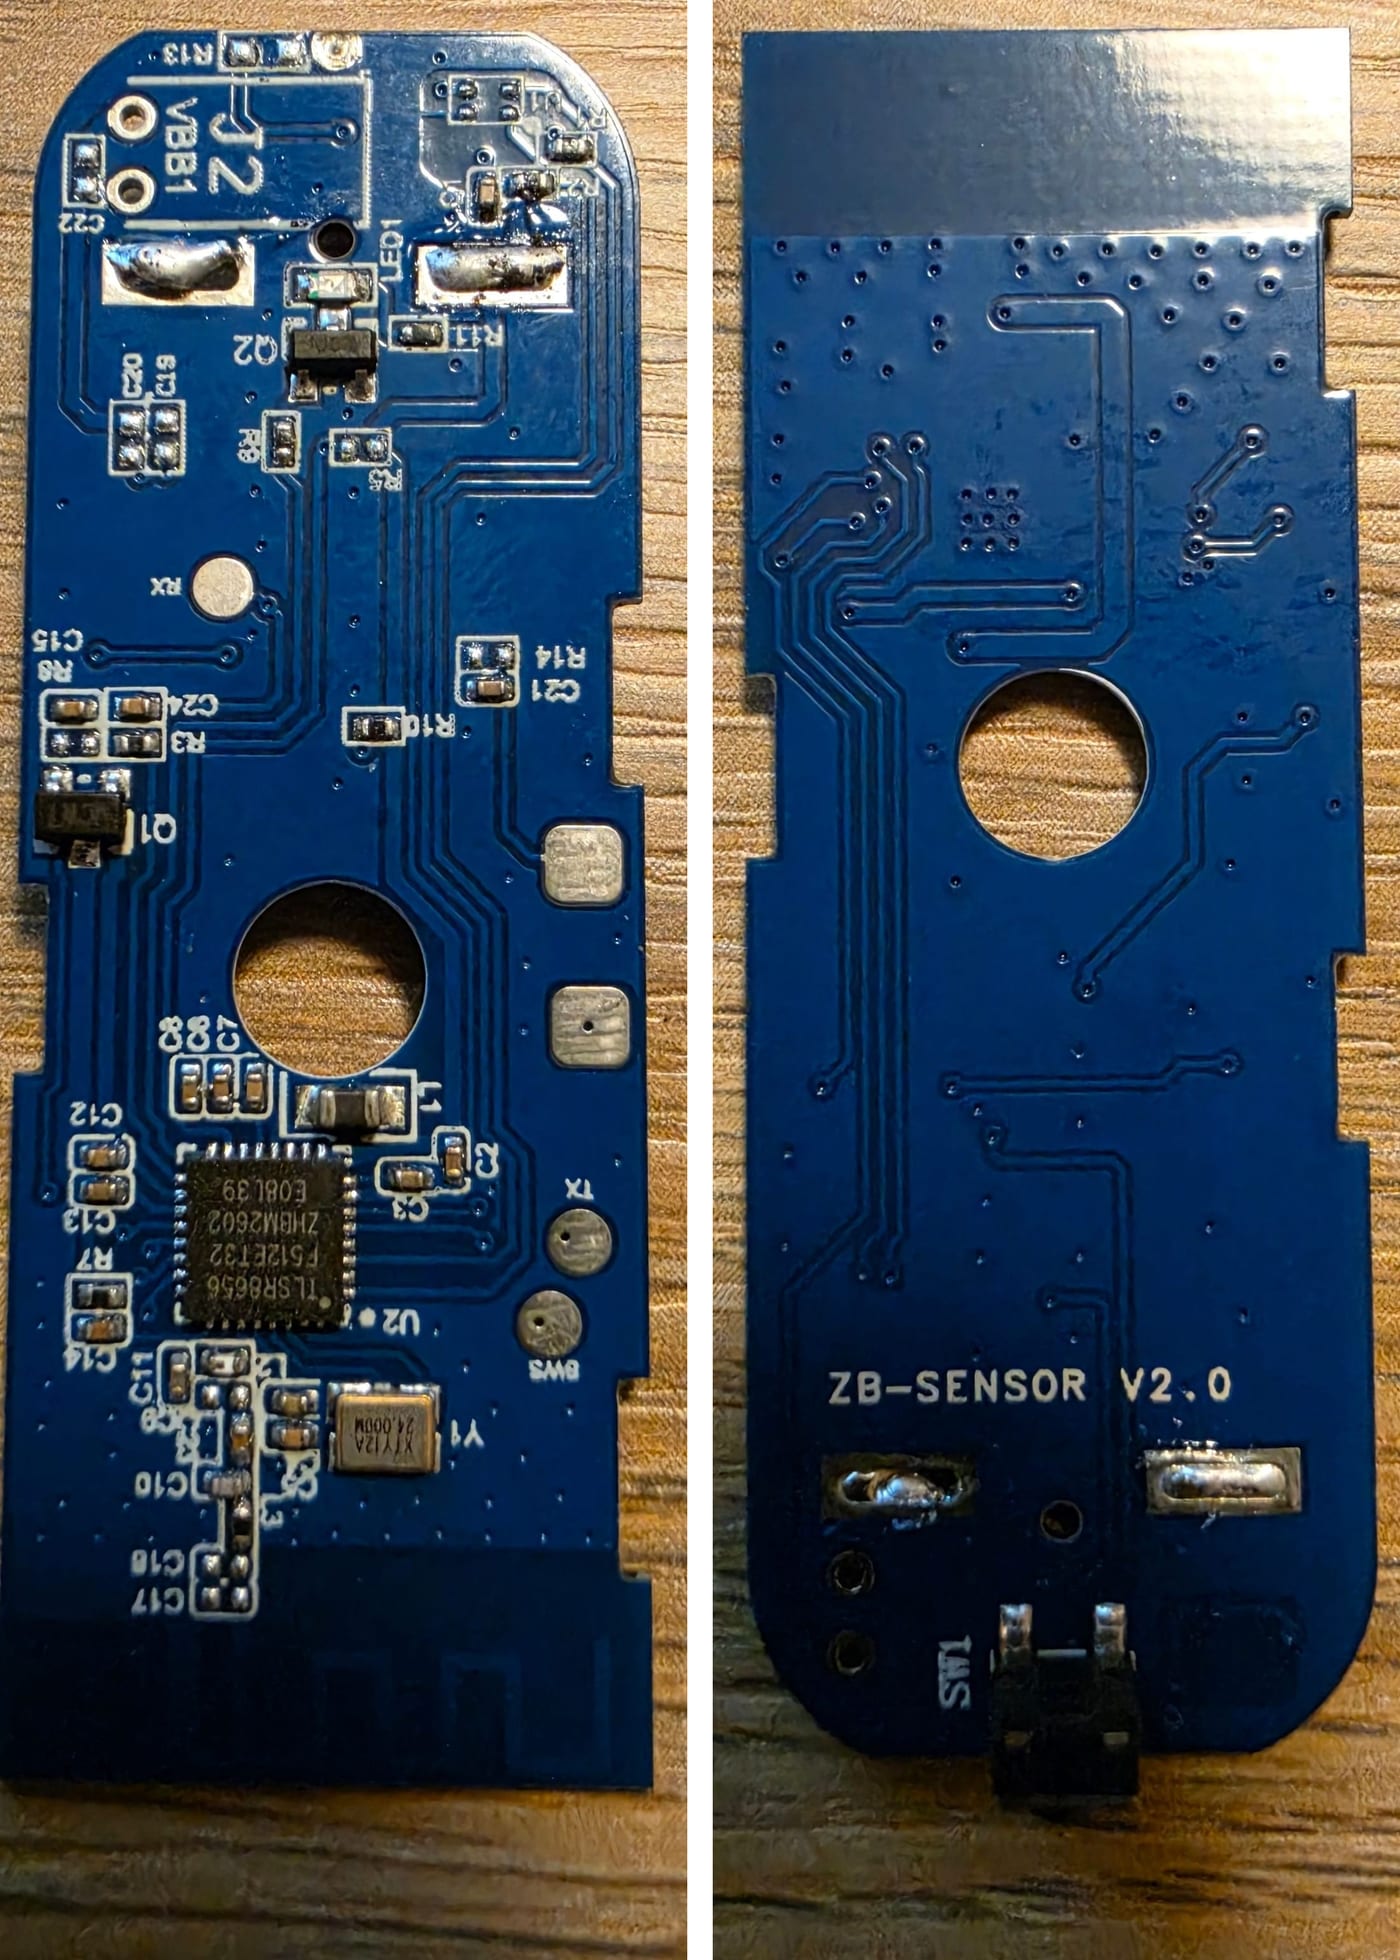
I didn’t want Wi-Fi in a steel box running off a battery, so it borrows the guts of a cheap Zigbee door
sensor. Inside those there’s a three-legged hall chip that pulls its output to ground when the magnet’s near.
A 2N7000 MOSFET from the ATtiny does the same job, so mail = “door closed”. It pairs in Zigbee2MQTT like any
other door sensor; you just read it backwards (or add a template binary sensor that inverts it).
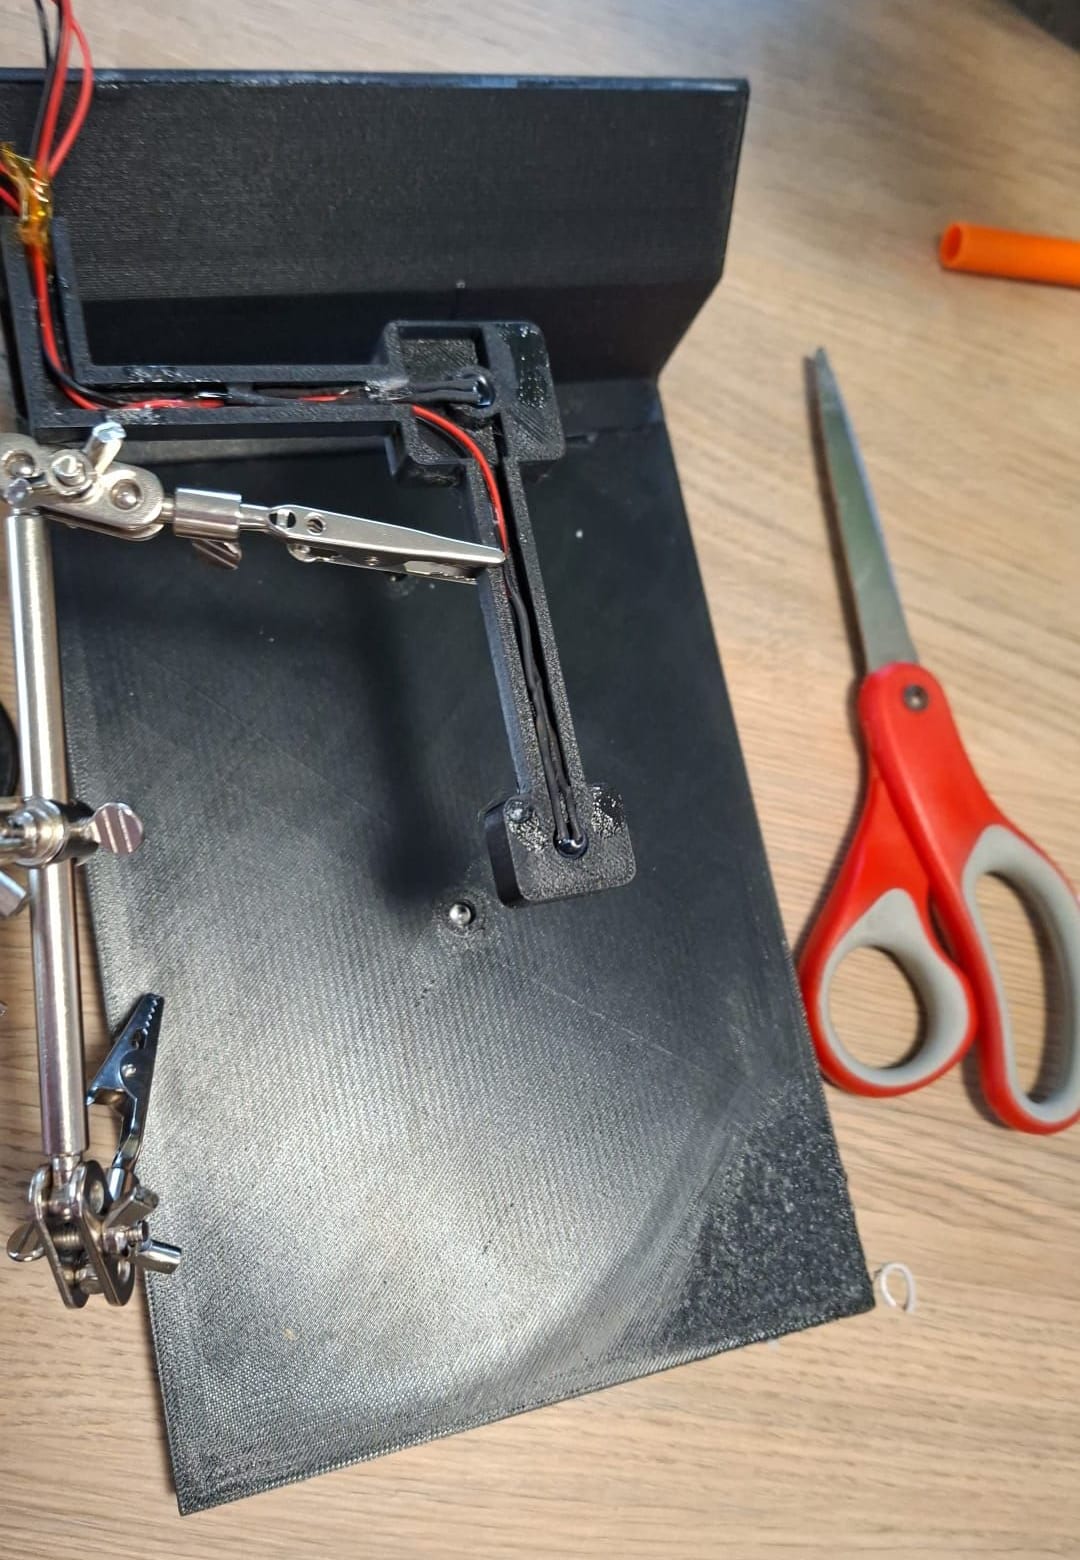
The electronics sit in a bay right under the slot, because that’s the only opening in the steel that’s
always there for the radio. Power is a single LiFePO4 cell: in a steel box in the sun all day, I wanted the
chemistry that’s far less likely to catch fire.
What went wrong (so you don’t have to)
- It read MAIL all day on its first install. I’d let it learn its baseline on the bench, then glued it
up. And with 22 kΩ load resistors the LED alone pulled the sensor almost to the bottom of its range, so in
daylight there was no room left to see a change. Dropping to 4.7 kΩ (a lower value is less
sensitive, which gives it headroom) and adding a re-baseline button sorted it. The chip has no spare
pin, so the button is a normally-closed switch in the battery lead: hold it, let go with the box empty and
the lid shut, and it re-learns. - My board has the 2N7000’s holes wrong. The silkscreen says G-D-S, the real part is S-G-D. Source
straight in, cross the gate and drain, sleeve one leg:

- “All checks passed” lied. The automated checks on the 3D model said everything fitted while a sensor
hole was cut from the wrong origin and a drip wall was printing as a floating bar. Cross-sections found
every problem; the 3D view didn’t. Slice your models and look. - One beam is enough. One of my two lid LEDs died. The firmware has a single-beam setting, and the centre
beam alone catches everything I’ve tried.
Files
The board Gerbers, the three STL prints (ASA, not PLA, for a letterbox in the sun), the build123d Python
that generates them so you can resize for your own box, and the firmware with its tests are all free to
download from the write-up:
Happy to answer questions, especially if your letterbox is a different shape.