Local TCP stream Data: Buffer (120) parse - Error index
LATEST UPDATE 2025-11-09
The model ASIN AQUA Net with Redox ORP and pH sensors. Dose Chlorine and pH minus.
I am using Node-Red while I am trying to find out all the data in the buffer and offsets. I am also creating my own functions with Alarms and Notifications via the app and e-mail when the unit indicates an Error. Later when I’ve tried out and tested my function I might move it over to an application.
Data is put through with TCP IN and OUT node. See other post in this thread.
Next up is to try and find a way to track the amount of chlorine and pH minus being used. Track when there is much used or how much is left in the canister.
Still have plenty to figure out. Here is how I got so far.
Remember that this is what I choose to create. There are plenty of other ways, maybe way better. However as I did struggle to get any further to figure out getting the data from the Aseko unit, my idea is to share what I know and you can create what you need, and do it your way.
MAIN FUNCTION NODE - BASIC VALUES
// Extract values from buffer array > payload
const buffer = msg.payload;

// Serial number (4 bytes at offset 0)
const serialNumber = buffer.readUInt32BE(0);

// Settings Pool Volume in cubic meter
const pool_volume = buffer.readUIntBE(93,1)

// Settings Target PH
const pH_target = buffer.readUIntBE(52,1) / 10.0;

// pH value (2 bytes at offset 14)
const pH = buffer.readUInt16BE(14) / 100.0;

// Settings Target Redox
const redox_target = buffer.readUIntBE(53, 1) * 10.0;

// Redox value (2 bytes at offset 16)
const redox = buffer.readUInt16BE(16);

// Water Temperature value (2 bytes at offset 25)
const temperature = buffer.readUInt16BE(25) / 10.0;

// ERRORS! See separated Function Node with Parse WaterFlow & Current Status

// Salinity (not this model)
const salinity = buffer.readUIntBE(20,1) / 10.0;

//  CURRENT TESTS
// Delay Startup ???
const delay_startup = buffer.readUIntBE(74,2);

// Delay ??
const delay = buffer.readUIntBE(30,2);

// Current Power ??
const current_power = buffer.readUIntBE(21,2) / 10.0;

// Payload
msg.payload = {
    serialNumber: serialNumber,
    poolVolume: pool_volume,
    pH_target: pH_target,
    pH: pH,
    redoxTarget : redox_target,
    redox: redox,
    temperature: temperature,
};

return msg;
SPECIFIC - WATER FLOW STATUS - FUNCTION NODE
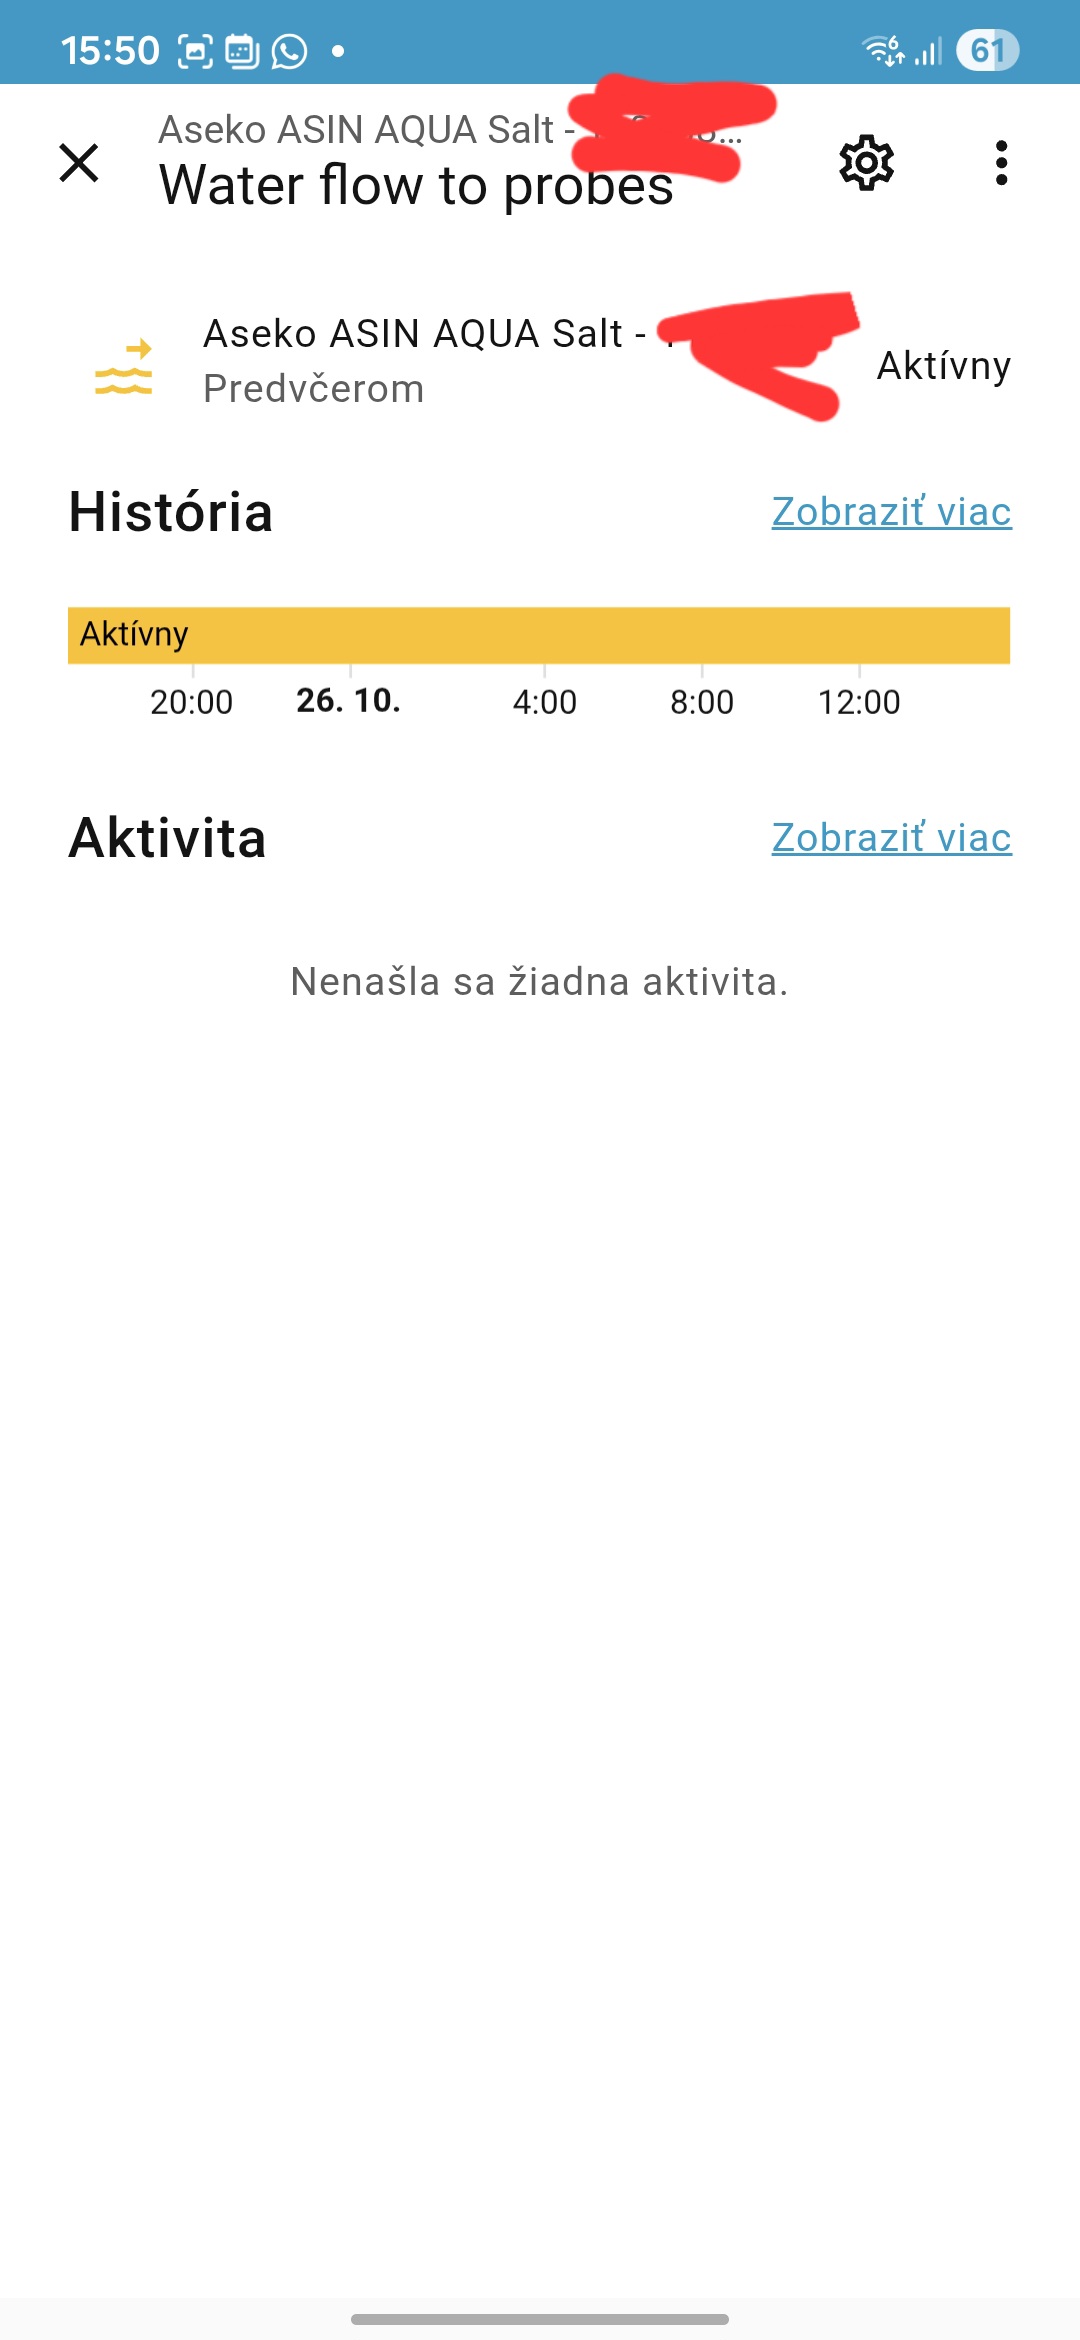
Indicates the waterflow status. Value for “ON” and “OFF”
I have a separate node for text (for translation to local language)
// Extract values from buffer array > payload
var buffer = msg.payload;

// Flow to sensors state value (1 byte at offset 28)
var flowState = buffer.readUInt8(28);

// Send ON/OFF status
if (flowState === 0xaa) {
    msg.payload = "ON";
} else if (flowState === 0x00) {
    msg.payload = "OFF";
} else {
    msg.payload = "Unknown";
}
return msg;
SPECIFIC - WATER FLOW STATUS Text English - FUNCTION NODE
To send for display and forward messages in notifications and more.
// Extract values from buffer array > payload
var buffer = msg.payload;

// Flow to sensors state value (1 byte at offset 28)
var flowState = buffer.readUInt8(28);

// Send text from status
if (flowState === 0xaa) {
    msg.payload = "Water flow to Probes OK";
} else if (flowState === 0x00) {
    msg.payload = "Water flow to Probes is OFF";
} else {
    msg.payload = "Unknown Water flow state. Check your unit.";
}
return msg;
SPECIFIC - STATUS WITH ERROR - FUNCTION NODE
The errors listed in the RS485 Protocol + own findings after debug
- 10 or 15 or 25 doses of pH without a change of pH value (Error 1)
- 30 doses of CL without a change of CL value (Error 2)
- no flow to the probes (Error 3)
- no ph dose too rapid value change (Error 8 based on the buffer data 0x08) Display text: ASIN AQUA stop regulations of pH for 2 hours for safety reasons
Error 4 is now the ‘other’ various, non documented errors. If it follow the RS485 it would be 0x04, but came up as 0x08. What other errors that I havent captured will fall into the various.
My Nodered Function Nodes
I have separated the nodes with Error status code and another with text. This is because it fits better into my flow and functions. You can merge the two and be creative with the payload.
STATUS CODE Add
2025-10-25 Update new finding in the TCP buffer: 0x08 ASIN AQUA stop regulations of pH for 2 hours for safety reasons
// Extract values from buffer array > payload
var buffer = msg.payload;

var stateRead = buffer.readUInt8(13);

// Create a message object to send the status
if(stateRead === 0x00) {
    var stateReadOut = 0; // No Error, all OK
} else if (stateRead === 0x01) {
    var stateReadOut = 1; // Error Code 1
} else if (stateRead === 0x02) {
    var stateReadOut = 2; // Eror Code 2
} else if (stateRead === 0x03) {
    var stateReadOut = 3; // Error Code 3
} else if (stateRead === 0x08) {
    var stateReadOut = 8; // Error Code 8
} else {
    var stateReadOut = 4; // If any other Error
};
// Payload with option to expand
msg.payload = {
    operationState : stateReadOut
};
STATUS CODE in TEXT
Change the string text to something that works with you. Or the local language.
// Extract values from buffer array > payload
var buffer = msg.payload;

var stateRead = buffer.readUInt8(13);

// Create a message object to send the status
if(stateRead === 0x00) {
    var stateReadOut = "Aseko operating status OK";
} else if (stateRead === 0x01) {
    var stateReadOut = "Error Larm! > pH > Too many doses, No value change.";
} else if (stateRead === 0x02) {
    var stateReadOut = "Error Larm! > ORP > 30 doses of Chlorine, No value change."
} else if (stateRead === 0x03) {
    var stateReadOut = "Error Larm! > Probe Readings > Too rapid value change.";
} else if (stateRead === 0x08) {
    var stateReadOut = "Error Larm! > Too rapid change of pH value. Will STOP regulatons of pH for 2 hours for safety reasons";
} else {
    var stateReadOut = "Error Larm! > Please check the Aseko display.";
};

// Payload with option to expand
msg.payload = {
    operationState : stateReadOut
};
ERROR CODE HANDLER VER 1 - ASIN AQUA NET!
UPDATE 2025-11-09
This function is dependent on the Status Code function.
I created this handler because there can be more than one State or Error code at the same time. As the buffer index data only delivers one State or Error at the time, the latest, it becomes more difficult to indicate two errors at the same time.
If the chlorine doses are failing and the Redox ORP value dont change the Status or what I call it, the Operation State will be 2, indicating Error-Code 2.
Normally that State or Error will be reset to 0 and the unit will run as normally.
However when Operation State is 2 and another error appears, example that the pH minus dosing fails, it will switch to 1 as the latest. Two error on the unit but only one status/error forwarded.
To be able to handle this I created a function to indicate what errors that are active to be able to show this in the UI and be able to forward a notification and e-mail informing you this is the case.
If there are two errors, the counter will say 2 and the state for every type of error will show true or false.
OUTPUT: The payload that looks like this:
errorStatus: object
  errorCount: 2
  stateErrorCode_0: false
  stateErrorCode_1: true
  stateErrorCode_2: true
  stateErrorCode_3: false
  stateErrorCode_8: false
  stateErrorCode_4: false
To create this I have made a function node with the following code:
NOTE! Change and modify the context storage to work with your setup.
// Multi-Error Tracking Logic v1.1
// Error Code Handler v 1.1 (t/f)

// NOTE Remember to modify the Context Store settings for flow/global to your setup.

// Read Operation State Code (Error code)
let incoming = msg?.payload?.operationState;
let currentCode = Number(incoming);
if (!Number.isFinite(currentCode)) return null; // invalid input

// Known codes (0 means reset/no error)
const KNOWN = new Set([1, 2, 3, 8, 4]);
if (currentCode !== 0 && !KNOWN.has(currentCode)) {
    // Treat any unknown non-zero as "unspecified" error 4
    currentCode = 4;
}

// Load persisted state (Context Store/file storage)
let prevCode = flow.get("01_FUNC_Operation.errorCode", "file");
let activeErrors = flow.get("01_FUNC_Operation.activeErrors", "file") || [];
if (prevCode === undefined) prevCode = 0;

// Timestamp for the latest change will be stored.
const unixNow = Date.now();

// Only act on changes
if (currentCode !== prevCode) {

    if (currentCode === 0) {
        // Rule A: Reset clears all
        activeErrors = [];
    } else if (prevCode === 0) {
        // Rule B: Start — add the first error
        if (!activeErrors.includes(currentCode)) activeErrors.push(currentCode);
    } else {
        // Rule C: Add/Clear between non-zero codes
        if (activeErrors.includes(currentCode)) {
            // We moved to a code that is already active -> previous code cleared
            if (prevCode !== 0 && activeErrors.includes(prevCode)) {
                activeErrors = activeErrors.filter(c => c !== prevCode);
            }
        } else {
            // New additional error becomes active
            activeErrors.push(currentCode);
        }
    }

    // Persist only when a change occurred (Context Store/file storage)
    flow.set("01_FUNC_Operation.errorCode", currentCode, "file");
    flow.set("01_FUNC_Operation.codeChanged", unixNow, "file");
    flow.set("01_FUNC_Operation.activeErrors", activeErrors, "file");
}

// Build msg.errorStatus map (booleans, not strings)
const CODES = [0, 1, 2, 3, 8, 4];
const status = {
    errorCount: activeErrors.length
};
for (const c of CODES) {
    status[`stateErrorCode_${c}`] = (c === 0)
        ? activeErrors.length === 0
        : activeErrors.includes(c);
}

// Payload
msg.errorStatus = status;

return msg;
I haven’t decided on how the errors will be shown in the UI yet.
It needs to be logic and easy to understand. The important part is that it will show all errors, not only the latest one.
The idea of handling the errors like this helps me with working on the notifications that will be sent to both the Home Assistant app and via e-mail.
… thats up next.
DOSING TRACKING VER 1 - ASIN AQUA NET!
UPDATE 2025-10-27
I have been analysing the buffers to find a patterns in values for when the pumps are running, dosing both Chlorine and pH-minus. (Specific for the Asin Aqua Net modell with Redox sensor). Both wont run at the same time however they can be triggered closely.
I have not figured out how to calculate the offset values to get the amount of liquid used. Instead I’ve decided to for another model as version 1.
Vers 1 - Read Timestamps and start/end triggers
I will start extracting when a pump will start and end, reg the timecode and then calculate the duration of the dosing event.
I will figure out by research from using the unit, how much liquid is suppose to be used in milliliter/second. Then calculate the usage for every event and the total usage per day, week, month… and create a function calculating how much of the canister with Chlorine or pH minus have been used knowing when to buy and exchange to a new load.
The function to register start, stop and calculate have been tested today and it works following the data registered on asekos cloud server. They are exactly the same.
As a first step I will share the Nodered Function node “Dosing Detector” that will show how to pick up on start & stop. Later I will share my flow and how you can create a function that will be useful for you, moving data into Home Assistant.
NODE 1: Dosing Detector - CL - Chlorine
// FUNC DOSING DETECTOR ON/OFF > CL Chlorine ---
// WILL ONLY SEND DATA ON A TRIGGER

const dosingChem = "Chlorine";

const DOSE_FLAG_OFFSET = 29;   // confirmed buffert offset for dosing flags
const CHLORINE_MASK = 0x02;    // 0x02 bitmask for chlorine dosing trigger

let lastDoseState = flow.get("10_func_doseSwitch_CL.lastDoseState", "file"); // get prev status from local flow storage
const doseByte = msg.payload.readUInt8(DOSE_FLAG_OFFSET);
const PumpState = (doseByte & CHLORINE_MASK) !== 0;
const inTimeUnix = msg.dateTime?.unix; // reciving date and time from a specific node with timestamp at the event

// Trigger only when state changes. false = OFF, true = ON
if (lastDoseState !== PumpState) {
    flow.set("10_func_doseSwitch_CL.lastDoseState", PumpState, "file"); // save data to local flow storage
    flow.set("10_func_doseSwitch_CL.lastDoseStateTime", inTimeUnix, "file"); // save data to local flow storage

    // Payload for this Trigger
    msg.doseSwitch = {
        time_local: msg.dateTime?.date_f || new Date().toLocaleString(),
        time_unix: msg.dateTime?.unix || Math.floor(Date.now()),
        pumpState: PumpState,
        dosingChem : dosingChem
    };

    // show status in UI
    node.status({
        fill: PumpState ? "green" : "gray",
        shape: PumpState ? "dot" : "ring",
        text: PumpState ? "DOSING CL ON" : "DOSING CL OFF"
    });

    return msg;
}

return null;
**NODE 2: Dosing Detector - pH minus **
// FUNC DOSING DETECTOR ON/OFF > Ph Minus ---
// WILL ONLY SEND DATA ON A TRIGGER

const dosingChem = "pHminus";

const DOSE_FLAG_OFFSET = 29;   // confirmed buffert offset for dosing flags
const PHMINUS_MASK = 0x01;    // 0x01 bitmask for pH-minus dosing

let lastDoseState = flow.get("10_func_doseSwitch_pHminus.lastDoseState", "file"); // get prev status from local flow storage
const doseByte = msg.payload.readUInt8(DOSE_FLAG_OFFSET);
const PumpState = (doseByte & PHMINUS_MASK) !== 0;
const inTimeUnix = msg.dateTime?.unix; // Get timestamp data from main time node

// trigger only when state changes
if (lastDoseState !== PumpState) {
    flow.set("10_func_doseSwitch_pHminus.lastDoseState", PumpState, "file"); // store data to local flow
    flow.set("10_func_doseSwitch_pHminus.lastDoseStateTime", inTimeUnix, "file"); // store data to local flow

    msg.doseSwitch = {
        time_local: msg.dateTime?.date_f || new Date().toLocaleString(),
        time_unix: msg.dateTime?.unix || Math.floor(Date.now()),
        pumpState: PumpState,
        dosingChem : dosingChem
    };

    // show status in UI
    node.status({
        fill: PumpState ? "blue" : "gray",
        shape: PumpState ? "dot" : "ring",
        text: PumpState ? "DOSING pH- ON" : "DOSING pH- OFF"
    });

    return msg;
}

return null;
That is what I have right now. Later I will share the flows on how to make use of this.
If anyone has a missing bit or have figured out useful data from other buffers please feel free to add your discovery.
Thanks to everyone helping out.
Tack