what would be a “good” size? For example this ebayer has
85x58x35mm, is it ok or too big/small?
EDIT:
Better say, which are the correct measures for the PIR+Light sensor?
I do not need temperature reading (why are all so obsessed in knowing the temoperature everywhere in the house, I do not understand)
I’m curious myself as the one thing Ben didn’t show was him stuffing all this into the enclosure. There are cutouts for the PIR and I would assume the one on the top is for the Light sensor, so I’m hoping that this will give me a guideline at least.
I will definitely follow up in this thread though.
I just measured my completed Bruh box with a pair of digital calipers (Yay, first excuse to use it!!) and I measured it on end - meaning the end where the PIR sensor would be sticking out
It’s roughly 35mm wide by 40mm high by 60mm deep so that should give you something to go on.
The smallest box in the image you linked to should fit it, but cutting through ABS could be a bit of a challenge. If you’re not going to use the thermal sensor you won’t have to do any cutting outside of the holes for the PIR and light sensor and a notch for the plug.
It’s a matter of personal taste I guess, I need the temp and humidity, especially in my office where I print. PLA - which is the filament I use to print the boxes with - is affected by humidity and temperature. I also have an enclosed porch that is not heated/cooled. It’s setup like a Japanese tearoom and serves as a great place to read or chill and watch TV. I like to keep an eye on the conditions in there.
Basically I want to mimic an Ecobee and sensors. The house I’m currently in has separate cooling and heating. The heating is two zone and has two thermostats so a bit more efficient than the cooling, which is for the whole house but the only thermostat is in the bedroom hallway which could be much cooler or warmer than say the family room downstairs. So, eventually I want to have a temp sensor in each room and then have HA average the temp of all rooms and make thermostat adjustments based on that temp.
Or you could have the BRUH sensor’s motion detectors tell HASS to regulate the heat/AC to an average temp of the last two rooms that had motion in them (that’s my current plan)
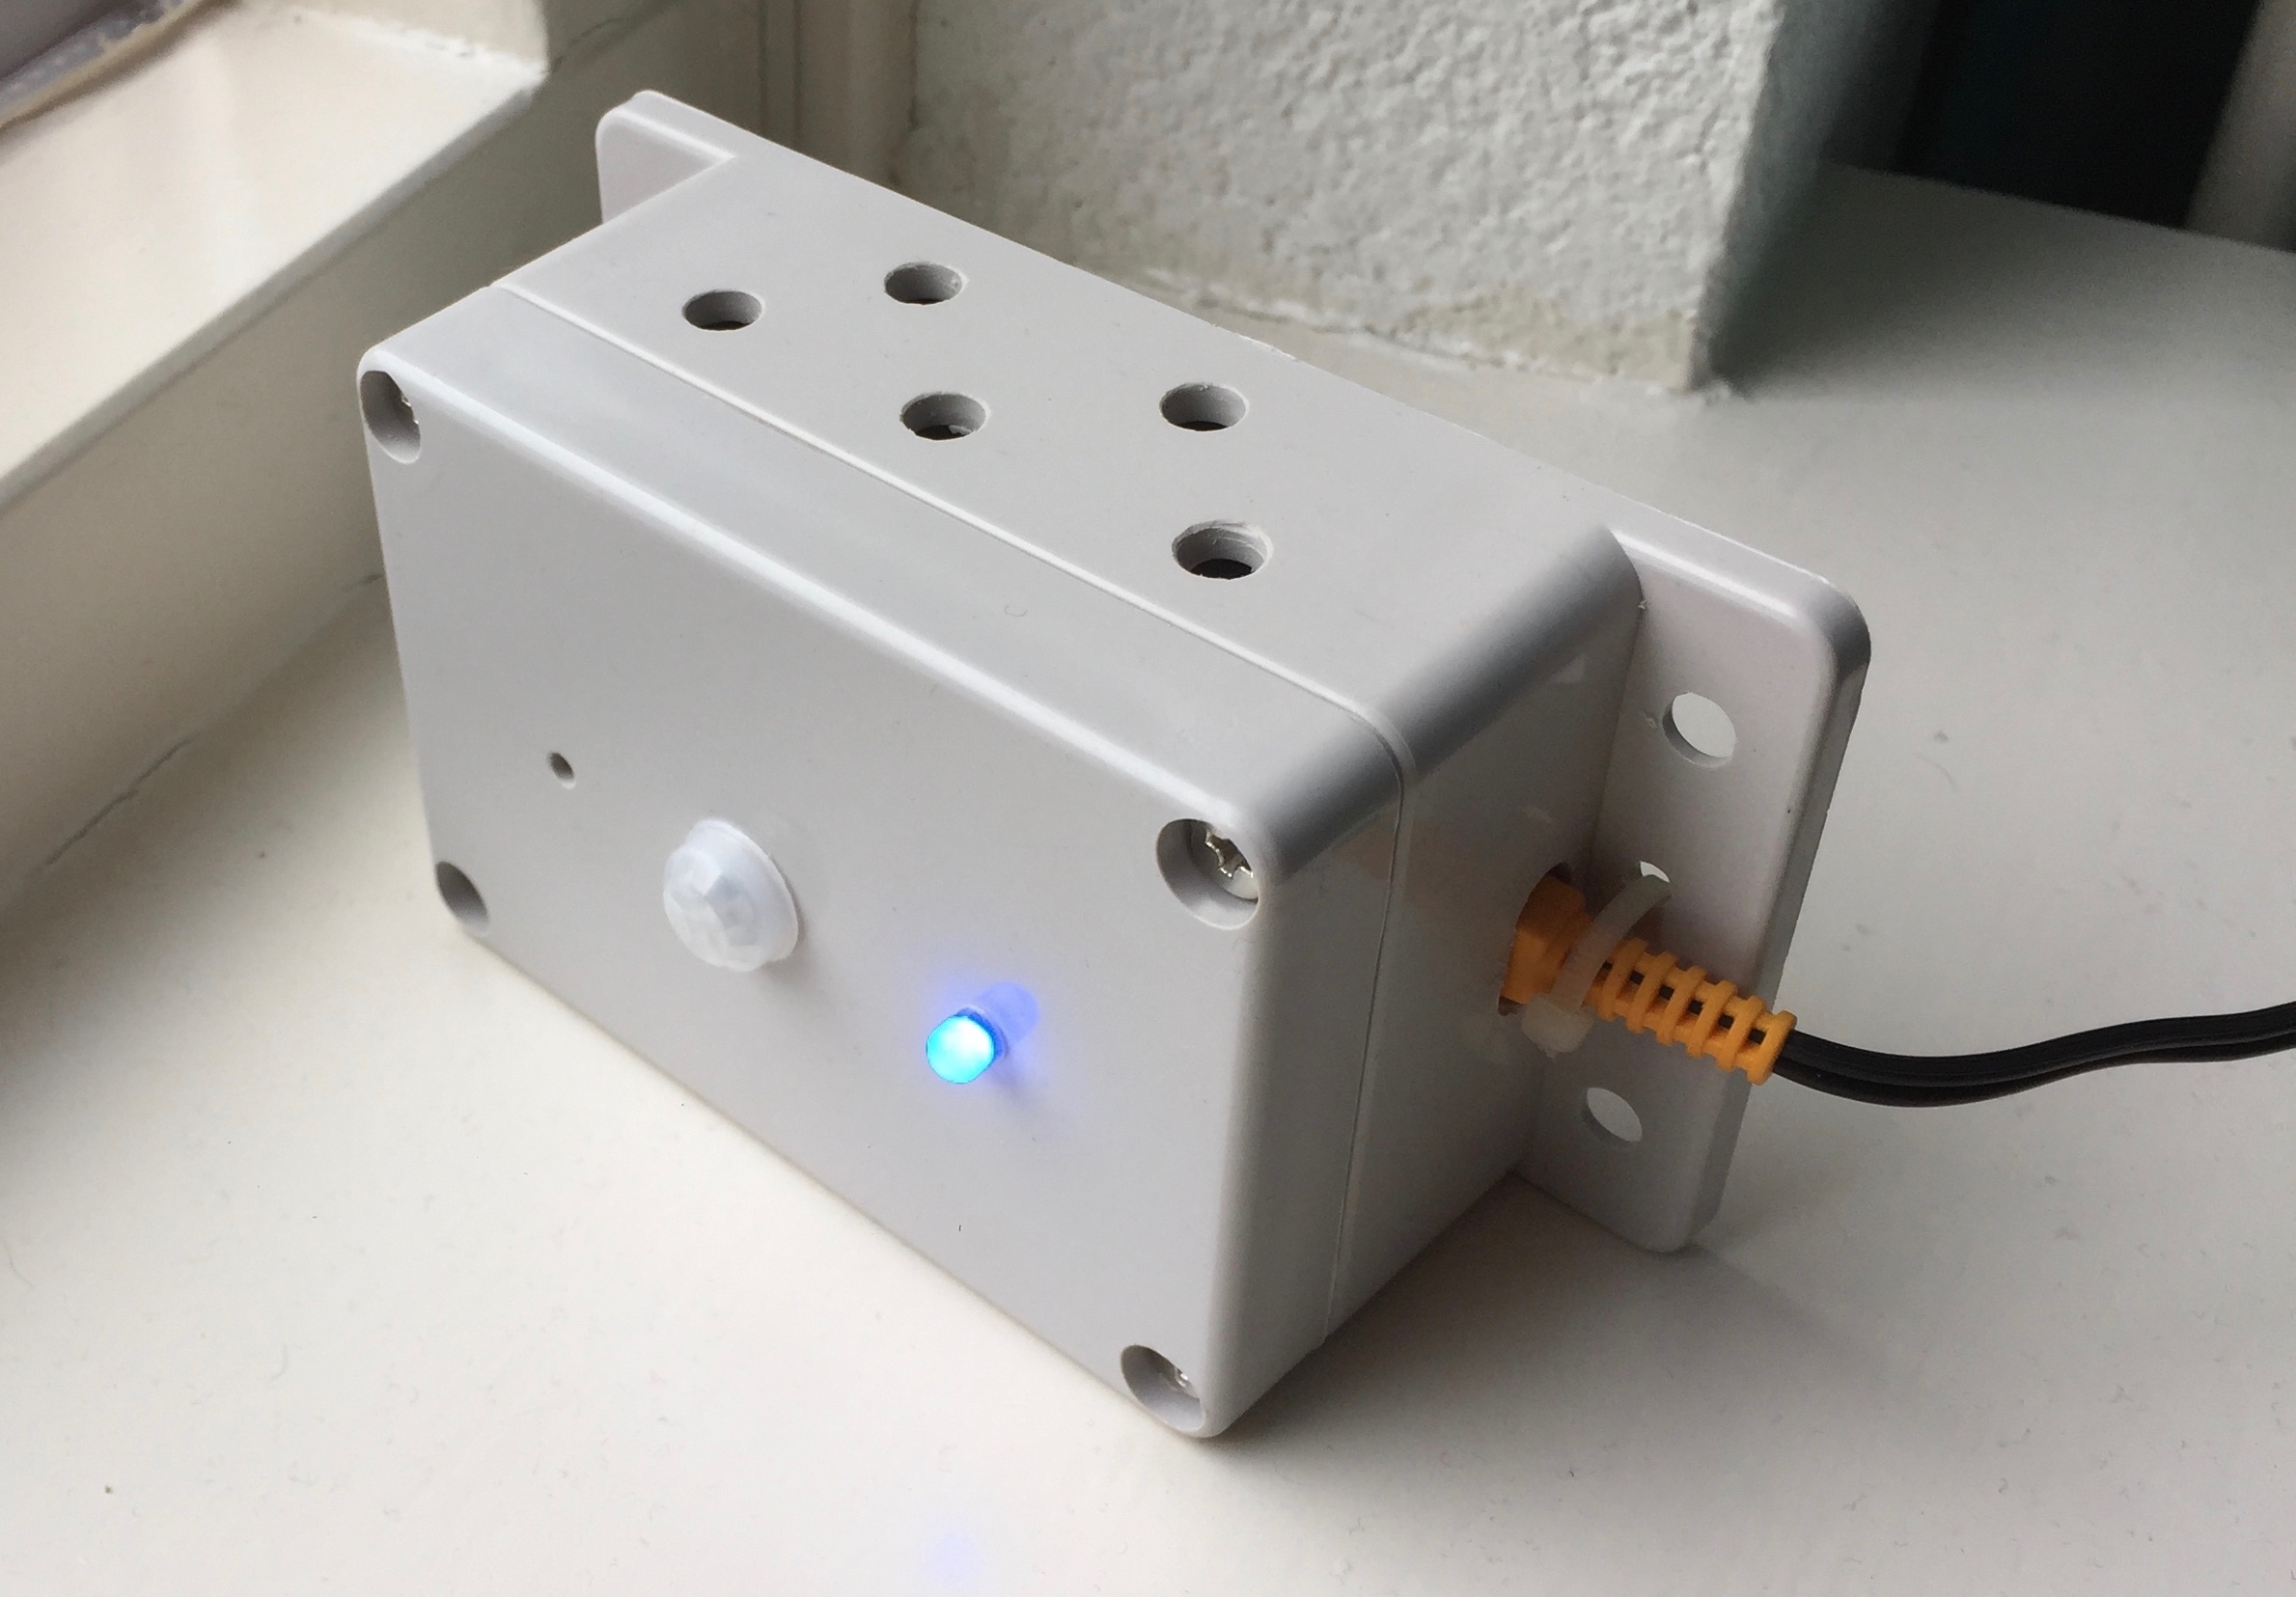
I followed the guide to create a simple motion PIR with LED. Covered it in foil to stop the larger HC-SR501 PIR from activating in the night when there’s no movement. Bit of a makeshift casing using brown tape and cardboard but it does the job and works great with Home Assistant. Only trouble I seem to have is that the LED never turns off, it always has the blue light on dimly.
Overall cost something like £4 as I already had a NodeMCU lying about. Did look into getting a case 3D printed at a local shop however it would have cost £20 for the .stl file that Bruh Automation provided.
I too am using this as an excuse to get a 3D printer. What made you decide to go with the one that you got and do you like it? I am looking to spend under 1k. Preferably under $600 if I can.
Tons of positive reviews on YouTube and elsewhere.
A very active community of users and resources
Simplicity; fully assembled and ready to go out of the box (I did have to tweak the level of the build plate slightly, but you have to do that with any 3D printer
Cost - about $250 USD, though you can find it even cheaper if you wait/search
Heated build plate
A large number of YouTube vids on unboxing, setup and first prints so there was a wealth of info to watch while I was waiting for delivery. By the time it arrived, I was pretty ready to go and knew what to expect.
Build quality was great and it was packed really well.
Finally; low cost of entry if it didn’t work out. But instead, I find myself really into it and am already looking for a printer with a larger build volume for the near future. I will keep the MP Select Mini though - other printer will just be for larger builds.
I’m really pleased with it and would suggest it highly for anyone new to 3D printers.