Controlling a CPU/case fan with GPIO PWM based on CPU temperature

Before you read this guide, please note that GPIO support was dropped from HA since release 2022.4. The solution still works, but needs an add-on installed through HACS. Try at your own risk, as there is always a chance of breaking HA when installing non-supported add-ons.

Last update 2022-07-17. Big thanks to everyone who contributed with comments and solutions to issues that occurred after GPIO support was dropped

This guide is for those that are running Home Assistant OS on a Raspberry (or similar platform) with a case that includes a PWM-controlled CPU fan and where that fan is normally controlled by installing some software. I am using a Geekworm NASPI case, which has a X-C1 power management board that controls the fan using GPIO pin 18, which seems to be more or less standard also for other case fans.

If you are running HA Core, this guide is not for you, as you can simply install the software needed to control the fan speed.

Some parts of this guide is information I found in this thread:

1. Install pigpio add-on

There is an excellent collection of add-ons called “Poeschl Home Assistant Add-ons”, one of them is pigpio which will let you send PWM data on a GPIO pin.

To install, open the “Add-ons, Backups and Supervisor” from the Configuration and then click on ADD-ON STORE button. Now you need to add the repository by clicking the menu button (the tree-dots button in the top right corner) and add the following URL:

https://github.com/Poeschl/Hassio-Addons

Then find the pigpio add-in and install it. Make sure it’s set to start on boot. When it’s installed, start it.

2. Install GPIO PWM add-on

Since version 2022.4 of Home Assistant the support for GPIO has been removed. You will therefor need to install a custom add-on to be able to control the fan speed using PWM, using the link below. This add-on can be installed manually, or via HACS.

3. Add CPU temp sensor and PWM light devices

This step requires changing the file configuration.yaml. If you don’t know how to do this, refer to this guide:
https://www.home-assistant.io/getting-started/configuration/

Add the following lines to the configuration:

# RPi fan control
sensor:
  - platform: command_line
    name: CPU Temperature
    command: "cat /sys/class/thermal/thermal_zone0/temp"
    unit_of_measurement: "°C"
    value_template: '{{ value | multiply(0.001) | round(1) }}'
    scan_interval: 10
light:
  - platform: rpi_gpio_pwm
    leds:
      - name: RPI Cooling Fan
        pin: 18

As you will later also need to add a Python script, you will also need one more entry to enable Python scripts:

# Enable python scripts
python_script:

Save your changes and reload the configuration. You an already now control the fan and monitor the CPU temperature. Simply add an “Entities” card with the CPU temperature sensor (sensor.cpu_temperature) and the fan control (light.rpi_cooling_fan).

Turning on the fan will set it to full speed, but if you click the CPU fan entity, you can now adjust the “brightness” (the pigpio add-on was designed to control LED’s…) but in fact this now controls the fan speed!

You should play around with the best value to keep your CPU at a comfortable temperature. In my case I set this to 50%, which keeps the CPU at around 40 degrees C.

4. Create Python script to set fan speed

To be able to set the fan speed from automations, I use a simple Python script. The script should be created in folder “python-scripts”, and in my setup I saved it as “rpi_fan_pwm.py”:

fan_speed = data.get("fan_speed")
service_data = {"entity_id": "light.rpi_cooling_fan", "brightness": fan_speed}
hass.services.call("light", "turn_on", service_data)

Make sure you either restart HA, or reload Python scripts. You should then test the script from the Developer Tools:

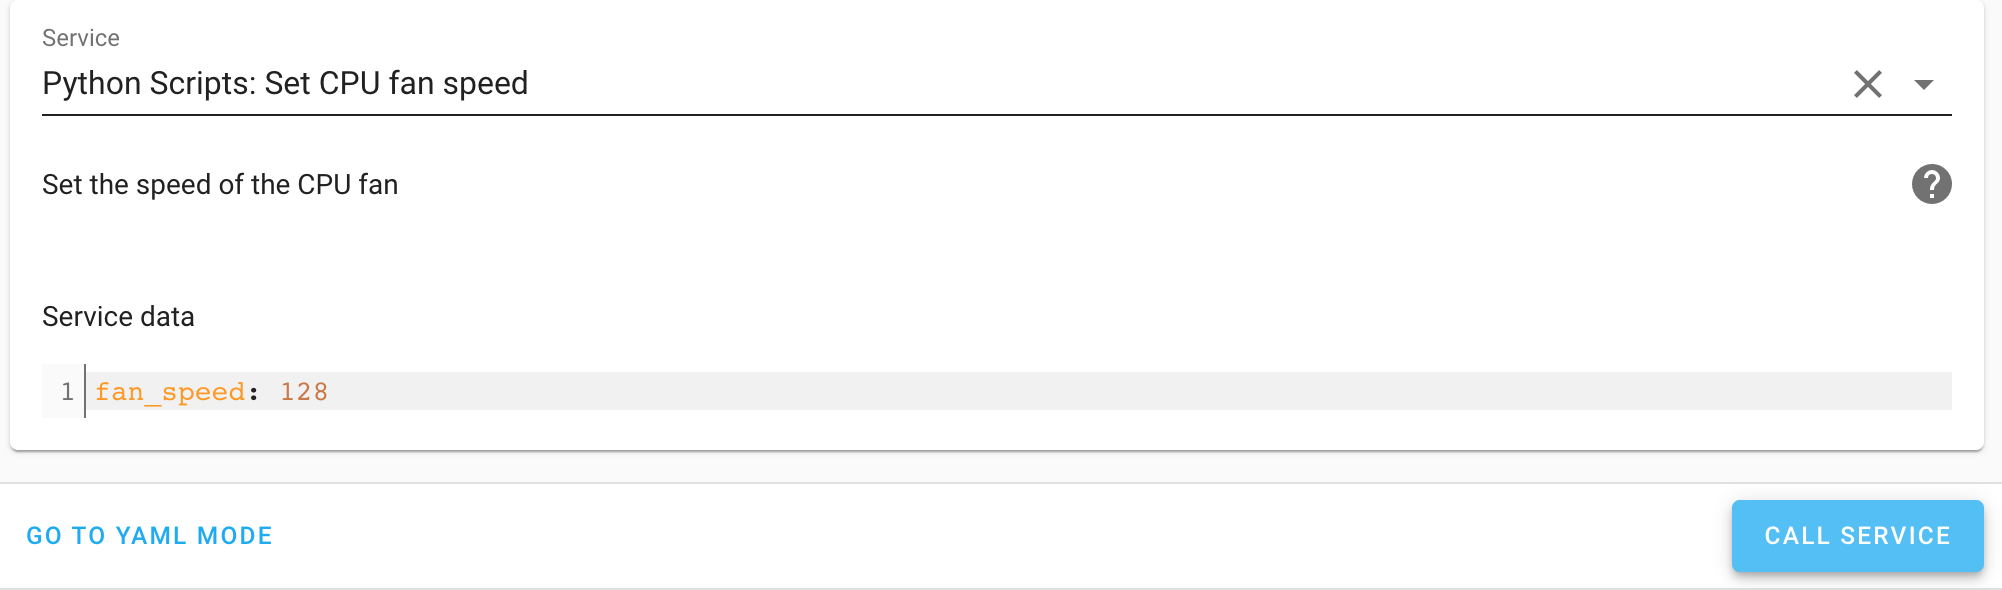
Please note that parameter fan_speed is a value between 0 and 255, where 255 = full speed. Check that the fan speed is set accordingly.

5. Automations

You can now control the fan with some simple automations. This is how I control mine.

Set fan speed on startup:

alias: Set CPU fan speed on startup
description: ''
trigger:
  - platform: homeassistant
    event: start
condition: []
action:
  - service: python_script.rpi_fan_pwm
    data:
      fan_speed: 128
mode: single

Set fan to high speed:

alias: CPU fan high speed
description: Turn up fan speed when CPU is over 55 degrees
trigger:
  - platform: numeric_state
    entity_id: sensor.cpu_temperature
    above: '55'
condition: []
action:
  - service: python_script.rpi_fan_pwm
    data:
      fan_speed: 255
mode: single

Set fan back to normal speed:

alias: CPU fan normal speed
description: Set CPU fan to normal speed when temp is below 40
trigger:
  - platform: numeric_state
    entity_id: sensor.cpu_temperature
    below: '38'
condition: []
action:
  - service: python_script.rpi_fan_pwm
    data:
      fan_speed: 128
mode: single
8 Likes

Thank you for this. I was halfway through setting up my Pi and hard drive in this case and realized I may not be able to control the fan in Home Assistant OS.

I’ve got it working, but I’m wondering if you were able to get the power button working to shut it down safely. I’m assuming it doesn’t work out of the box and needs something, but I’m not sure what do. Did you tackle that task also?

I never bothered with the power button, was thinking I would return to this later on but now when GPIO control is deprecated and the pigpio add-on will stop working if we upgrade to the 2022.4 release, I guess this whole little project was a waste of time. There are ways to continue using GPIO by adding a custom integration (via HACS), but this solution does not support PWM and therefor not useful for controlling the CPU fan.

I ordered a cheap PWN fan controller on AliExpress and will wait with the upgrade until I installed it, hopw it will fit inside the case :slight_smile:

I don’t follow. I’m on 2022.4.5 and used your instructions to get the fan control working. I used this integration via HACS. It works, is it not meant to?

I also got some stuff from the linked thread (where I set up a climate entity, but don’t really use that).

Interesting, but is your fan PWM-controlled? As far as I can tell, that specific GPIO integration does not support PWM. This would mean that the speed of the fan cannot be controlled, only be turned on or off, and this is why I never even tested it.

If you managed to also control the speed with this integration, could you share the details?

I have pigpio installed, as well as the integration i linked to, and added this to my config.

light:
  - platform: rpi_gpio_pwm
    leds:
      - name: RPI Cooling Fan
        driver: gpio
        pins: [18]
        type: simple

Honestly, I’m just good enough to follow directions and maybe find a replacement if something is missing, but otherwise i’m kind of a greenhorn.I didn’t even know what PWM is until this afternoon. I just saw it thrown around a lot in these contexts.

To answer your question, i am able to control the speed… 100% is super loud, 33% is barely audible, below that i’m not sure if the fan is even running.

1 Like

Correction,

I have two integrations installed, the one linked to, which has a platform name of ‘rpi_gpio’ and this one. that one supports PWM

1 Like

Thanks for posting this info, you saved me some searching and work! So it’s that second integration that makes it possible to control the fan speed. That is very good news, it means this solution is still valid.

I will update my original post to reflect these changes, when time permits.

Seems it’s broken with the latest core update 2022.6 :slightly_frowning_face:

1 Like

It sure is! :lying_face:

I reverted to a backup and looked in the log (https://[home-assistant]/config/logs):

The Raspberry Pi GPIO integration is deprecated and will be removed in Home Assistant Core 2022.6; this integration is removed under Architectural Decision Record 0019, more information can be found here: architecture/adr/0019-GPIO.md at d1639d2c8b1ac697aa95d2177d1db2cac0cf2f97 ¡ home-assistant/architecture ¡ GitHub

Unfortunately I do not have a solution for it. Anyone else?

Yes - GitHub - RedMeKool/HA-Raspberry-pi-GPIO-PWM: Home Assistant component rpi_gpio_pwm as a custom component add this custom repository in HACS and then install the PWM integration and you are supposed to be good to go

1 Like

Wish it was that easy, but it doesn’t seem to work with it

They just released a new fixed version that should work. What doesn’t work for you?

I haven’t tried earlier,before they updated it, but now, after the update fix, once I put the test light code in config to control the fan on my raspberry, for some reason it’s not allowing me to restart or check config. Gonna dig in later into it to see what’s up and what’s blocking it

It works now with the latest update from today. ( forgot to delete one # :rofl: )

1 Like

I just tried to configure this in the latest HomeAssistant but It failed.

To recap my steps:

  1. Installed the HA OS addon from GitHub - Poeschl/Hassio-Addons: The repository for my Home Assistant Supervisor Add-ons.
  2. Check that it boots correctly and starts on boot.
  3. Added the repo GitHub - RedMeKool/HA-Raspberry-pi-GPIO-PWM: Home Assistant component rpi_gpio_pwm as a custom component to HACS and installed the integration. Rebooted.
  4. Added this to my lights.yml file:
  - platform: rpi_gpio_pwm
    leds:
      - name: RPI Cooling Fan
        driver: gpio
        pins: [18]
        type: simple

When I go to check the configuration, the spinner stays forever. It doesn’t seem to know if the config is correct so it can reboot until I comment the light config.

What am I missing?

EDIT: I don’t have the fan connected to the PIN18 yet, but that shouldn’t matter to check if the config is correct, right?

Hello. The file name it’s lights.yml ? Try with lights.yaml ? I wish to work for you.

Thank you so much for this. Worked for me pretty much out of the box. I house my RPi in a Pi-Top unit, which has a very neat and compact cooling system. Happy now the Pi is cool again :wink:

In my case, I’ve got this is working in a Raspberry Pi 3, but the fan when running on low values, like 70 or 80, even 170 is causing a buzzing noise. When I set it to 255 I can’t hear the noise that much, but I think is masked.
I used a BC337 and a resistor to connect the fan, and I’m using the pin 2.

Ok, trouble. After accepting a core update to 2022.07, a LOT broke (It actually bricked the OS, I had to do a complete reinstall). Life360 (REALLY irritating), and most importantly, this capability (rpi_gpio_pwm) too. I honestly don’t even know where to start debugging, so much seems broken in this release.
when I add the rpi_gpio_pwm entry to the configuration.yaml file, the system goes into confusion mode and refuses to validate the yaml entries. commenting out the platform: rpi_gpio_pwm everything is good.

Logs give Zero clues, just one warning:
2022-07-09 10:40:42 WARNING (SyncWorker_0) [homeassistant.loader] We found a custom integration rpi_gpio_pwm which has not been tested by Home Assistant. This component might cause stability problems, be sure to disable it if you experience issues with Home Assistant

==edit== I just now discovered an update to “Home Assistant Raspberry Pi GPIO PWM custom integration” via HACS. its now at v2022.7.0, and the YAML config is validating without issues. It does however complain:
‘Invalid config for [light.rpi_gpio_pwm]: [driver] is an invalid option for [light.rpi_gpio_pwm]. Check: light.rpi_gpio_pwm->leds->0->driver. (See ?, line ?).’
What does that mean??!

Did you see the breaking change in the release notes? It has been updated to explain what changed and how to replace the old, non-functional entities (from known_devices.yaml) with the new, functional ones. Bottom line, it’s working, but unfortunately, due to the way the device tracker legacy system works, the new working entities have different entity IDs. By following the procedure in the release notes you can get rid of the old non-working entities, and then you’ll be able to change the entity IDs of the new working entities if you want. (Key tip: after making the known_devices.yaml changes and restarting HA, make sure to refresh your browser to see what entities really exist now.)