Earthquake Sensor

After my previous attempt of earthquake sensor on DIY Earthquake Sensor, decided to go on with a more detailed and stable one. Since i have a couple of these M5StickC units, decided to work on those.

Going from MPU6050 accelerometer to MPU6886 brought its drawbacks like noise, however i did my best on the calibration part. Also, disabled the gyrometer since it affects the accelerometer noise (as far as i see, still not 100% sure) and use only the accelerometer for seismic event detection.

It came out pretty good, now i am testing it since i live in an overly active earthquake zone.

It uses MQTT, The in-built red LED and M5 SPK HAT sound warnings when an earthquake happens. It also measurs the intensity in terms of (g) for PGA.

You can find the details in the SeisoM5 Github page. Since it is a pretty sensitive sensor, it can also be used as a vibration sensor with some changes in the code if required…

2 Likes

What level of movement are you interested? Do you live in a big city or a small town far away from traffic, train tracks etc.?

Do you live in a flat or house? Have a basement?

Reading that you fixed your previous device on the wall, that might not be the right place for it.

I would definitely install it in a “calm” place, where the least amount of noise can be picked up. Like a basement, on the floor, away from anything which can bring motion to the device.

Thanks for the comments.

A 3 levels high concrete house with less traffic, outside of the city. The basement is half under ground because of the slope. I installed the sensor first in the basement. Whenever i am at the 3rd level, i can feel earthquakes higher than 3.5 Richter. But the same earthquake can not be felt in the basement. I am testing it now more like a structural vibration sensor since the earthquake can be felt in the higher levels. The noise of the MPU6886 seems to be higher than regular outside traffic. A longer time testing will show the results.

Due to the screen position, x axis is used as z axis and z axis is used as x axis within the code.

Can you screenshot how your device is mounted ? I want to know if the screen panel is facing up towards the roof or on its side facing a wall.

1 Like

The screen is on its side facing the opposite wall. The M5 Button is on the right. I will take the picture and post whenever i am at home.

ok. Thanks. I will wait for your images. In the meatime, I am going over what you used in this project. Are these correct?? The speaker is optional if we do not want audio alert??

Hey @duceduc , the speaker is optional, you can disable it in the code easily. You won’t be needing the 6-Axis IMU Unit MPU6886 separately since M5StickC has MPU6886 built-in already. You will only be needing the M5StickC alone. Early versions of M5StickC has different IMU built-in, so make sure it has MPU6886 IMU inside, the back sticker of the unit writes which IMU it has built-in.

You can also use M5StickC Plus with MPU6886 built-in, but then you need to change the screen coordinates in the code.

ok. good to know. It seems aliexpress only has the Plus version, but it does has mpu6886 built-in.

You can also use M5StickC Plus with MPU6886 built-in, but then you need to change the screen coordinates in the code.

Can you show me what lines I need to change? This will be the first time I am using Platformio.

I changed the Speaker HAT default to no speaker on the code; so if you want to use speaker you have to uncomment line 24 in main.cpp.

//#define SPK_HAT
to
#define SPK_HAT

The other display coordinates are all over the code in main.cpp. The M5StickC display resolution is 80x160 whereas in Plus it is 135x240. If you use the code as it is, it will work, but only use the left upper side of the display. The coordinates for the graph is on lines 36-41 of main.cpp, but you also have to change the coordinates in almost all “M5.Lcd.setCursor()” according to the screen size change.

If you ask me use it as it is to make sure everything works smoothly, then you can make the adjustments later. Once you are satisfied with the results maybe you can share the new coordinates and i can add it in the code.

ok. I will let you know once I receive the device get it up and running with codes without editing it.

Here is the screenshot of how it is mounted:

Here is the configuration that you should add to configuration.yaml:

mqtt:
  sensor:
    - name: "seismoM5_state"
      state_topic: "m5seismo/state"
      availability:
        - topic: "m5seismo/status"
          payload_available: "online"
          payload_not_available: "offline"
      icon: mdi:pulse
    - name: "seismoM5_pga"
      availability:
        - topic: "m5seismo/status"
          payload_available: "online"
          payload_not_available: "offline"
      state_topic: "m5seismo/event"
      value_template: "{{ value_json.pga }}"
      icon: mdi:pulse
      unit_of_measurement: "g"

  button:
    - unique_id: seismom5_reset_btn
      name: "Restart SeismoM5"
      command_topic: "m5seismo/state"
      payload_press: "RESET"
      availability:
        - topic: "m5seismo/status"
      qos: 0
      retain: false
      entity_category: "config"
      device_class: "restart"

and the earthquake warning automation for a pushover smart phone notification:

- alias: Earthquake
  trigger:
  - platform: state
    entity_id: sensor.seismom5_state
    from: "LISTENING"
    to: "EARTHQUAKE"
  action:
  - service: notify.pushover
    data_template:
      message: >
        EARTHQUAKE HAPPENING !!!
1 Like

New Features:

  • OTA Update when you connect to SeismoM5 IP web page
  • Sending a raw float value to “m5seismo/change_pga” MQTT topic changes the PGA Earthquake Trigger Value (which has a default value of 0.025g) permanently even after reboots.

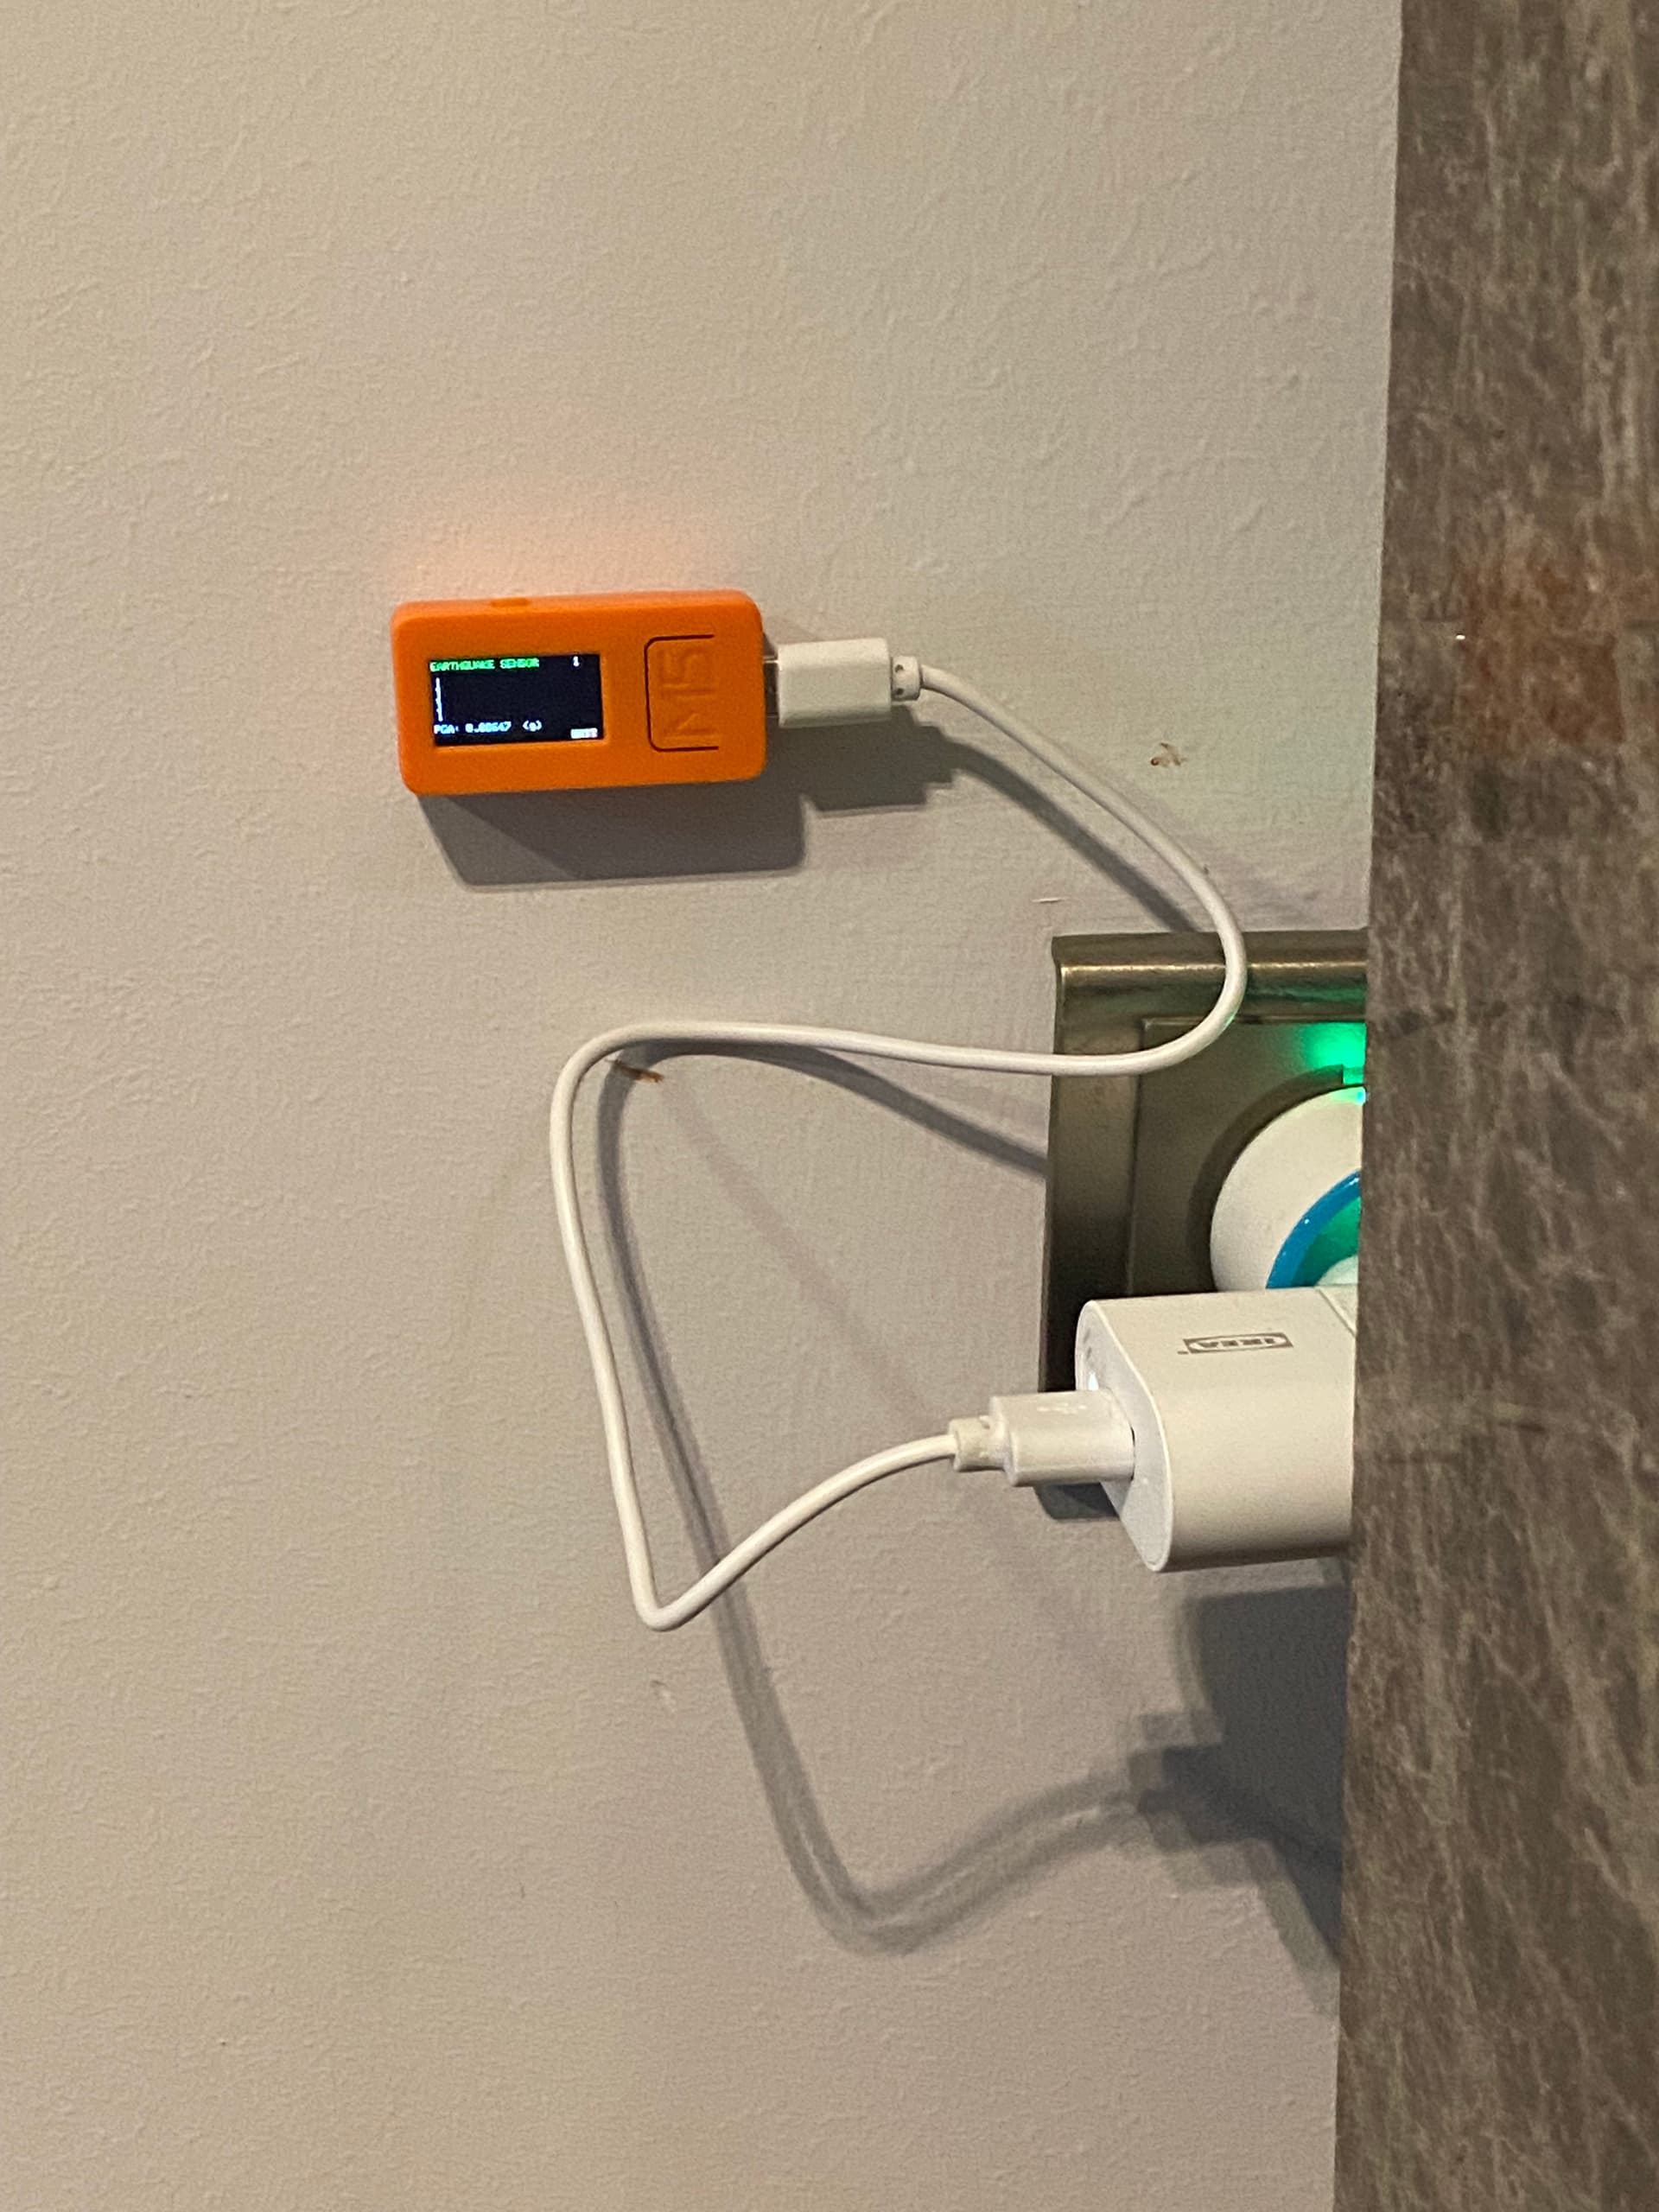
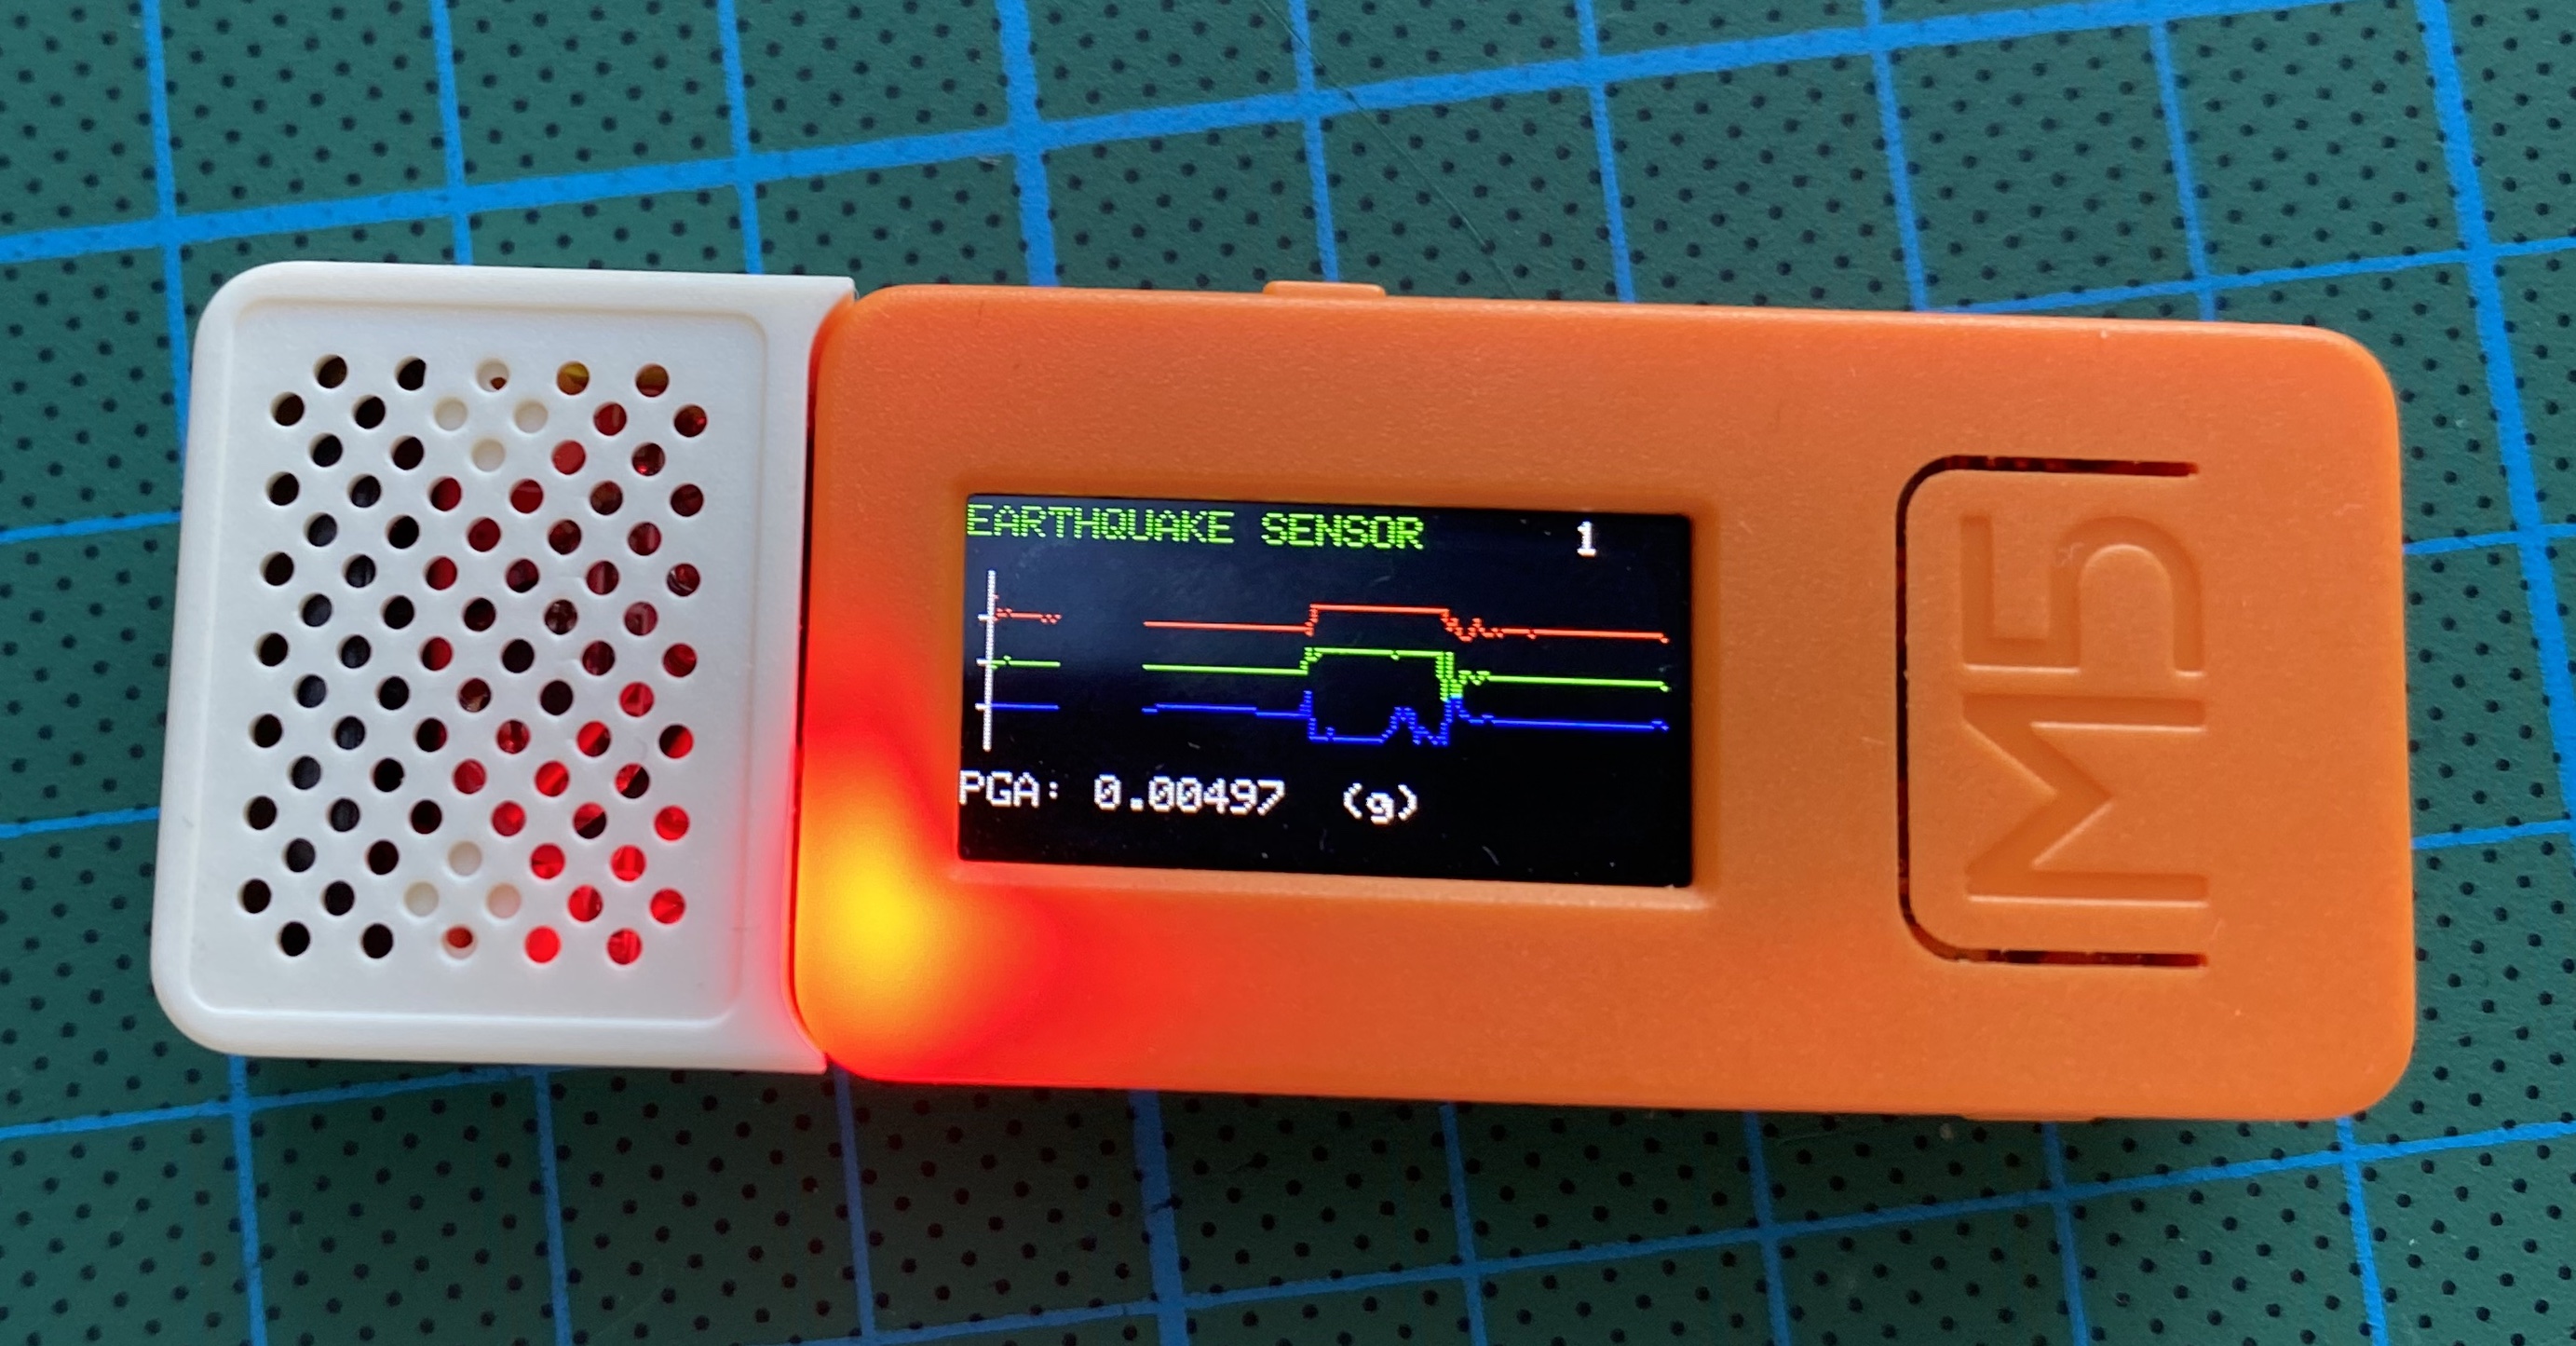
Hello. I received my stick today and am having trouble installing these librarys. Either it does not exist when I search in the library or I get errors installing them.

[{
	"resource": "/c:/Users/Duc/Documents/PlatformIO/Projects/seismoM5/src/main.cpp",
	"owner": "C/C++",
	"code": "1696",
	"severity": 8,
	"message": "#include errors detected. Please update your includePath. Squiggles are disabled for this translation unit (C:\\Users\\Duc\\Documents\\PlatformIO\\Projects\\seismoM5\\src\\main.cpp).",
	"source": "C/C++",
	"startLineNumber": 2,
	"startColumn": 1,
	"endLineNumber": 2,
	"endColumn": 22
},{
	"resource": "/c:/Users/Duc/Documents/PlatformIO/Projects/seismoM5/src/main.cpp",
	"owner": "C/C++",
	"code": "1696",
	"severity": 8,
	"message": "cannot open source file \"Arduino.h\" (dependency of \"MPU6886s.h\")",
	"source": "C/C++",
	"startLineNumber": 2,
	"startColumn": 1,
	"endLineNumber": 2,
	"endColumn": 22
},{
	"resource": "/c:/Users/Duc/Documents/PlatformIO/Projects/seismoM5/src/main.cpp",
	"owner": "C/C++",
	"code": "1696",
	"severity": 8,
	"message": "cannot open source file \"WiFi.h\"",
	"source": "C/C++",
	"startLineNumber": 3,
	"startColumn": 1,
	"endLineNumber": 3,
	"endColumn": 18
},{
	"resource": "/c:/Users/Duc/Documents/PlatformIO/Projects/seismoM5/src/main.cpp",
	"owner": "C/C++",
	"code": "1696",
	"severity": 8,
	"message": "cannot open source file \"functional\" (dependency of \"AsyncMqttClient.h\")",
	"source": "C/C++",
	"startLineNumber": 4,
	"startColumn": 1,
	"endLineNumber": 4,
	"endColumn": 29
},{
	"resource": "/c:/Users/Duc/Documents/PlatformIO/Projects/seismoM5/src/main.cpp",
	"owner": "C/C++",
	"code": "1696",
	"severity": 8,
	"message": "cannot open source file \"functional\" (dependency of \"WebServer.h\")",
	"source": "C/C++",
	"startLineNumber": 5,
	"startColumn": 1,
	"endLineNumber": 5,
	"endColumn": 23
},{
	"resource": "/c:/Users/Duc/Documents/PlatformIO/Projects/seismoM5/src/main.cpp",
	"owner": "C/C++",
	"code": "1696",
	"severity": 8,
	"message": "cannot open source file \"Update.h\"",
	"source": "C/C++",
	"startLineNumber": 6,
	"startColumn": 1,
	"endLineNumber": 6,
	"endColumn": 20
},{
	"resource": "/c:/Users/Duc/Documents/PlatformIO/Projects/seismoM5/src/main.cpp",
	"owner": "C/C++",
	"code": "1696",
	"severity": 8,
	"message": "cannot open source file \"math.h\" (dependency of \"Preferences.h\")",
	"source": "C/C++",
	"startLineNumber": 7,
	"startColumn": 1,
	"endLineNumber": 7,
	"endColumn": 25
},{
	"resource": "/c:/Users/Duc/Documents/PlatformIO/Projects/seismoM5/src/main.cpp",
	"owner": "C/C++",
	"code": "1696",
	"severity": 8,
	"message": "cannot open source file \"stdlib.h\"",
	"source": "C/C++",
	"startLineNumber": 8,
	"startColumn": 1,
	"endLineNumber": 8,
	"endColumn": 20
}]

error:

Error: Unknown development platform 'PackageItem <path=C:\Users\Duc\.platformio\platforms\espressif32 metadata=PackageMetaData <type=platform name=espressif32 version=5.2.0 spec={'owner': 'platformio', 'id': 8026, 'name': 'espressif32', 'requirements': None, 'uri': None}'

Hey @duce,

After installing vscode, Start it and go to “Extensions” on the left column icons. Find and install Plarformio IDE from there. Then restart vscode and after a while platformio icon will appear on the left icon column. Under PIO Home, press Open and from there select open project and show the git clone folder you downloaded from seismom5 and open it. Then every library should be automatically installed.

Press the check mark on the bottom blue bar for a compile only to show if there are any errors. Please let me know about the result.

I have deleted the git folder and start over again. Followed your instructions. When I click the checkmark to build, I get this error.

 *  Executing task: C:\Users\Duc\.platformio\penv\Scripts\platformio.exe run 

Processing m5stick-c (platform: espressif32; board: m5stick-c; framework: arduino)
------------------------------------------------------------------------------------------------------------------------------------------------------------------------------------------------------------Error: Unknown development platform 'PackageItem <path=C:\Users\Duc\.platformio\platforms\espressif32 metadata=PackageMetaData <type=platform name=espressif32 version=5.2.0 spec={'owner': 'platformio', 'id': 8026, 'name': 'espressif32', 'requirements': None, 'uri': None}'

 *  The terminal process "C:\Users\Duc\.platformio\penv\Scripts\platformio.exe 'run'" terminated with exit code: 1. 
 *  Terminal will be reused by tasks, press any key to close it. 

Update: Ok, I finally got it uploaded. I had several little issues was why.
I had to delete the espressif32 folder and start over with the initial build.
My pc did not detect the usb-c cable I was using the first time. I had to use another.

Now, I am seeing activities in mqtt explorer. I will need to figure out how to align the screen. Also the Pro display is flipped compared to your screen shot above.

oops. Now the screen went haywire. The wording seems to be mirrored as well.

Let me help you on this issue. I need to change the code according to m5stickc plus library and will put some estimate coordinates. Then we will move it from there. Give me 1 or 2 days.

@duceduc , the env change was easier then i expected. Although the clock and mirrored (g) looks weird in your pictures, it might be since it was using the M5StickC library instead of M5StickCPlus library.

Now please delete the git folder and start again by downloading the git (it is updated just now). After opening the project from platformio open project, look at the bottom blue bar to see “Default (seismom5)”, click on this text, it will show a menu on top. Select “env:m5stickc-plus” under “Default (SeismoM5)” on this menu. Then connect your M5stick and press the right arrow on the bottom blue bar. It will compile and upload the firmware. Hope everything goes well. I estimated the coordinates; i need to see a pic to correct if there is something wrong. Good luck.

Thanks for update code. Will do when I return in the evening and update you of a status.

Almost there. Can we increase the font size for the purple boxes and move the EARTHQUAKE SENSOR 0.025 line just a tad down?

I ended getting the audio and noticed there are static coming off the speaker when plugged in to the device. Whether it is in the listening state or earthquake state.

It just plug in like so in your image correct???

The speaker is connected as it is shown on my image. If you want to use SPK HAT as a warning device, do not forget to change line 37 to uncomment from:

// #define SPK_HAT   

to:

#define SPK_HAT   

For the cosmetic changes;

  1. “Prepare for calibration” screen made to center and fit stick plus
  2. In “Do not move” screen calibrating text is enlarged.
  3. “Earthquake sensor” and “pga trigger” line moved 2 pixels down for stick plus.
  4. “pga trigger” and “mqtt” text is left aligned.
  5. Unfortunately could not enlarge the texts on “listening” screen because then it affects m5stickc since the only font that fits on it is this, and all coordinates should be recalculated. Sorry, i couldn’t do it. Maybe you could work on it.

And one request from you, could you please violently shake (to make graphs go to limits) for 3-4 seconds and take a picture afterwards? I want to see if the scale factor i put there and the boundaries are OK for stick plus. Thanks.