I got mine a few days ago and I’m trying to get the hang of it. I haven’t had time to really print anything other than test prints so far. (there is a cute cat test print that my wife loves - so so far on that! )
One thing I’ve learned in my research is to try to strengthen the pins by using fillets at the attachment points instead of sharp angles.
Waiting for the last parts to print before I assemble it all
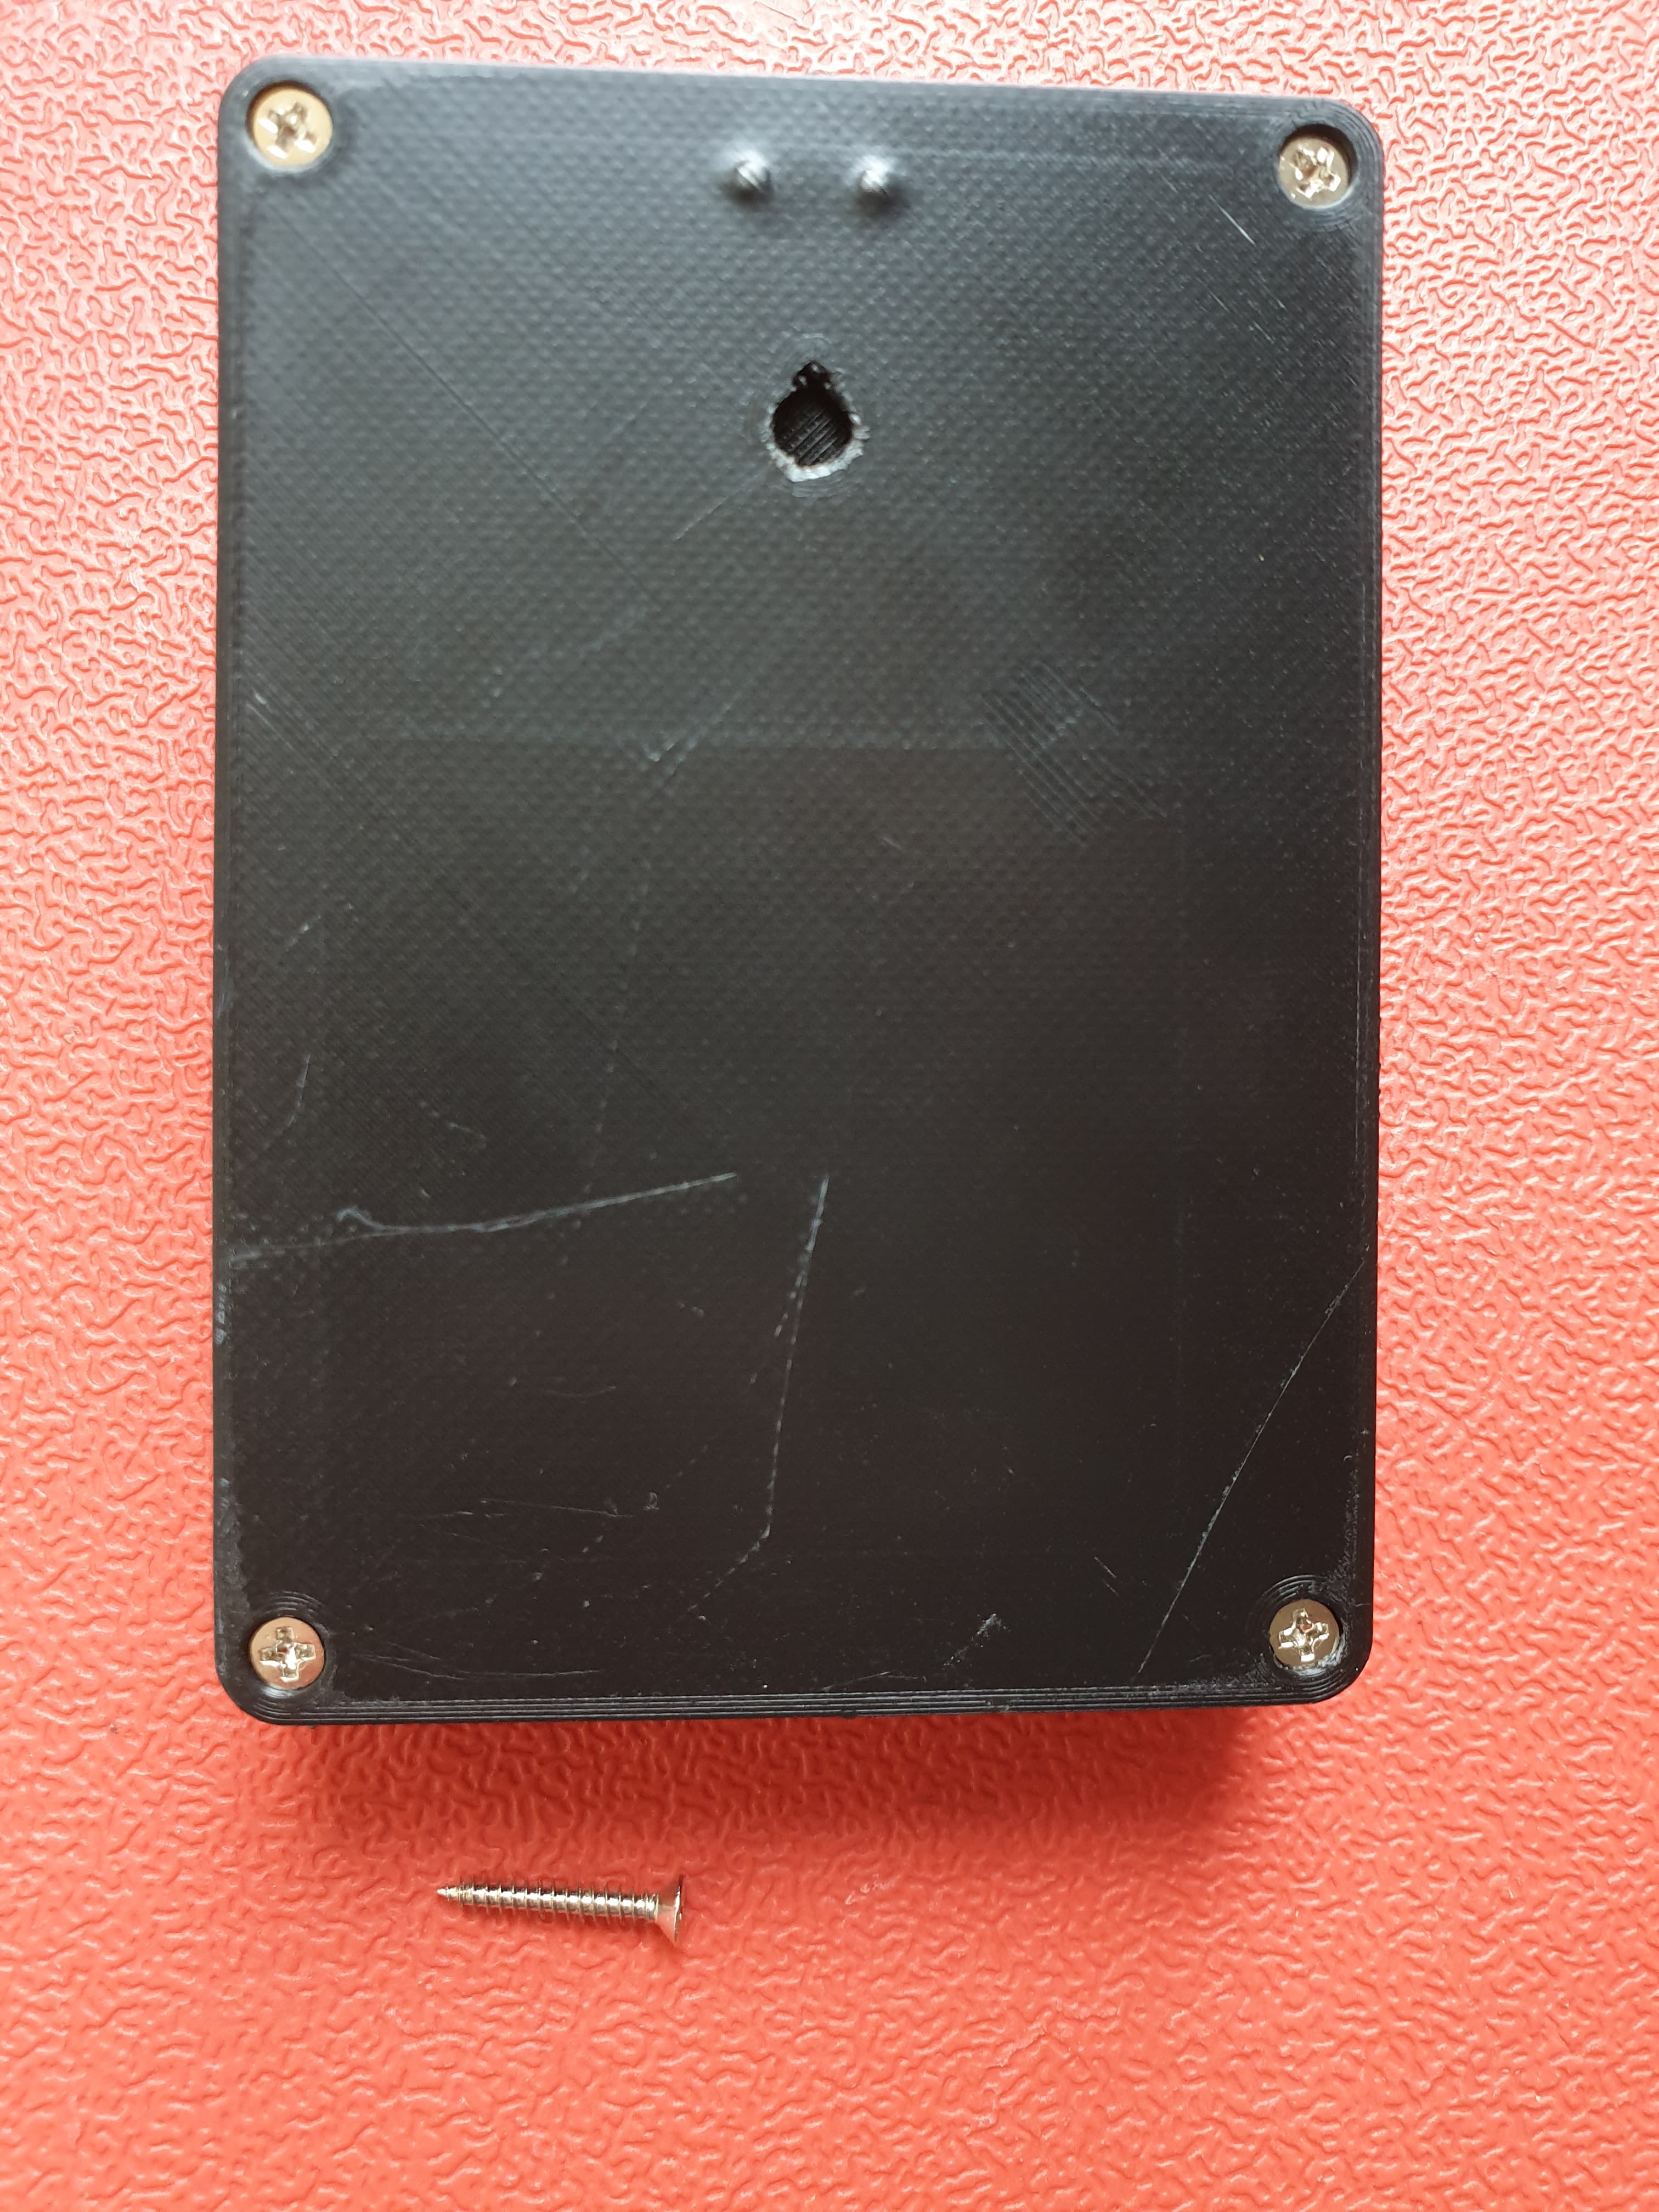
I added pins and a flap/plate with a screw hole to secure the keypad while allowing you to remove it. I made the pins in a way that you should be able to heat and squish them down flat to fix it in place permanently, although I recommend waiting to do that until you’re happy with the keypad itself since I’ve had one die on me
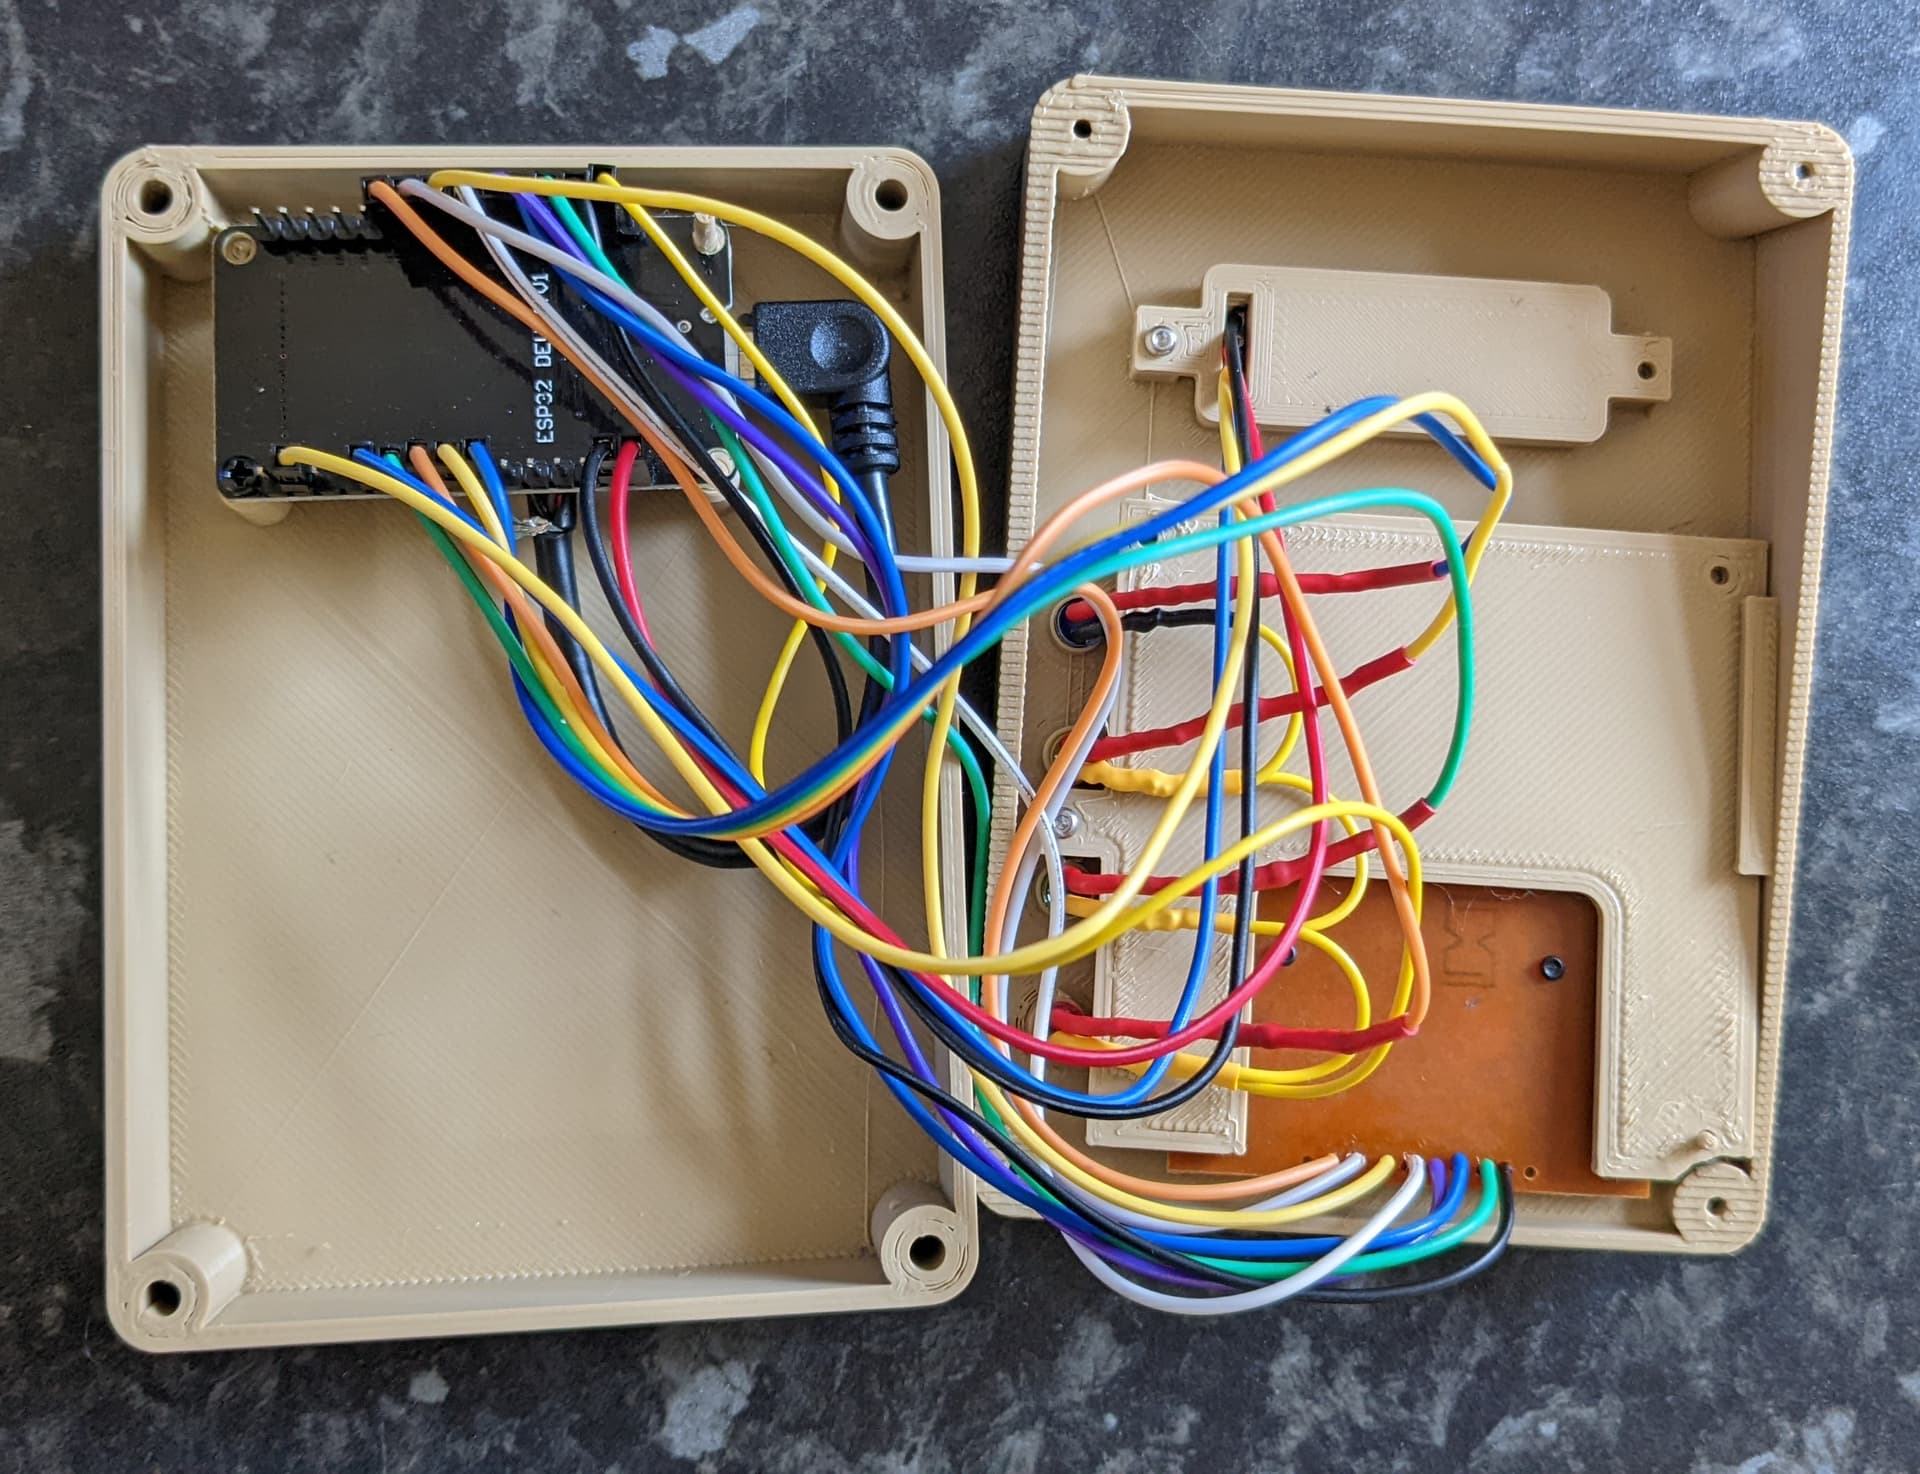
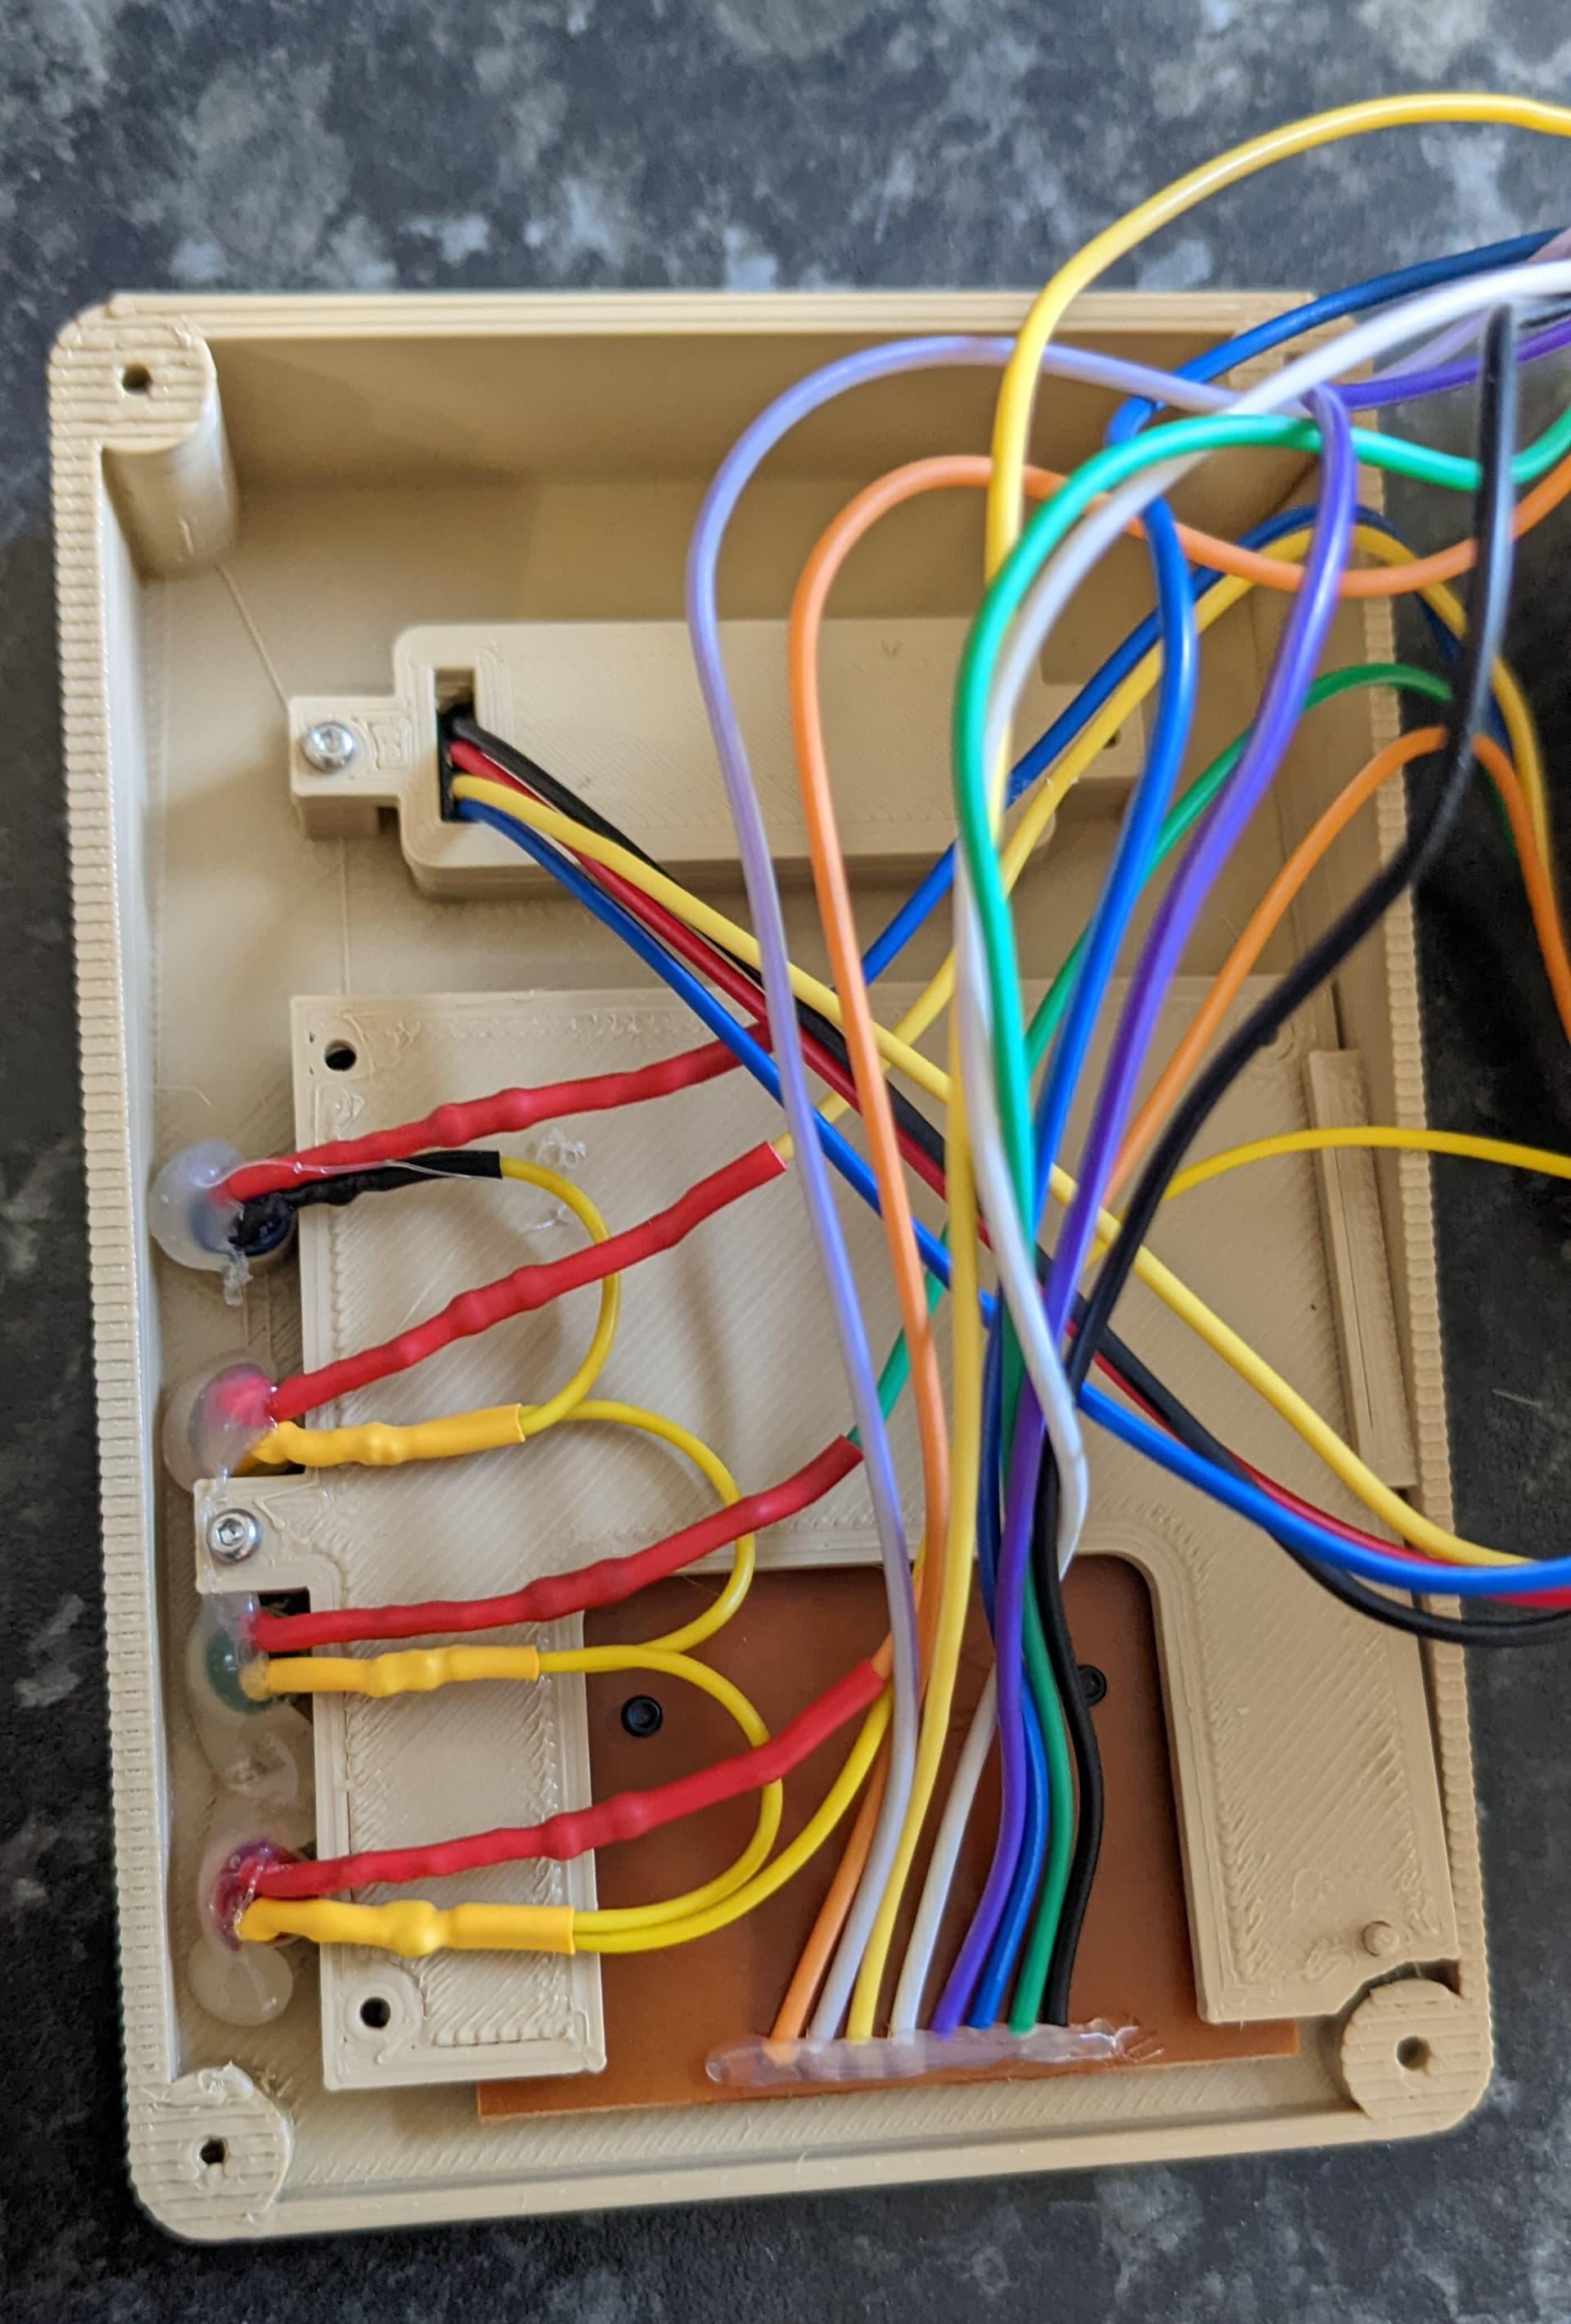
Here’s the assembled upgraded version still MQTT based but using esphome this time.
The code is just an esphome file which should be easy to configure, I’ve made vars for all the config. Then there’s a hass blueprint with three simple parameters to automate the keypad with your alarm control panel (I’m using alarmo)
I’m still testing it out so I’ll upload both the esphome file and blueprint later
@patvdleer you might be interested in this one I know yours is quite different and using more native API entities but I wanted to go down the mqtt route. Combined with the blueprint it works quite well and nice to have a progress bar on screen for the countdown when arming
I order, but i got an model with a frame. So its looks not good, i would need to move the inside frame holder. But i cant edit the stl file. Any idea?
Br
Patrik
I use blender personally but it does have a bit of a learning curve. You just import the STL file then play with the mesh. Simplify the model using tools like “limited dissolve” and “merge by distance” if you need to
Nice, now i have everything up and running, working really fine, But one thing crossed my mind, i will try to make it also work together with garage door. So if disarm alarm, then key in another code to open the door.
 so far on that!
  )
) thanks for that tip