Our house has a remote-operated gate that opens to allow cars to park in the lot, every apartment has their own remote. I can’t get everyones permission to hack the physical gate, so I modified my own remote to allow me remote operation.
Considerations i had:
- allow disconnecting it to take it with me as needed and use as normal
- physical button to operate when in home (wife-approval factor)
- expose to Google, for voice command inside car
- bonus: add beep sound when command is triggered
Step 1 - modify the remote controller
Solder some dupont wires to the remotes button

So it can be connected and disconnected easily, and doesn’t look too bad. Wire appearance can be improved so they aren’t dangling… Connect the cover back and it looks like this:

Step 2 - create your device
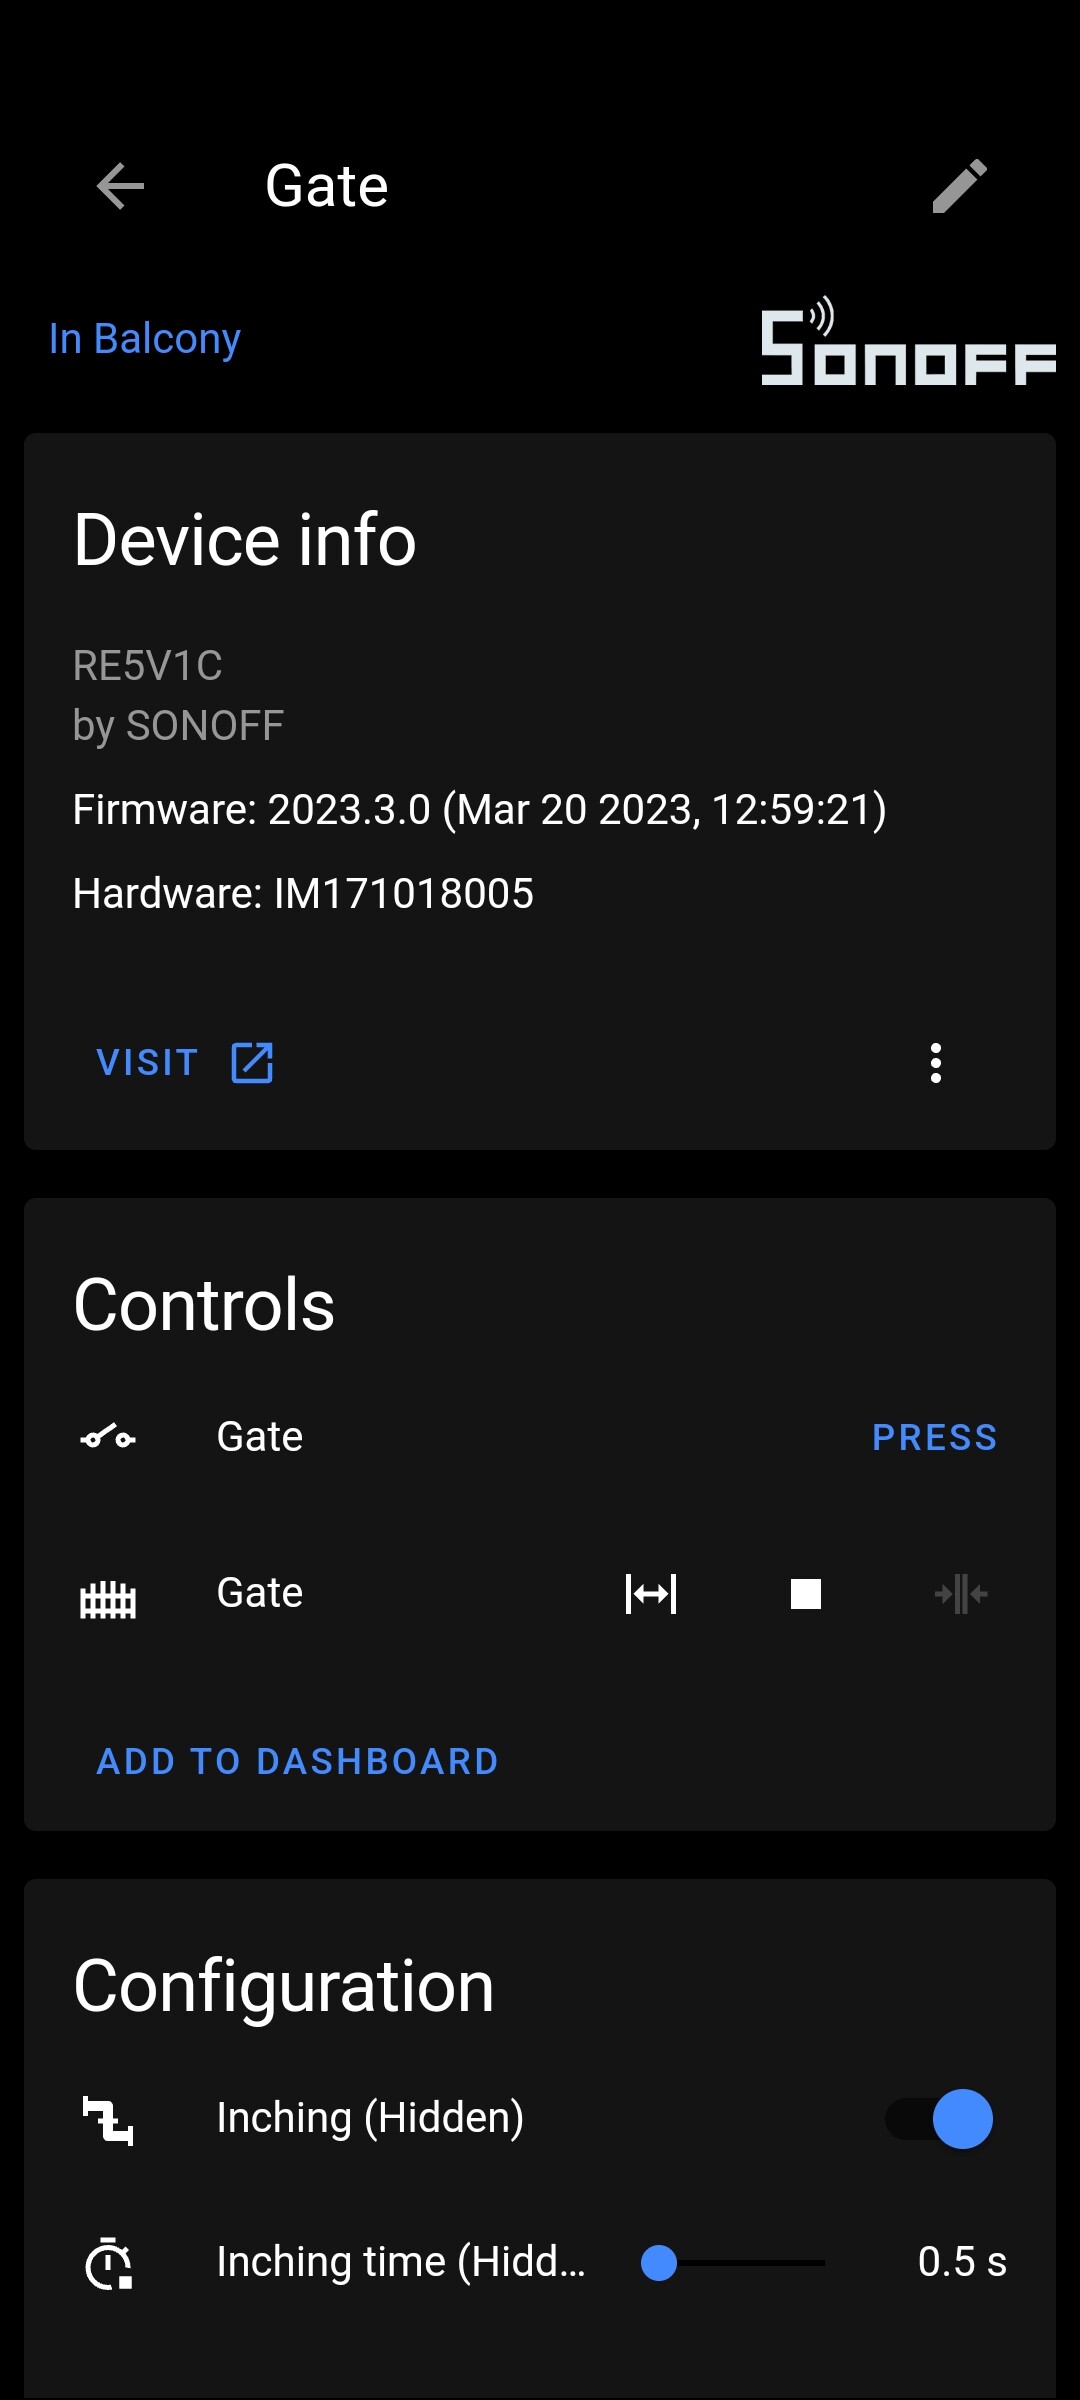
Add a dry contact relay (I used SONOFF RE5V1C) , a piezo buzzer, a push-button and box it up nicely.

Step 3 - flash it with ESPHome
- switch to toggle inching
- number for inching timer
- virtual door/gate/cover device for the GPIO switch
substitutions:
  friendly_name: 'Gate'
  device_name: 're5v1c'
  device_host: 'gate'
  device_description: 'SONOFF RE5V1C – 5V inching/selflock relay. Dry contact output. Power Supply: 5V DC. Max Current: 10A'
  project_base: 'SONOFF'
  project_name: 'RE5V1C'
  project_version: 'IM171018005'
  chip: 'ESP8285N08'

esphome:
  name: $device_host
  comment: $device_description
  friendly_name: ${friendly_name}
  platform: esp8266
  board: esp8285
  esp8266_restore_from_flash: true
  project:
    name: ${project_base}.${project_name}
    version: $project_version

packages:
  device_base: !include common/device.base.yaml

api:
  id: ${device_name}_api
  services:
    - service: inching_time
      variables:
        inching_time: float
      then:
      - lambda: |-
          auto call = id(${device_name}_inching_time).make_call();
          call.set_value(inching_time);
          call.perform();
    - service: inching_toggle
      variables:
        state: bool
      then:
      - if:
          condition:
            - lambda: 'return state == false;'
          then:
            - switch.turn_off: ${device_name}_inching
          else:
            - switch.turn_on: ${device_name}_inching
    - service: rtttl_play
      variables:
        song_str: string
      then:
        - output.turn_on: ${device_name}_rtttl_out
        - rtttl.play:
            rtttl: !lambda "return song_str;"
        - output.turn_off: ${device_name}_rtttl_out

output:
  - id: ${device_name}_led_out
    platform: gpio
    pin:
      number: 13
      inverted: True

  - id: ${device_name}_rtttl_out
    platform: esp8266_pwm
    frequency: 40000 Hz
    pin:
      number: 4

rtttl:
  output: ${device_name}_rtttl_out

light:
  - platform: status_led
    name: Status led
    id: ${device_name}_status_led
    pin:
      number: 13
      inverted: true
    entity_category: diagnostic
    icon: mdi:led-outline
    disabled_by_default: true
    internal: true

  - platform: binary
    name: Led
    id: ${device_name}_led
    icon: mdi:led-outline
    entity_category: diagnostic
    disabled_by_default: true
    output: ${device_name}_led_out
    restore_mode: ALWAYS_OFF

number:
  - platform: template
    id: ${device_name}_inching_time
    name: Inching time
    icon: mdi:timer-stop-outline
    entity_category: config
    unit_of_measurement: s
    mode: auto
    optimistic: true
    restore_value: true
    min_value: 0.5
    max_value: 10
    step: 0.5
    initial_value: 1

button:
  - platform: template
    name: Relay
    id: ${device_name}_relay_button
    icon: mdi:electric-switch
    on_press:
      switch.toggle: ${device_name}_relay

switch:
  - platform: template
    name: Inching
    id: ${device_name}_inching
    icon: mdi:pipe
    entity_category: config
    restore_state: true
    restore_mode: RESTORE_DEFAULT_ON
    optimistic: true
    turn_on_action:
      - rtttl.play: 'inching:d=2,o=7,b=500:32b#,32b#,32c,16p,32c,16p,32c'
      - light.turn_on: ${device_name}_led
    turn_off_action:
      - rtttl.play: 'inching:d=2,o=7,b=200:32e,32d,32c'
      - light.turn_off: ${device_name}_led
  - platform: gpio
    name: Relay
    id: ${device_name}_relay
    icon: mdi:electric-switch
    device_class: outlet
    entity_category: diagnostic
    pin:
      number: 12
    restore_mode: ALWAYS_OFF
    on_turn_on:
      - lambda: |-
          id(${device_name}_relay).set_icon("mdi:electric-switch");
      - rtttl.play: 'open:d=2,o=7,b=500:32d,32d#,32e,8p,32e,32d,32e'
      - if:
          condition:
            switch.is_off: ${device_name}_inching
          then:
            - logger.log: "Keep"
          else:
            - delay: !lambda "return id(${device_name}_inching_time).state * 1000;" # milliseconds
            - switch.turn_off: ${device_name}_relay
    on_turn_off:
      - if:
          condition:
            switch.is_off: ${device_name}_inching
          then:
            - rtttl.play: 'close:d=2,o=7,b=500:32c,32c#,32b#,16p,32b#,32c,32c#'

cover:
  - platform: template
    name: ${friendly_name}
    id: ${device_name}
    device_class: gate
    lambda: |-
      if (id(${device_name}_relay).state) {
        return COVER_OPEN;
      } else {
        return COVER_CLOSED;
      }
    open_action:
      - switch.turn_on: ${device_name}_relay
    close_action:
      - if:
          condition:
            switch.is_off: ${device_name}_relay
          then:
            - switch.turn_on: ${device_name}_relay
          else:
            - switch.turn_off: ${device_name}_relay
    stop_action:
      - if:
          condition:
            switch.is_off: ${device_name}_relay
          then:
            - switch.turn_on: ${device_name}_relay
          else:
            - switch.toggle: ${device_name}_relay

binary_sensor:
  - platform: gpio
    pin:
      number: 3
      inverted: true
    name: External Button
    id: ${device_name}_button_external
    internal: true
    on_press:
      - switch.toggle: ${device_name}_relay

  - platform: gpio
    pin:
      number: 0
      mode: INPUT_PULLUP
      inverted: True
    name: Button
    id: ${device_name}_button
    device_class: garage_door
    entity_category: diagnostic
    on_press:
      - switch.turn_on: ${device_name}_relay
    on_release:
      - switch.turn_off: ${device_name}_relay
    filters:
      - delayed_off: 100ms
Step 4 - enjoy a nice and functional project

Disconnect the duponts quickly and easily to take the controller with you if needed.


 but nothing special, used all the available GPIOs on the RE5V1C.


