Hi,
I bought a old used Intel NUC (DCCP847DYE) to be my HassOS hardware. It is very cheap, I will not run other containers or VMs on it so HassOS is the better option.
But I found a setup dilemma: almost 100% of installation process that I found here or at YouTube suggest me to remove the SSD disk and flash it with balenaEtcher using another PC.
But how to do that at DCCP847DYE? It uses MSATA SSD. MSATA is not a common interface.
First Try)
I disassembled an external HD to try to use it as an external case to this SSD… but as expected not worked due the difference between SATA vs MSATA interface.
Second Try)
The second alternative is to buy a MSATA to USB cable or case.
As MSATA is a very old and uncommon interface is very, very expensive in my country (Brazil). There is almost no option. I just found one case option that is the price of one new SSD 64GB or 128GB kkkk… no make any sense to buy it… and if I buy I will only use one time.
Third Try - BETTER OPTION)
I flashed a live Ubuntu Desktop on an USB Stick. So with that I booted the NUC using USB and flashed the NUC SSD with balenaEtcher from Ubuntu. It is very easy and have many other benefits in my case. For example: it is a used NUC. How check if the hardware is OK only using HassOS if HassOS does not have many advanced packages/tools? With Ubuntu you can do that to check the hardware failures.
I will give a step by step and comments:
1) Download .bio file for your NUC model from Intel and use F7 on boot to update BIOS from USB drive.
2) Press F2 during start to enter BIOS Setup. Press F9 to set BIOS default values. Go to the Boot menu. Enable USB Boot. Press F10 to save and exit the BIOS Setup.
3) From a PC download Ubuntu Desktop (Download Ubuntu Desktop | Download | Ubuntu) and flash it to an USB Stick (I used balenaEtcher to it). Obs: does not use Ubuntu Server it does not have “live” option.
4) Insert the USB to NUC and boot it. At the setup screen choose TRY UBUNTU instead of install it.
5) After Ubuntu starts if you would like to test your SSD, install smartmontools and run a long test on it:
sudo apt install smartmontools
sudo smartctl -t long -a /dev/sdX (get the sdX number at Disk app that coming with Ubuntu)
sudo smartctl -a /dev/sdX (to see the test results after about 30 to 60min)
6) If everything ok, open Firefox and go to https://www.balena.io/etcher. Download the linux version. Also download the HassOS from Intel NUC - Home Assistant
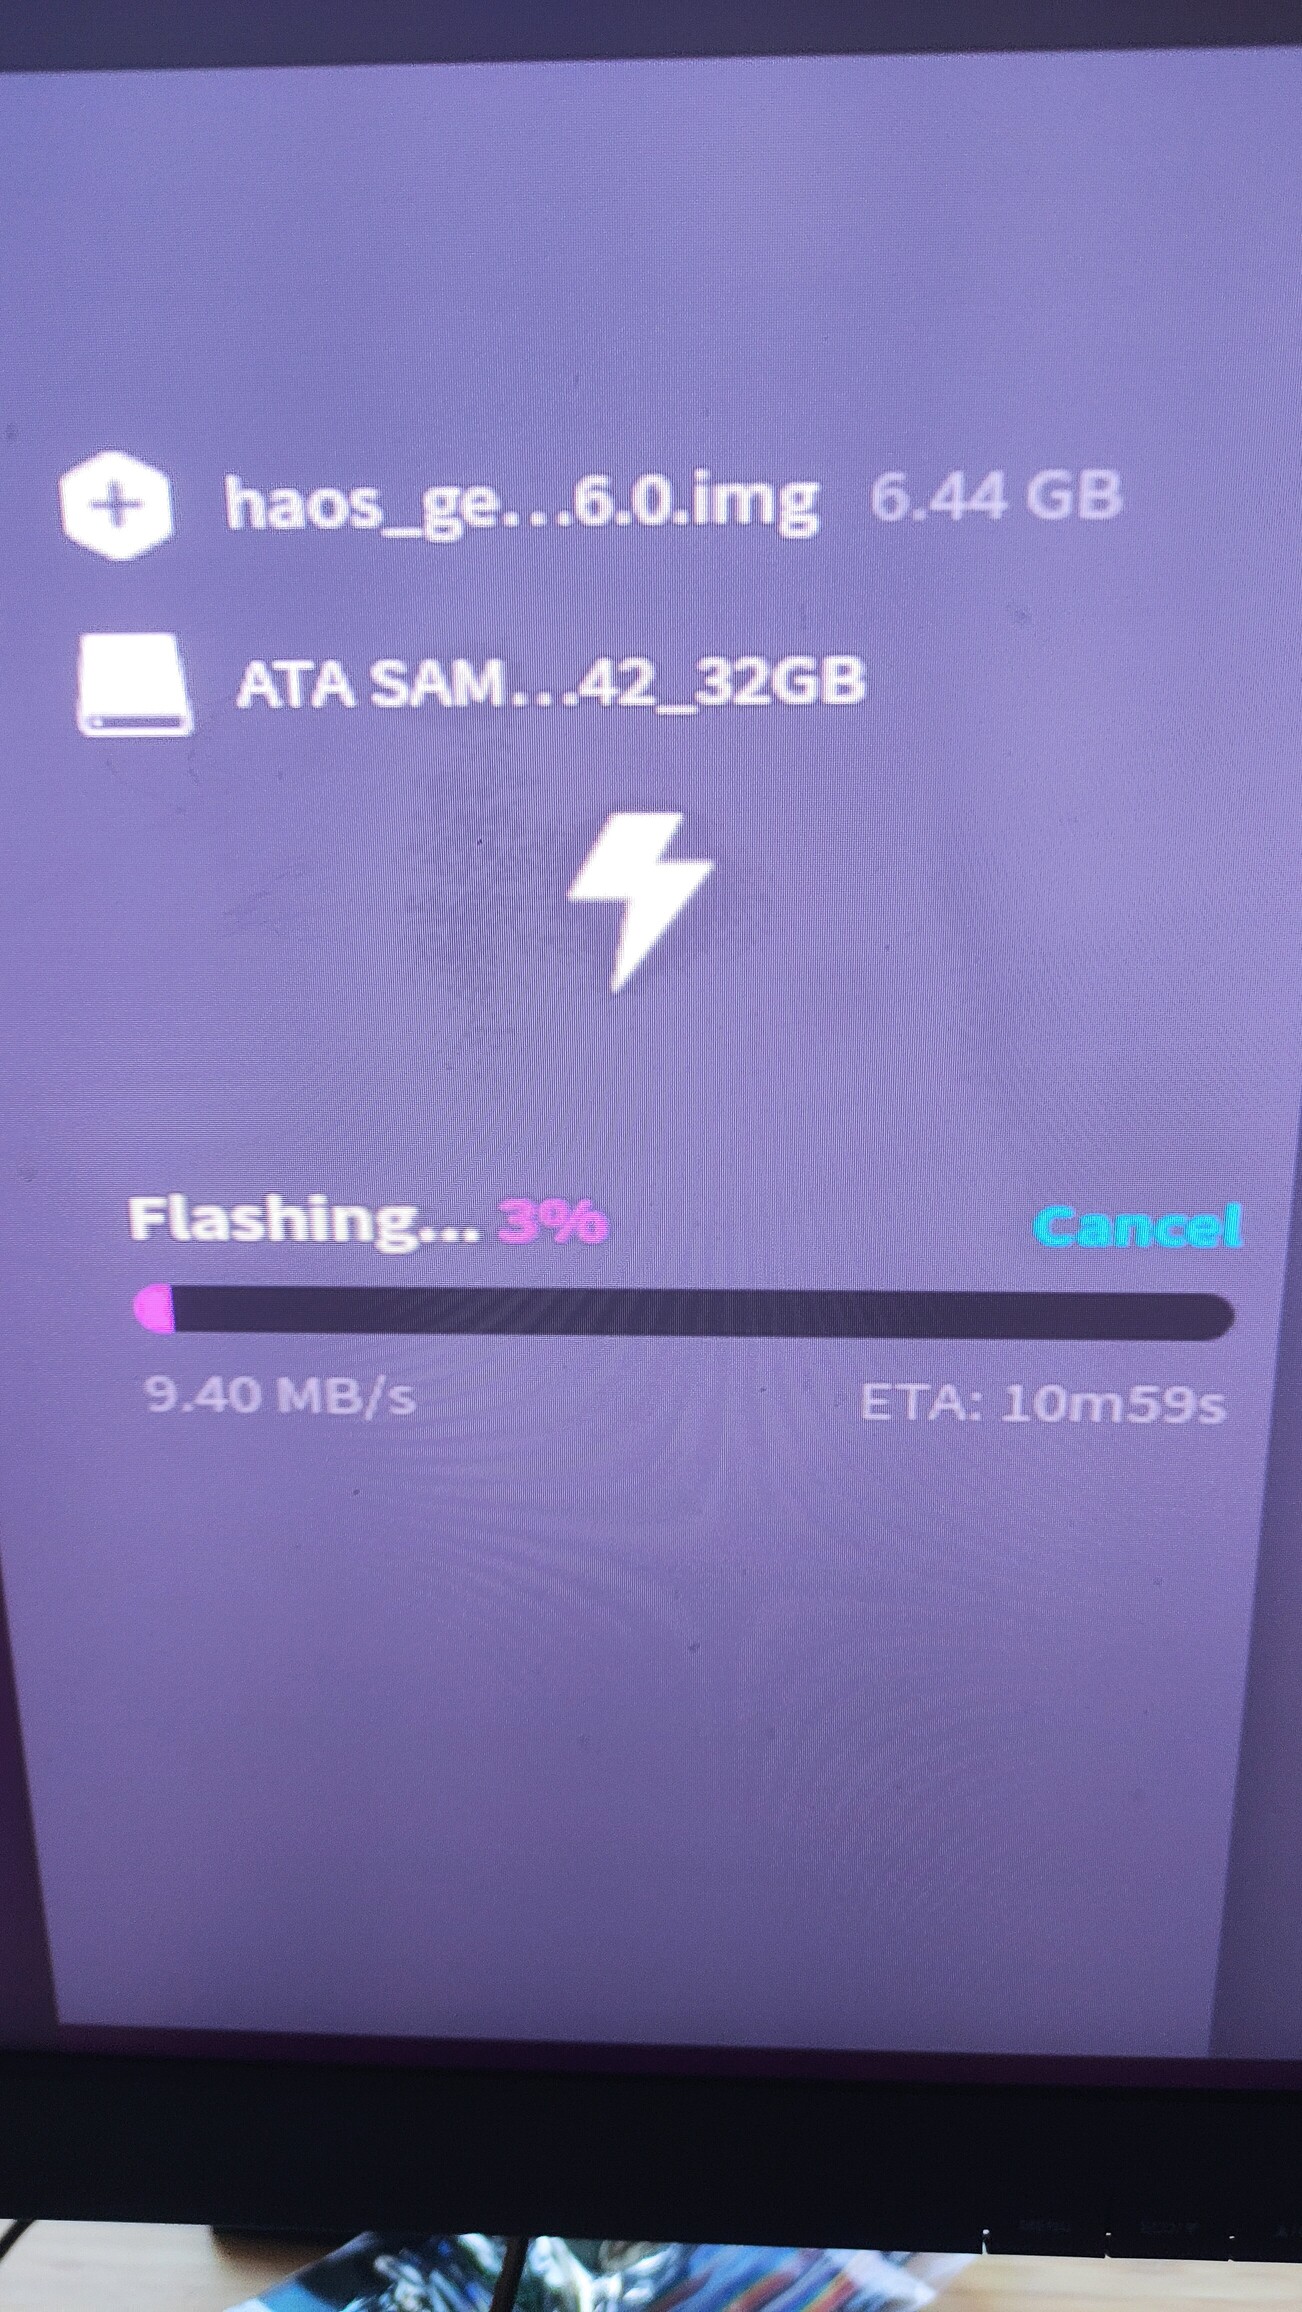
7) Use balenaEtcher to flash your NUC SSD with HassOS image. As you are running Ubuntu from a USB Stick you can do that…
8) Be happy without pay for any SSD case or cable