Help with installing Py-Spy to identify process pushing the CPU to 100% 24/7

Hi, I’m not familiar with the CLI and inner workings of the Home Assistant and I appreciate any help I can get.

My CPU is being locked at 100% by a process within the python3 (According to Glances) and I can’t figure out how and where to install the py-spy to help me identify which process is the culprit.

I’m running Hassio installed on the Virtualbox on Win 10 machine. I’m able to login using “root” into the Home Assistant CLI, and I can also type “login” to get access to the Host.

I’ve tried:

pip install py-spy

but that gives me

/bin/ash: pip: not found

Where do I go from here?

This is the post that helped me:

Hi @tom_l, thanks for helping with this one. I finally managed to this correctly, I hope.

1 Like

I would really appreciate it if someone would help me out decipher py-spy findings. I have no idea what I’m looking at.

This is the screenshot from Glances where you can see python3 being above 80% all the time.

This is the py-spy SVG

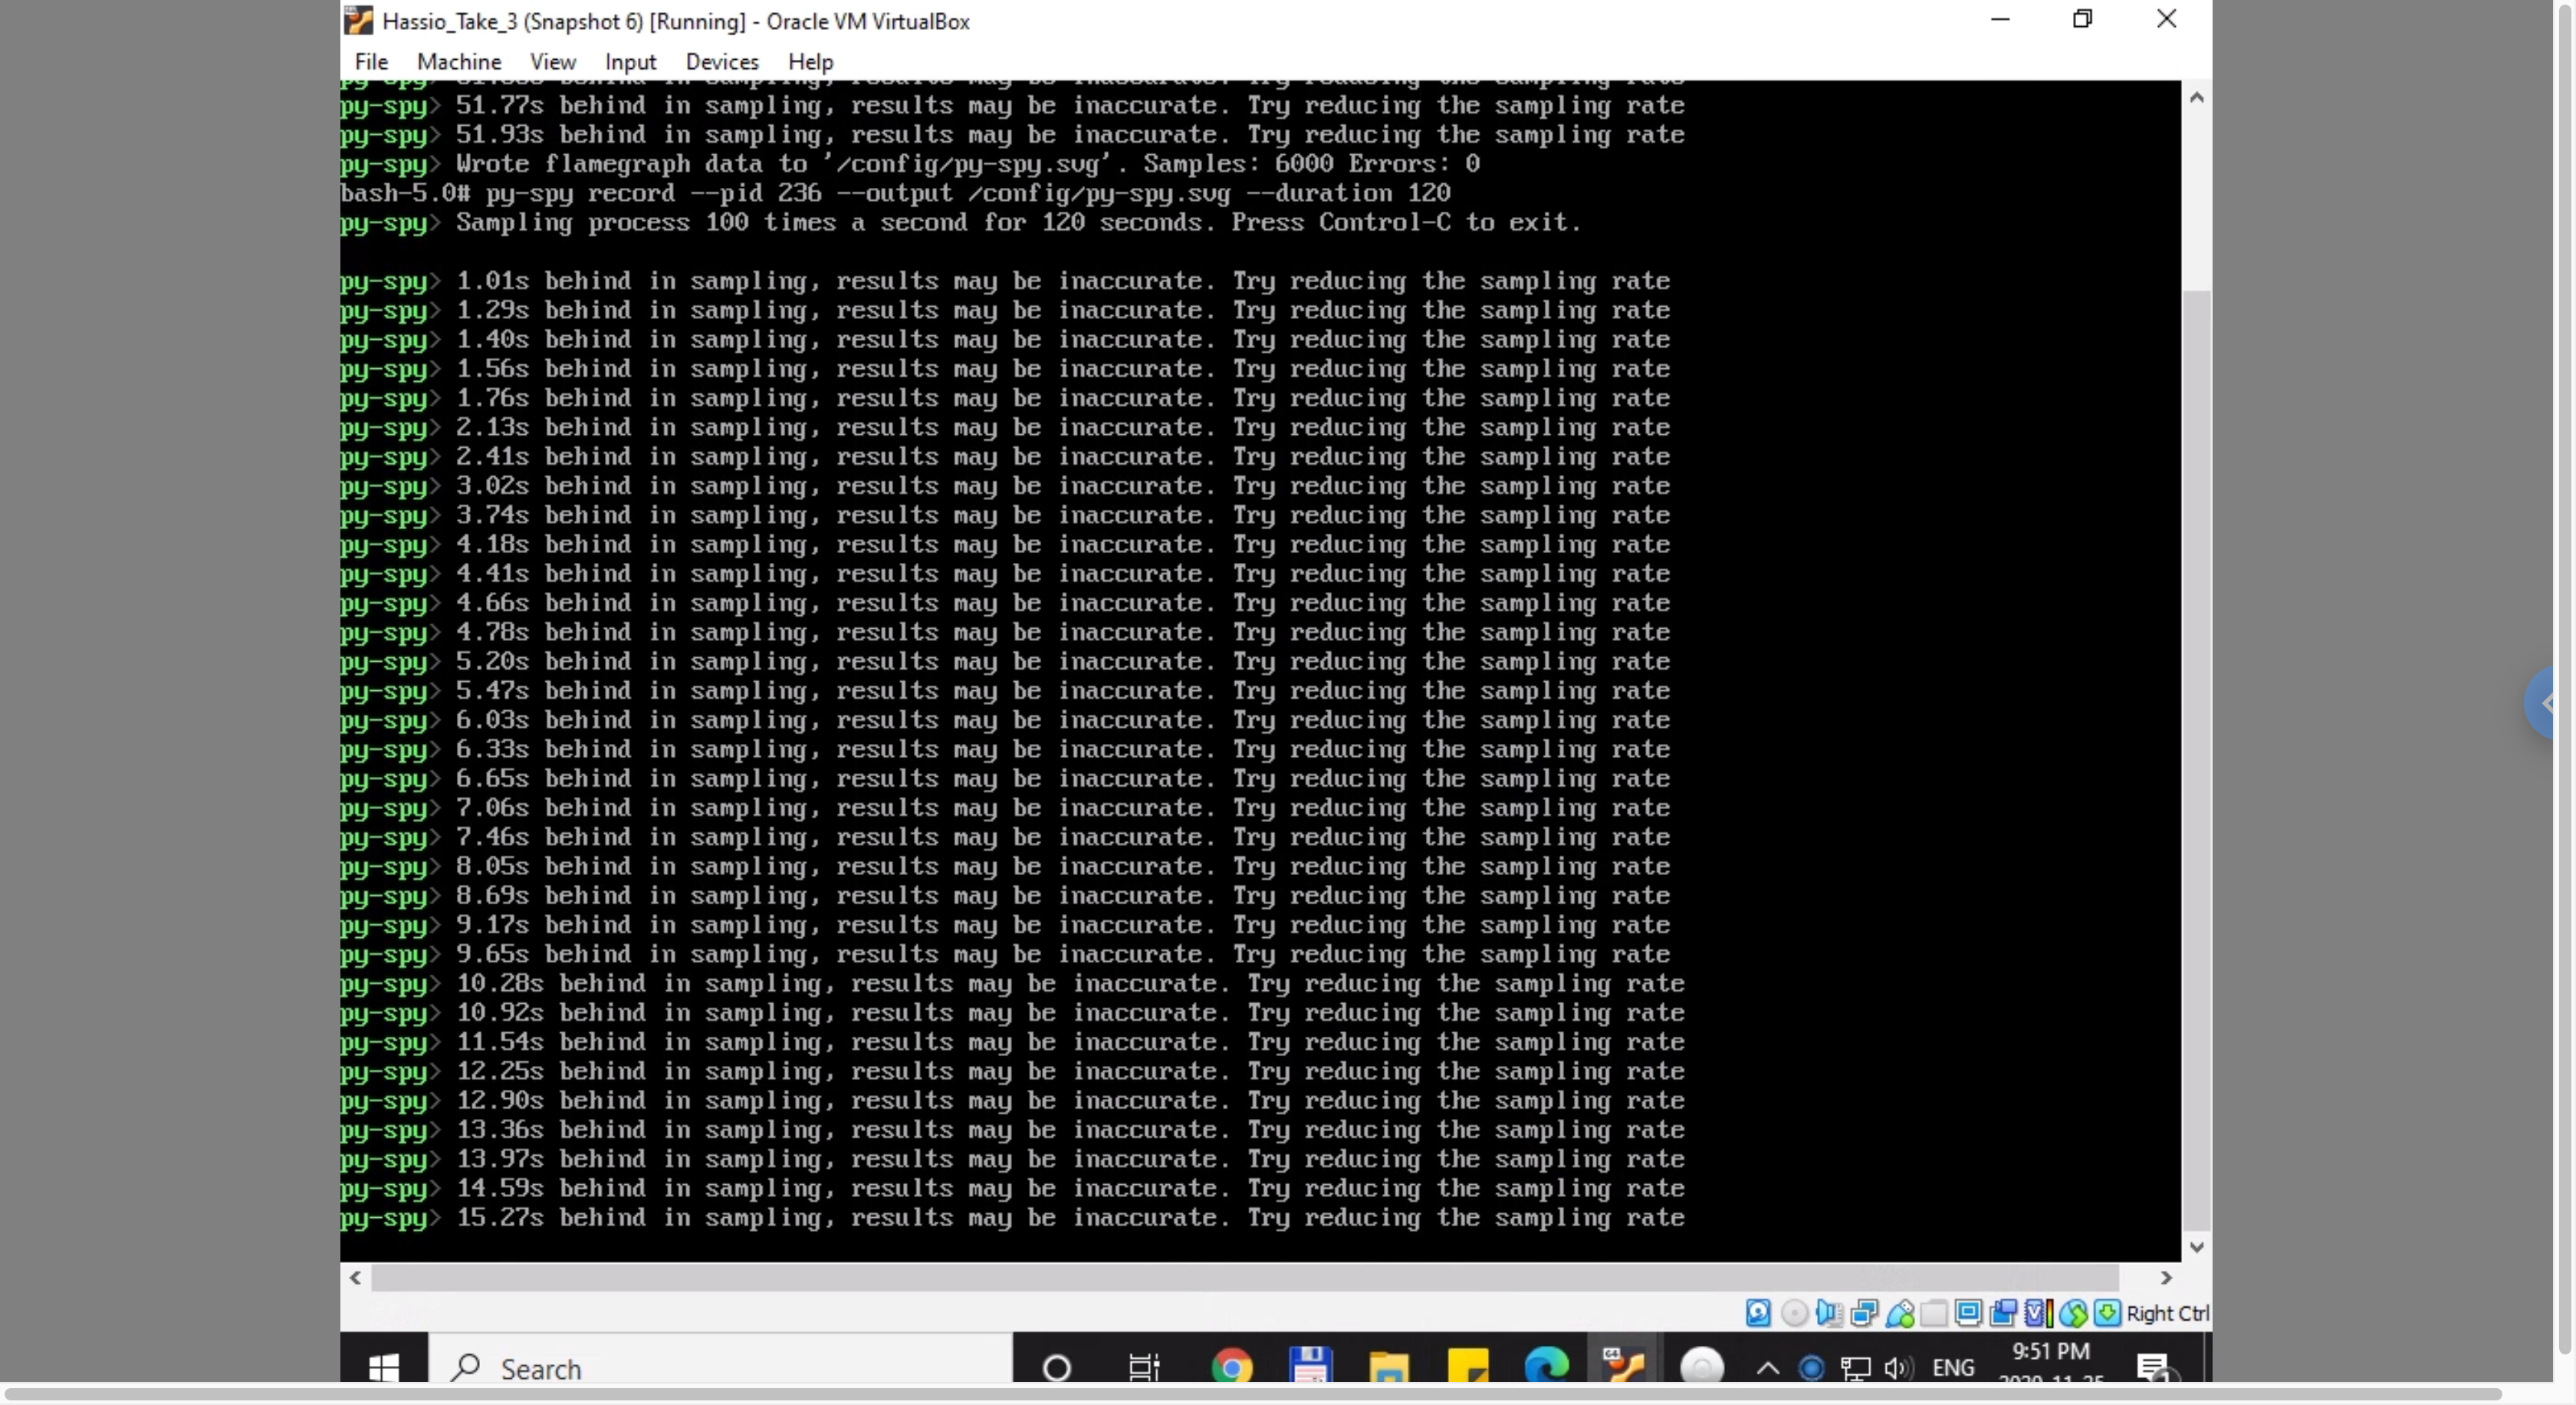
What I noticed during the sampling is that I was getting a message saying that sampling is behind and results may be inaccurate. I don’t know what to do to prevent that or if I got valid results.

For others who might struggle with running py-spy on a VM this is how I’ve done it:

  1. Start the VM
  2. Once Hassio is ready, in the VM window, type “login”
  3. When prompted for the username type “root”, there is no password
  4. You should see a big Home Assistant logo
  5. Now type “login” again to get access to the host
  6. There will be no username or password, but the cursor should change to “# _”

Frome there this is how I installed py-spy:

docker exec -it homeassistant /bin/bash
echo 'manylinux1_compatible = True' > /usr/local/lib/python3.8/site-packages/_manylinux.py
pip install py-spy

Once the py-spy is installed your cursor should change to something like “bash-5.0# _”

Type top to display all the processes that are currently running. At the top of the list will be the process that is using most of the resources. Take a note of its PPID, in my case 236 (python3 -m homeassistant --config /config)

Press ctrl+c to exit the list and run this command to generate the flame graph:

py-spy record --pid <your_ppid_goes_here> --output /config/py-spy.svg --duration 120

The SVG file will be saved in the config folder.

Post in the topic I linked to previously, bdraco will help you interpret the results.