PS: is this grafana?
No. Some theme I have found and the graph is stock from HA I believe.
It has been about 12 hours. Will see in a few days more.
PS: is this grafana?
No. Some theme I have found and the graph is stock from HA I believe.
It has been about 12 hours. Will see in a few days more.
Sorry for the late reply, no idea but maybe it’s because of the calibration??? I haven’t done it :(((((
Really interested to replace my child’s Arduino (pir+temp+luminance) by this with pm2.5+pir+dht22+luminance (not enough € to add co/co2)
Added a DHT22 (temporarily) and an IR emitter to mine to controle the AC sitting right on top of it.
Had to cut a bit off the top and added a translucent dome to make sure the signal passes through.
seems cool, please provide more pictures 
PS: please upload in the community forum, the external link catch some browser security errors…
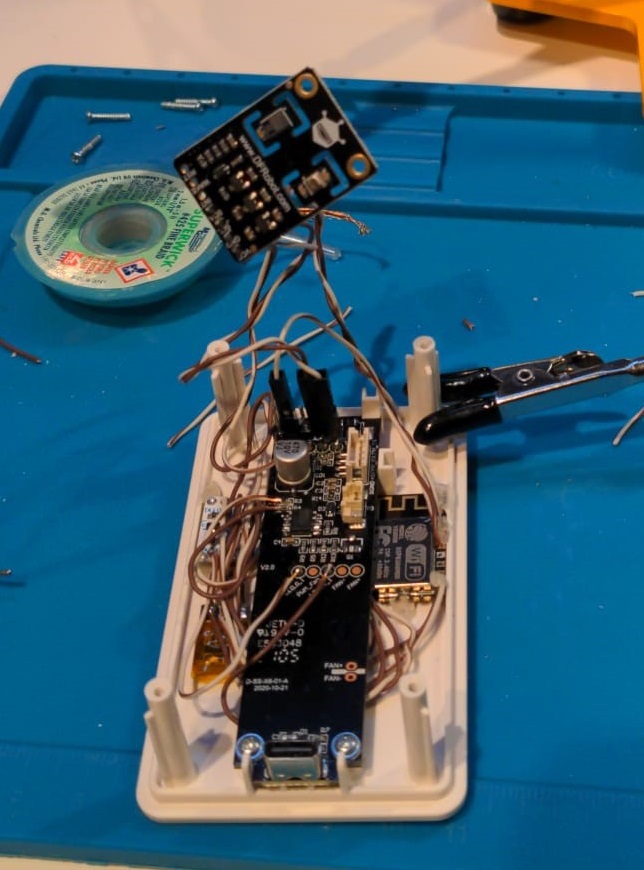
Well time for some show and tell - inspired by many posts on here I was going back and forth between modifying the Ikea sensor for simple data in HA to building my own sensor systems using better quality sensors.
I went ahead and purchased a few sensors just in case like the PMS5003 and a DFRobot SEN0335 which is a combination sensor board that has both CCS811+BME280 in a nice little package.
Ultimately last week I went to Ikea for other items and decided to get a Vindrikning while there - at first just plugging it in and leaving it in my den to watch it go back and forth between green , yellow and sometimes red - however with the knowledge in this thread I knew accuracy was something to be desired.
Long story short I decided to follow @fabiosoft guide with complete control over my Ikea sensor while adding the DFRobot board as well. While struggling with the placement of items and getting creative with wiring - ultimately it failed because I didn’t understand how to have the ESP-12F boot up while using all the inputs I required plus I used CAT6 wire which was a pain to work with.
Ultimately I decided that I would just use the casing and assemble the box with my new sensors that would ultimately give me a better end result for Data, while preserving the decently nice aesthetics of the Vindrikning box.
So I got to work fitting the following to the box:
Using better wire and some preplanning - this ultimately ended up being FAR easier to build (took half the time) and will provide me with more accurate data.
As always thanks again to all that have contributed in here for the ideas and curiosity to push to build gadgets like this!
Currently the ESPHome code is very basic - I will need to add more to make the sensors useful and apparently the VOC sensor needs to have a baseline set after a “48 hr burn in period”
uart:
  id: uart_1
  tx_pin: D6
  rx_pin: D7
  baud_rate: 9600

i2c:
  sda: D2
  scl: D1
  scan: True

sensor:
  - platform: pmsx003
    type: PMSX003
    pm_1_0:
      name: "Bedroom AQ PM <1.0µm Concentration"
    pm_2_5:
      name: "Bedroom AQ PM <2.5µm Concentration"
    pm_10_0:
      name: "Bedroom AQ PM <10.0µm Concentration"
    uart_id: uart_1

  - platform: bme280
    temperature:
      name: "Bedroom AQ Temperature"
      oversampling: 16x
    pressure:
      name: "Bedroom AQ Pressure"
    humidity:
      name: "Bedroom AQ Humidity"
    address: 0x76
    update_interval: 60s

  - platform: ccs811
    eco2:
      name: "Bedroom AQ eCO2 Value"
    tvoc:
      name: "Bedroom AQ Total Volatile Organic Compound"
    address: 0x5A
    update_interval: 60s

light:
  - platform: neopixelbus
    type: GRB
    variant: WS2812
    pin: D4
    num_leds: 3
    name: "Bedroom AQ Light"
Also the temp sensor is about 6 deg. C higher than actual room temp - not sure if I should be adjusting to reflect room temp or leave it for the best compensated readings for the other chip however.
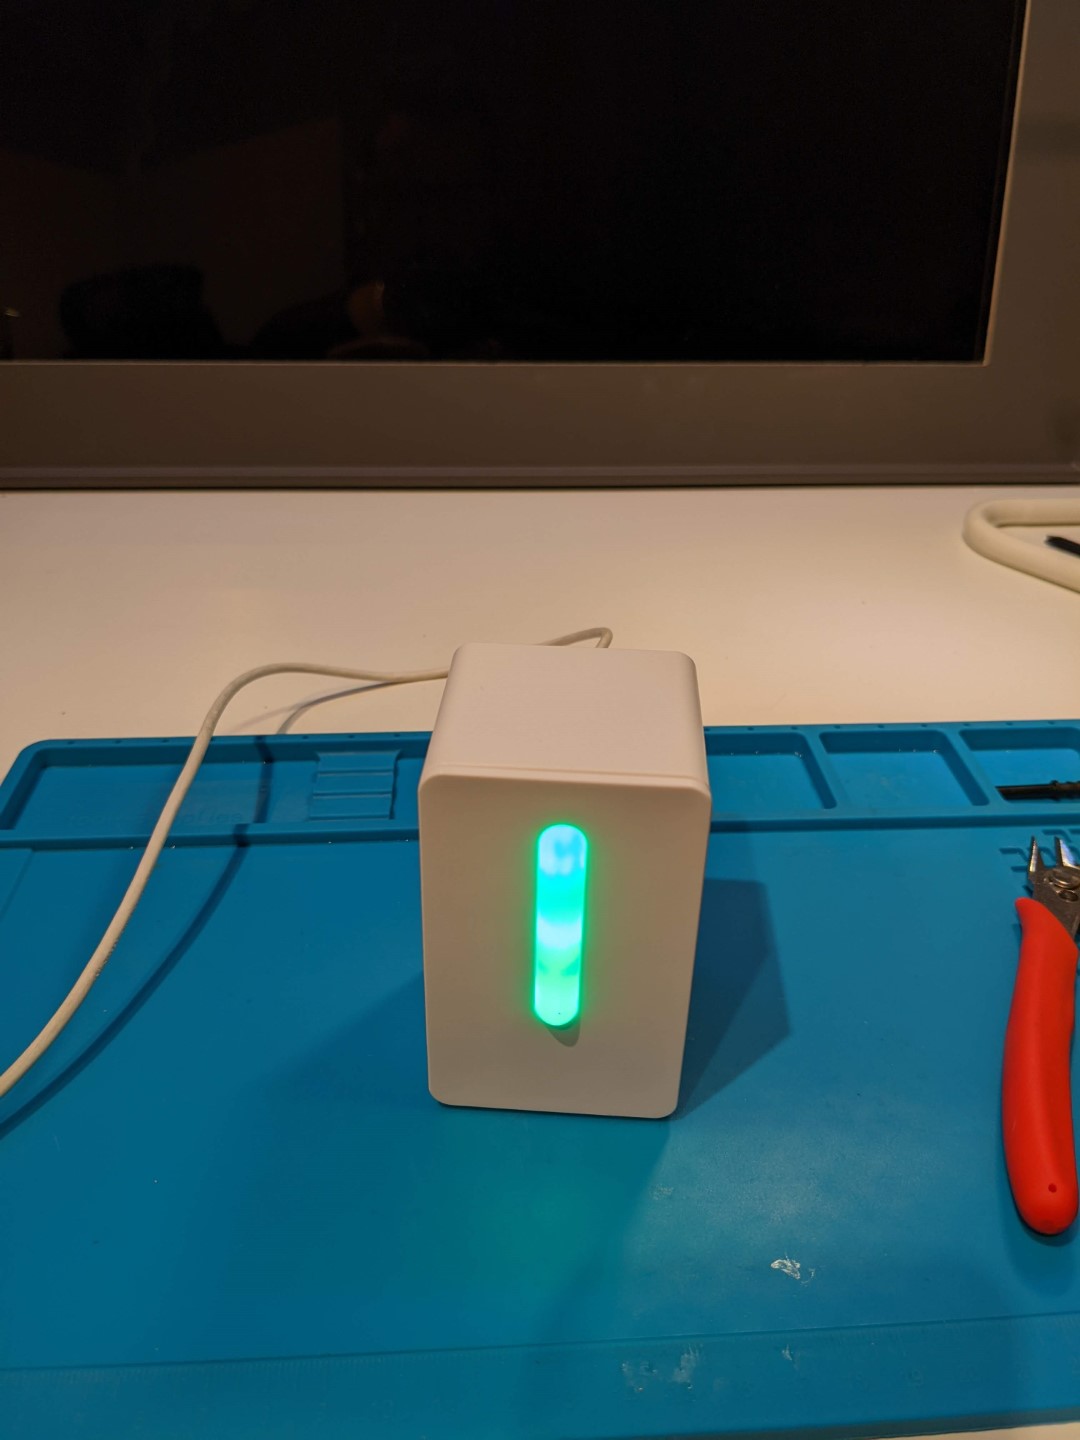
Either way, on to the pictures!
Wondering if someone can help me. I run a container for both ESPHome and HA on my QNAP. I wanted to try this, and bought an ESP32 from Amazon. In ESPHome, I originally used the wrong board type (realized I bought a “NodeMCU”). After updating the board type and installed OTA, my HomeAssistant just shows “Unknown” on the status of the sensor. I soldered the D2 pin to the REST on the IKEA board.
# Ikea Vindriktning PM2.5 sensor
uart:
  rx_pin: D2
  baud_rate: 9600

sensor:
  - platform: pm1006
    pm_2_5:
      name: "Ikea Vindriktning PM25"
I notice in the logs that it says the update interval is never. But when I try to add an interval, ESPHome says it requires a TX pin. I thought I only needed the three wires?
There is an explanation for that in the Esphome docs. PM1006 Particulate Matter Sensor — ESPHome
Thanks. I read that, so I figured no interval set was okay, but I’m still unsure as to why I am not getting any reading at all. Should I be using a different pin? Also, is it okay that I changed the model type of my board directly in the YAML instead of creating a new one?
The output of my ESP8266 is as follows:
[08:05:51][C][logger:233]: Logger:
[08:05:51][C][logger:234]:   Level: DEBUG
[08:05:51][C][logger:235]:   Log Baud Rate: 115200
[08:05:51][C][logger:236]:   Hardware UART: UART0
[08:05:51][C][uart.arduino_esp8266:095]: UART Bus:
[08:05:51][C][uart.arduino_esp8266:097]:   RX Pin: GPIO4
[08:05:51][C][uart.arduino_esp8266:099]:   RX Buffer Size: 256
[08:05:51][C][uart.arduino_esp8266:101]:   Baud Rate: 9600 baud
[08:05:51][C][uart.arduino_esp8266:102]:   Data Bits: 8
[08:05:51][C][uart.arduino_esp8266:103]:   Parity: NONE
[08:05:51][C][uart.arduino_esp8266:104]:   Stop bits: 1
[08:05:51][C][uart.arduino_esp8266:108]:   Using software serial
[08:05:51][C][pm1006:017]: PM1006:
[08:05:51][C][pm1006:018]:   PM2.5 'Ikea Vindriktning PM25'
[08:05:51][C][pm1006:018]:     Device Class: 'pm25'
[08:05:51][C][pm1006:018]:     State Class: 'measurement'
[08:05:51][C][pm1006:018]:     Unit of Measurement: 'µg/m³'
[08:05:51][C][pm1006:018]:     Accuracy Decimals: 0
[08:05:51][C][pm1006:018]:     Icon: 'mdi:blur'
[08:05:51][C][pm1006:019]:   Update Interval: never
[08:05:51][C][captive_portal:151]: Captive Portal:
[08:05:51][C][ota:082]: Over-The-Air Updates:
[08:05:51][C][ota:083]:   Address: airquality1.local:8266
[08:05:51][C][ota:086]:   Using Password.
[08:05:51][C][api:134]: API Server:
[08:05:51][C][api:135]:   Address: airquality1.local:6053
[08:05:51][C][api:139]:   Using noise encryption: NO
[08:05:51][C][mdns:084]: mDNS:
[08:05:51][C][mdns:085]:   Hostname: airquality1
The pin (D2) works fine on an ESP8266. The log output looks fine thus far.
What you should now see are entries like this about every 2 seconds:
[20:47:07][D][pm1006:091]: Got PM2.5 Concentration: 25 µg/m³
[20:47:09][D][pm1006:091]: Got PM2.5 Concentration: 25 µg/m³
Maybe it’s time to double-check the wiring, i.e. make sure that D2 is actually connected to REST and the cable is not accidentally touching the surrounding pads?
Wow, rookie mistake. I opened it back up and realized I had attached it to D1 instead of D2 on my 8266. Thanks for the advice!!
I know this is an old post… any posibility to list the component use for your IKAE vindritning. Want to just have my sensor connect to HA
thanks man,
Jeez, I wish somebody would fire up kicad and make a custom PCB for this that’s plug and play. Just add a CS811 and BME280 and we’ve got the ESPHome sensor everybody has always been waiting for
I’m testing this sensor with bad smelling burning food in kitchen… let’s see if this can prevent kitchen accidents…
Have you guys seen vccground’s video of a Tasmota-based mod of the VINDRIKTNING that results in PM1, PM2.5 and PM10 being measured separately?

His binary is here:
I was wondering if we could reverse engineer what he’s doing that lets him tap into the 3 separate readings while we’re only getting PM2.5 readings.
Read the topic again from this point. @Habbie asked CUBIC about the other values.
Sorry, I’ve just noticed that he uses the Tasmota firmware. And Tasmota added support for PM1 and PM2.5, but those were made on assumptions. The aforementioned point of the discussion (or around that), has some comment about the Tasmota code as well.


