I have a couple rack cabinets in my Media Room which hold all my networking and NAS gear. Temperature inside the networking rack is always higher than ambient due to all the equipment so my goal is to bring it down as close as possible to ambient. To date I was using an AC Infinity fan controller that was sitting on top of the rack. While this worked relatively well, the fans were quite week and I had no automated way to turn the fans down while watching movies in the media room. Plus… the most horrific thing ever… I could not control it from Home Assistant !!! Time to fix that, and improve on the original setup.
I purchased a couple fans with significantly better spec to cool the rack but inevitably this also means more noise. The fans are regular 12v DC fans so I am using a 3.3V logic level MOSFET to power them with PWM to control the speed. Most PWM fans do NOT stop per design so having the fans complete halt would have required to cut power to them, and when turning on it would not have been gradual making it more noticeable. Using regular fans means the fans will spill accordingly from 1% to 100%.
Below are a couple pictures showing my original setup. I took them from another thread I had started when I was investigating how to accomplish this project (link below).


Old thread of when I started looking into this:
As of now, the ESP32 controls the speed (PWM) of the 2 fans based on a fixed temperature scale I baked into the code. I can disable the fans from HA, and I can override the fan speed from HA. This will allow me to either disable or set at a slow speed the fans when watching movie depending on the noise level that is acceptable. I will automate this so that an override is automatically turned off when the projector turns off or some other criteria. It is a media room so it is only used to watch movies.
This is what it currently looks like in HA:

Fan Speed shows what the fans are actually doing so it will be 0% when off, x% when running in auto mode, or whatever the override is when in that mode.
Temperature is from a sensor mounted on the controller box (more on that later). The sensor also provided humidity so that is why it is there, but there is no need for it and will likely remove it as I did for pressure since that too was available on the same sensor. The rest is self explanatory but ask if you have questions.
The YAML is likely pretty crude as I had no idea how to accomplish this until I started testing options. It is currently in a state where it works but there are likely way better ways to do this. I want to look into adopting remap (I think that is the correct name for it) to vary the PWM based on the temperature instead of using discrete steps.
Any suggestions on how to improve the code would be greatly appreciated!
substitutions:
  devicename: network-rack-fans
  devicename_no_dashes: network_rack_fans
  friendly_devicename: "Network Rack Fans"
  device_description: "Network Rack Fans"
  update_interval_s: "5s"
  pwm00_t: "23.0" #23.0
  pwm05_t: "23.5" #23.5
  pwm10_t: "24.0" #24.0
  pwm20_t: "25.0" #25.0
  pwm30_t: "26.0" #26.0
  pwm40_t: "27.0" #27.0
  pwm50_t: "28.0" #28.0
  pwm60_t: "29.0" #29.0
  pwm70_t: "30.0" #30.0
  pwm80_t: "32.0" #32.0
  pwm90_t: "34.0" #34.0
  pwm100_t: "35.0" #35.0

esphome:
    name: ${devicename}
    comment: ${device_description}

esp32:
  board: nodemcu-32s
  framework:
    type: arduino

# Enable logging
logger:

# Enable Home Assistant API
api:
  password: !secret api_pwd

ota:
  password: !secret ota_pwd

wifi:
  ssid: !secret iot_wifi_ssid
  password: !secret iot_wifi_password

#Faster than DHCP. Also use if can't reach because of name change
#  manual_ip:
#    static_ip: 192.168.3.196
#    gateway: 192.168.3.1
#    subnet: 255.255.255.0
#    dns1: 192.168.1.25
#    dns2: 192.168.1.26

#Manually override what address to use to connect to the ESP.
#Defaults to auto-generated value. Example, if you have changed your
#static IP and want to flash OTA to the previously configured IP address.
  use_address: 192.168.3.196

  # Enable fallback hotspot (captive portal) in case wifi connection fails
  ap:
    ssid: "${devicename} Hotspot"
    password: !secret iot_wifi_password

web_server:
  port: 80
  include_internal: true

captive_portal:

text_sensor:
  - platform: wifi_info
    ip_address:
      name: "${friendly_devicename}: IP"
      icon: "mdi:ip-outline"
      update_interval: 2s
    ssid:
      name: "${friendly_devicename}: SSID"
      icon: "mdi:wifi-settings"
      update_interval: 2s
    bssid:
      name: "${friendly_devicename}: BSSID"
      icon: "mdi:wifi-settings"
      update_interval: 2s
    mac_address:
      name: "${friendly_devicename}: MAC"
      icon: "mdi:network-outline"
    scan_results:
      name: "${friendly_devicename}: Wifi Scan"
      icon: "mdi:wifi-refresh"
      disabled_by_default: true

#https://esphome.io/guides/automations.html?highlight=restore_value#bonus-2-global-variables
globals: ##to set default reboot behavior
## loop on/off
  - id: network_rack_fans
    type: bool
    restore_value: no
    initial_value: "true"
  - id: fan_speed
    type: float
    restore_value: no
    initial_value: '0'
  - id: fan_speed_or
    type: float
    restore_value: no
    initial_value: '0.0'
#  - id: fan_setting
#    type: float
#    restore_value: no
#    initial_value: '0.0'

i2c:
  sda: GPIO33
  scl: GPIO32
  scan: true

#Configuration entry for 18B20 sensor
#dallas:
#  - pin: GPIO21
#    update_interval: 10s


switch:
  - platform: restart
    name: "${friendly_devicename}: Restart"

button:
  - platform: safe_mode
    name: "${friendly_devicename}: Restart (Safe Mode)"

binary_sensor: #pull in HA value
  - platform: homeassistant
    id: enable_fans
    internal: true
    entity_id: input_boolean.${devicename_no_dashes}
    on_state:
      - globals.set:
          id: network_rack_fans
          value: !lambda 'return id(enable_fans).state;'

  - platform: homeassistant
    id: override_control
    internal: true
    entity_id: input_boolean.${devicename_no_dashes}_override_speed


output:
  - platform: ledc
    pin: GPIO16
    frequency: 19531 Hz
    id: fan_pwm


sensor:
  - platform: wifi_signal
    name: "${friendly_devicename}: WiFi Signal"
    update_interval: 60s
    device_class: signal_strength

  - platform: template
    id: report_fan_speed
    name: "${friendly_devicename}: Fan Speed"
    icon: "mdi:fan"
    lambda: return id(fan_speed) * 100;
    unit_of_measurement: "%"
    accuracy_decimals: 0
    update_interval: ${update_interval_s}

  - platform: homeassistant
    id: fan_speed_override
    internal: true
    entity_id: input_number.${devicename_no_dashes}_speed
    on_value:
      - globals.set:
          id: fan_speed_or
          value: !lambda 'return id(fan_speed_override).state;'

#  - platform: dallas
#    address: 0x87020f9245641228
#    name: "18B20 sensor"
#    filters:
#    - calibrate_linear:
#        # Map 0.0 (from sensor) to 0.0 (true value)
#        - 1.5 -> 0.0
#        - 23.0 -> 24.0

#  - platform: dallas
#    address: 0xb7021792453ac128
#    name: "18B20 sensor2"
#    filters:
#    - calibrate_linear:
#        # Map 0.0 (from sensor) to 0.0 (true value)
#        - 2.0 -> 0.0
#        - 23.0 -> 24.0
#    - lambda: return x;

#  - platform: qmp6988
#    temperature:
#      name: "${friendly_devicename}: Temperature 2"
#      oversampling: 16x
#    pressure:
#      name: "${friendly_devicename}: Pressure"
#      oversampling: 16x
#    address: 0x70
#    update_interval: 5s
#    iir_filter: 2x

  - platform: sht3xd
    address: 0x44
    update_interval: 2s
    humidity:
      name: "${friendly_devicename}: Humidity"
    temperature:
      name: "${friendly_devicename}: Temperature"
      id: rack_temp
      on_value:
        then:
          lambda: |-

            if (id(network_rack_fans)) {
                  if (!id(override_control).state) {
                      if (id(rack_temp).state < ${pwm00_t}) {
                          id(fan_speed) = 0.0;
                      }
                      /*Adding 0.5C to prevent constant on/off when temp is right at 23*/
                      else if ((id(rack_temp).state >= ${pwm00_t}) and (id(rack_temp).state <= ${pwm05_t})) {
                          ESP_LOGD("PWM", "Leave PWM as is. Dead band.");
                      }
                      else if ((id(rack_temp).state >= ${pwm05_t}) and (id(rack_temp).state <= ${pwm10_t})) {
                          id(fan_speed) = 0.05;
                      }
                      else if ((id(rack_temp).state > ${pwm10_t}) and (id(rack_temp).state <= ${pwm20_t})) {
                          id(fan_speed) = 0.1;
                      }
                      else if ((id(rack_temp).state > ${pwm20_t}) and (id(rack_temp).state <= ${pwm30_t})) {
                          id(fan_speed) = 0.2;
                      }
                      else if ((id(rack_temp).state > ${pwm30_t}) and (id(rack_temp).state <= ${pwm40_t})) {
                          id(fan_speed) = 0.3;
                      }
                      else if ((id(rack_temp).state > ${pwm40_t}) and (id(rack_temp).state <= ${pwm50_t})) {
                          id(fan_speed) = 0.4;
                      }
                      else if ((id(rack_temp).state > ${pwm50_t}) and (id(rack_temp).state <= ${pwm60_t})) {
                          id(fan_speed) = 0.5;
                      }
                      else if ((id(rack_temp).state > ${pwm60_t}) and (id(rack_temp).state <= ${pwm70_t})) {
                          id(fan_speed) = 0.6;
                      }
                      else if ((id(rack_temp).state > ${pwm70_t}) and (id(rack_temp).state <= ${pwm80_t})) {
                          id(fan_speed) = 0.7;
                      }
                      else if ((id(rack_temp).state > ${pwm80_t}) and (id(rack_temp).state <= ${pwm90_t})) {
                          id(fan_speed) = 0.8;
                      }
                      else if ((id(rack_temp).state > ${pwm90_t}) and (id(rack_temp).state <= ${pwm100_t})) {
                          id(fan_speed) = 0.9;
                      }
                      else {
                          id(fan_speed) = 1.0;
                          ESP_LOGD("ALERT", "OVER ${pwm100_t}C! Setting fan to 100");
                      }
                      ESP_LOGD("ALERT", "TEMPERATURE CONTROL ON");
                  } else {
                      id(fan_speed) = id(fan_speed_or) / 100;
                      ESP_LOGD("ALERT", "OVERRIDE IS ON AND SET TO %d%%", int(id(fan_speed) * 100));
                  }
            } else {
              id(fan_speed) = 0.0;
              ESP_LOGD("ALERT", "FANS TURNED OFF");
            }
            id(fan_pwm).set_level(id(fan_speed));
            ESP_LOGD("PWM", "PWM: %d%%" , int(id(fan_speed) * 100));
            ESP_LOGD("PWM", "PWM OVERRIDE: %d%%" , int(id(fan_speed_or)));
This is what the controller looks like. The thing on the top is a M5Stack ENV III Unit with Temperature Humidity Air Pressure Sensor (SHT30+QMP6988). The ESPHome calls it a QMP6988 but that is only one of the two sensors inside the sensor enclosure. Both talk to the ESP32 via I2C so I just picked one of the two… sorry I forget why. Both were pretty the same in terms of useful accuracy. I think I picked the SHT30 as it provided humidity which is more interesting that pressure for this application even though neither are needed.
At first I had installed the sensor inside the enclosure making a nice round hole where the small openings are on the sensor. I soon realized that the ESP32 was causing to sensor to read high as it generates heat. I therefore moved the sensor on the outside but it was still warming up too much so I added a layer of foam and aluminum tape to shield it a bit. That helped a lot and setting it with the sensor facing down (as it will be installed in the cabinet) essentially neutralized the effect of the heat generated by the ESP32.
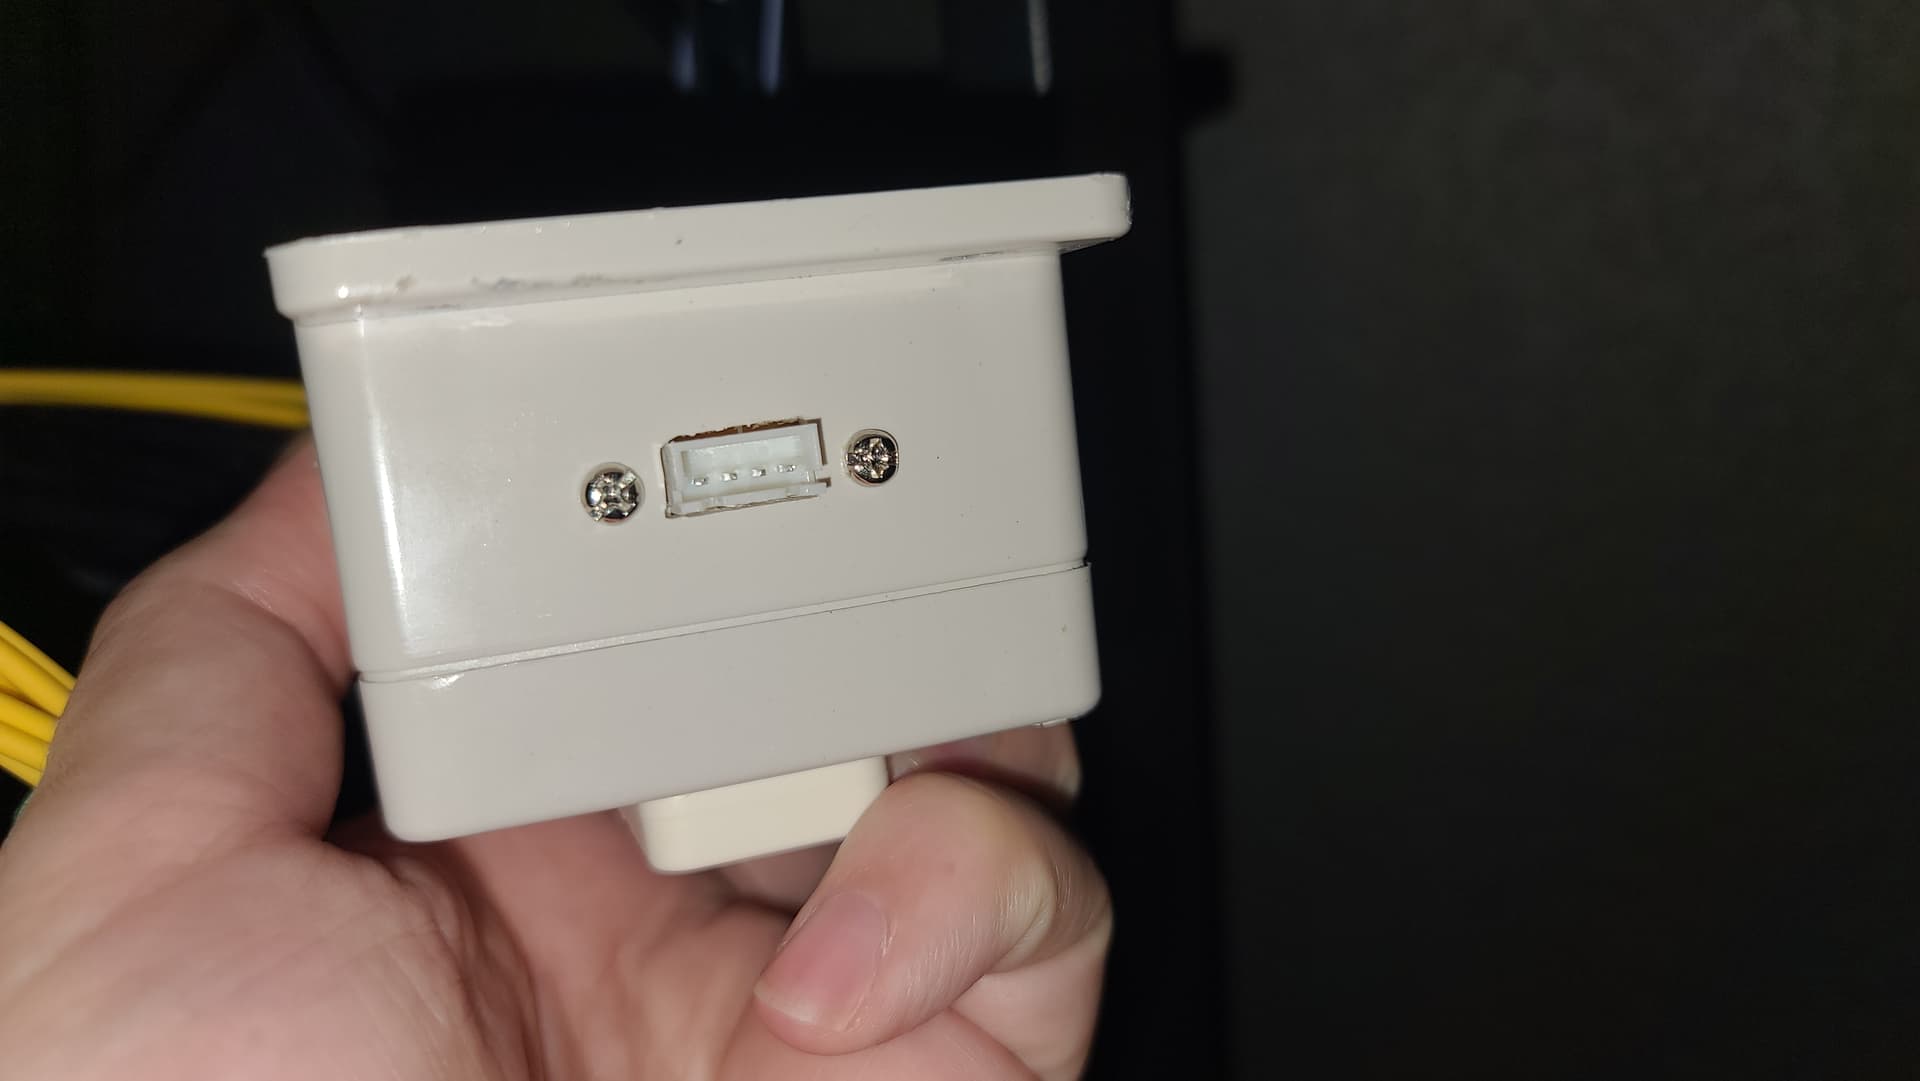
The board on the left reduces the 12V I power this with to just above 5V which powers the ESP32. The little board in the middle is a level shifter given the sensor I am using is 5V TTL. The vertical board with 2 white connectors is the 3.3V logic level power MOSFET I use to power / control the 12V fans. Both fans are actually connected to a single connector as I made a Y split on the black wire. The white connector on the far right is for a future DALLAS 18B20 temperature sensor to measure temperature outside the rack as equalizing the two is what is needed… fans can’t make the inside of the cabinet any cooler than the outside… I added (not shown in the picture) another connector accessible from the outside for 5V I2C devices (a screen for example).
I had a couple magnets that fit perfectly in length and thickness under the box (sorry no picture for now) where the 2 holes are. I used tape to block the holes and used epoxy to set them in the recessed area. I now can attach the controller box upside-down inside the rack next to the fans.


EDIT: Adding a few pictures showing the magnets, the external I2C connector and where I mounted the controller box (magnetically) :


EDIT2: I took this picture of the inside of the controller box when investigating why my temperature readings were so high and found that the cause was heat generated by the ESP32 itself (the hot spot is the voltage regulator)…


 Someone said that red makes it look ‘faster’, lol I agree
  Its an RGB light strip but it is always on red when on.