My preferred communication protocol is Z-Wave though, so my question is basically: Did anyone try this setup with a Z-Wave door sensor? I’m eyeing the Aeotec one but I have no idea if it would work the same way and I don’t know much about the soldering stuff
All the door/window contact sensors I know of (zigbee, zwave, wifi, rf) use a magnetic reed switch. This part is very easy to identify when you take the cover off the device. So you should have no issue replicating this with a different contact sensor.
I put a Zooz ZSE43 Tilt/Shock sensor on my office chair just for fun and it works. I actually took it of because it worked to good and was eating the battery up quick…I’m fidgety in my chair, but it does have the ability to use only one of the sensors or both.
Thats good to know, thanks! Just ordered the Aeotec sensor so I can try it with that one. And if it doesn’t work, I can still use it normally somewhere which is fine too
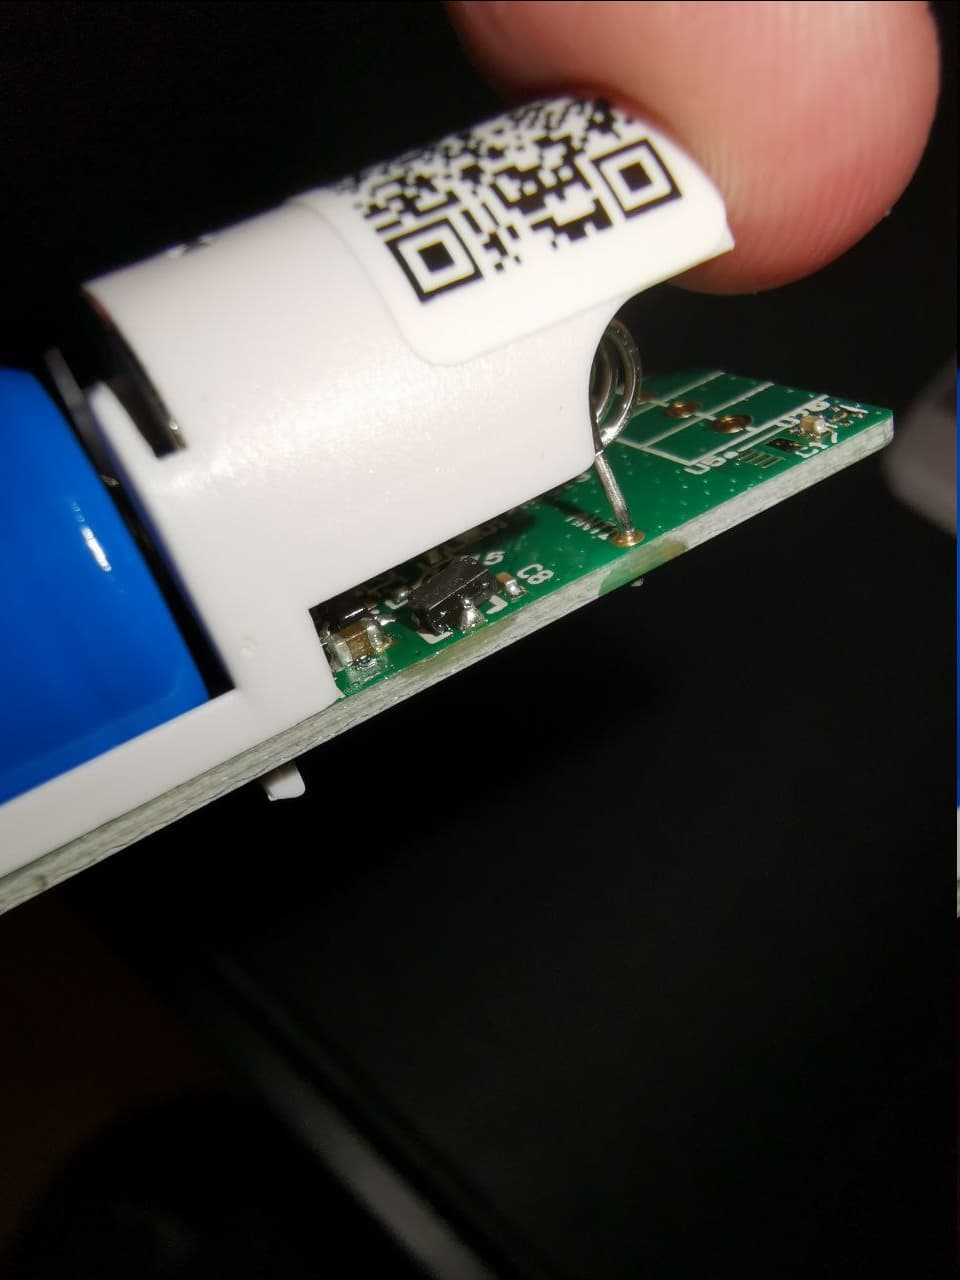
I think I need some help identifying the part where I need to solder the cable to
So the first picture shows the side where it connects to the counter part. On the second one the bottom side is the connecting part.
Just tried that and re-interviewed the sensor. It seems to be swapped since the entity state doesn’t change with the magnet (the LED still blinks) but the pressure sensor doesn’t work.
Maybe my soldering is too bad mh Not sure how to do it properly though
Edit: I think it swaps the mode back automatically. When I change it, the magnet doesn’t work for a short time but the pressure sensor doesn’t work either. After a while it swaps back and the magnet works again
The problem might be, that I don’t have the pro version of the sensor… On their user guide, Parameter 1 is not listed while it is on the pro versions guide:
Get a piece of wire or a paperclip or anything conductive and connect the two pads that you soldered to. This checks if the input is working and if your pressure sensor is a dud.
Well the problem is as I expected. Folks, be sure to read on the product you buy for those kinds of projects Guess I’ll get the pro version then. I’m sure I’ll find a purpose for the regular one. Thanks for taking the time to help!
 Can’t find a german version for this unfortunately.