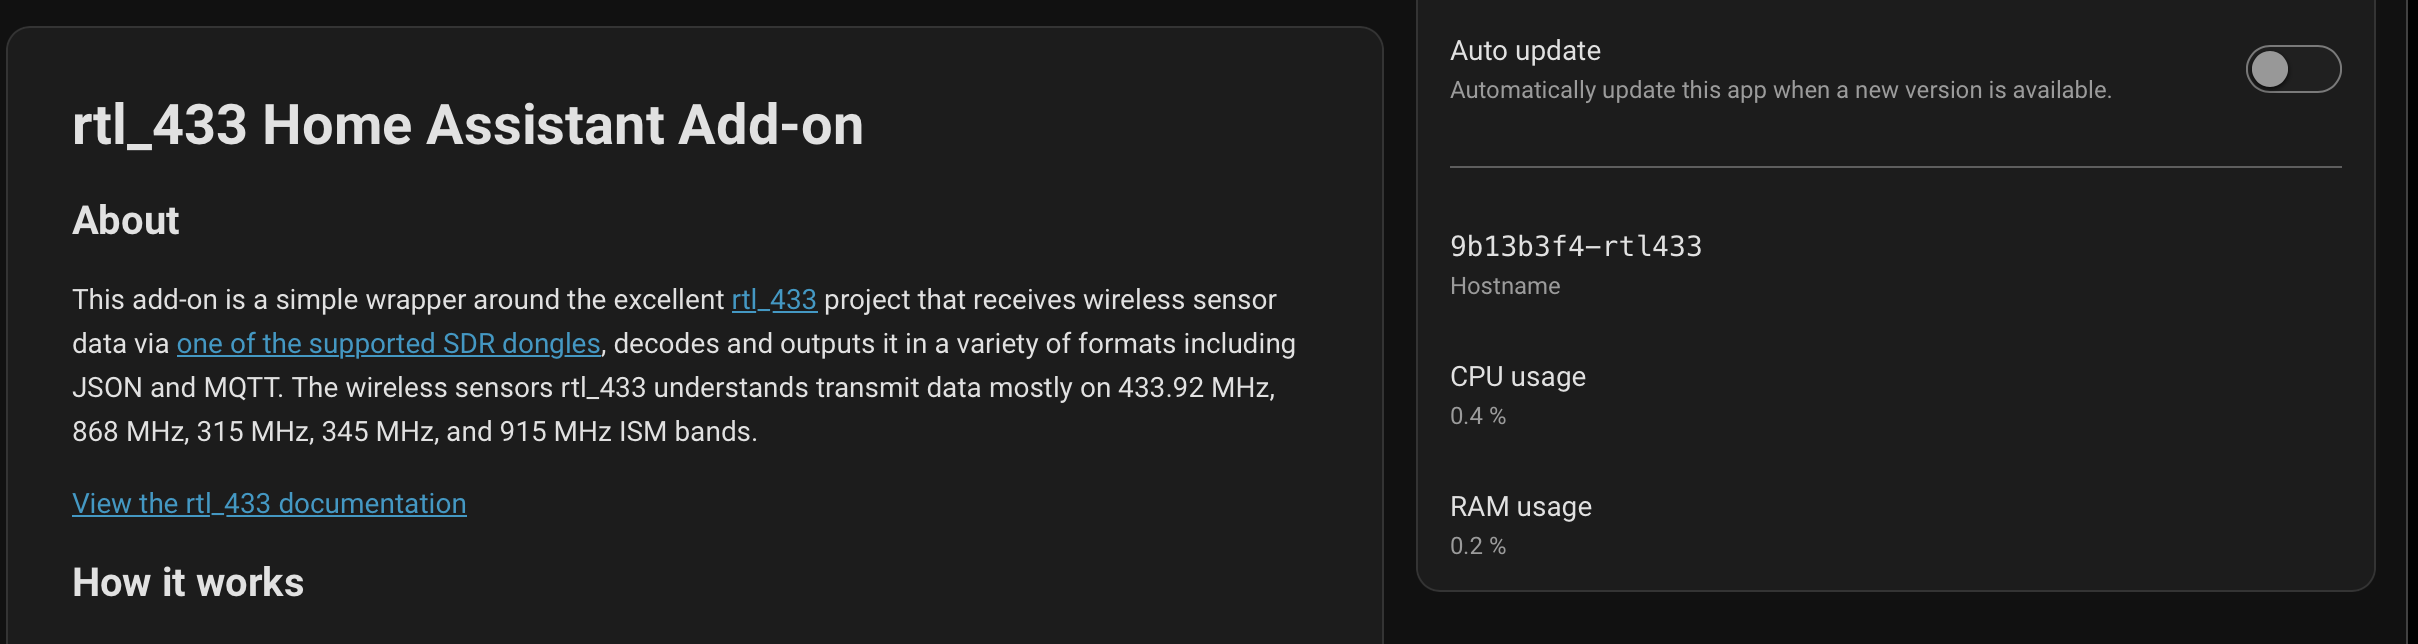
See the documentation site for all of the current details and setup instructions.
Highlights include:
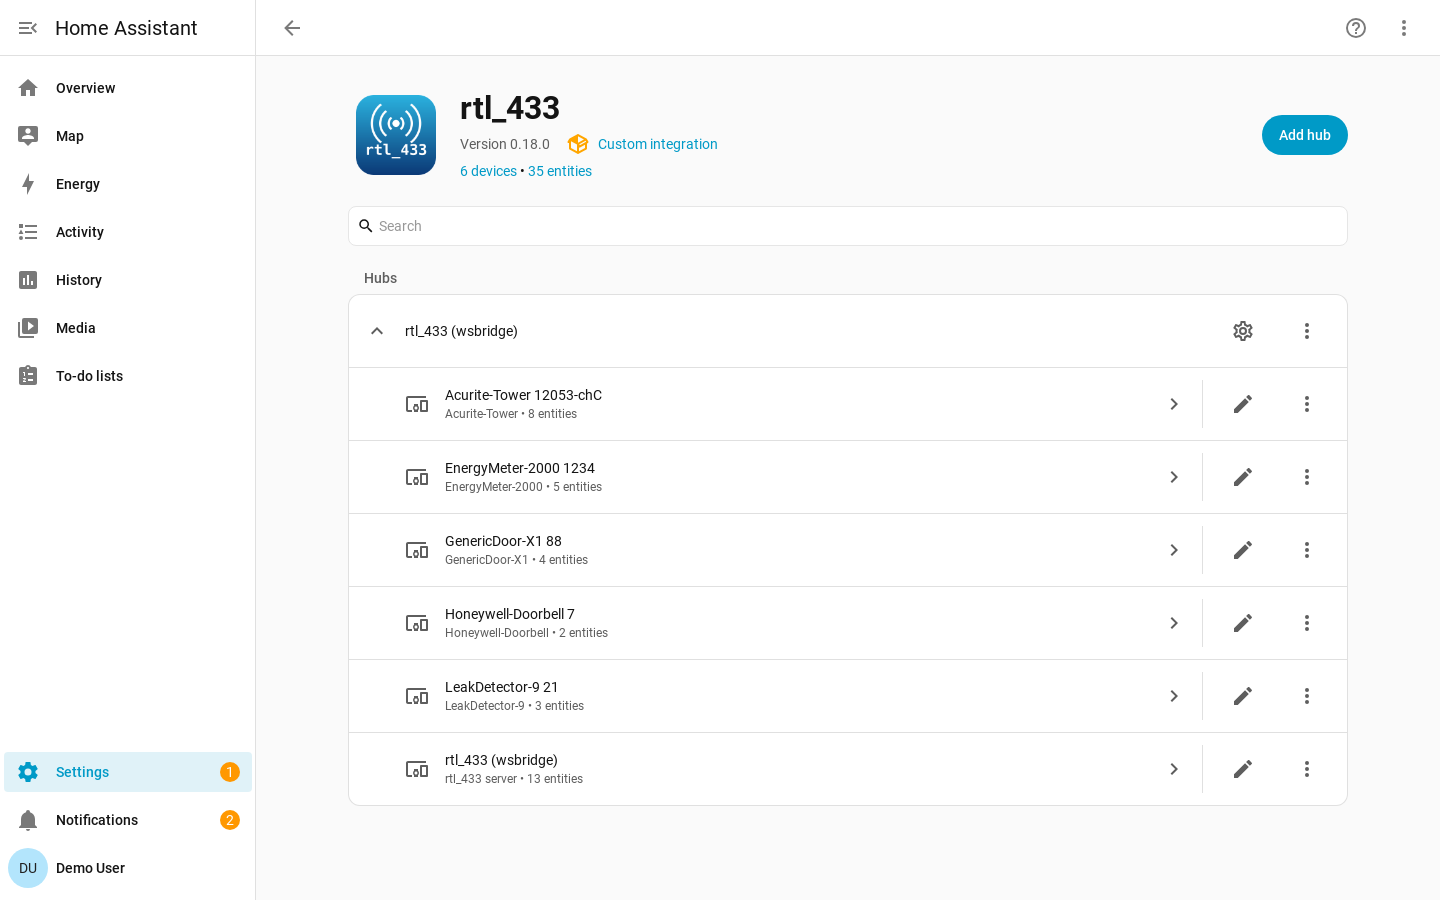
A fully-featured Home Assistant integration that uses the http / websocket API instead of MQTT. This replaces the autodiscovery script and addon. New features include built-in support to measure and set PPM offsets, measuring the noise floor, and stamping a unique serial number on radios that ship with a generic “#1” serial.
I’ve been running these myself in my normal home system for the past month or so. My hope is that setup and installation is much easier - I’ve seen myself first-hand new users getting really tripped up on the autodiscovery side of things with the original addon I’ve been maintaining at Home Assistant Add-on: rtl_433 with MQTT auto discovery.
Yes, the addon still has support for customizing the configuration file. By default, it disables TPMS sensors (and that’s got a checkbox in the addon settings). For anything beyond that, if you look at the startup logs it will tell you where to upload a custom configuration file that’s merged into the basic one it sets up.
however you may not need to do that - I haven’t at least! On the integration side, each hub has a discovery on / off toggle. Turn it on, wait until your desired devices are registered, and turn it back off. Even though the underlying rtl_433 process will be decoding all protocols, nothing new will show up in Home Assistant. If any extra devices are registered, you can delete them as normal in Home Assistant and they won’t come back unless you re-enable discovery.
Any verbose logs will show up on the addon side, as long as rtl_433 is configured to emit them. I don’t think the auto level information is available on the HTTP API.
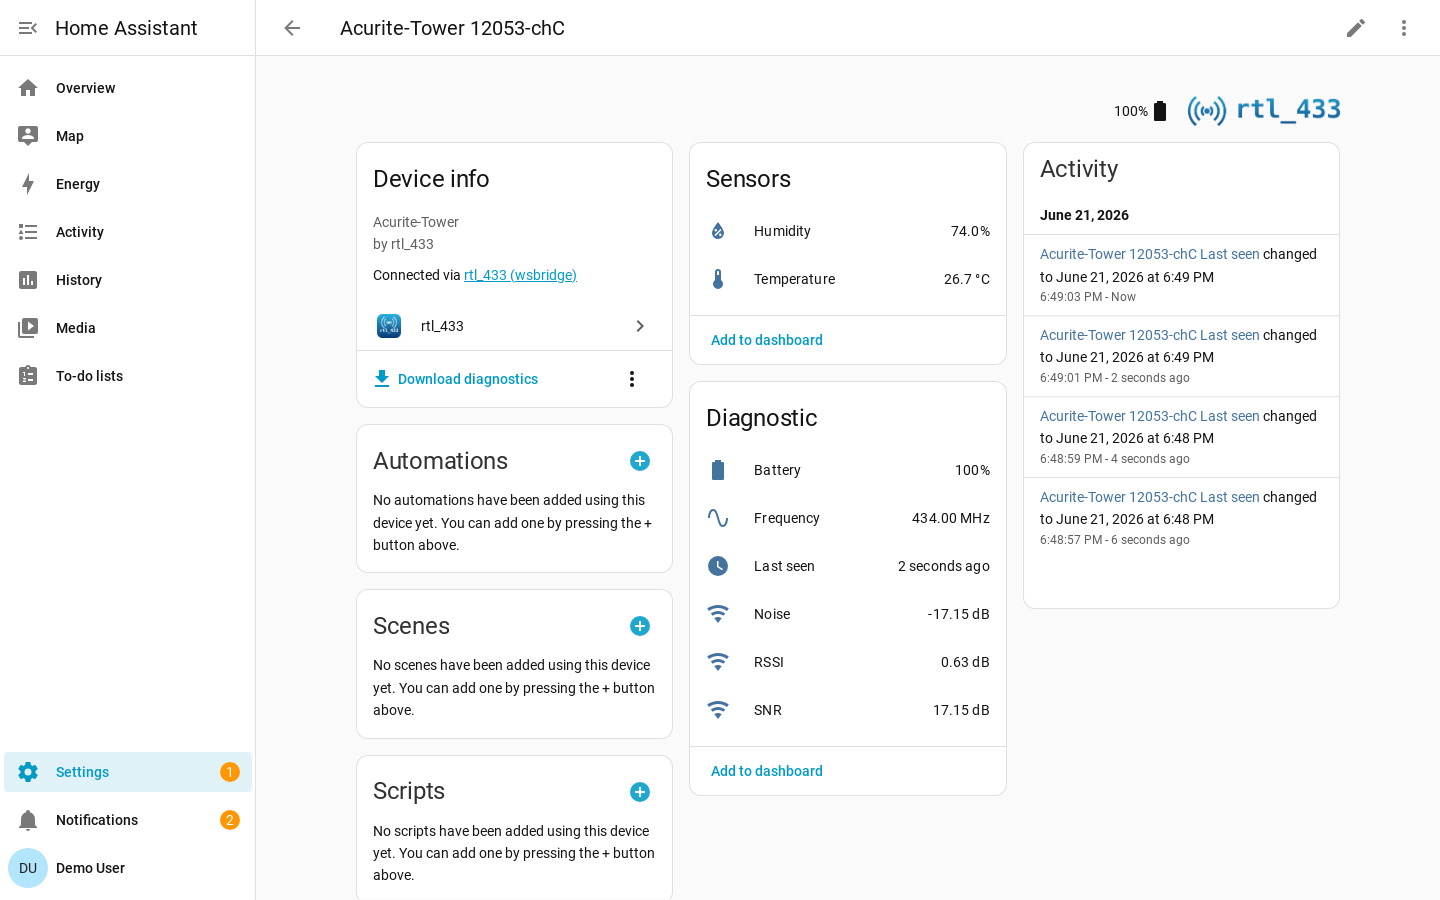
You might find the device diagnostic entities do what you’re looking for. They’re disabled by default, but if you turn them on you can see noise / RSSI / SNR for each device. I’ve used it myself in troubleshooting flaky connections.
OK thanks for the tip. I’ve noticed that sometimes mydevices are not being discovered because of the big noise. That is why I use these noise level logs…
It looks like rtl_433 does emit this over http, and we were just dropping the messages in the Python library . I’m not sure how to best surface this in home assistant (the logs aren’t structured, so a future rtl_433 change could break text parsing).
Ooo, good point. The ideal workflow is that you install the integration first, reboot Home Assistant (so it’s installed), and the start up the addon. It will post a discovery tile to Integrations and everything will be preconfigured. But if you have the addon first, install the integration, and reboot, the discovery message will have been sent before the reboot and it won’t show up.
I’ll at least get docs improvements up for that to make it clearer. It looks like looping and re-posting discovery messages isn’t a common or good practice, so I think the docs are the best way to go.
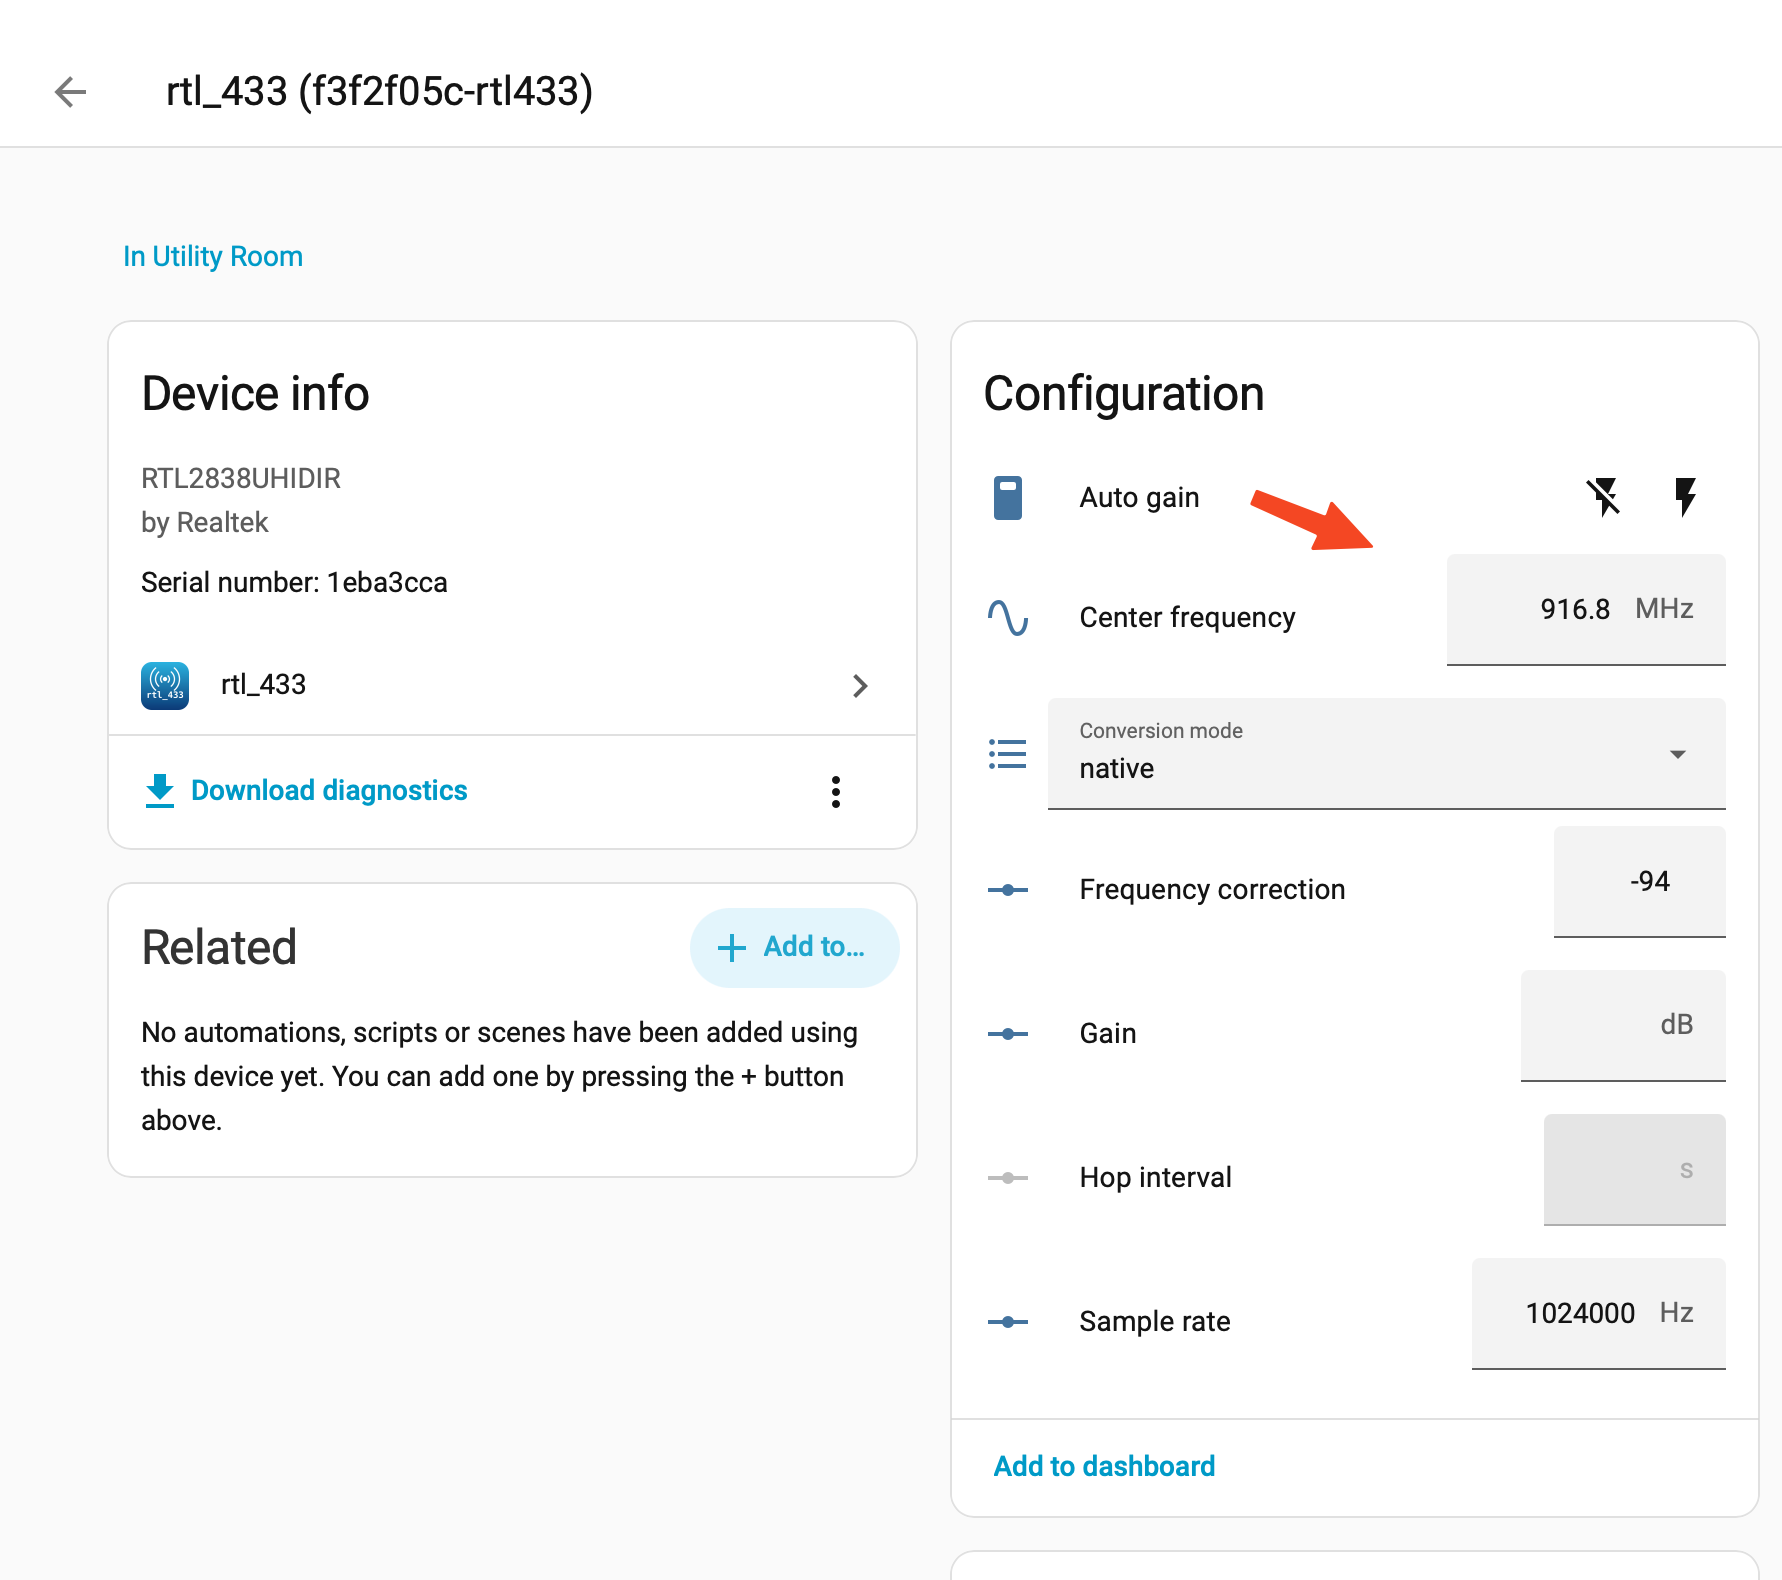
Yes! You can change the frequency once it’s connected (here’s mine for doorbells), or you can choose not to manage the settings in the HA UI and write the config file yourself.
I’ve actually been the only maintainer of the addon you’ve linked to for several years now. I haven’t heard from Peter in about the amount of time. So, I’m well versed in the ups and downs of that one’s architecture (and several decisions I made myself!).
But, no need to change unless you want to! It’s still there and will continue to work.
 . I’m not sure how to best surface this in home assistant (the logs aren’t structured, so a future rtl_433 change could break text parsing).