I’ve had my NSPanel running in the hall and controlling my heating for a several years now. About 2 years ago I allowed an ESP Home update on it that messed everything up and I spent a day figuring it out and putting it right. Since then I have not allowed an update of ESPHome on my NSPanel, nor have I adjusted the Blueprint. I have updated the ‘core’ ESPHome application within HA itself though.
Today I needed to change one of the physical buttons so that it toggled my hall light, recently added to HA. And an outside temperature needed changing to a different sensor. So, I amended the automation based on the Blueprint and saved it.
Now nothing works. I’ve got some basic screen with incorrect time on it. And I don’t think it’s connecting to the WiFi. And the house is getting cold!
Is there someone out there that can tell me quickly what I need to do to get it all working again as I’ve totally forgotten how I did it in the first place.
I’m guessing I have to physically connect it to the computer USB and do some downloading, but I don’t really know more than that.
Update:- I’ve got the latest ESPHome Compiler (2024.12.2) and the latest Blueprint (v4.3.12). I tried to update Panhans Advanced Heating Control from 3.7.1 but the auto method couldn’t find the page! I’ve checked my version of the NSPanel Template in my Automations and it Validates ok. I’ve tried to install it both manually using the ESPHome Web, and directly. I have a USB to serial adapter and followed Mark Watss’ instructions. Both installation seemed to work and complete but when I power up the device I get the blue bootup screen

but it then goes into some basic Sonoff(?) flash screen
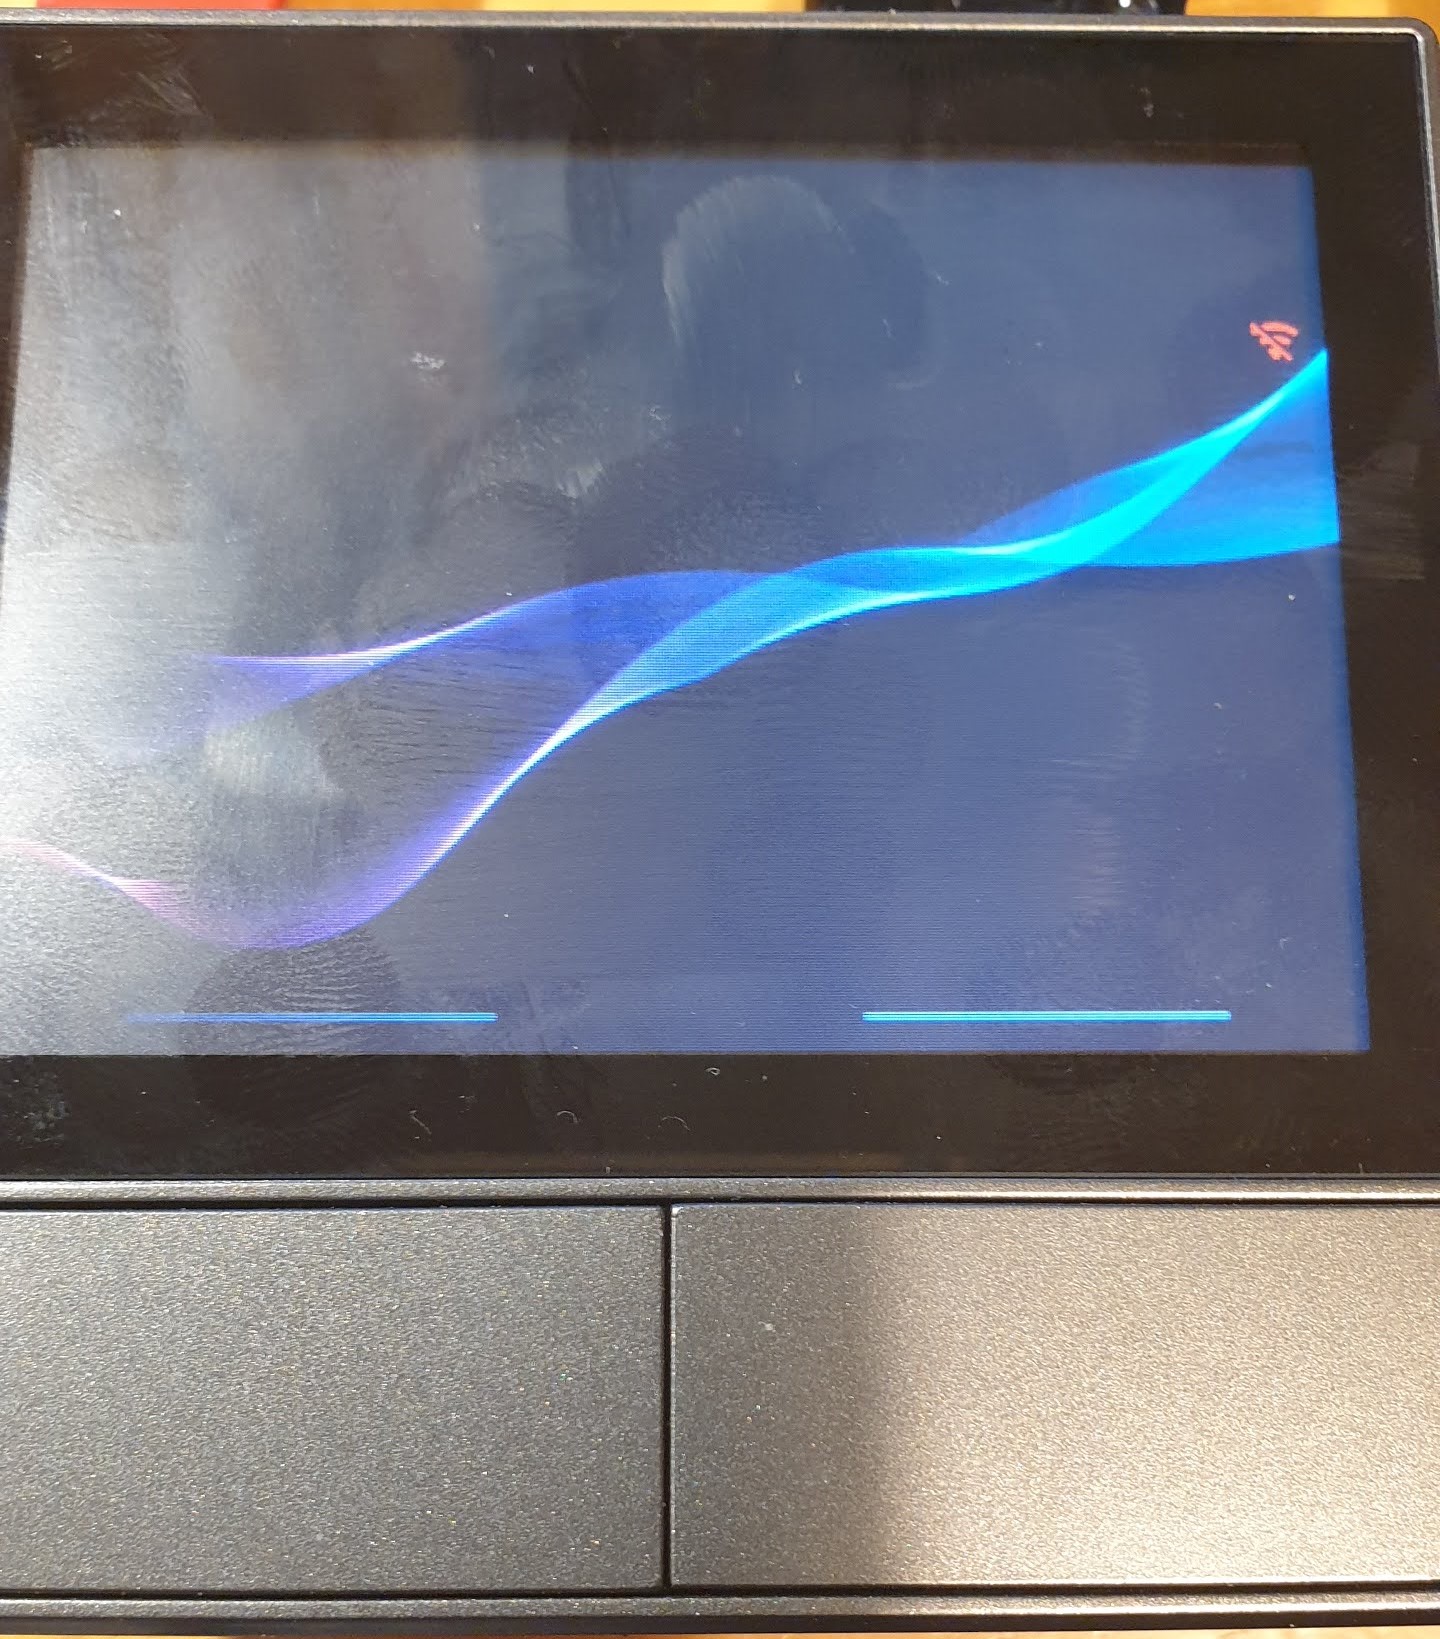
with no info on it and I cannot find the device on WiFi (I have a fixed IP address in my short ESPHome file (which I have not changed. I can also get a settings screen by long pressing the little red WiFi symbol

My ESPHome file looks like this…
substitutions:
  ###### CHANGE ME START ######
  device_name: "nsphall"
  wifi_ssid: !secret wifi_ssid
  wifi_password: !secret wifi_password

  nextion_update_url: "https://homeassistant.local:8123/local/nspanel_eu.tft"
  # nextion_update_url: "https://homeassistant.local:8123/local/nspanel_blank.tft"
  # nextion_update_url: "https://raw.githubusercontent.com/Blackymas/NSPanel_HA_Blueprint/main/nspanel_eu.tft"
  ##### addon-configuration #####
  ## addon_climate ##
  # addon_climate_heater_relay: "1" # possible values: 1/2
  heater_relay: "1"
  temp_min: "15"
  temp_max: "25"
  temp_step: "0.5"

  ##### CHANGE ME END #####

packages:
  remote_package:
    url: https://github.com/Blackymas/NSPanel_HA_Blueprint
    ref: main
    files:
      - nspanel_esphome.yaml # Core package
      # - advanced/esphome/nspanel_esphome_advanced.yaml # activate advanced (legacy) elements - can be useful for troubleshooting
      # - advanced/esphome/nspanel_esphome_addon_climate_cool.yaml # activate for local climate (cooling) control
      - nspanel_esphome_addon_climate_heat.yaml # activate for local climate (heater) control
    refresh: 1s

esp32:
  framework:
    type: esp-idf

##### My customization - Start #####
# Set IP address manually
wifi:
  networks:
    - id: !extend wifi_default
      manual_ip:
        static_ip: 192.168.0.xxx
        gateway: 192.168.0.1
        subnet: 255.255.255.0
##### My customization - End #####
I was expecting it to boot up and connect so that I could then update the TFT file through HA but I’m not getting that far.
Meanwhile I have put the old mechanical thermostat, which has not been used for 10 years, back in place.
Help still needed.